
How to Preserve Your Summer Harvest with Pickling and Jamming!
Welcome to the world of culinary creativity and self-sufficiency, where the bountiful harvest from your very own garden transforms into delightful jars of pickled perfection and sumptuous jams that burst with flavour. Whether you’re an avid gardener seeking to extend the lifespan of your produce or a curious food enthusiast eager to explore the art of preservation, this blog is your gateway to the captivating realm of pickling and jamming. Join us as we dive into the age-old techniques, modern twists, and mouthwatering recipes that will not only fill your pantry with vibrant colors but also your heart with a sense of accomplishment and a connection to the seasons. Let the journey begin, as we uncover the secrets to capturing nature’s bounty in every jar.
Table of Contents
The History of Jamming and Pickling
The rich history of pickling and jamming traces back centuries, with both practices emerging as ingenious methods to preserve the abundance of nature’s harvest. Pickling, a technique dating as far back as ancient Mesopotamia, found its roots in the necessity to prolong the shelf life of perishable foods. By immersing fruits, vegetables, and even meats in brine or vinegar, civilizations from the Mediterranean to Asia harnessed the power of fermentation to create delectable, tangy treats that could be enjoyed year-round. Meanwhile, the art of jamming, with origins in the Middle Ages, was a response to the desire to relish the intense flavours of ripe fruits long after their seasonal prime. The combination of sugar and fruit, heated and preserved, not only produced luscious spreads but also added a touch of luxury to the tables of kings and queens. As time marched on, these techniques evolved, adapted, and spread across the globe, culminating in a cherished tradition that continues to grace our modern kitchens with a taste of history and an ode to resourcefulness.
Pickling
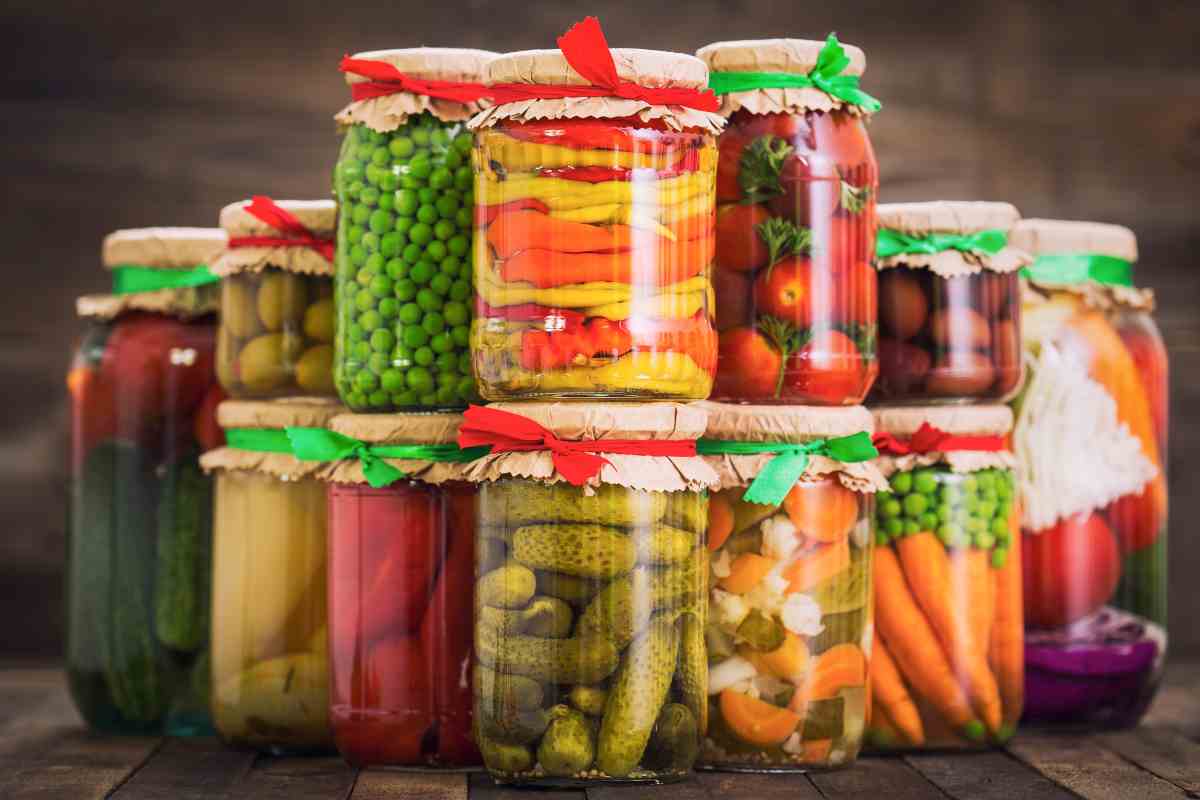
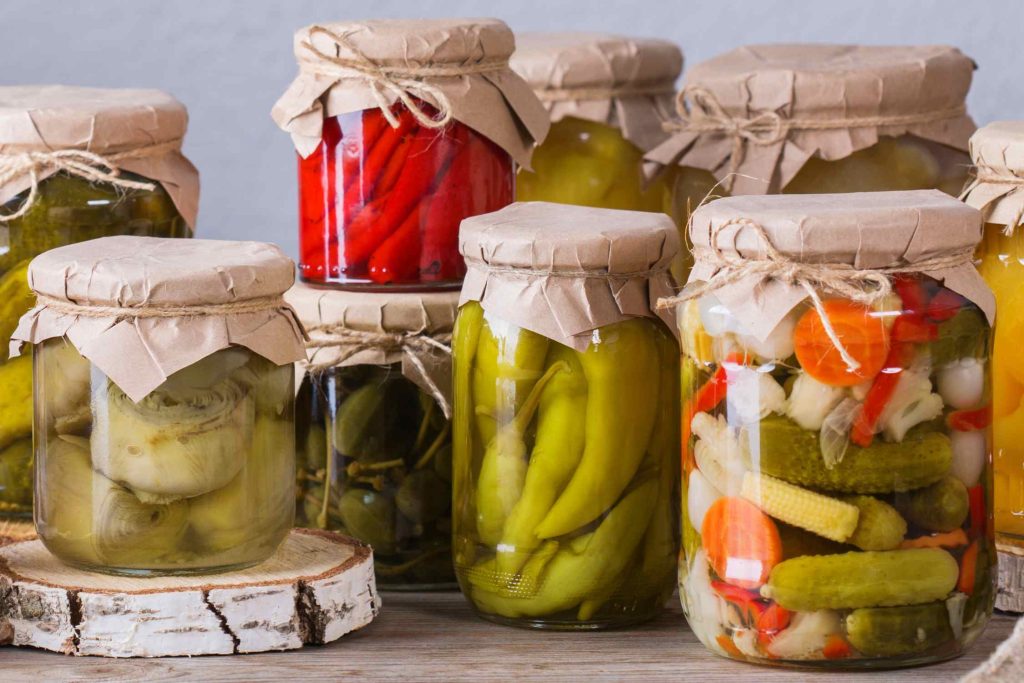
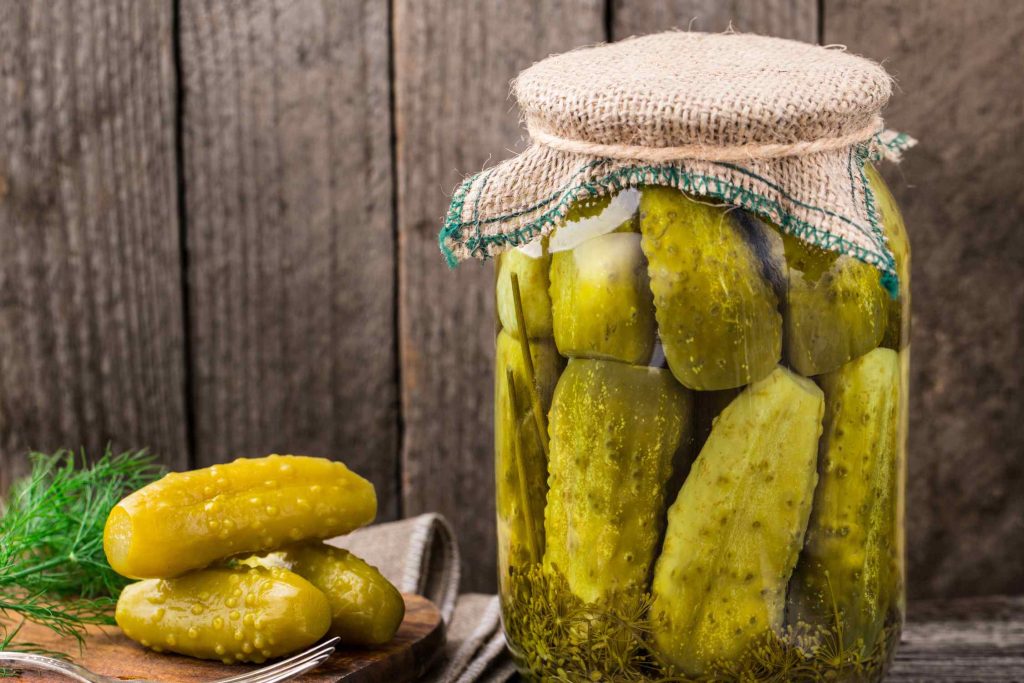
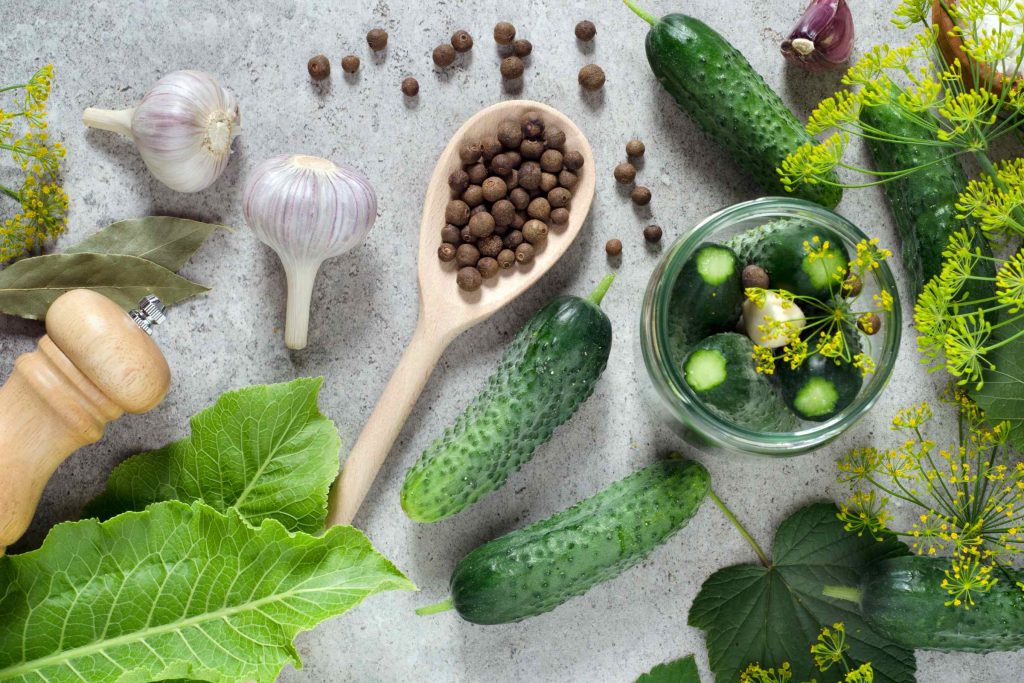
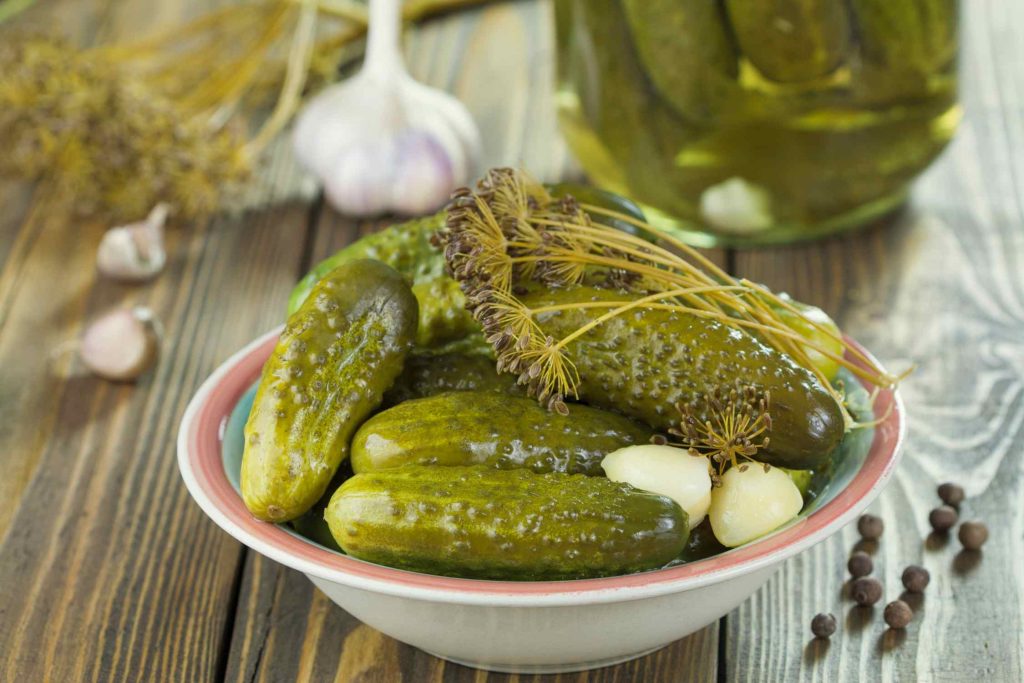
In the enchanting world of pickling, certain treasures from your garden reign supreme, offering an array of colors, textures, and flavors that are simply irresistible. Crisp cucumbers, with their natural ability to absorb briny goodness, are a classic choice, transforming into delectable pickles that strike the perfect balance between tanginess and crunch. Radiant bell peppers, whether red, yellow, or green, lend their vibrant hues and mild sweetness to pickled concoctions, while feisty jalapeños infuse a fiery kick that wakes up the taste buds. Beyond peppers, cauliflower florets take on a wonderful complexity when soaked in pickling liquid, offering a versatile canvas for both flavor and visual appeal. And let’s not forget the timeless allure of carrots, beans, and asparagus, with their earthy undertones and ability to soak up delightful seasonings. As you embark on your pickling journey, these garden gems await your creative touch, ready to be transformed into jars of zesty, preserved perfection.
Ingredients
- Assorted fresh vegetables (e.g., cucumbers, carrots, bell peppers, cauliflower)
- 2 cups water
- 2 cups vinegar (white vinegar or apple cider vinegar)
- 2 tablespoons salt
- 1/4 cup granulated sugar (adjust to taste)
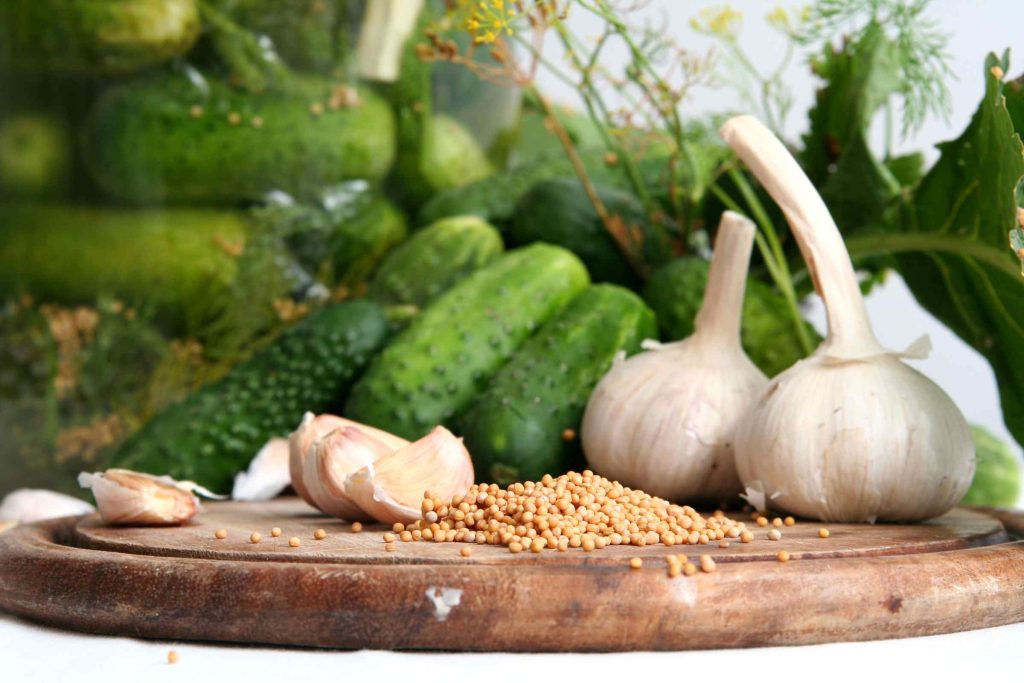
- Pickling spices (e.g., garlic cloves, dill sprigs, mustard seeds, peppercorns)
- Optional: red pepper flakes for some heat
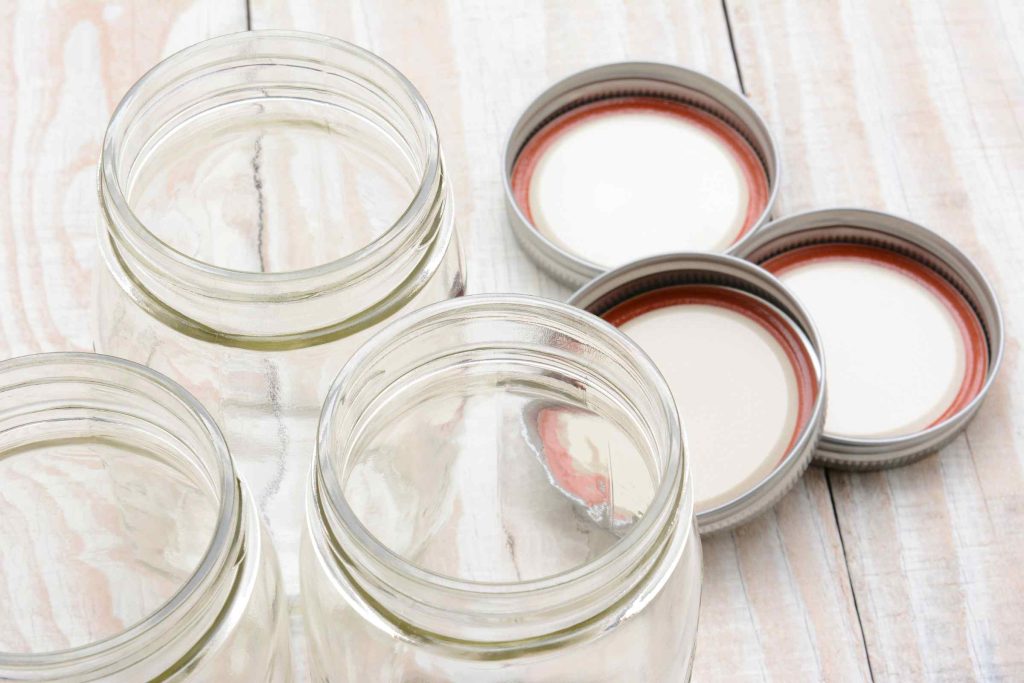
- Canning Jars, new sealing lids and rings

Instructions
- Prepare the Vegetables: Wash and scrub your chosen vegetables thoroughly. Trim and cut the vegetables into your preferred shapes, such as slices, spears, or florets.
- Sterilize the Jars: Wash glass jars and lids with hot soapy water, then rinse well. Place the jars and lids in a pot of boiling water for a few minutes to sterilize, then let them air dry.
- Create the Brine: In a saucepan, combine water, vinegar, salt, and sugar. Add your desired pickling spices and bring the mixture to a simmer. Allow it to simmer for about 5-10 minutes to infuse the flavours.
- Pack the Jars: Pack the prepared vegetables into the sterilized glass jars, leaving a little space at the top. You can layer the vegetables with spices for a more even distribution of flavour.
- Add the Brine: Carefully pour the hot brine over the vegetables in the jars, ensuring they are fully covered.
- Seal and Cool: Place the sterilized lids on the jars and screw them on tightly. Let the jars cool to room temperature on the counter.
- Refrigerate and Wait: Once cooled, transfer the jars to the refrigerator. Allow the flavours to develop by letting the pickled vegetables sit in the refrigerator for at least a week before enjoying them. The longer they sit, the more flavorful they become.
- Enjoy: Your homemade pickled vegetables are now ready to enjoy! Serve them as a snack, add them to sandwiches, salads, and charcuterie boards, or use them as a zesty side dish.
- Optional Canning process: Once the jars are packed, brined and seals are on, you can extend their storage life by processing them in a water bath double boiler. A few tips for success: make sure the rings are just hand-tight as you still want any gas bubble to escape to ensure proper sealing; once the hot brine is in the jar, quickly seal and place in bubbling boing water, ⅓ up the jar for 7 min or as long as your recipe suggests; carefully remove from boiling water, tighten ring and place upside down on a towel covered table for a day, the next day – test the seals for success then remove the rings, wipe and store to enjoy or share.
Feel free to experiment with different combinations of vegetables and spices to create unique flavour profiles that suit your taste.
Jamming
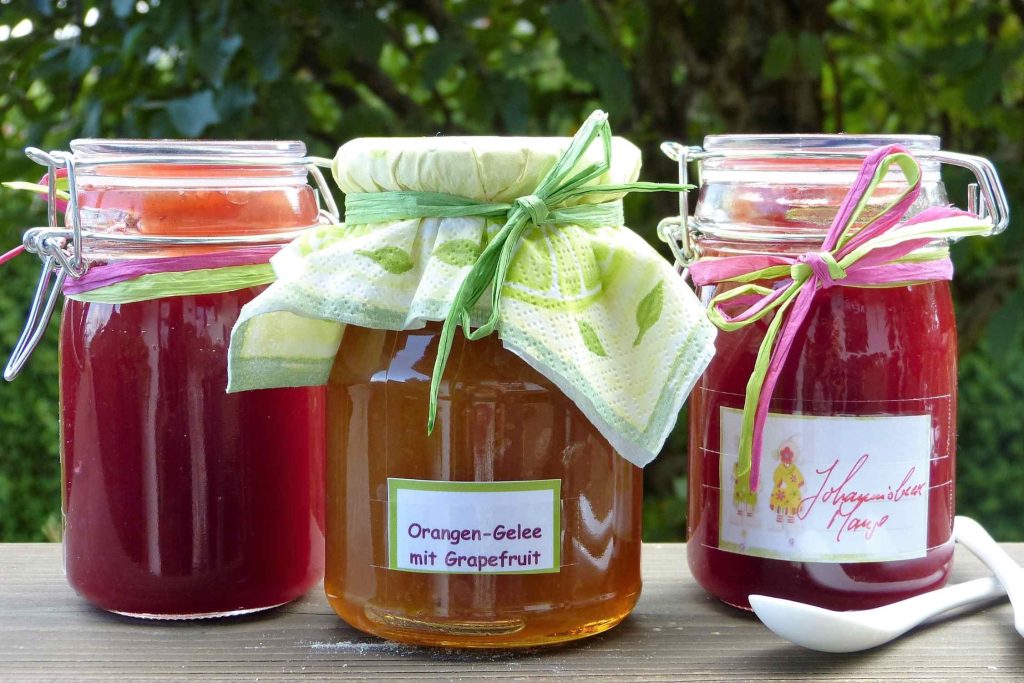
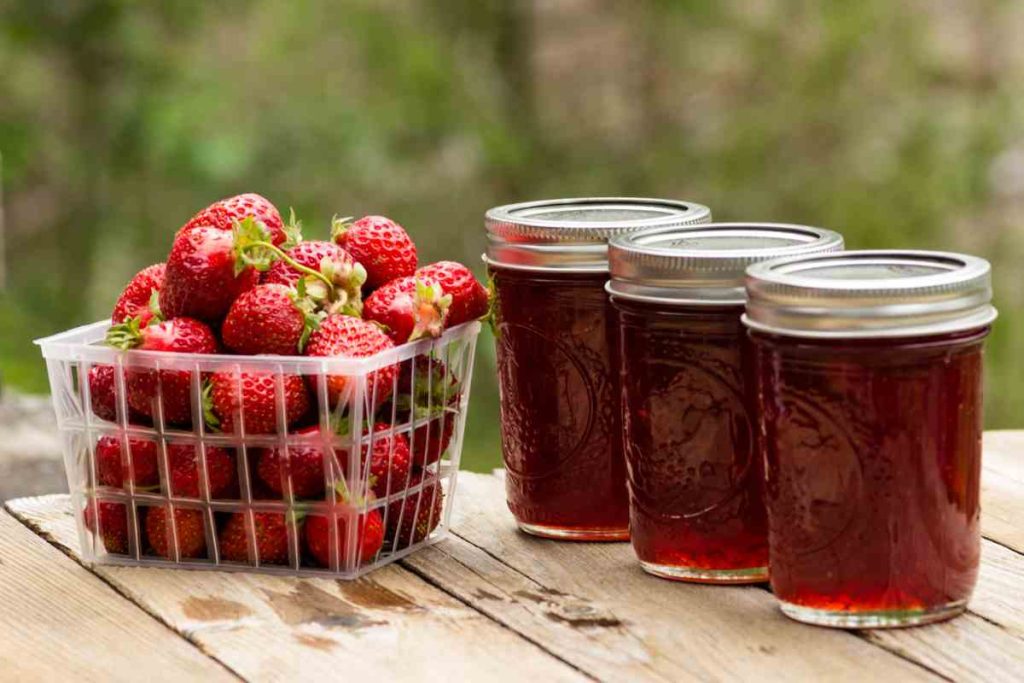
Your garden is a treasure trove of natural sweetness and vibrant flavours, offering a variety of fruits that are perfect for crafting exquisite homemade jams. Plump and succulent berries, such as strawberries, raspberries, and blueberries, burst with juicy goodness, lending their enchanting essence to spreads that evoke the essence of summer. The velvety richness of peaches and apricots, with their delicate balance of sweet and tangy, transforms into luscious jams that capture the essence of orchard-fresh delight. Fragrant figs and pears infuse jams with a captivating depth, while plums contribute a captivatingly robust and slightly tart character. As you stroll through your garden, these naturally sweet treasures invite you to embark on a culinary journey, where the alchemy of fruit, sugar, and time yields jars of enchanting jams that preserve the essence of each season in a single, delectable bite.
Ingredients
- 4 cups prepared fruit (e.g., strawberries, raspberries, peaches, pears, apricots, etc.), washed, peeled, pitted, and chopped as needed
- 4 cups granulated sugar (adjust based on fruit’s sweetness and personal preference)
- 1/4 cup fresh lemon juice
- Optional: 1 tablespoon butter (helps reduce foaming)
Instructions
- Prepare the Fruit: Wash, peel, pit, and chop the fruit as needed to yield 4 cups of prepared fruit.
- Sterilize the Jars: Wash glass jars and lids with hot soapy water, then rinse well. Place the jars and lids in a pot of boiling water for a few minutes to sterilize, then let them air dry.
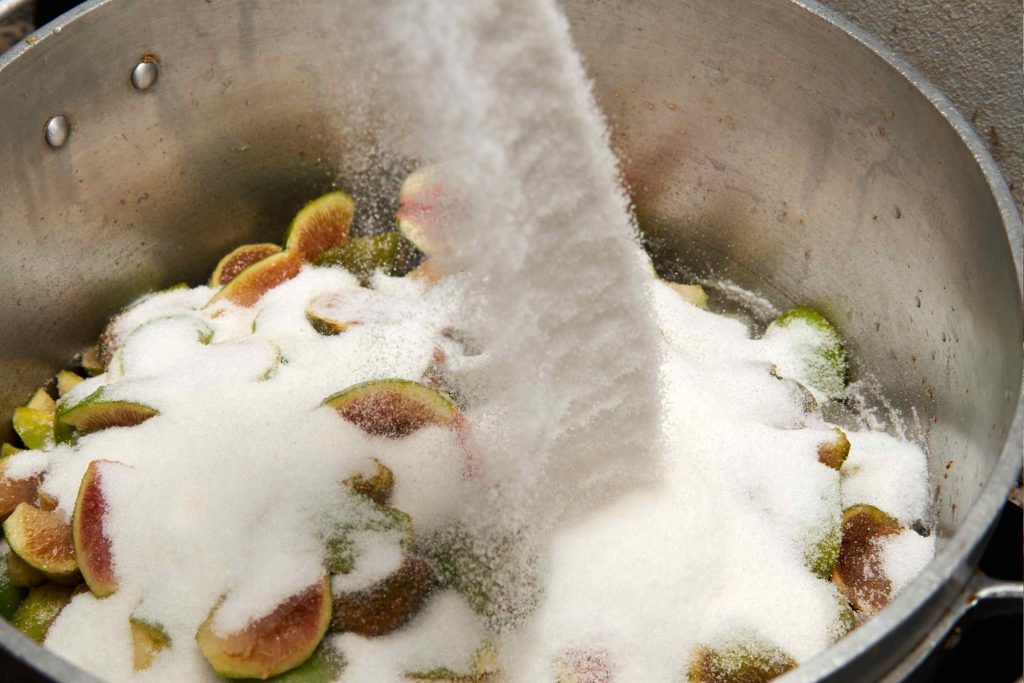
- Combine Fruit and Sugar: In a large, heavy-bottomed pot, combine the prepared fruit and granulated sugar. Mix well to coat the fruit.
- Cook the Jam: Place the pot over medium heat and bring the mixture to a boil, stirring frequently. Add the fresh lemon juice and optional butter. The lemon juice helps with setting and adds a bright flavor, while the butter helps reduce foaming. Continue to cook, stirring regularly, until the mixture thickens and reaches the desired consistency. This can take around 20-30 minutes, depending on the fruit and your desired thickness.
- Check for Doneness: To check if the jam is ready, place a small amount on a chilled plate and let it cool. Run your finger through the jam – it should wrinkle and hold its shape.
- Skim Foam (if necessary): If foam forms on the surface of the jam, skim it off with a spoon.
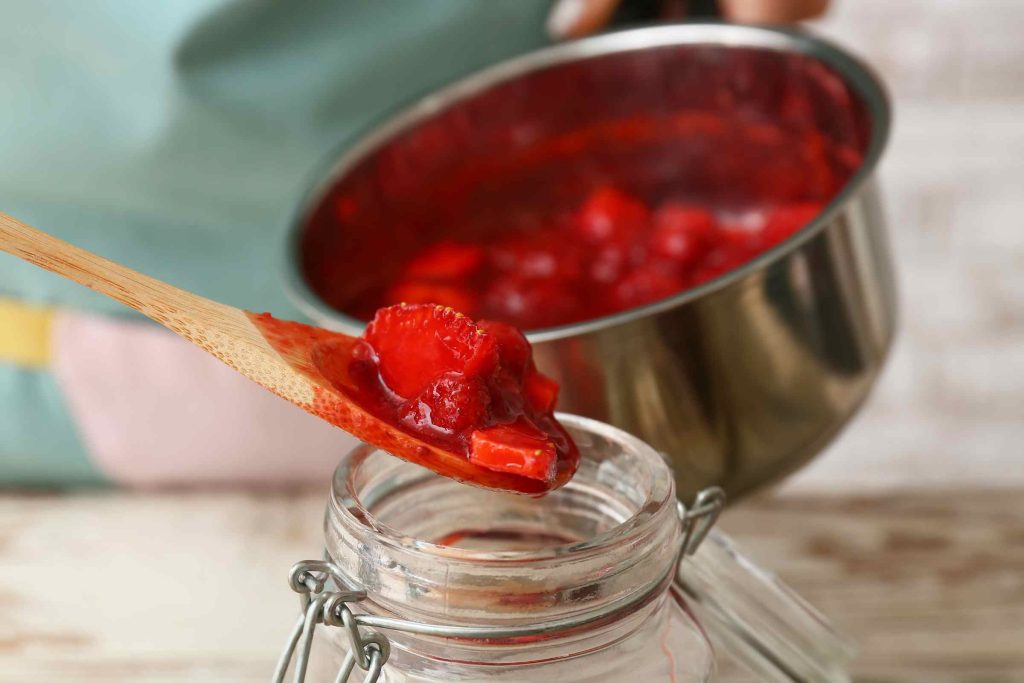
- Fill Jars: Carefully ladle the hot jam into the sterilized glass jars, leaving about 1/4-inch headspace at the top. Wipe the jar rims clean to ensure a proper seal.
- Seal the Jars: Place the sterilized lids on the jars and screw them on tightly.
- Cool and Store: Allow the jars to cool to room temperature on the counter. Once cool, store the jars in the refrigerator or follow proper canning procedures to store them at room temperature for longer shelf life.
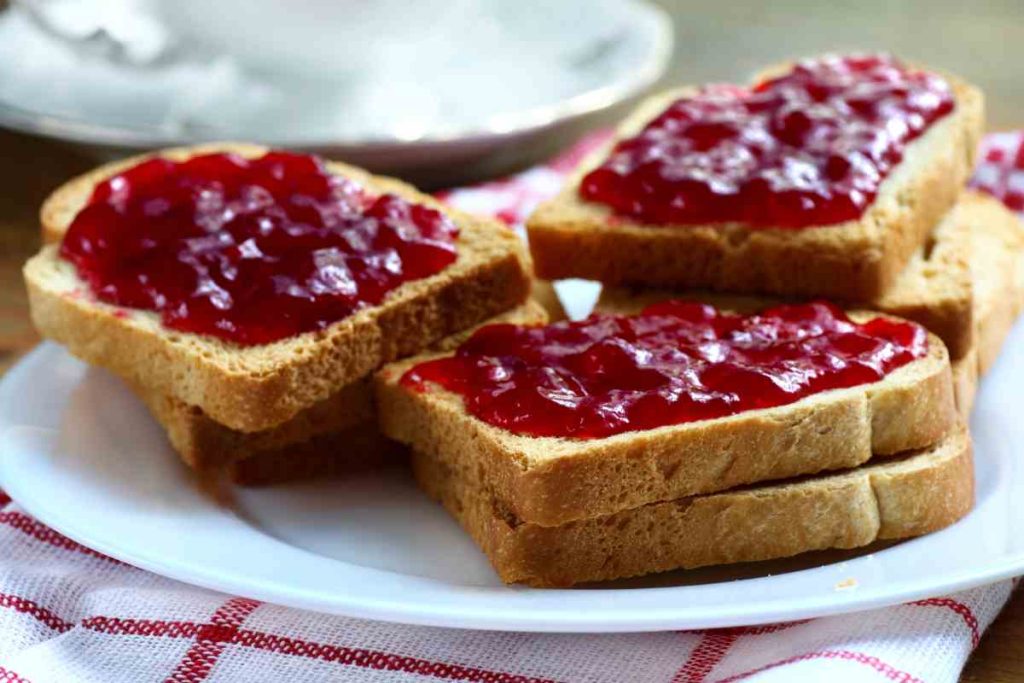
- Enjoy: Your homemade jam is ready to enjoy! Spread it on toast, use it in desserts, or get creative with various culinary creations.
Different fruits can require specific instructions so please check out the specific preserving requirements for different fruits. Remember that jam-making involves precise steps for achieving a proper seal if you intend to store your jam at room temperature. Follow recommended canning guidelines for safe and long-term storage. It’s time to pick up your jars and lids, harvest your veggies and fruits and start preserving. It can sometimes be a bit of trial and error so if at first it doesn’t turn out try again! Happy preserving!