
How to Plant, Grow, and Care for Clematis
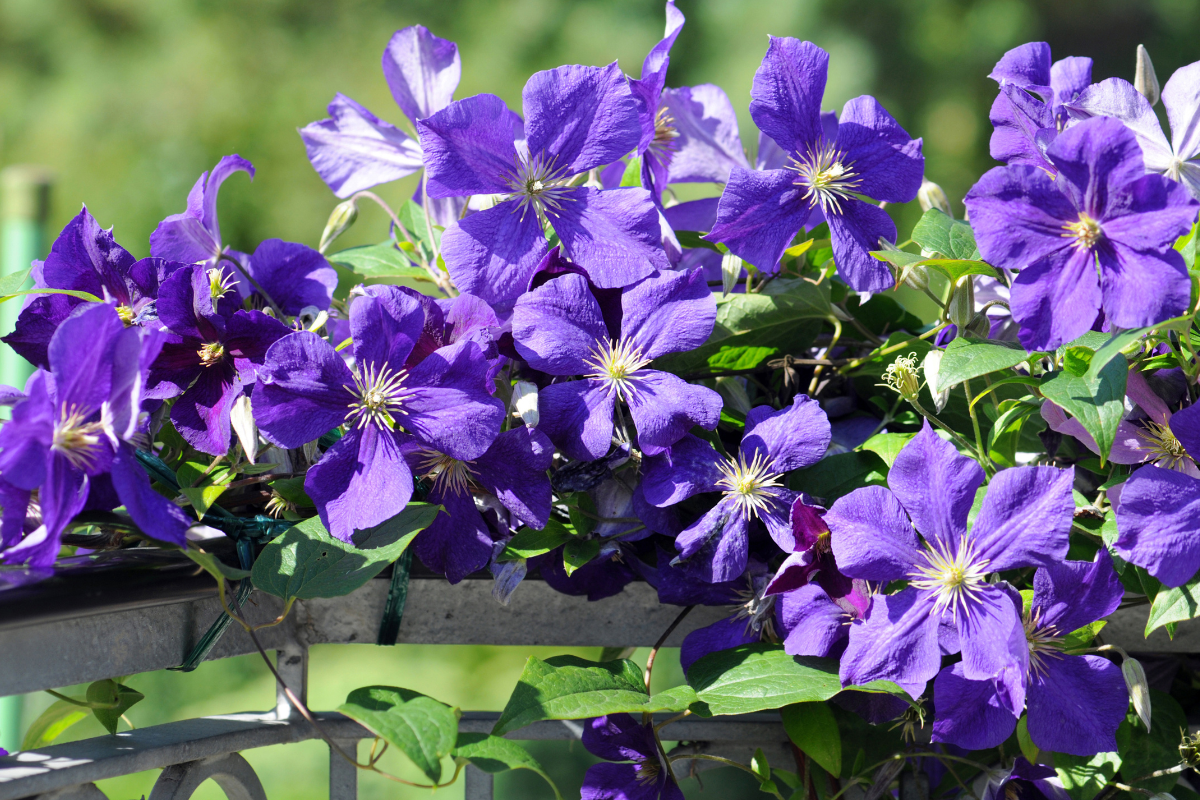
Clematis are beautiful flowering vines that add a touch of elegance to a garden. They come in a variety of colours, sizes, and shapes, and can be used to cover trellises or fences or to add height to a garden bed. For help in choosing the right clematis for your area and garden space and some favorite varieties for inspiration, read our blog for some great advice. Now it’s time to get your hands in the dirt so you can enjoy the clematis to the full. If you’re thinking about adding clematis to your garden, read on for everything you need to know about planting, pruning, and caring for them!
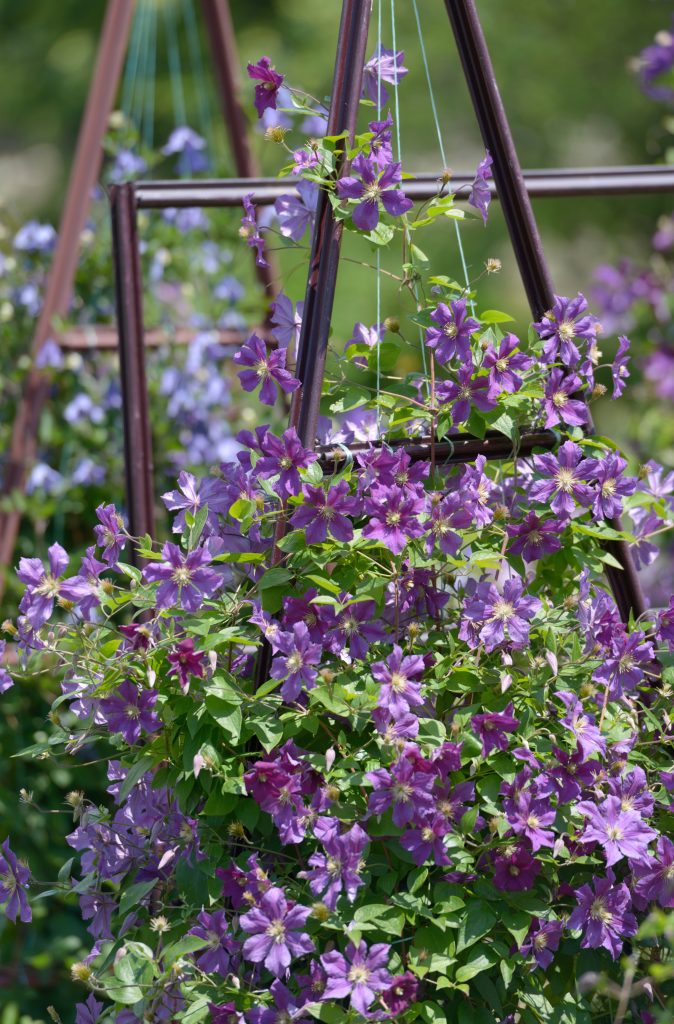
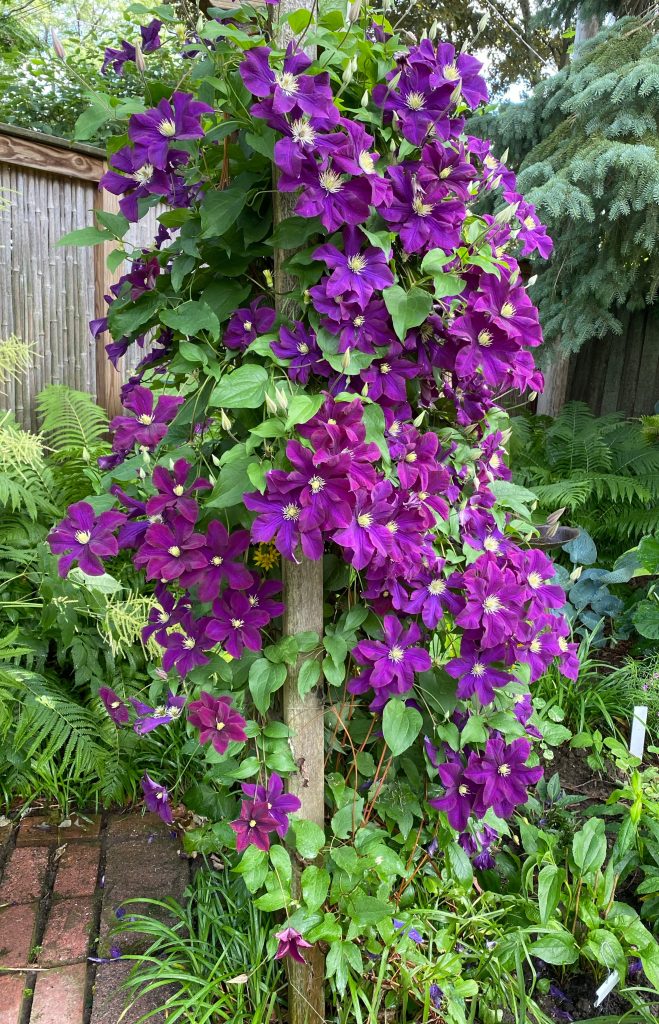
Table of Contents
Planting Clematis in the Ground
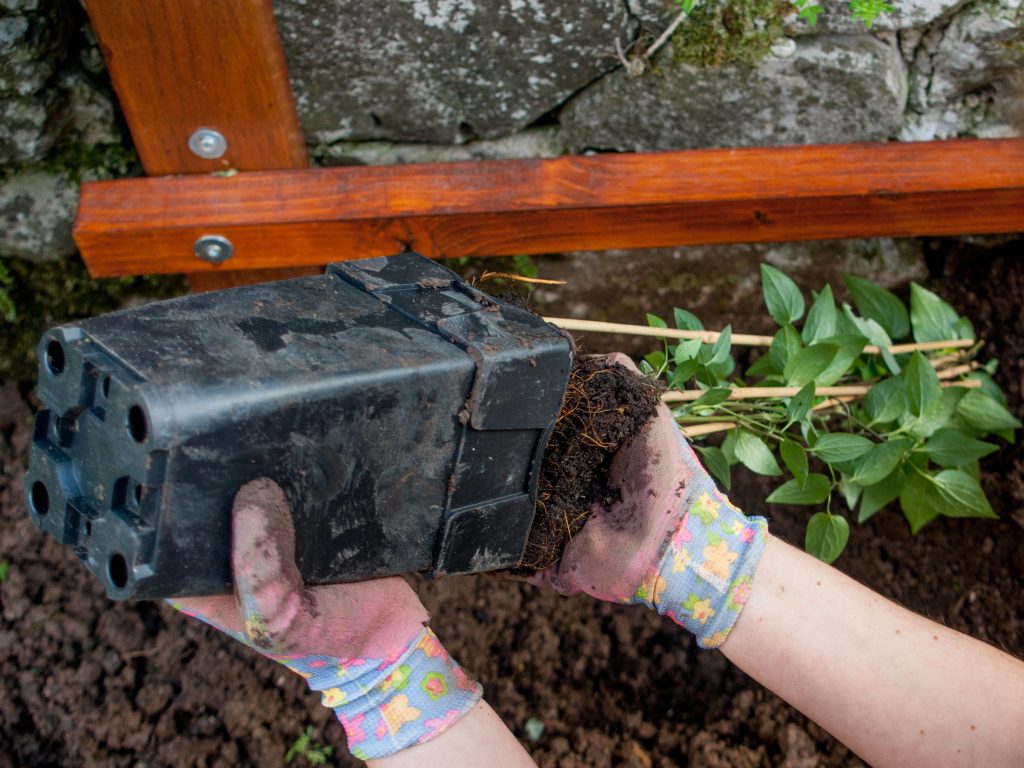
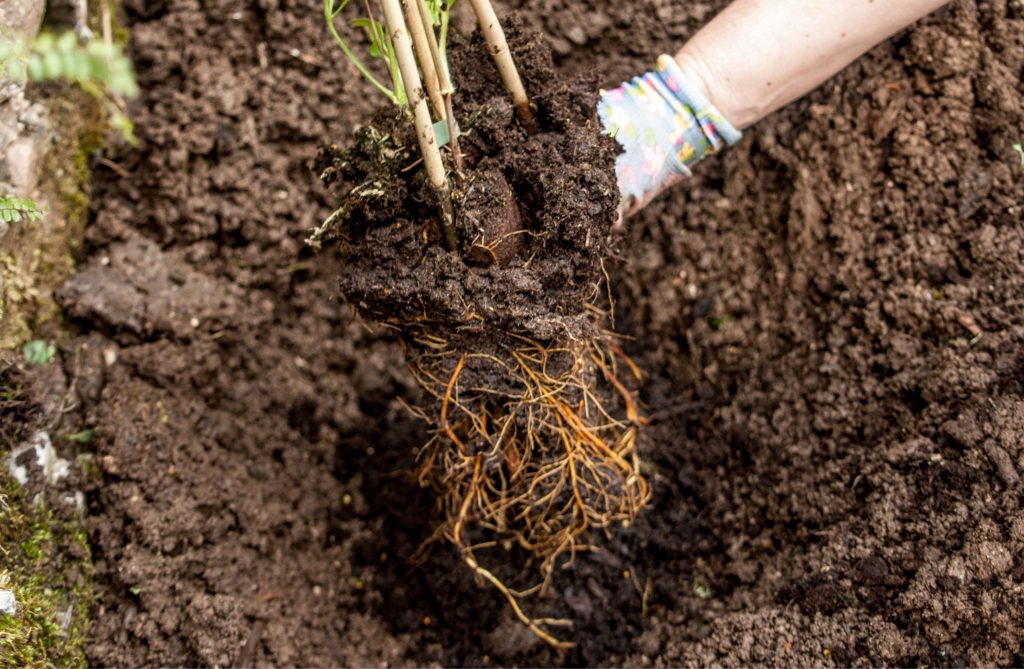
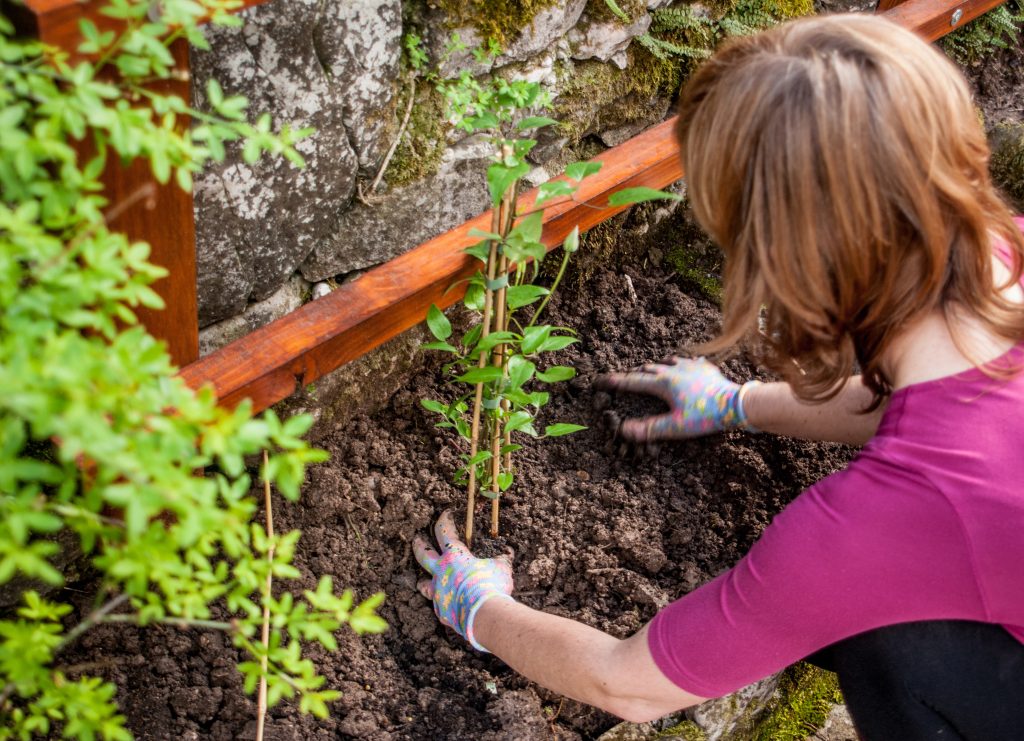
The great thing about Clematis is that you can plant them in either the spring or fall. When choosing your clematis, note that most clematis are hardy to zone 3 or 4. The Montana and other select varieties are hardy to zone 7, so consider this before planting. Clematis are avid climbers and ramblers so plan for the type of support system you will use and have it in place before planting. To prepare the area, dig a hole that’s about twice the width of the pot your Clematis is currently in and about twice as deep. Loosen or amend heavy soil to improve drainage. You’ll also want to mix in some compost or manure into the soil mix to help provide nutrients all season long. Clematis are heavy feeders, so they will appreciate this extra boost! Before planting, give the potted clematis a good soak in water to fully hydrate. Carefully pop the container off your plant and tease out a few of the roots to give them encouragement to stretch out into the fresh soil they will be planted in. This teasing of the roots is important, especially for plants that have been in their container for a season already. By doing this you will have a stronger plant that is quicker to get established in its new home.
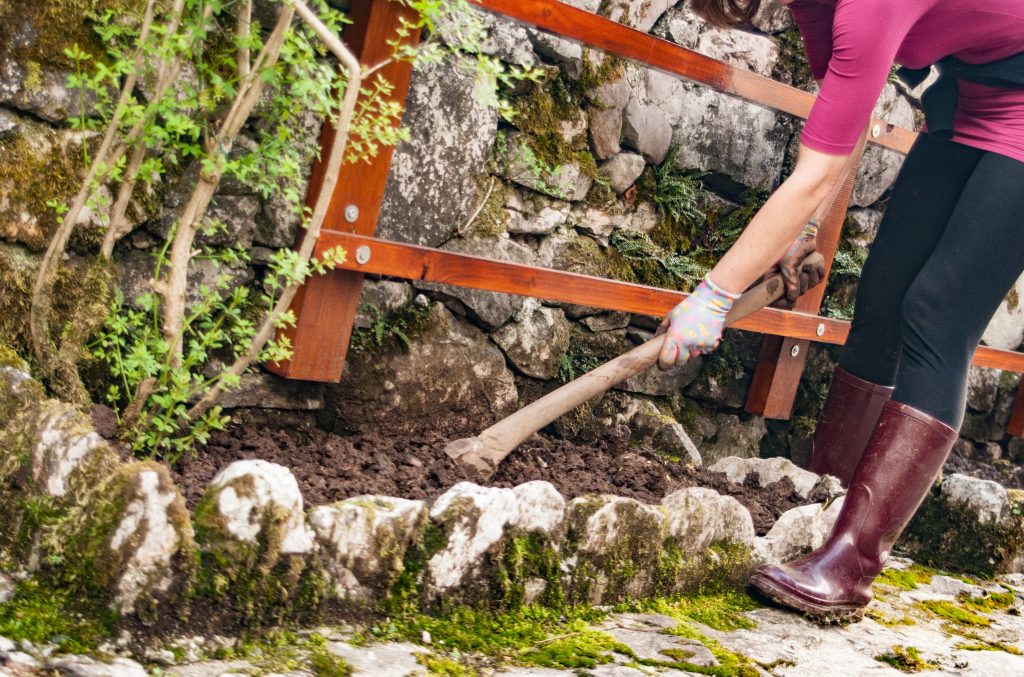
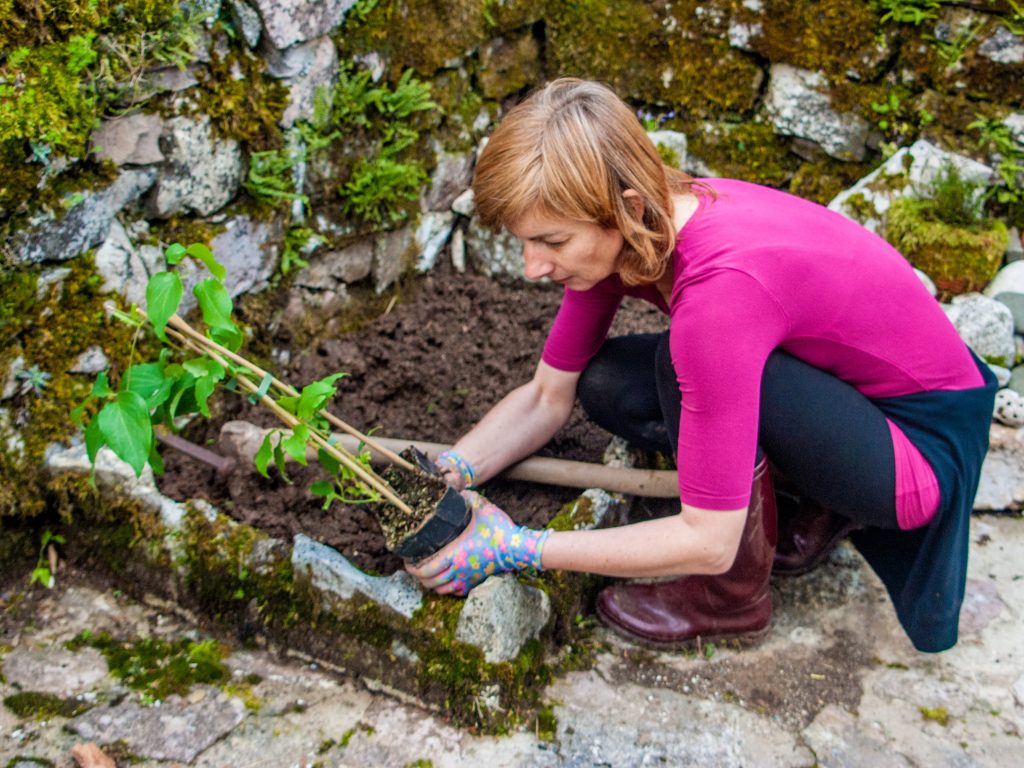
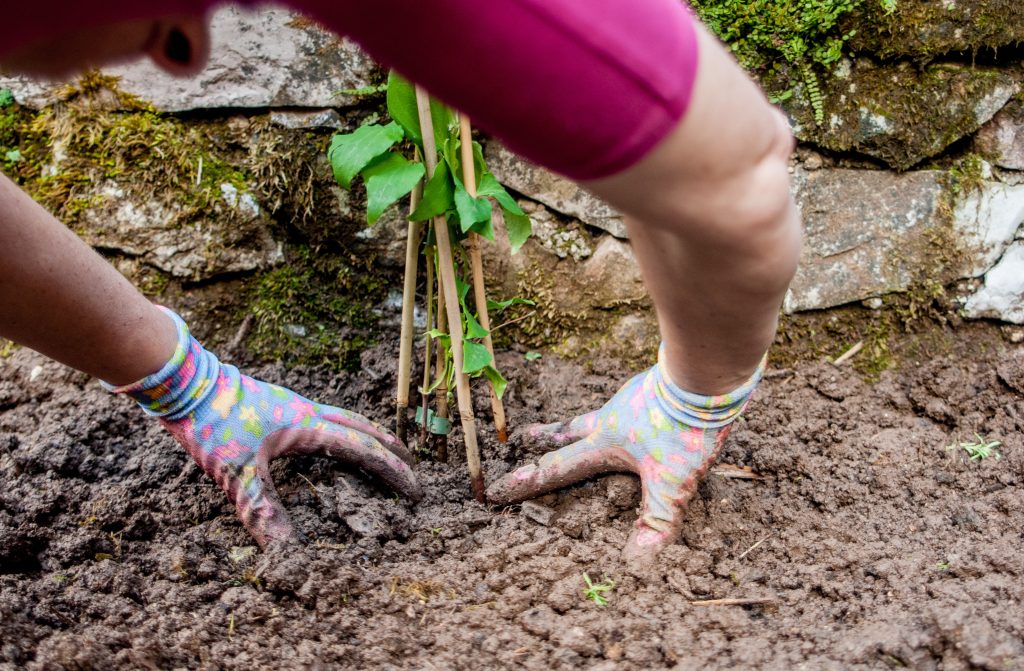
When you are planting the clematis in the ground, think deep. While many plants like to have their crowns (the area where the stems meet the roots) at or just above the soil level, Clematis like to go deeper. Place the crown 15 cm (6”) below the soil level. Safely attach stems to the support system, trellis, arbor, or fencing. Once planted, now you want to water. Clematis are super thirsty plants and with planting the roots deeper than the average plant, you need lots of water to get down to all the roots. So, go ahead and give them a good soak.
Planting Clematis in Containers
A wonderful feature of clematis is that they are vertical plants. Which makes them ideal for small spaces and balcony gardening. When planting in containers select large containers, with drainage holes, that will easily accommodate the clematis and some companion plants to shade the roots. Containers are available in many types of materials, but it is best to choose planters that do not conduct heat. We recommend wooden containers instead of metal or thin plastic. Make sure to select a container that can accommodate your support systems such as a trellis or obelisk. After choosing the perfect container, fill you’re your planter with well-draining soil that is enriched with compost.
Clematis Plant Care
Now that the clematis is planted, it needs some love and attention to keep it growing and producing beautiful flowers.
Pruning Clematis
One of the most crucial is pruning your clematis. Clematis are divided into three different pruning groups and it is important to know which group your clematis falls into so that you can prune it at the right time.
- Group A Clematis are the early blooming varieties that grow on last year’s stems (known in the gardening world as old wood). The best time to prune this group is right after they finish blooming in spring. This allows new stems to grow and produce flower buds for the next year.
- Group B Clematis are the repeat bloomers, with vines blooming in late spring/early summer and again sporadically throughout the summer (known as the old and new wood group). This group generally requires a bit more attention in the pruning department. In early spring lightly thin out and detangle the stems to get it ready for its first blooms. Once the early flowers have begun to fade (in late spring to early summer), you can shorten the stems that bore the first flowers so that you can get new growth for the remaining flowering season. Another option for pruning is to prune back the plant by half every other year.
- Group C Clematis bloom in late summer into fall (known as the new wood group). This group is the easiest to prune. Just before or at the beginning of the growth season (in early spring), cut all the stems back to strong buds that are about 1 ft. off the ground. Once pruned, this will allow new growth to come up and make for a great show later in the summer.
Companion Plants for Clematis
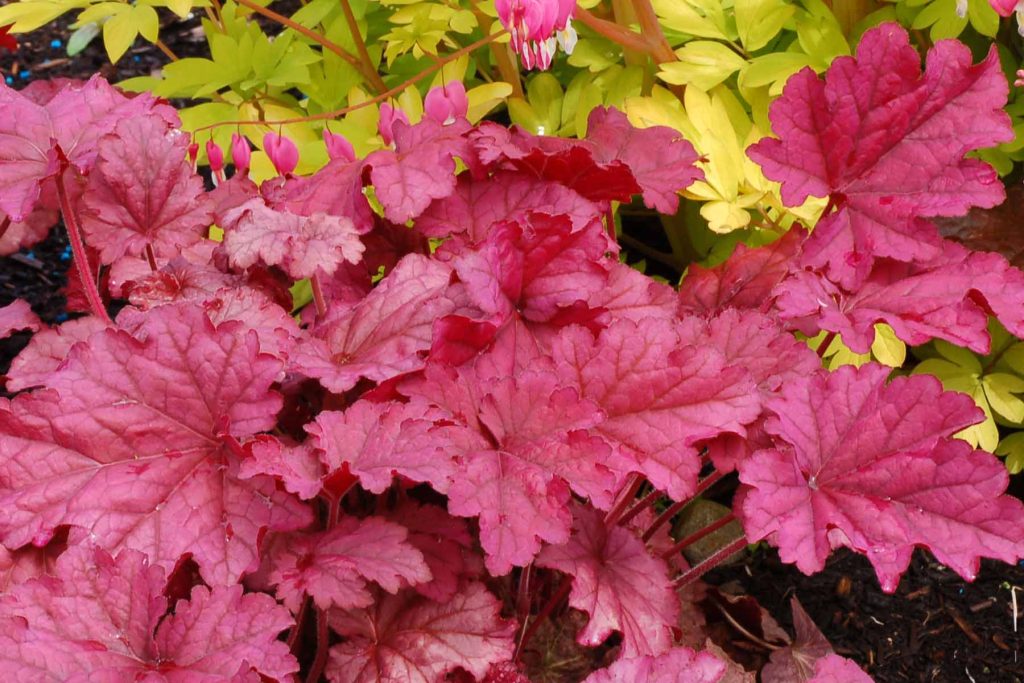
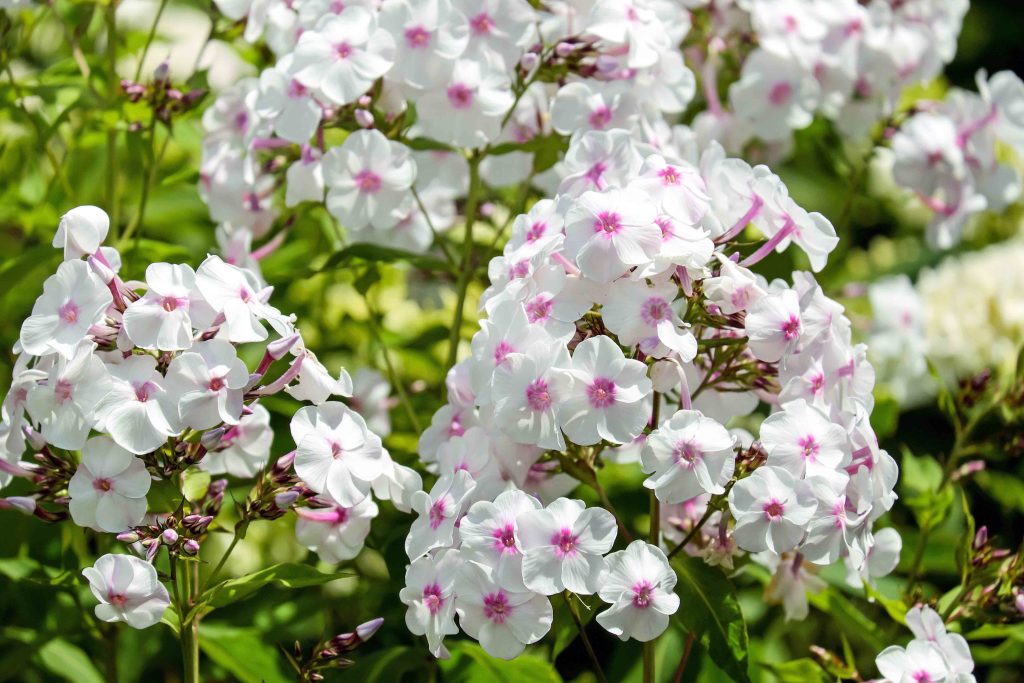
Clematis like to have their heads in the sun and their feet in the shade. This means that they need to be planted with something below them that will give them some shade. Think about companion plants, clematis love to have cool roots. Leafy perennials like heuchera, phlox, or hostas and shrubs like roses, hydrangeas, or boxwood are perfect to plant near the base. The main goal is to keep those roots in the shade so that they don’t dry out.
In Season Care
Clematis are heavy feeders and need to be fertilized regularly. A great time to fertilize is in the spring when they are just starting to grow. You can use a granular fertilizer or a liquid fertilizer. Just make sure that it is a high phosphorus fertilizer (high middle number) because that is what clematis needs the most. The third tip is to deadhead. Deadheading is when you cut off the spent flowers. This will encourage the plant to produce more flowers on repeat blooming varieties and put effort into new buds. As the stems grow encourage them to twine into the trellis and train them in the direction you want them to grow.
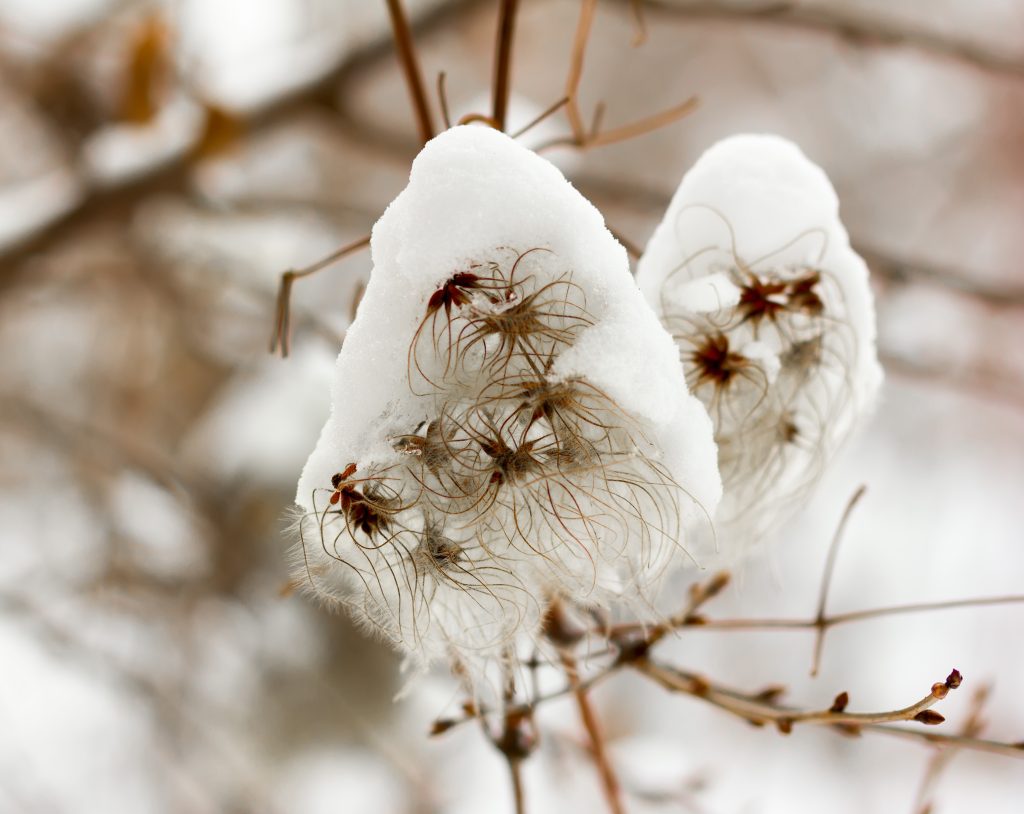
Taking Care of Clematis in Winter
Once the blooming season is over and your clematis has been cut back (if necessary), it’s time to take care of them in the winter months. Clematis perform better if they have a winter dormancy time of at least 6 weeks every year. Evening temperatures below 7°C for a week will be enough to nudge your clematis into dormancy. Give clematis a bit of extra protection by covering the base with a generous layer of mulch. In spring remove the mulch to make sure the clematis is not buried too deeply and still can receive a lot of water so that it can continue to flourish.
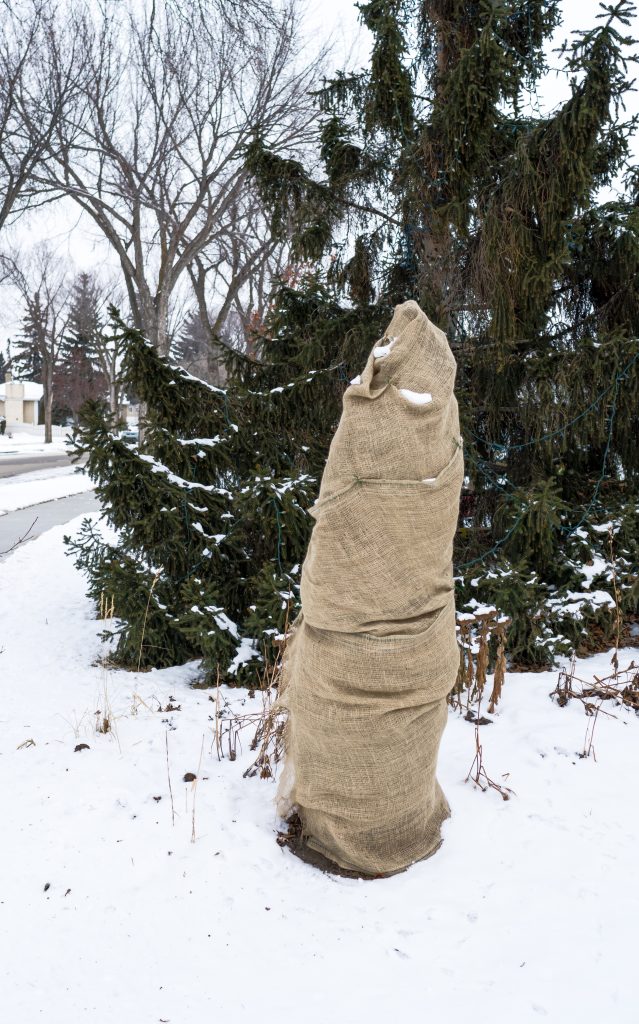
To care for clematis planted in containers, move them to a slightly protected area. Remember snow covering is an insulator against the dry winds. Therefore, it is okay for your clematis to have rain and snow on them. Make sure to protect the vines from wind damage. Secure them into their supports or add a burlap protective cover.
Clematis are beautiful plants that can add a touch of sophistication to any garden. By following these simple tips, you can ensure that your clematis will thrive and provide months of beauty. Have questions about caring for your clematis? Feel free to reach out to us – we’d be happy to help. Remember to show us pictures of your gorgeous blooms!