
The Ultimate List for Getting Your Garden Spring Time Ready!
When the winter frost begins to thaw, as gardeners, we eagerly anticipate the arrival of spring. It’s a time of renewal and growth, and the perfect opportunity to prepare for the upcoming planting season. By taking the necessary steps to get your garden ready, you will be well on your way! To prepare for spring planting, there are essential tasks and considerations to make your garden thrive. Proper preparation sets the foundation for healthy plants, vibrant blooms, and abundant harvests. Dedicate time and effort to prepare your garden beds and create an optimal growing environment. Then you’ll maximize your chances of success and enjoy the rewards throughout the season!
Table of Contents
Clearing and Cleaning
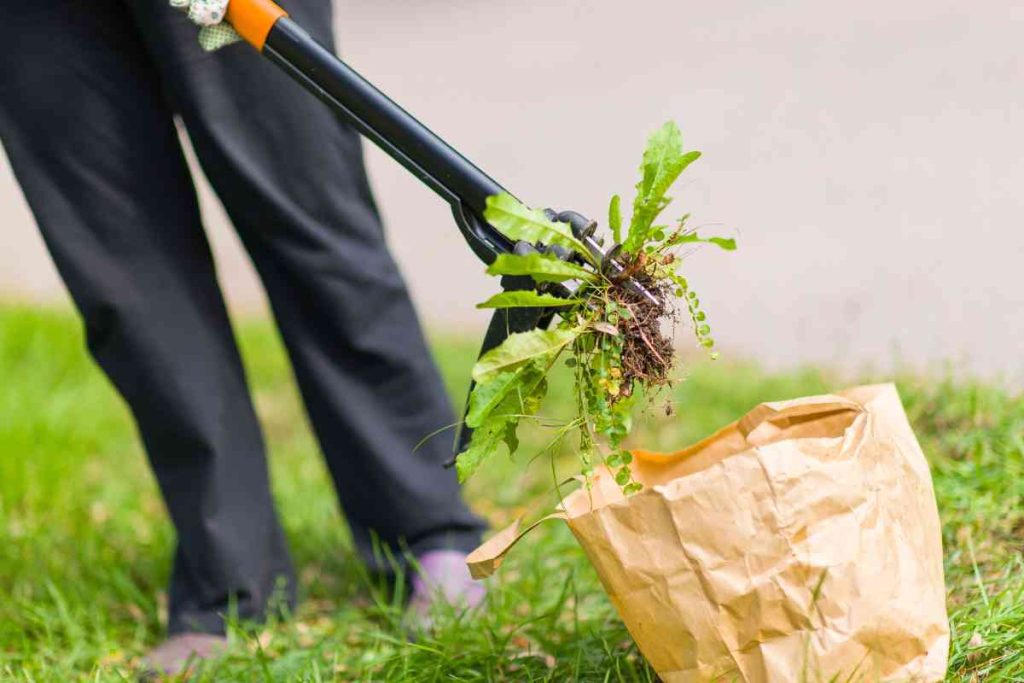
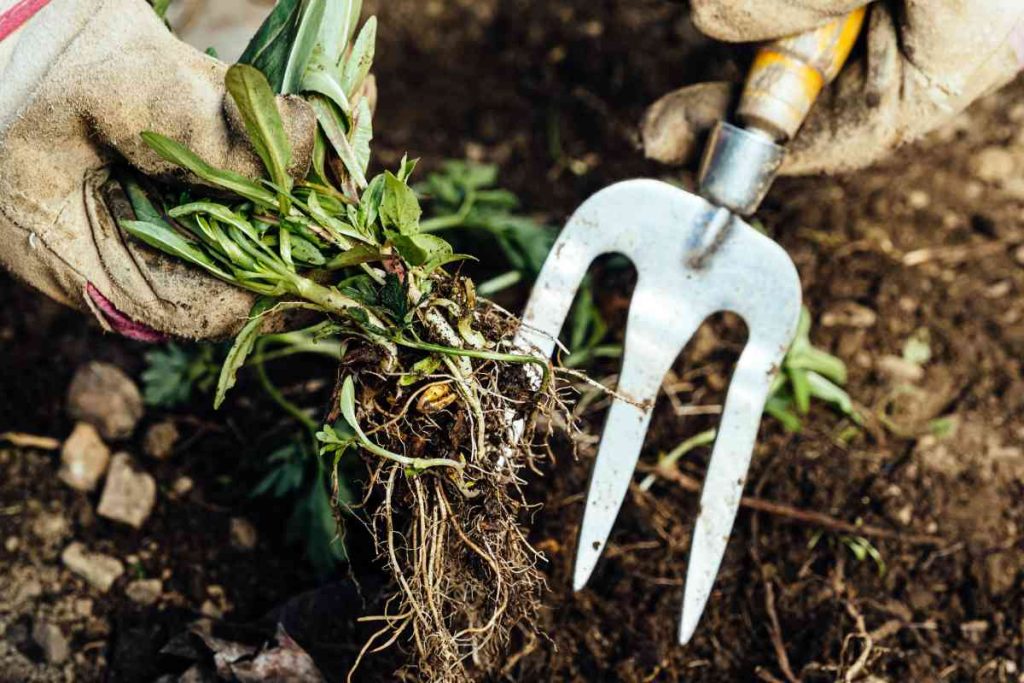
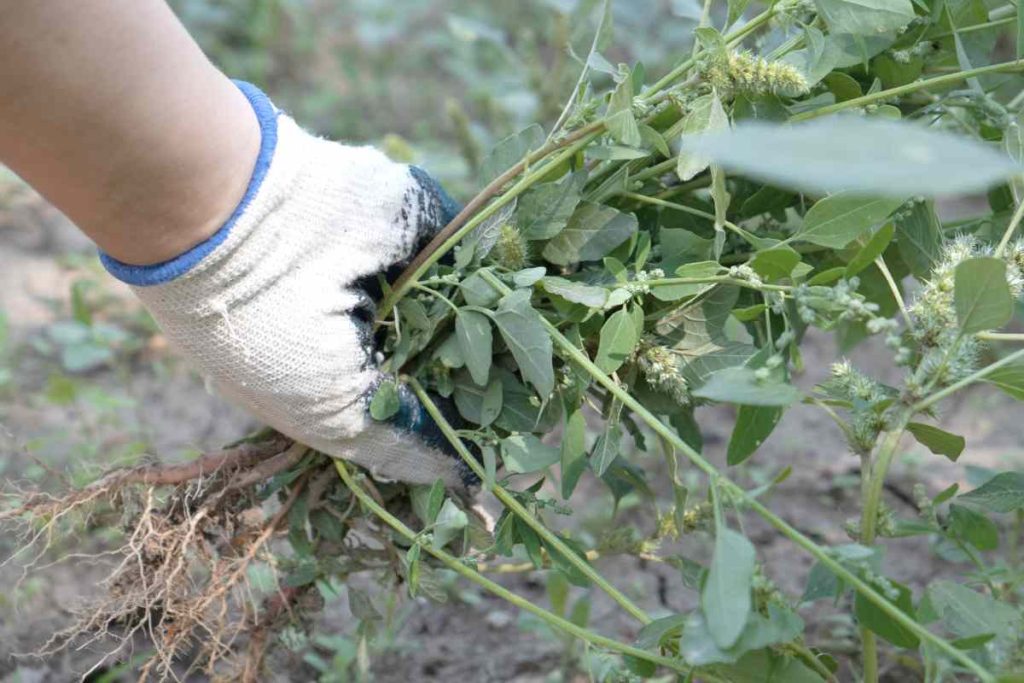
The first step in preparing your garden is clearing out debris and weeds that have accumulated over the winter months. Remove fallen leaves and branches, dead plant material, and any weeds that may have taken root. This helps create a clean and tidy space for new growth. When eliminating weeds that have sprouted, ensure you remove their roots to prevent them from re-growing. A weeding tool can help you extract them effectively, especially if the soil is still damp from the winter. Examine your garden bed edges and borders for any damage caused by winter weather. Repair or replace any broken parts to maintain the structure and prevent future issues.
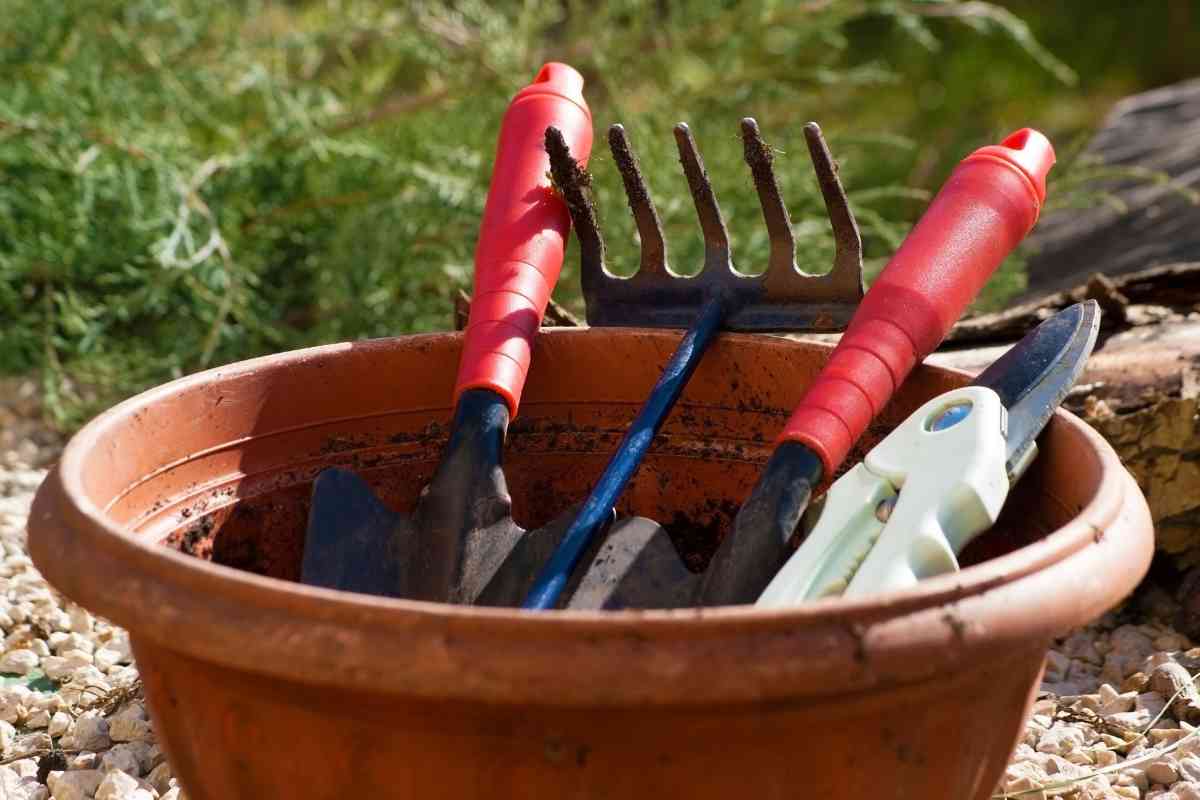
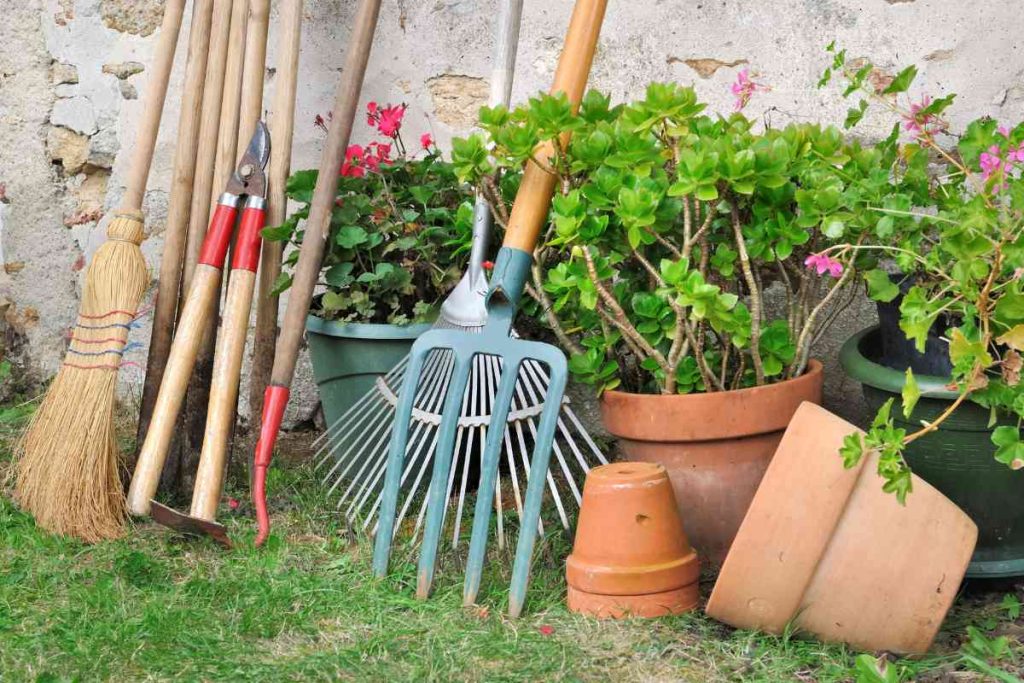
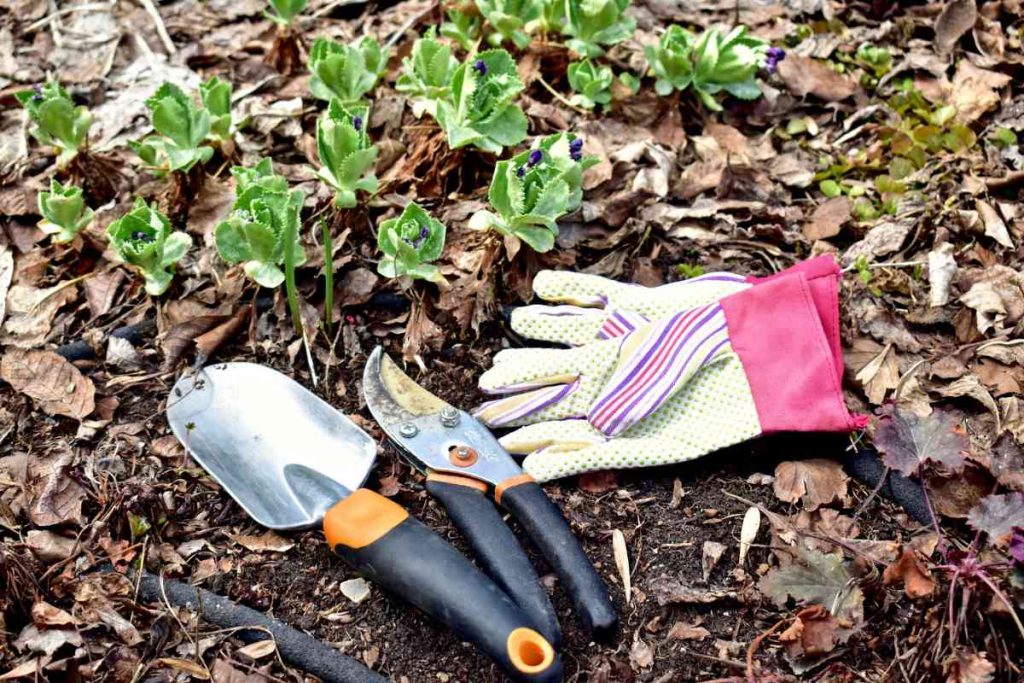
Clean tools are not only easier and safer to use but they also help prevent the spread of diseases in your garden. Rusty or soil-caked implements can introduce bacteria, or viruses from previous seasons into this year’s plants. To begin with, remove caked-on soil from shovels, trowels, and rakes. A stiff metal or plastic brush works well. Rinse with water after scrubbing. To get your tools clean from possible bacteria, mix a solution of 1 part bleach to 9 parts water, and dip your tools in to disinfect. Seasoned gardeners know that sharp pruners do the best job. After a year of working hard in the garden, it’s a good idea to get dull pruners and shears sharpened up. Use a sharpening stone or speak to your local garden centre, as they may offer the service in early spring. Well-maintained tools ensure efficiency and ease when working in the garden.

Soil Preparation
Healthy soil is the cornerstone of a thriving garden. Consider conducting a soil test to assess its pH and nutrient levels. This can guide you in which amendments your garden soil might need to optimize nutrient access for your plants. To improve your garden soil, add compost or organic matter to improve soil structure, enhance moisture retention, and promote nutrient availability. Add organic amendments, such as compost, or manure, to enrich the soil with essential nutrients. If your soil is too sandy, you can add organic matter like compost or well-rotted manure to help it retain moisture. If it’s too clay-like, you can add sand and straw or leaf mulch to improve drainage. You can also add compost to improve the overall quality of your soil. Finally, apply a layer of mulch to conserve moisture, suppress weeds, and maintain a stable soil temperature. Check out our blog for more about preparing your soil for planting.
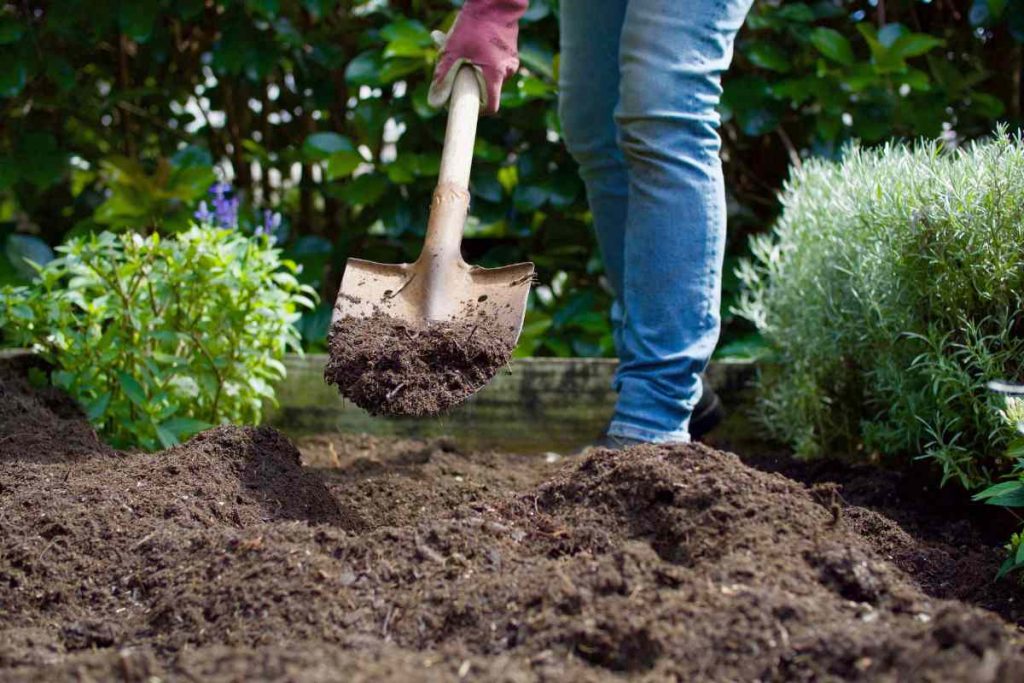
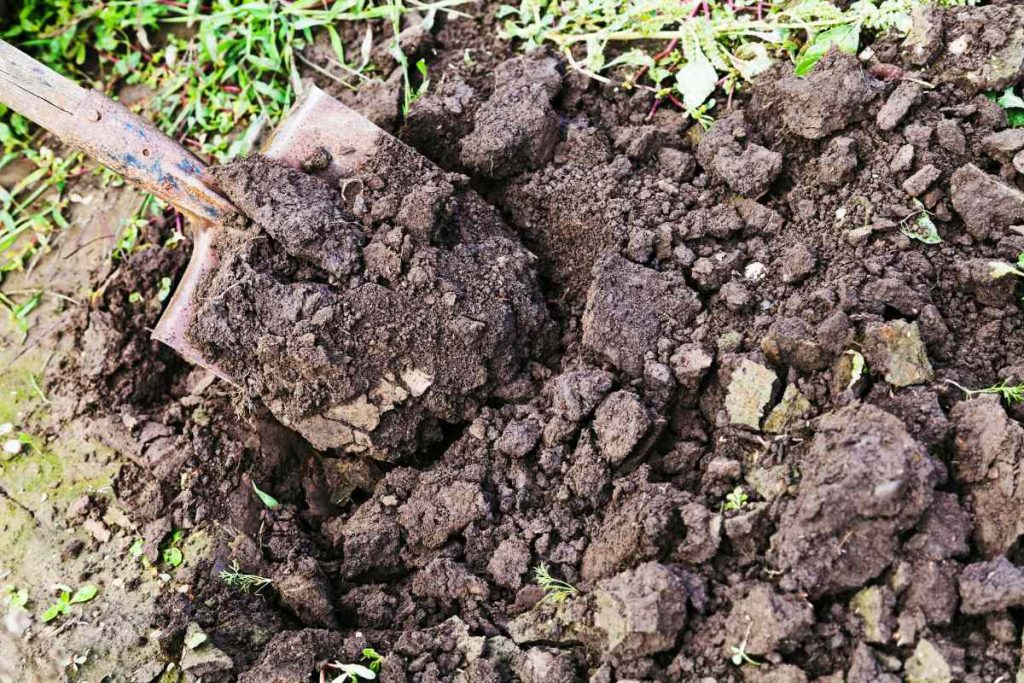
To prepare your garden beds, clear away any remaining debris and loosen the soil. Examine your garden bed edges and borders for any damage caused by winter weather.
Planning and Design
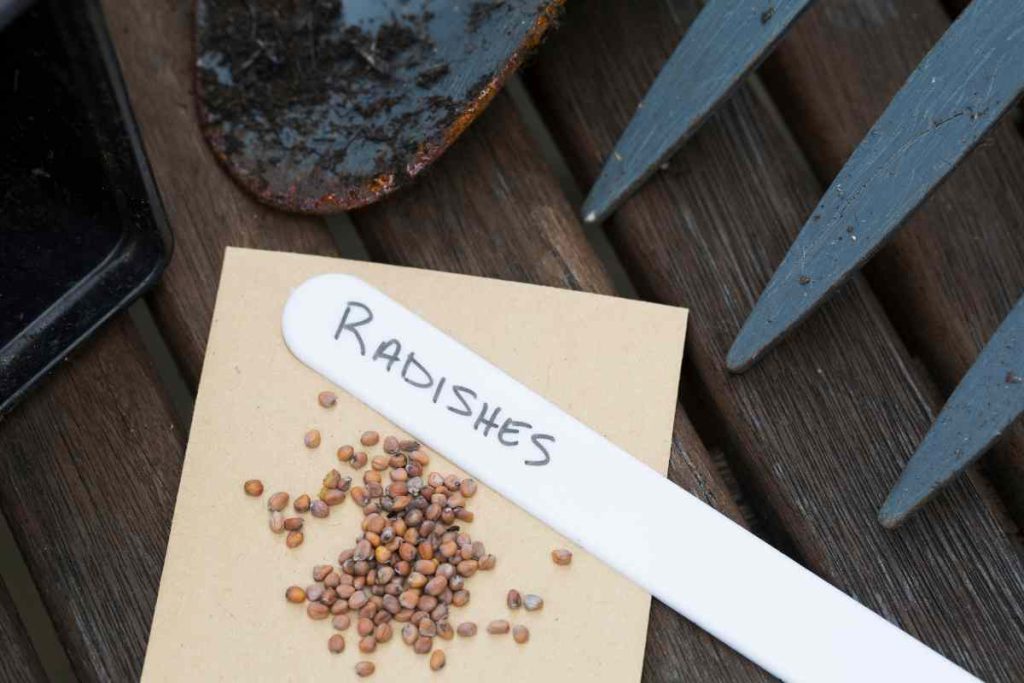
Before you start planting, take the time to plan and design your garden. Assess the available space and consider factors such as sunlight exposure and microclimates within your yard. Select some new plants and seeds to try – this is a very exciting part! But keep in mind their suitability for your space and purpose in your garden. Creating a garden layout or design will help optimize space and ensure that plants are properly spaced for healthy growth. Learn which zone you reside in to ensure your plants will be suitable for your weather conditions.
Starting Seeds Indoors
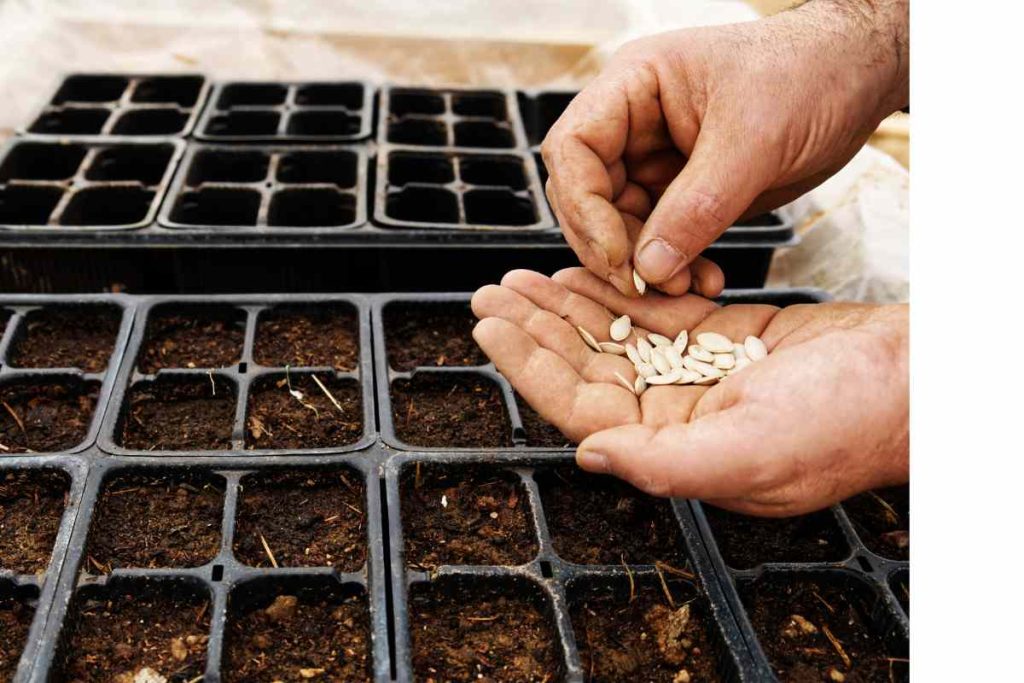
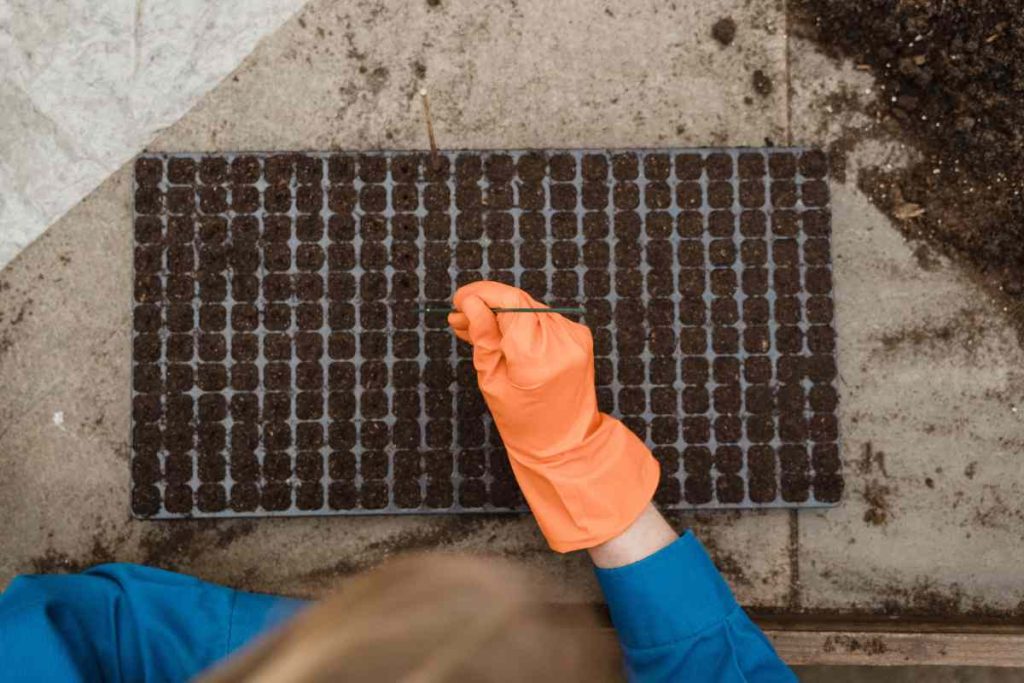
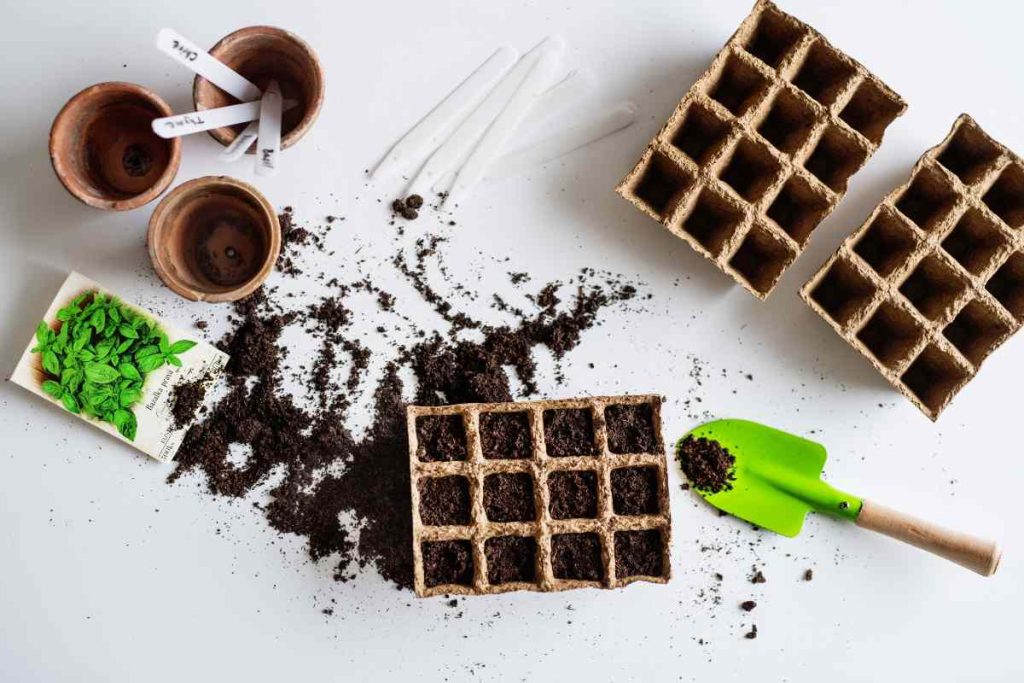
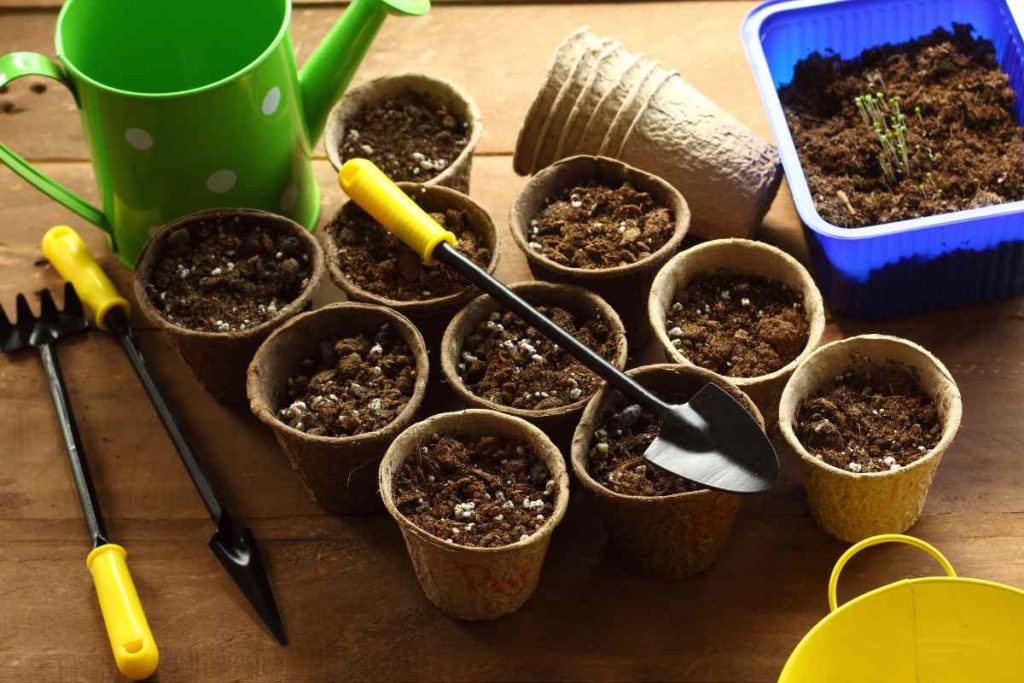
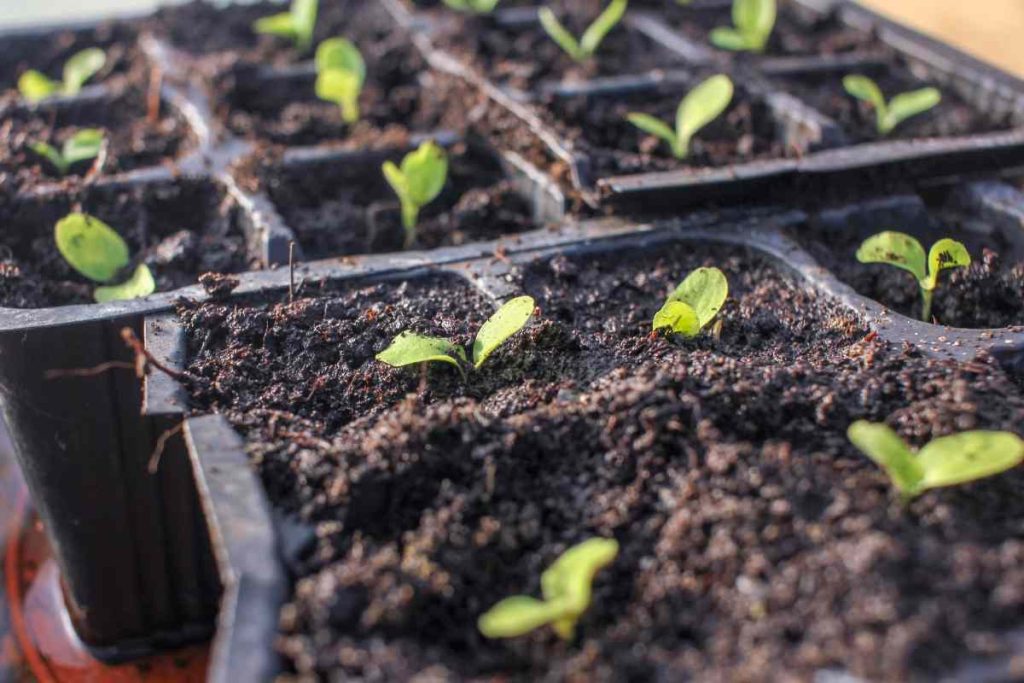
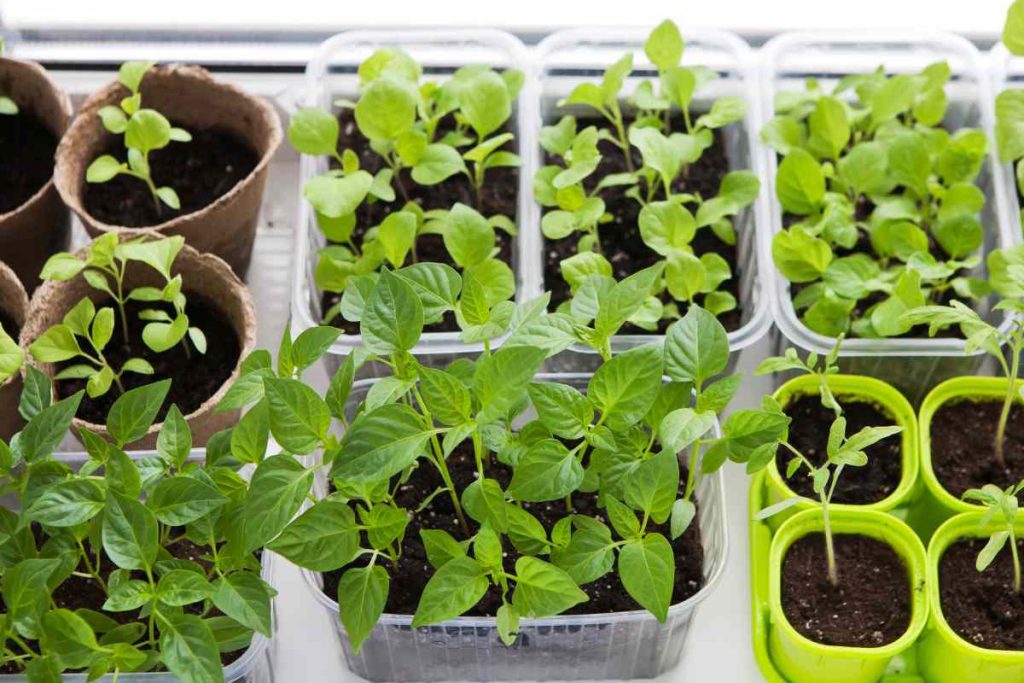
For many gardeners, starting seeds indoors is an essential step in the spring planting process. While planning what to start indoors and when, read the information available on germination and sprouting times. Some crops will produce better when they are given time to develop their roots indoors where they are protected from harsh weather. Vegetables like cauliflower, celery, and peppers all have roots that take longer to develop. Also, vegetables like tomatoes and eggplants are very vulnerable to the cold temperature swings of the early spring. It’s important to remember that although some do like to be started indoors, many seeds like peas and carrots are best directly sown into the ground as they don’t like their roots to be disturbed! Make sure to read your seed packets before you start them indoors. Select appropriate containers and seed-starting soil mix. The choice of what to use to start your seeds is almost endless. You can use seed starting trays, or peat pots which you can find at your local garden centre. It’s best to use a light seed starting soil that you can find at the garden centre. Start seeds in fresh, clean soil that has the right drainage and texture to give them their best start. Sow your seeds according to the package instructions and provide the necessary care, including proper temperature, light, and moisture levels. Find a place indoors that gets a lot of light, at least 12 hours of light is best to grow strong seedlings. Once the seedlings have grown strong, transplant them outdoors when the weather and soil conditions are favourable. Read more about starting your seeds indoors on our blog about germination.


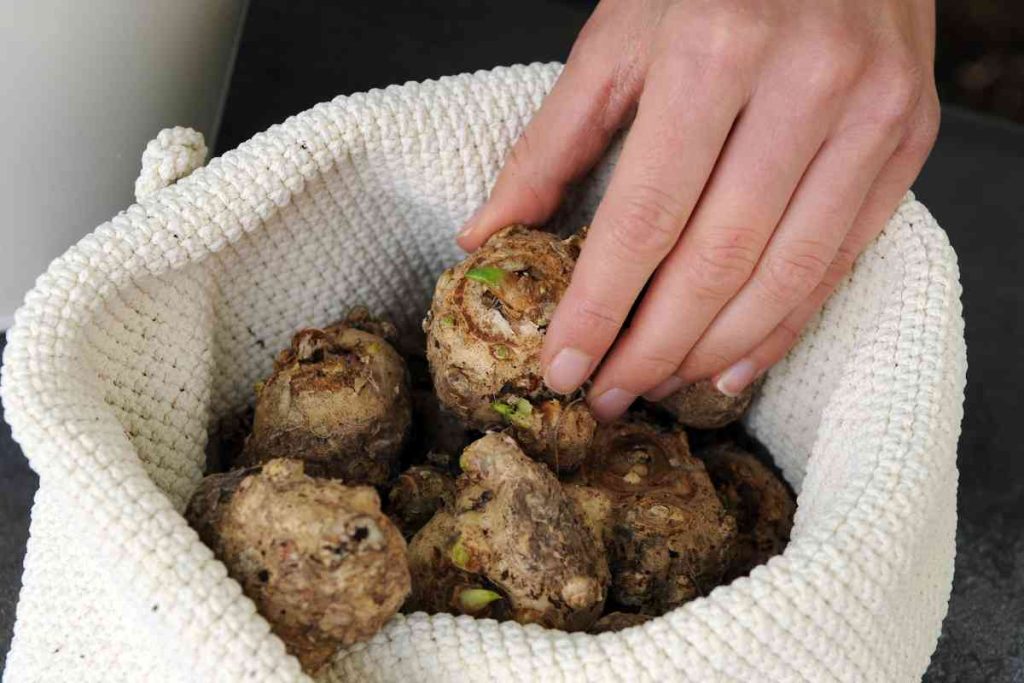
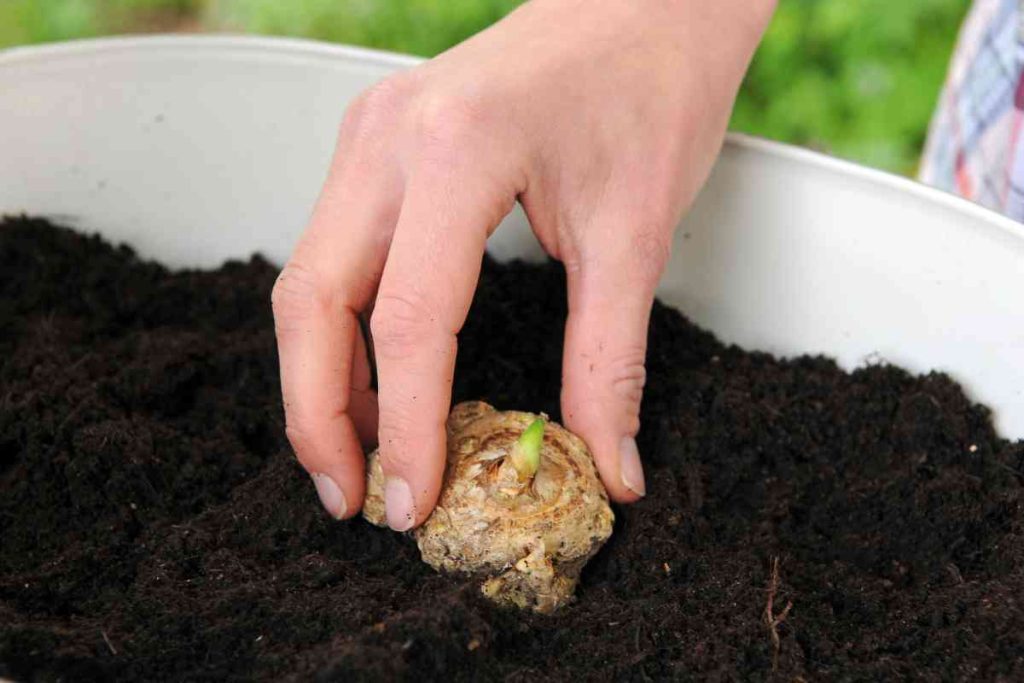
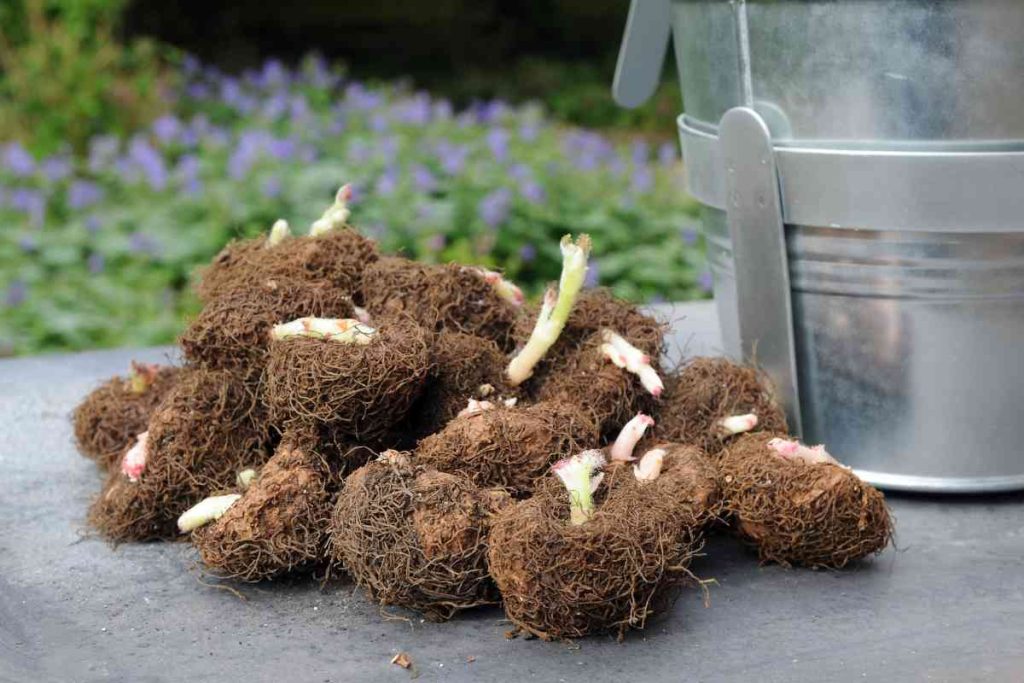
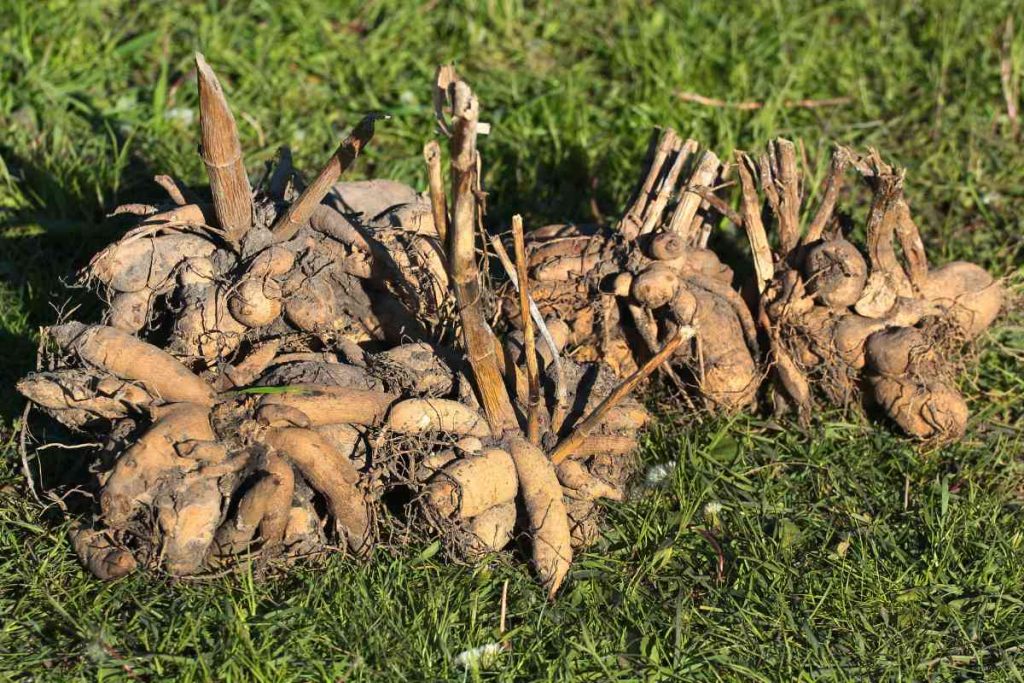
Starting Bulbs and Tubers Indoors
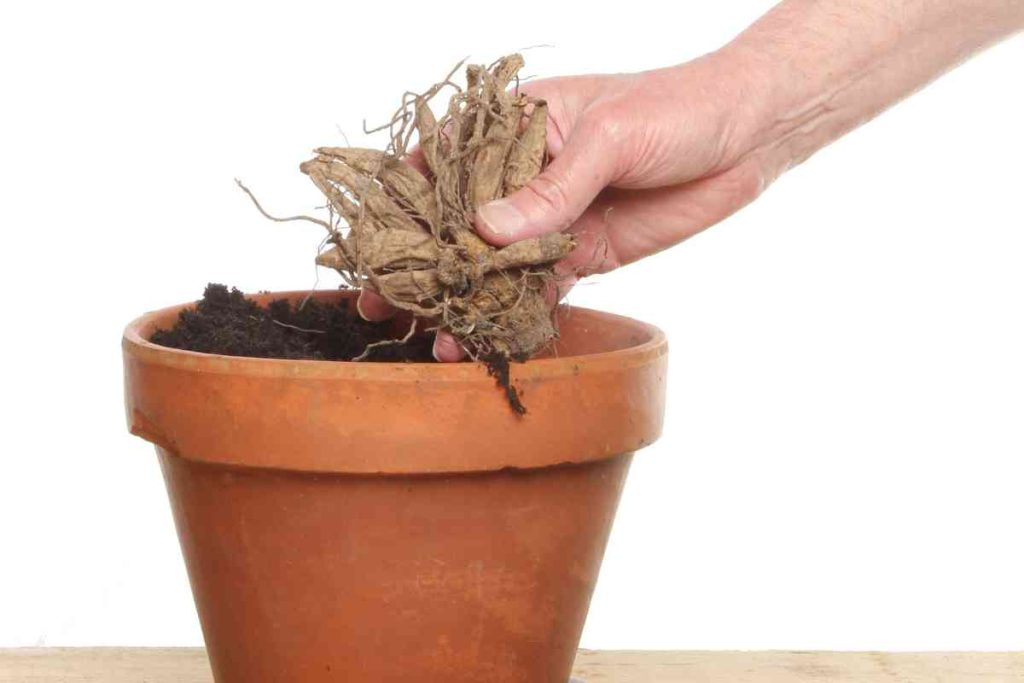
Spring is also the time to start your dahlias, callas, and begonias indoors. Check out our guide on starting dahlia and begonia tubers indoors. For starting calla rhizomes indoors, plant them 1-2 inches deep in a well-draining container, about 6 to 8 weeks before the last spring frost. Starting these plants indoors will give them a great head start towards success!
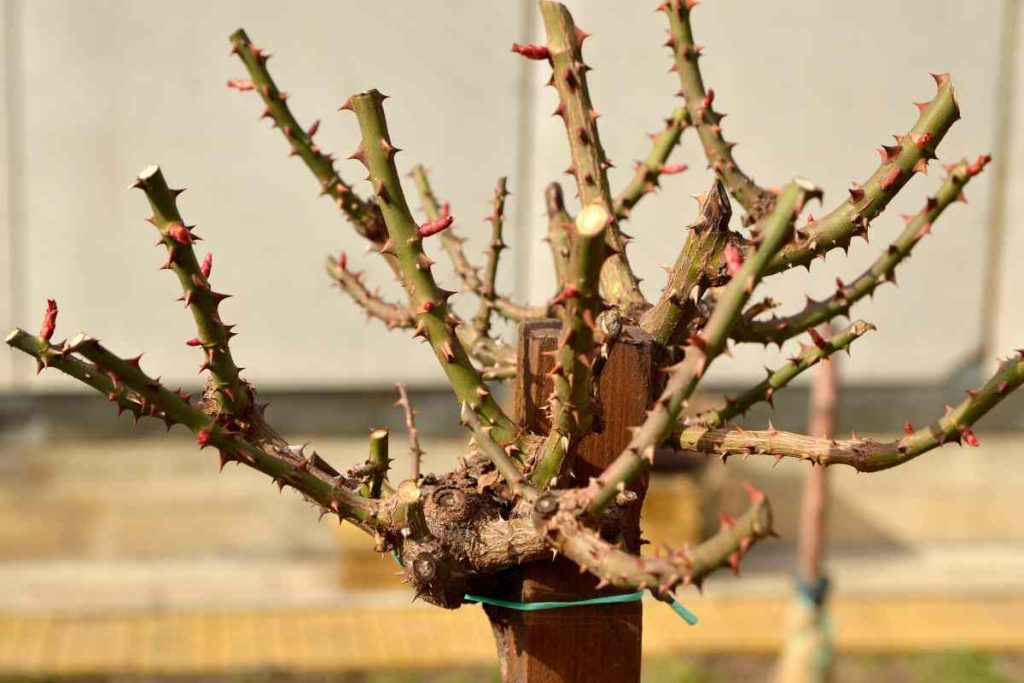
Taking Care of Roses
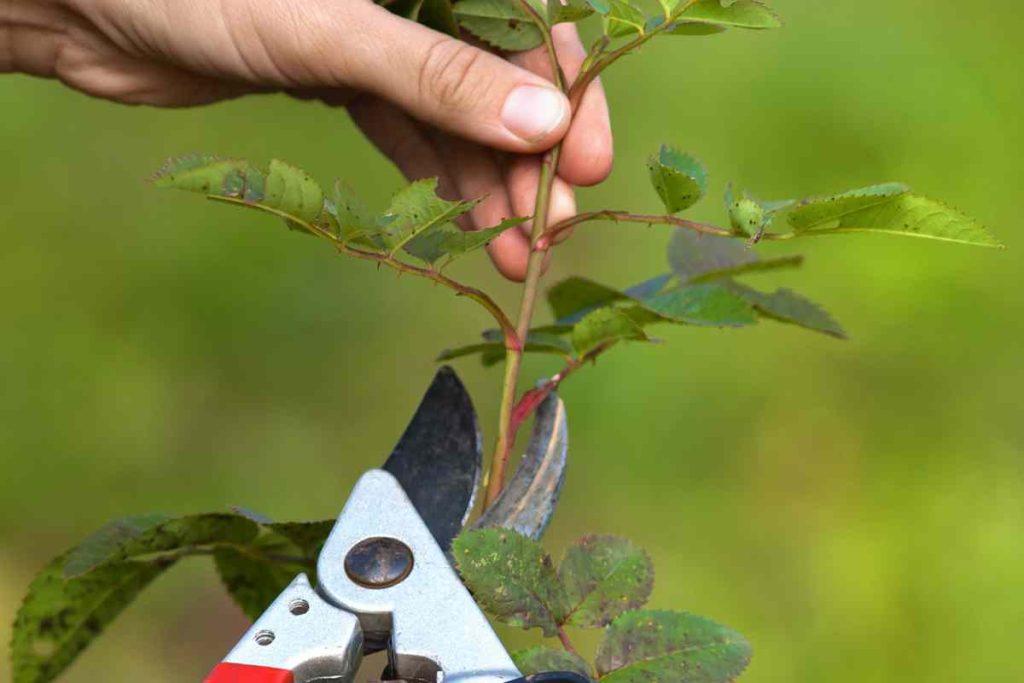
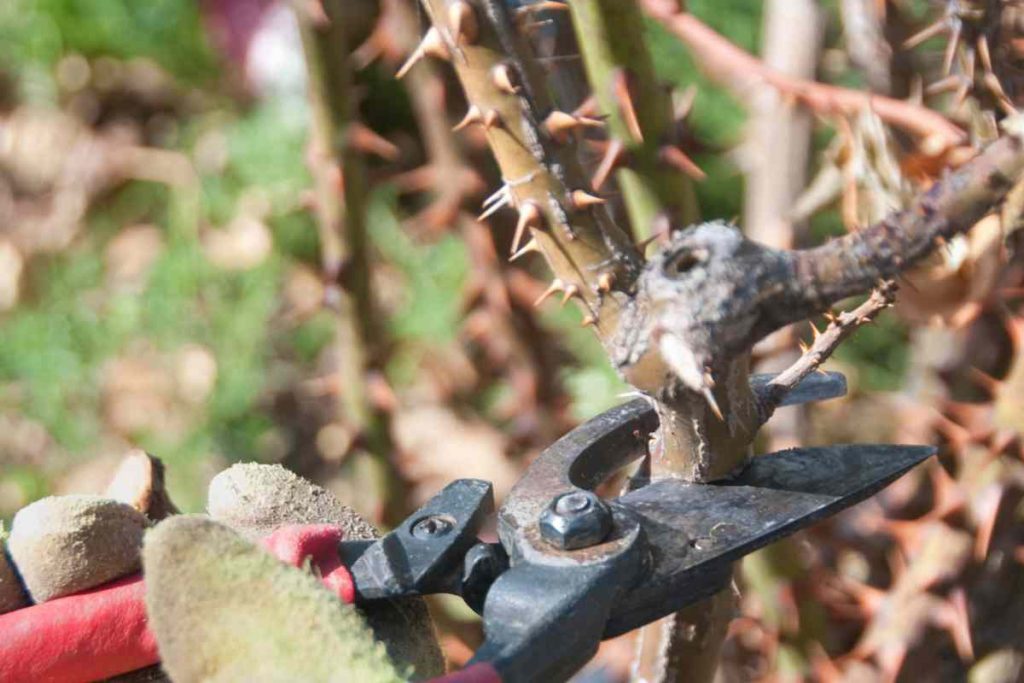
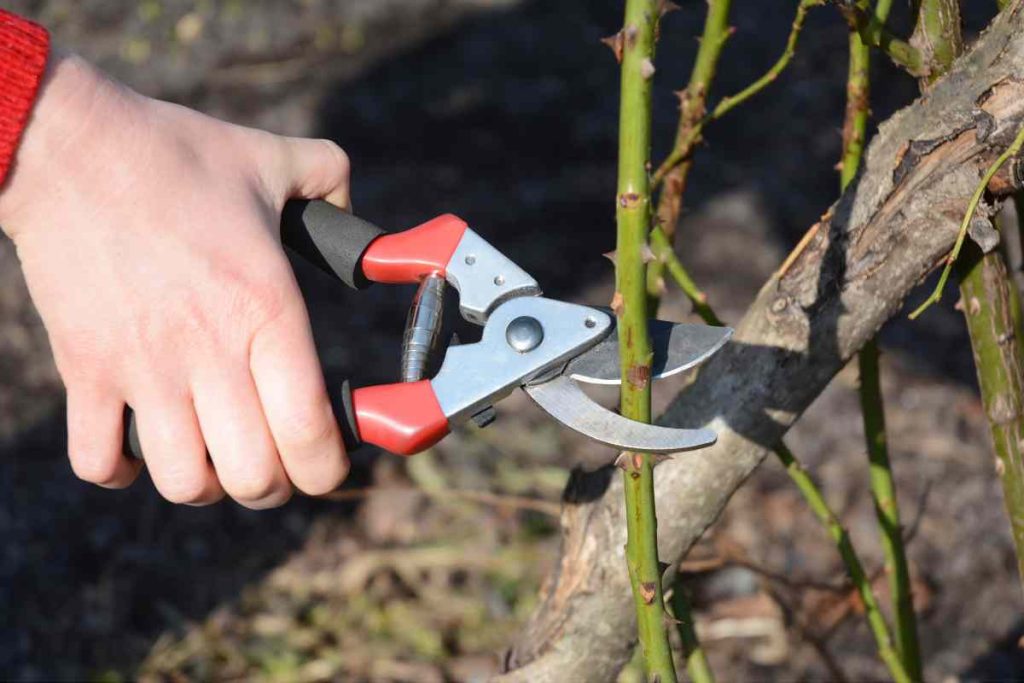
If you have roses in your garden, early spring is the ideal time to prune them. Remove dead or damaged wood and shape the plant to encourage healthy growth and abundant blooms. Proper pruning techniques promote air circulation, reduce the risk of disease, and maintain an attractive form for your roses. Proper spring preparation and attention to your roses will pay off! You will be blessed with gorgeous blooms come summer. For detailed information on how to properly prune your roses, check out our blog complete with helpful graphics so you will know exactly where to trim your roses.
Preparing your garden for spring planting can be quite exciting. Following these essential steps will create a welcoming environment for your plants to thrive. Remember, gardening is a journey that requires care, attention, and time. Embrace the process, learn from your experiences, and enjoy the beautiful results that the spring season brings. Happy gardening!