How to Grow, Overwinter, and Split Dahlia Tubers
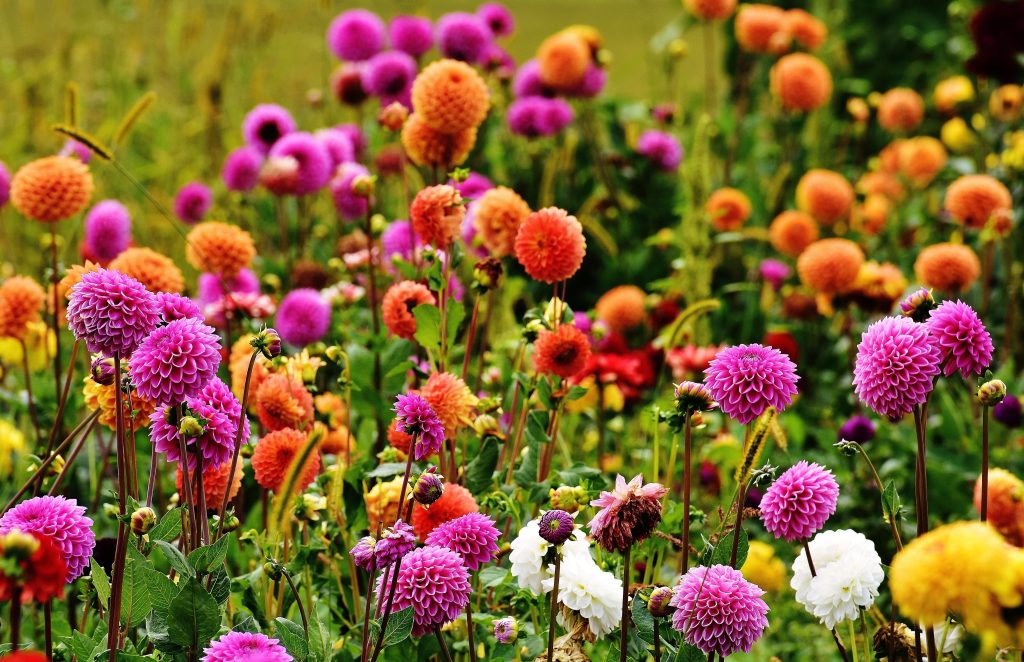
Dahlias are one of the most popular summer flowers. With hundreds of different colours, shapes, and sizes, it’s easy to see why people love dahlias. You can enjoy your favourite varieties year after year with some mindful attention during the growing season and aftercare in overwintering your dahlia tubers. Dahlias are great for a cut flower garden, giving you the ability to produce masses of amazing bouquets and arrangements! Plant several varieties and your neighbours will be in awe of the colours and shapes on display!
Table of Contents
Types of Dahlias
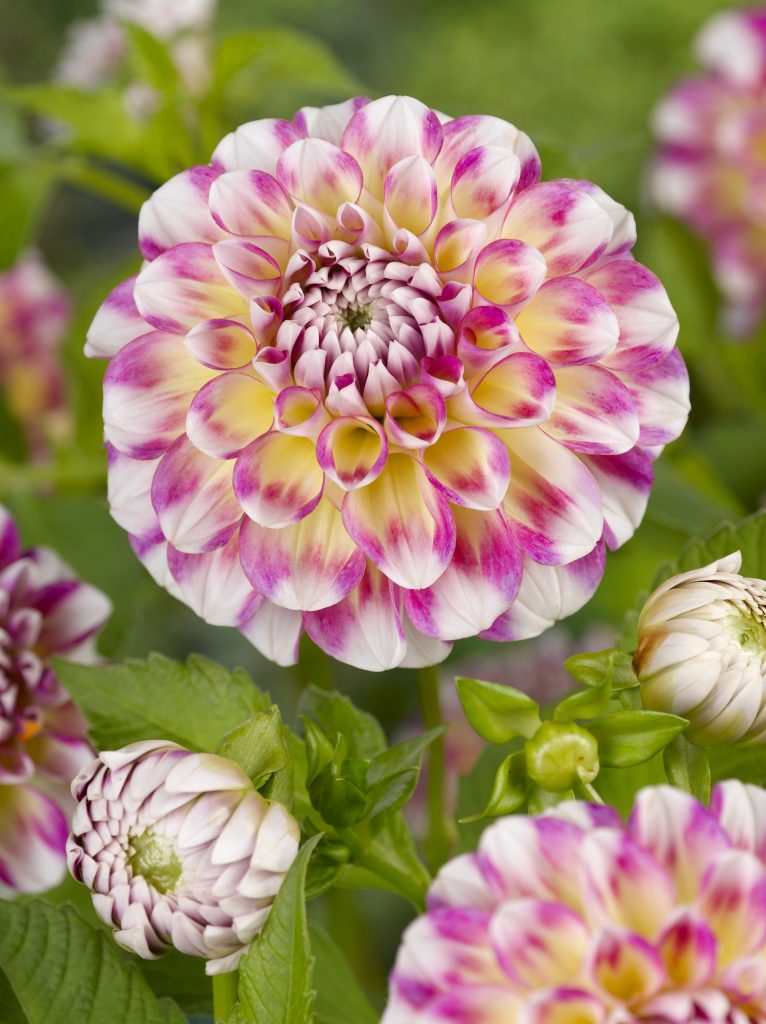
Each dahlia variety, no matter the size or shape, has its own unique draw. There are amazing shapes of dahlia blooms with the most popular being: decorative, cactus, fringed, ball, pompon, anemone, collarette and mignon. Plant a range of bloom shapes to enjoy the contrast which is a must for any garden design! The bloom sizes are also categorized from AA-giant (over 10” across), A-large (8-10” across), B-medium (6-8” across), BB-small (4-6” across) and M-miniature (under 4” across).
Dinnerplate Dahlias
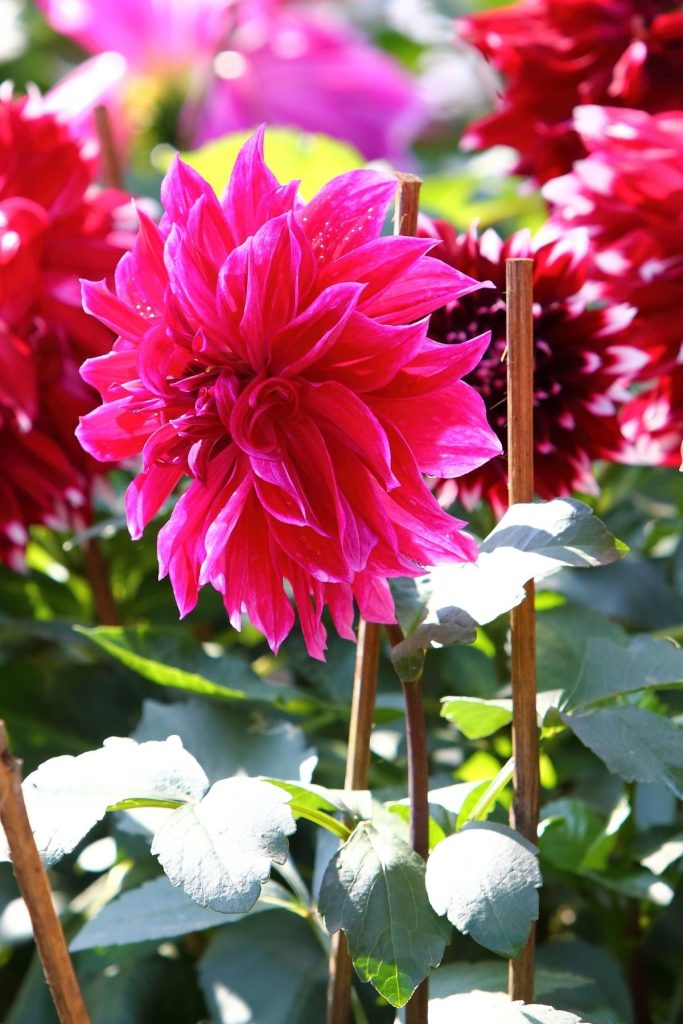
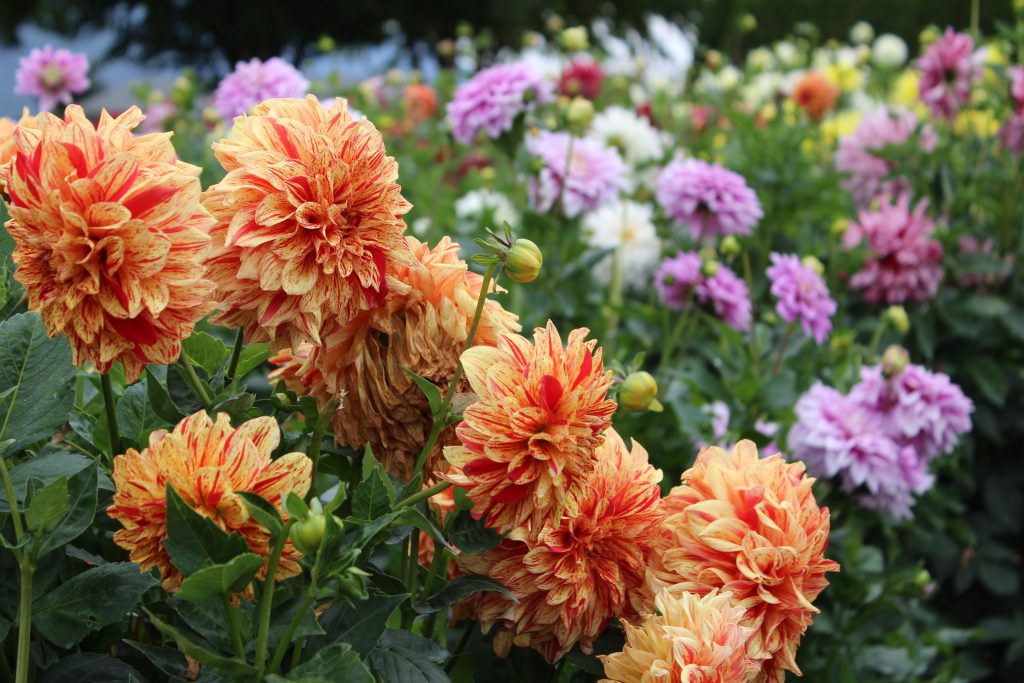
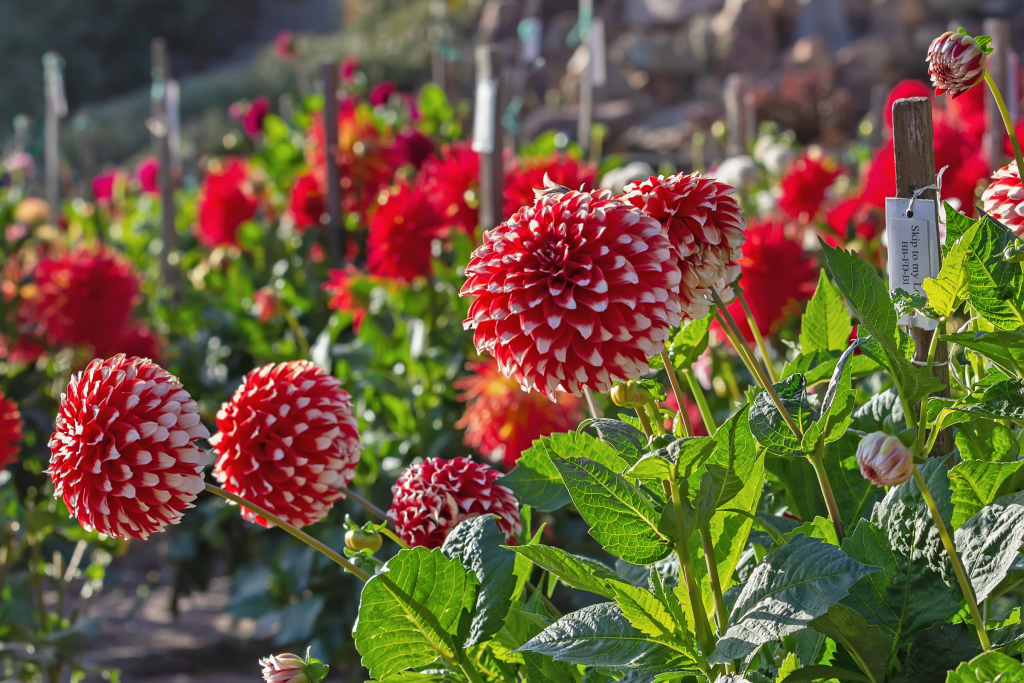
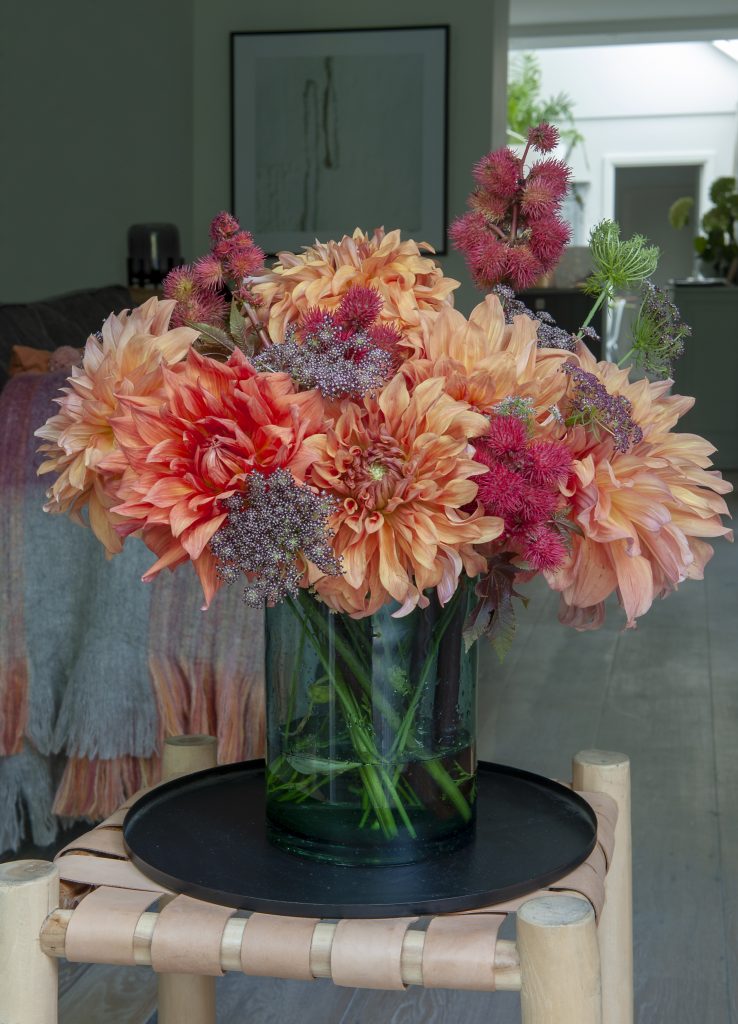
Giant dinnerplate dahlias create a big ‘wow factor’. These flowers produce a stunning focal point with blooms growing up to 10” across! A favourite giant dinnerplate sized decorative dahlias is Tartan. Featuring intense burgundy and bright white striped blooms, this spectacular bloom grows to a height of 100 cm (40”) and boasts blooms of 10”! Dinnerplate dahlias are a very popular variety due to their enormous size. They put huge masses of blooms on showcase throughout the summer to late fall. One of the most notable large dinnerplate sized decorative dahlias is Café au Lait. With colours reminiscent of a comforting warm latte, this dinnerplate dahlia with its creamy blooms is a favourite in the garden. Café au Lait grows to a spectacular height of 110 cm (44”) and grows gorgeous 8” blooms.
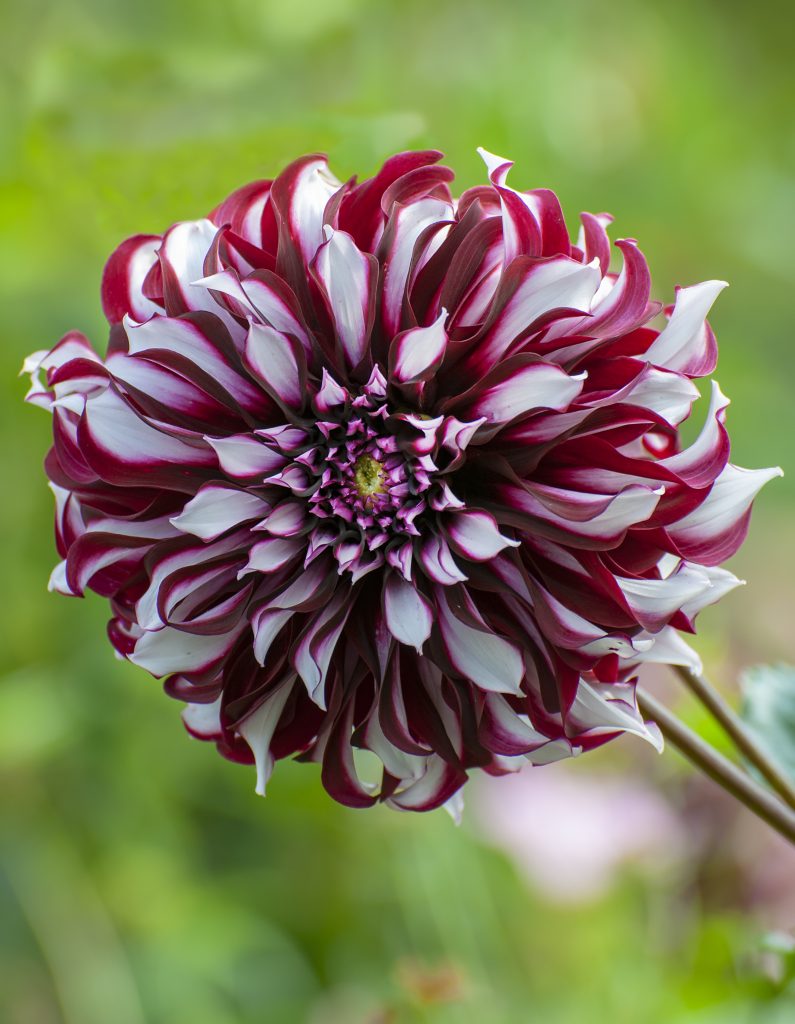
Dahlia Dinnerplate Tartan 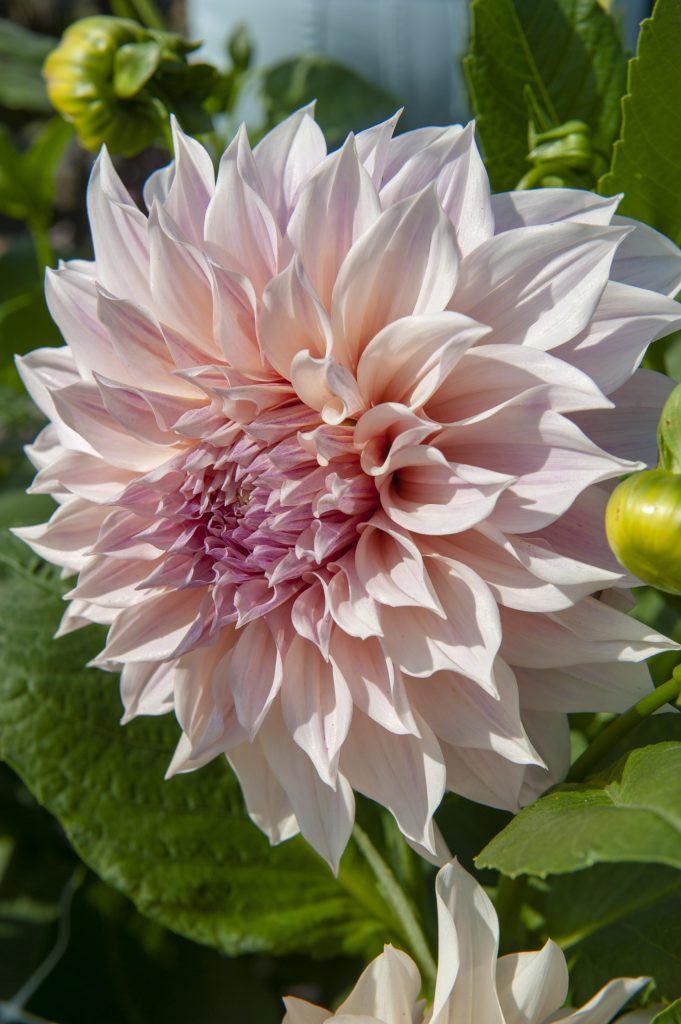
Dahlia Dinnerplate Cafe au Lait 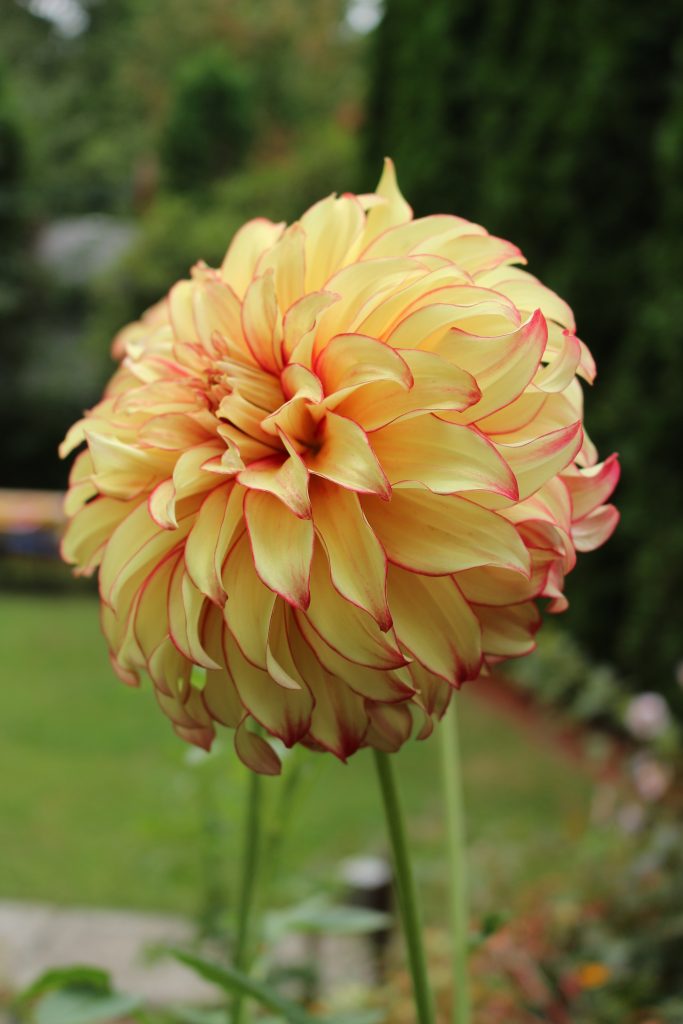
Dahlia Dinnerplate Lady Darlene 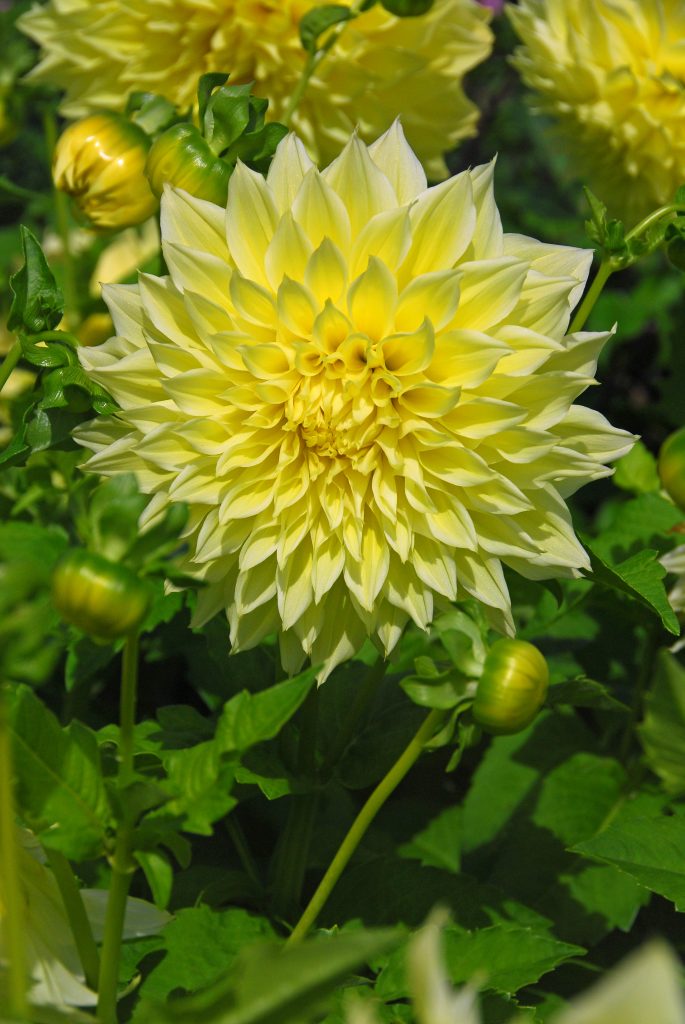
Dahlia Dinnerplate Kelvin Floodlight 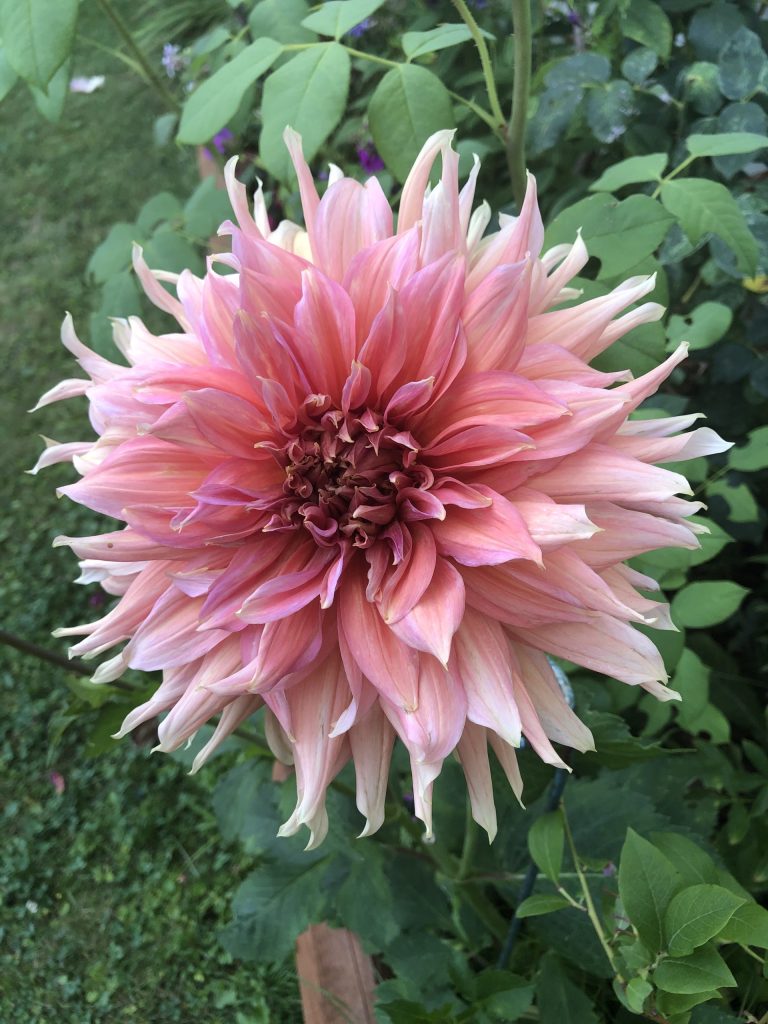
Dahlia Dinnerplate Fairway Spur
Fringed and Cactus Dahlias
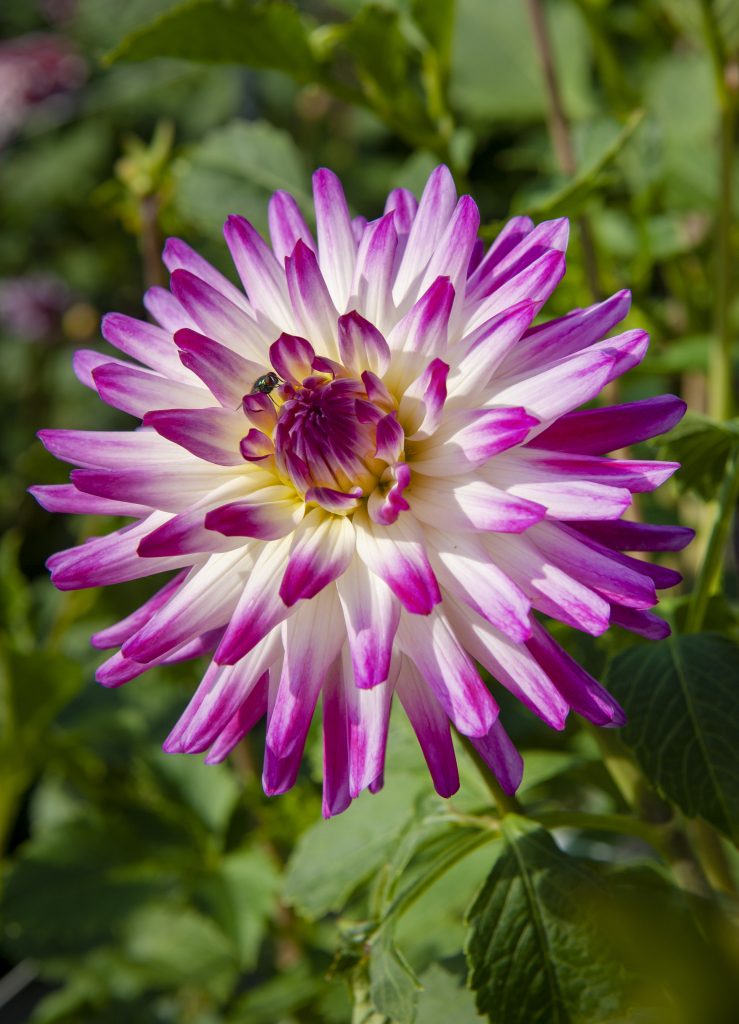
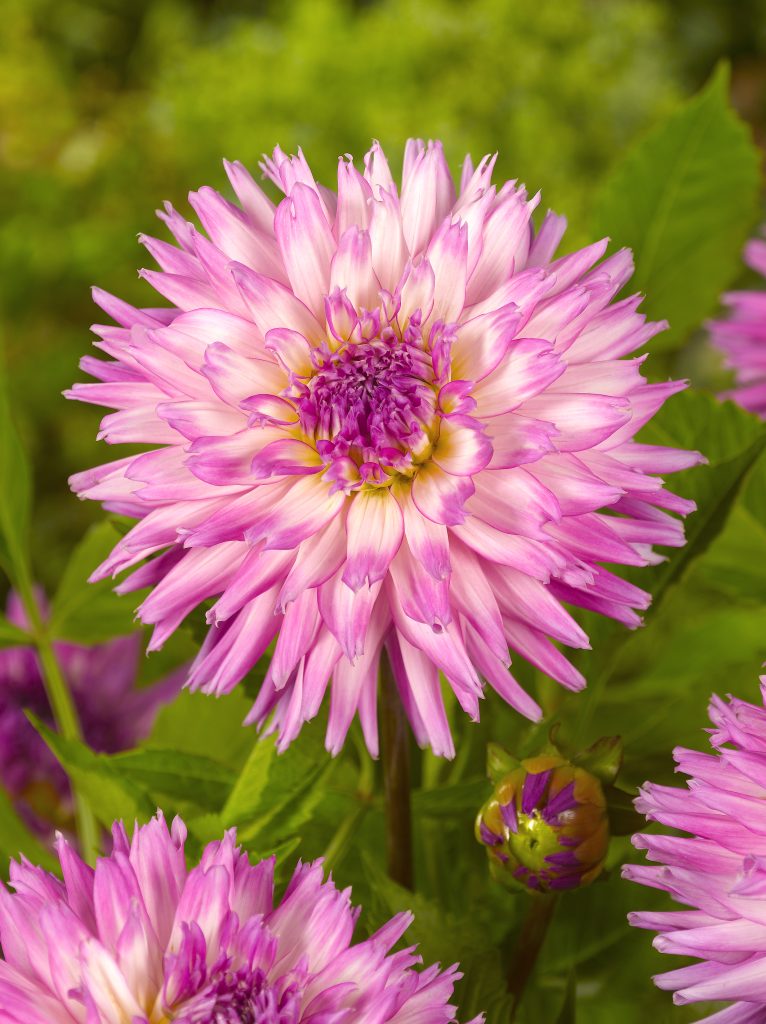
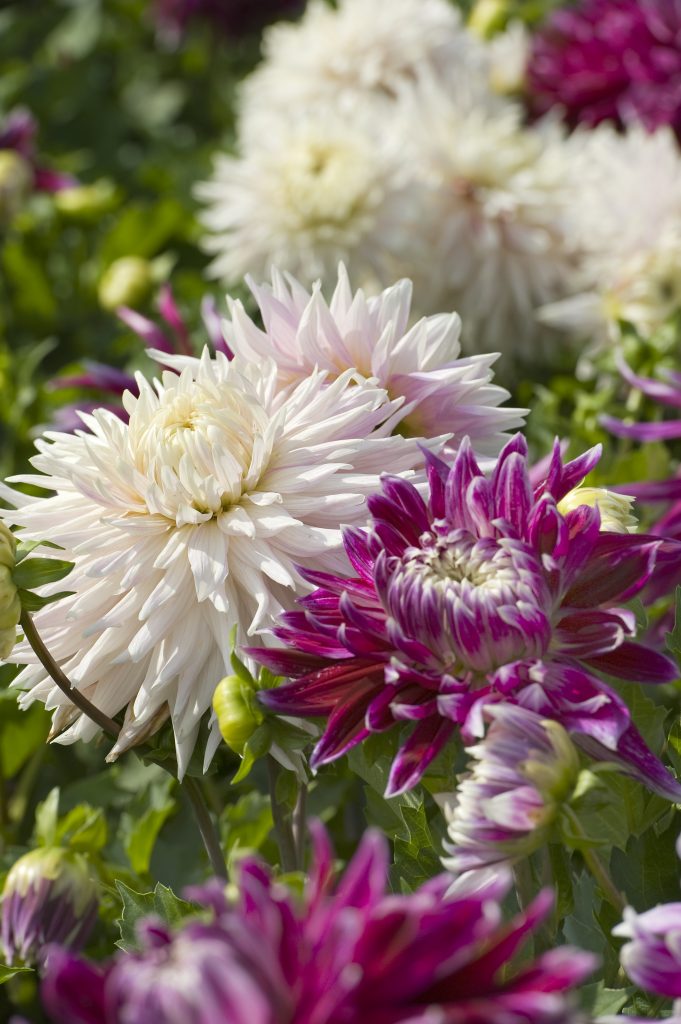
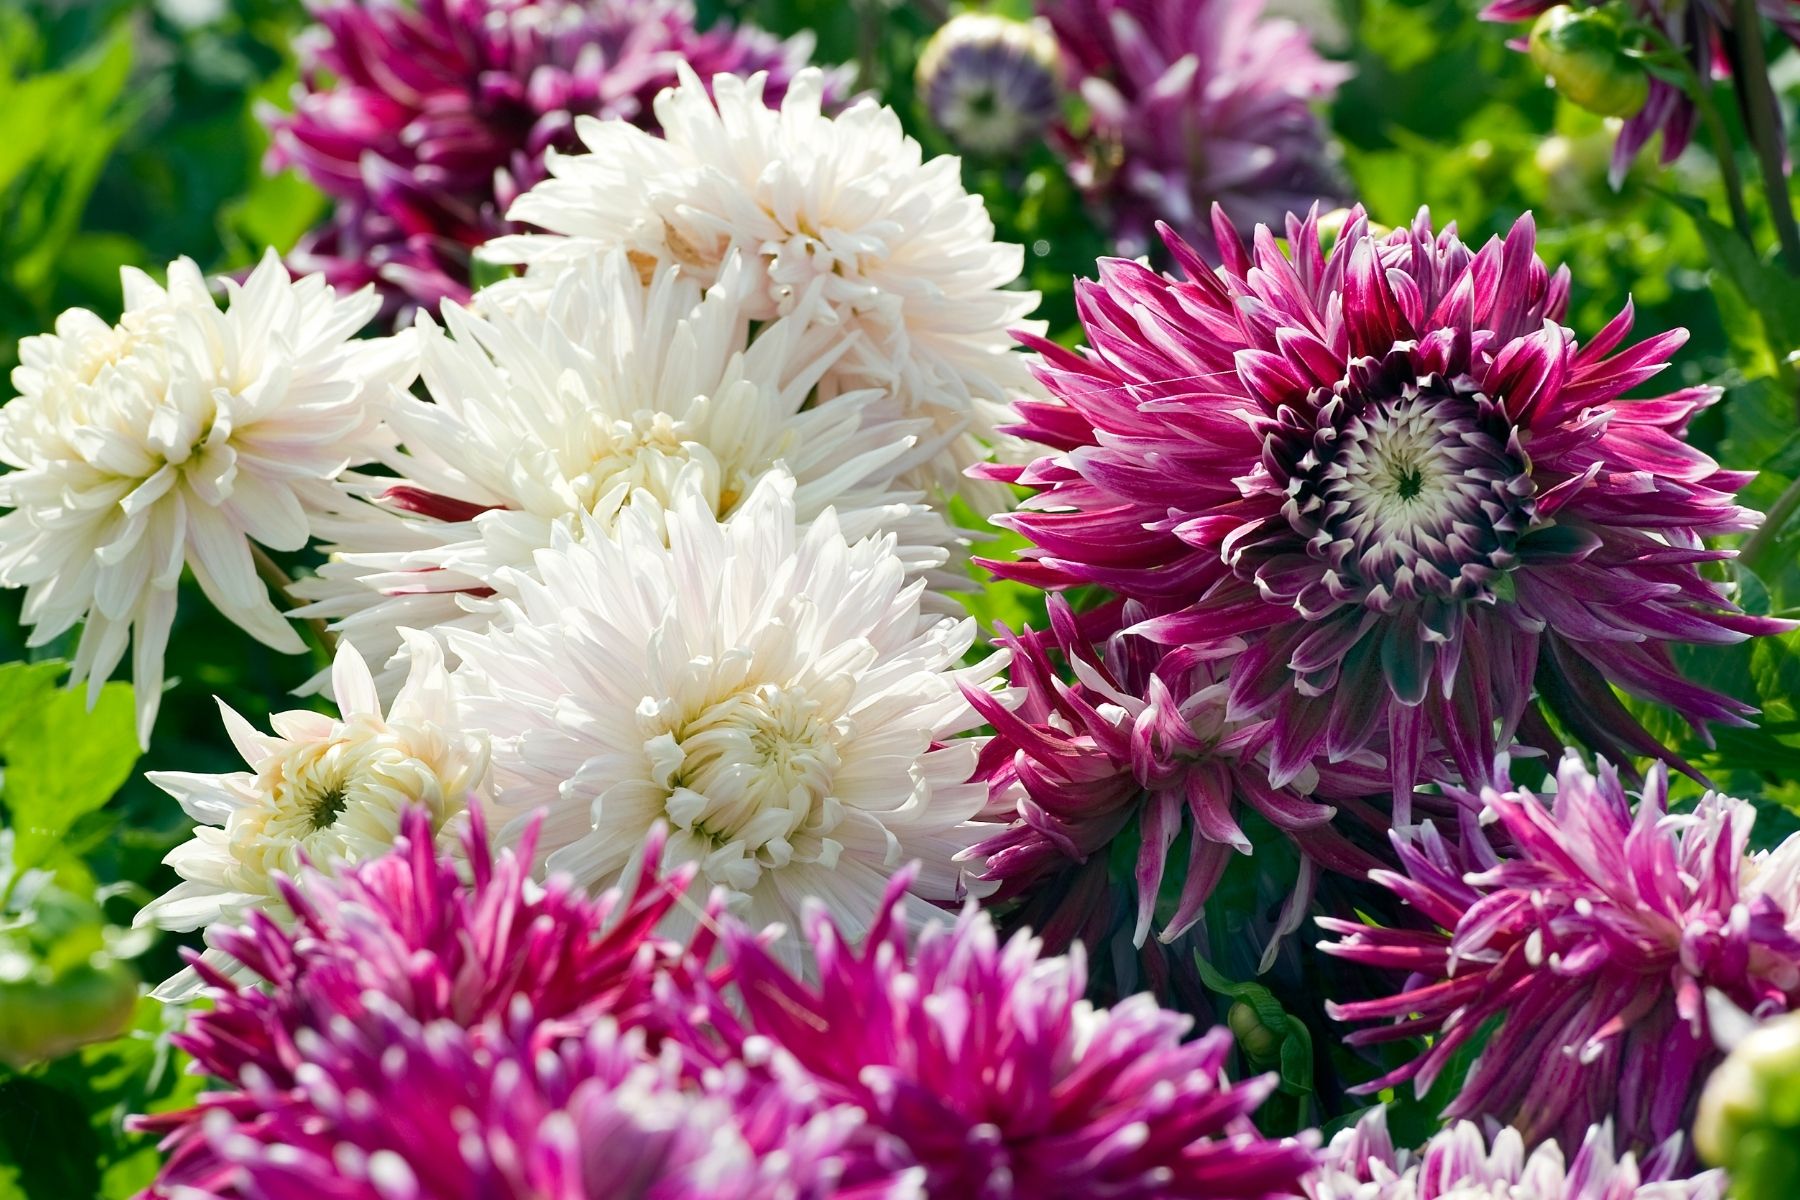
Fringed and cactus dahlias are playful blooms with unique petals. With blooms sporting spikes or split petals, these dahlias are fun and showcase a delightful display of whimsy. Firebird is a bright and showy cactus dahlia of bold red and bright yellow. The 6” blooms, this dahlia will add drama and delight to any cut flower bouquet. A favourite fringed dahlia for the garden is Tsuki Yori donning wild white blooms, it is a terrific contrast to the vibrantly coloured dahlias.
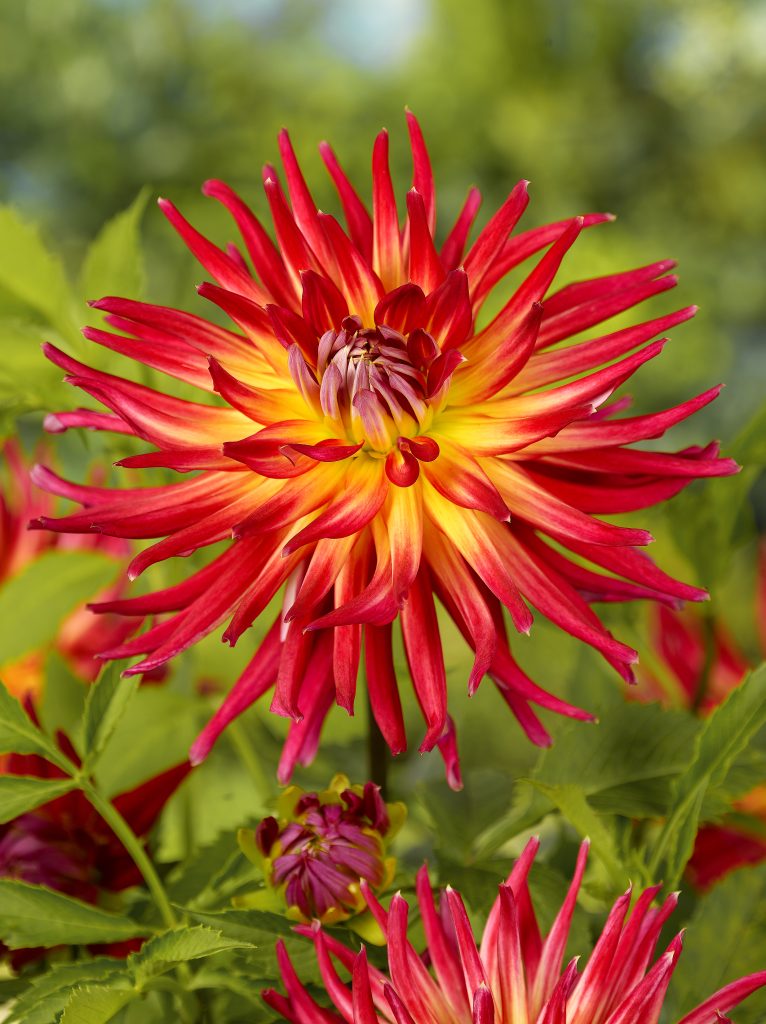
Dahlia Cactus Bora Bora 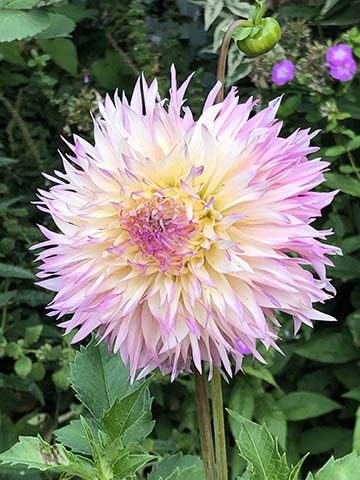
Dahlia Fringed Nadia Ruth 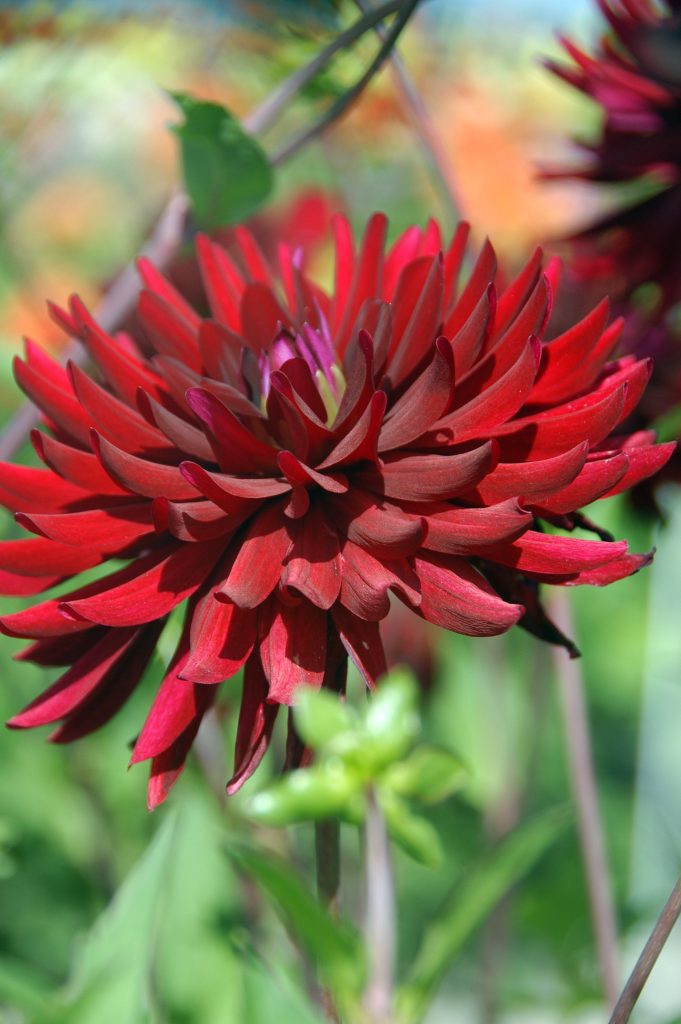
Dahlia Cactus Chat Noir 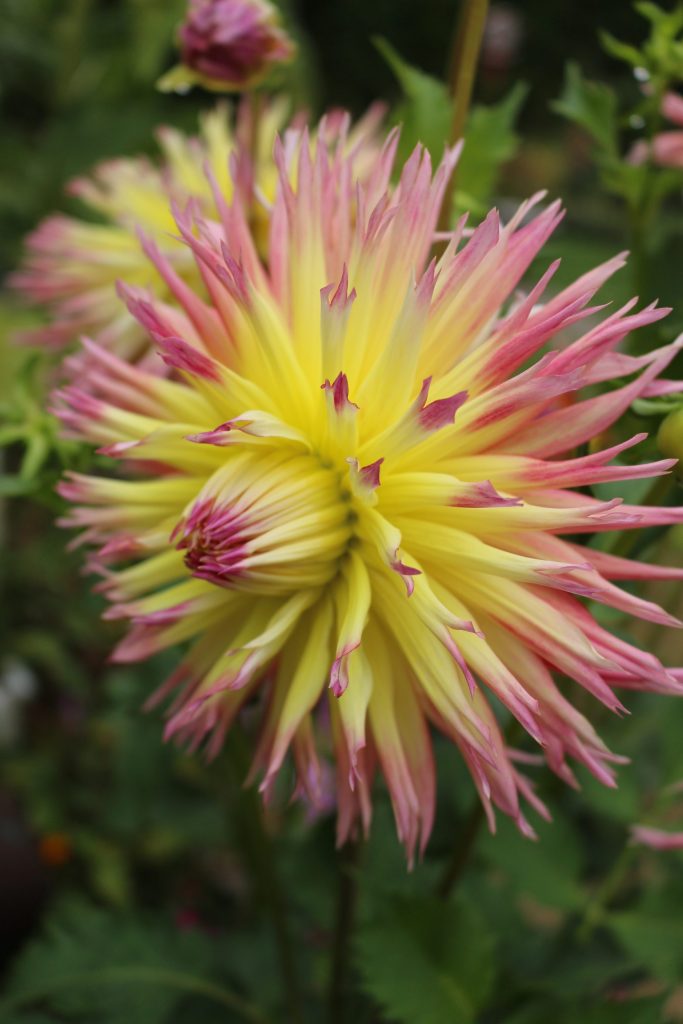
Dahlia Fringed Lindsay Michelle 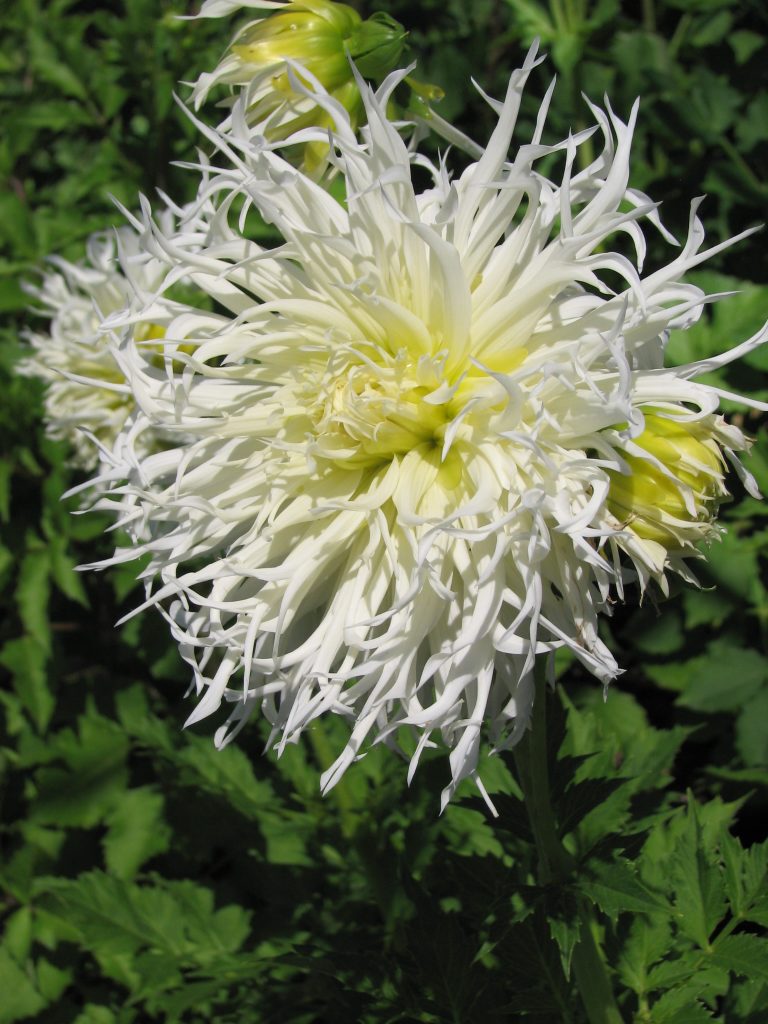
Dahlia Fringed Tsuki Yori
Ball Dahlias
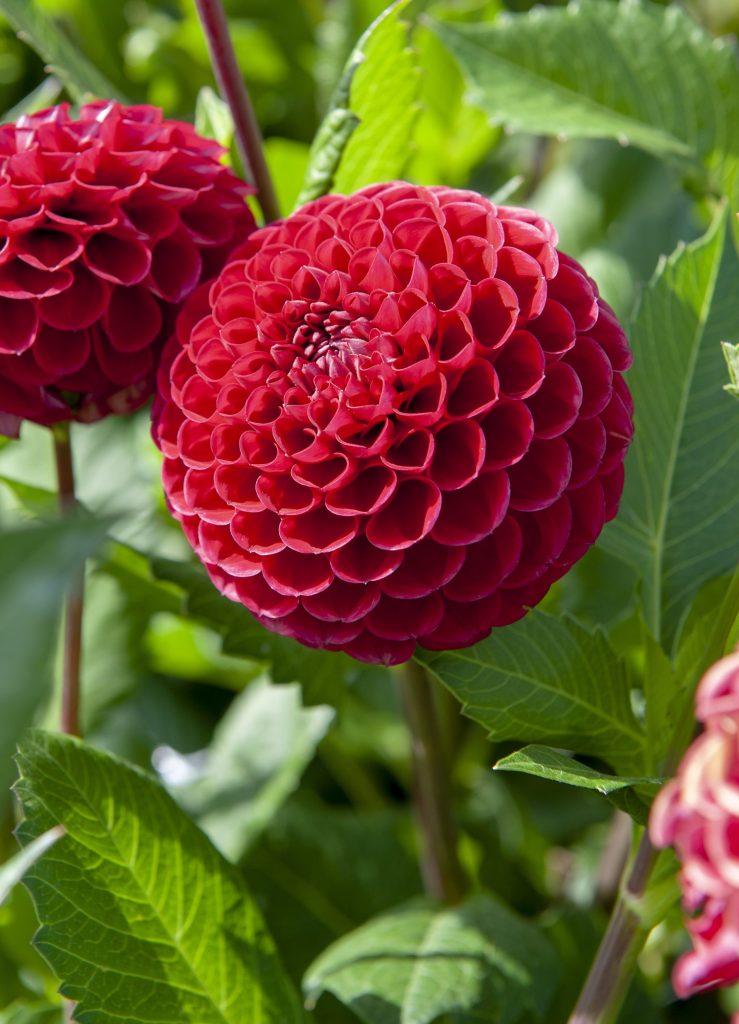
The tight, uniformity of ball dahlias adds elegance to the garden. The precision of the petal placement to create the ball structure is a sight to behold. Ball dahlias produce masses of blooms all summer long, which makes them a favourite for cut flowers. Cornel Bronze is an excellent example of the attractiveness and grace of a ball dahlia. Perfectly structured, this glowing peach dahlia with 3” blooms, is great for adding variety to bouquets.
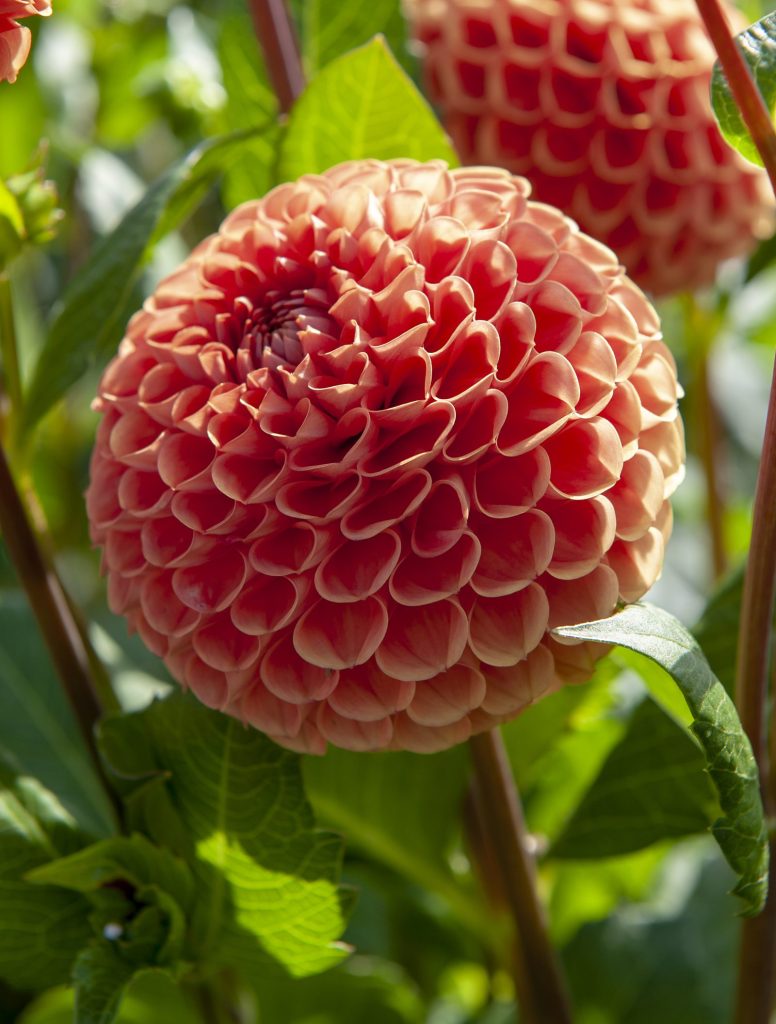
Dahlia Ball Cornel Bronze 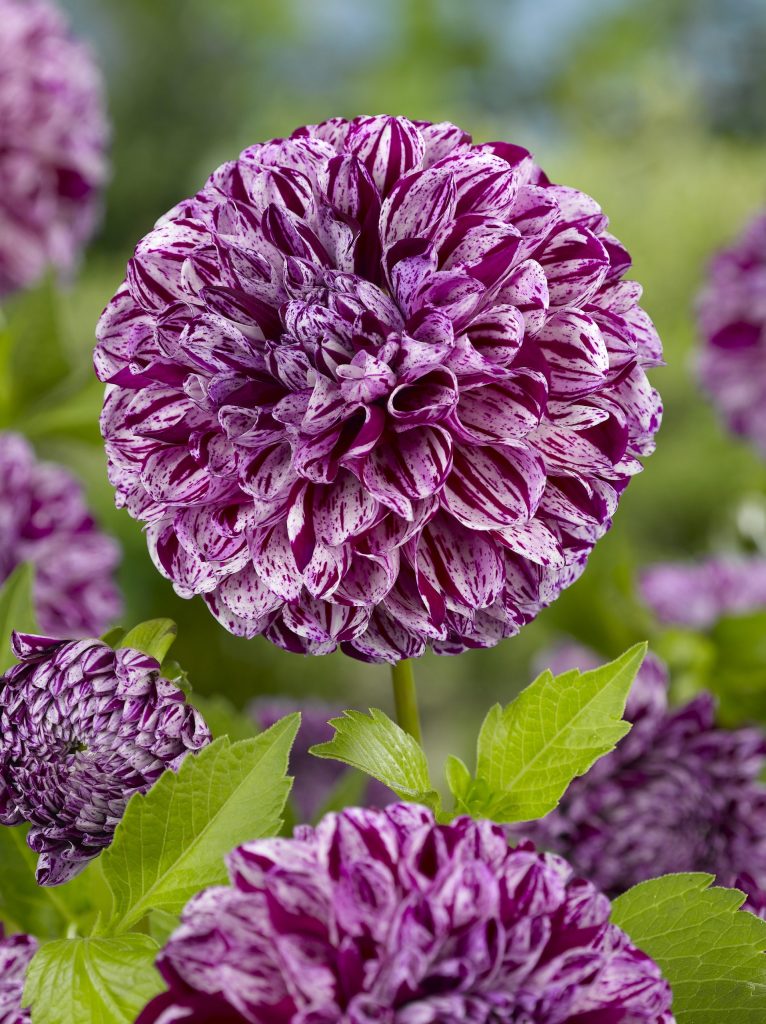
Dahlia Ball Marble Ball 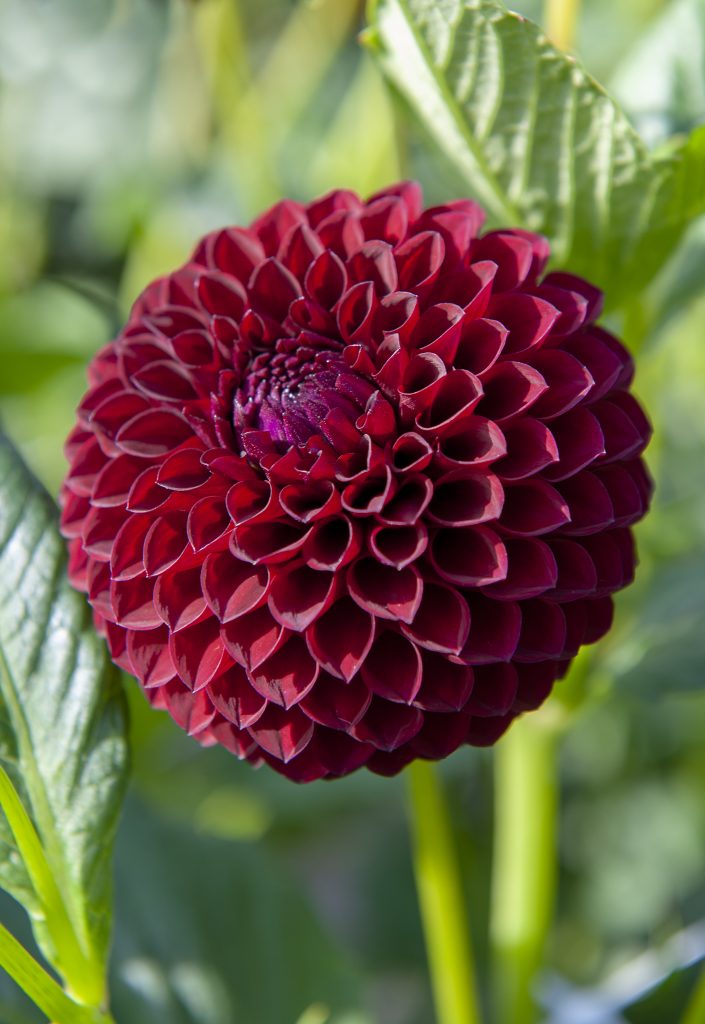
Dahlia Ball Pom Pon Viking 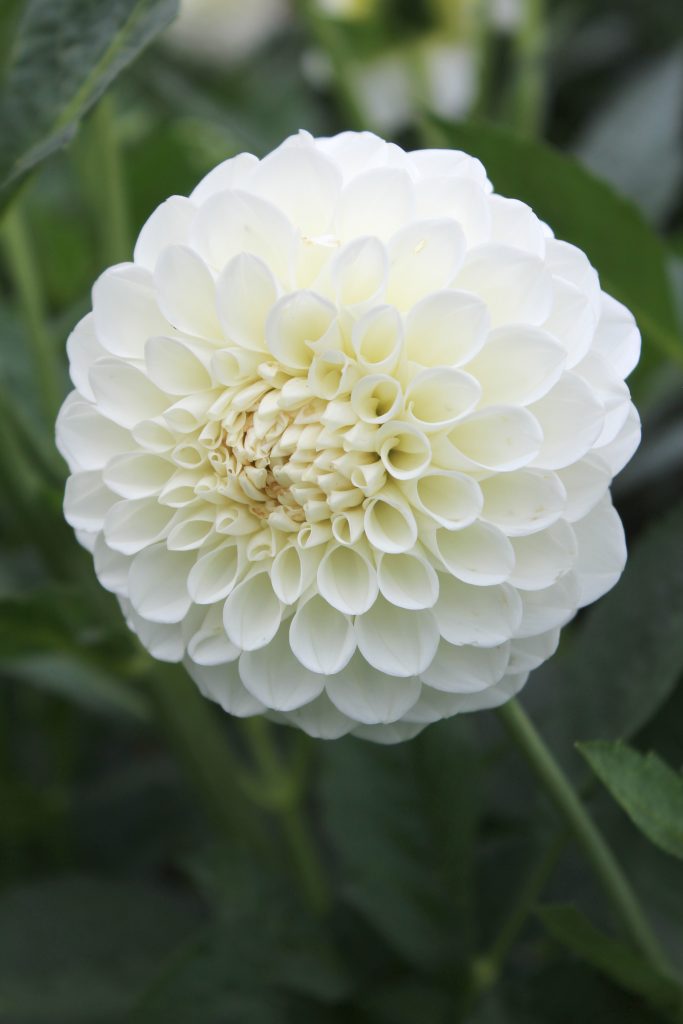
Dahlia Ball Petras Wedding 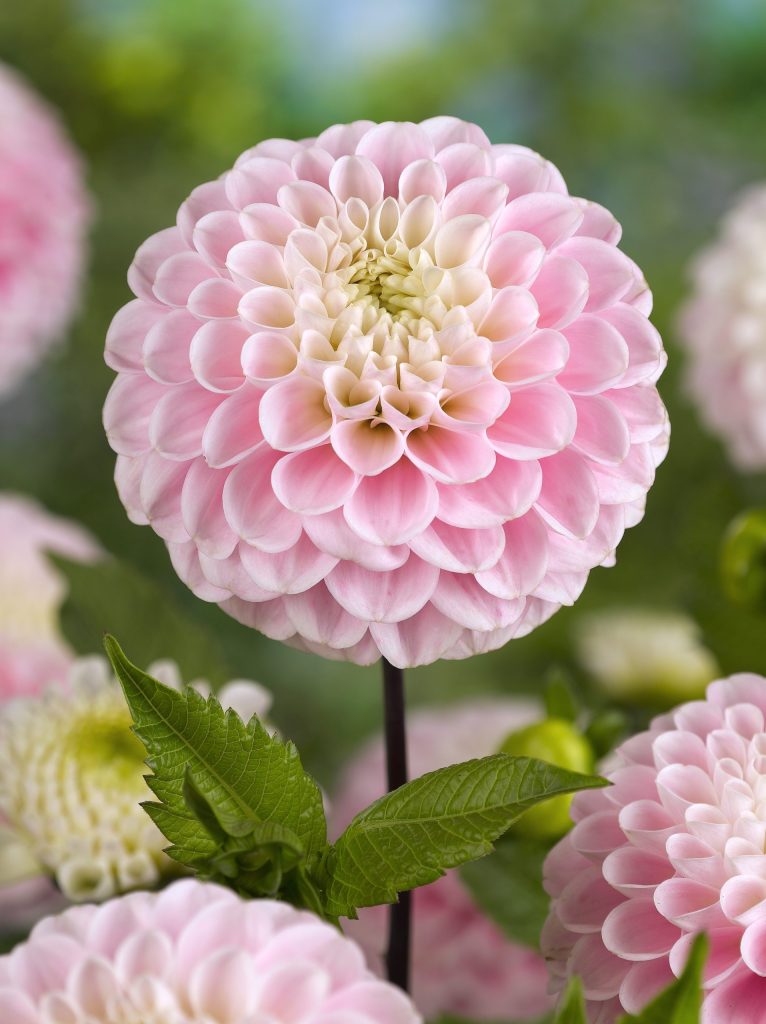
Dahlia Ball Wizard of Oz
Anemone Dahlias
Anemone dahlias are a fun and unique variety. Featuring an outer ring of flat petals surrounding a pincushion-type centre. Dahlia Anemone Poodle Skirt is a fun dahlia to add to the garden, featuring a whimsical poofy deep purple wine centre surrounded by lavender-pink petals. Poodle Skirt’s florets grow to a width of 3”, with a plant height of 90 cm (36”).
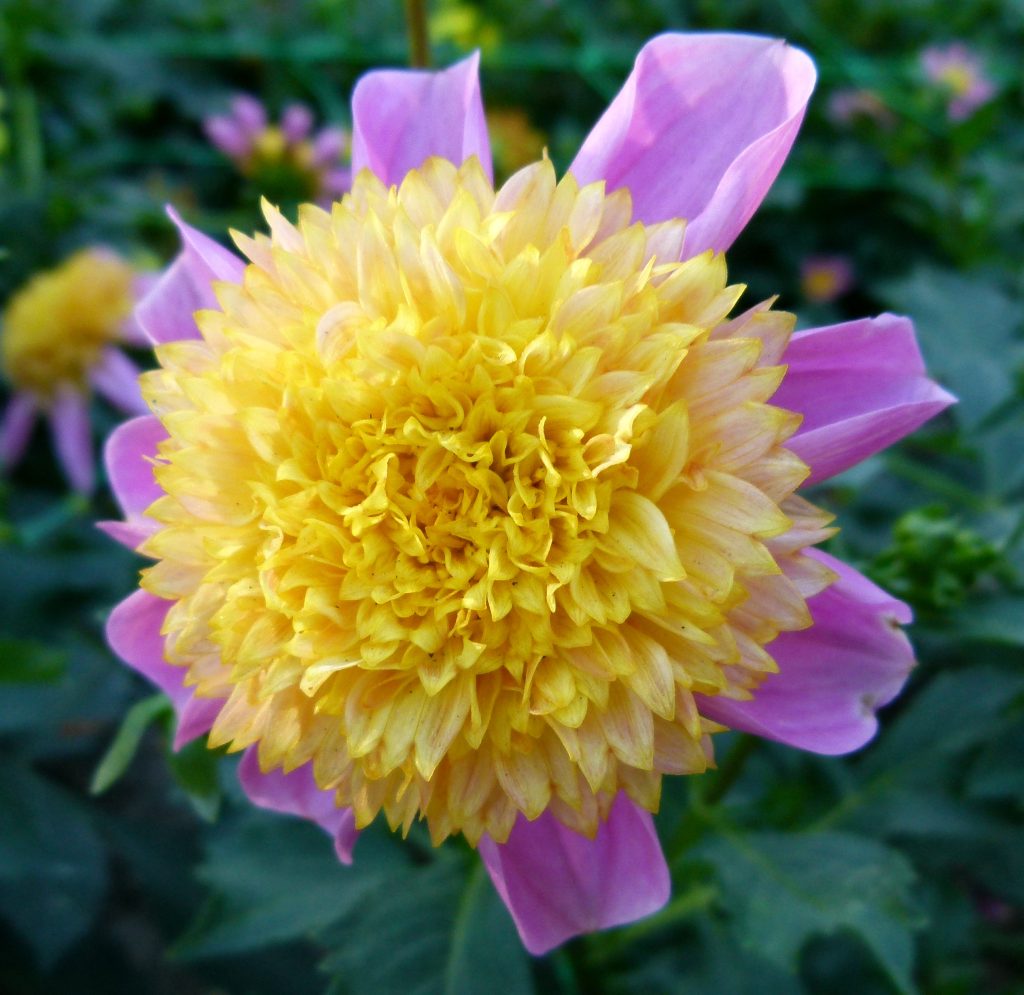
Dahlia Anemone 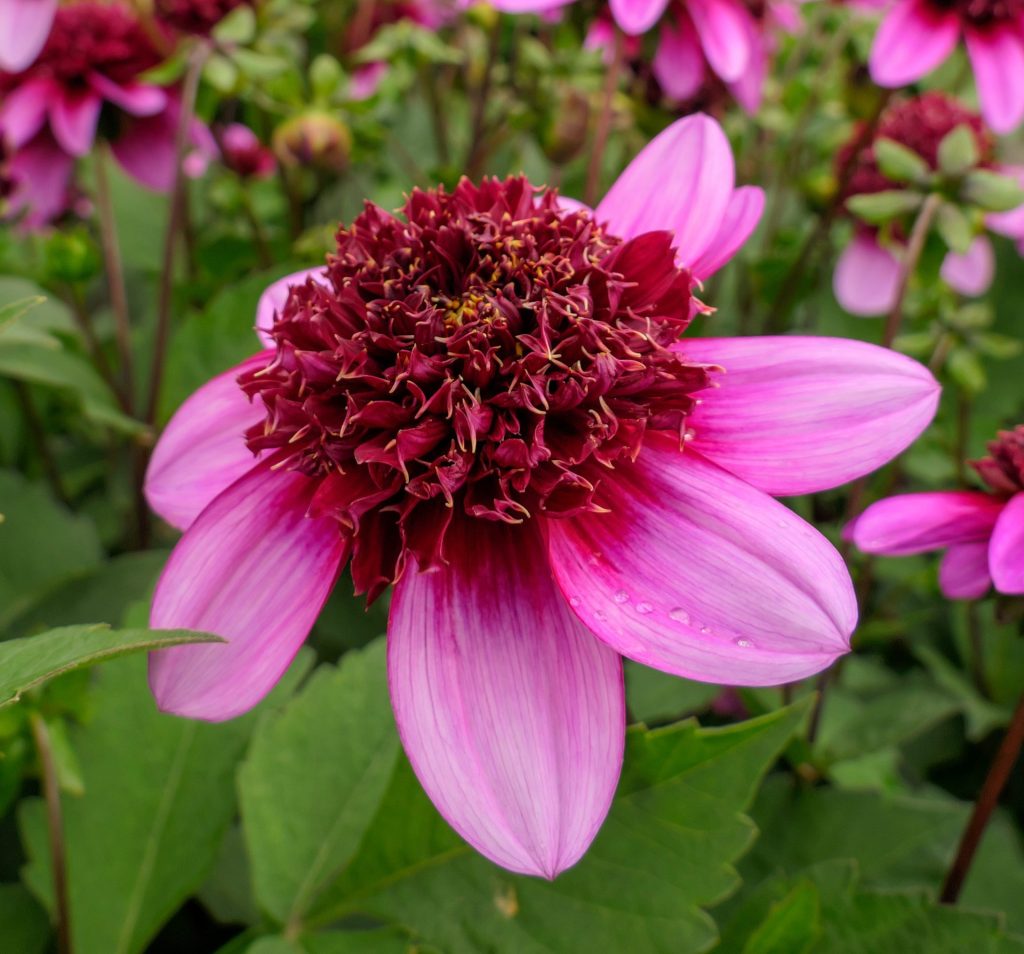
Dahlia Anemone Poodle Skirt
Mignon Dahlias
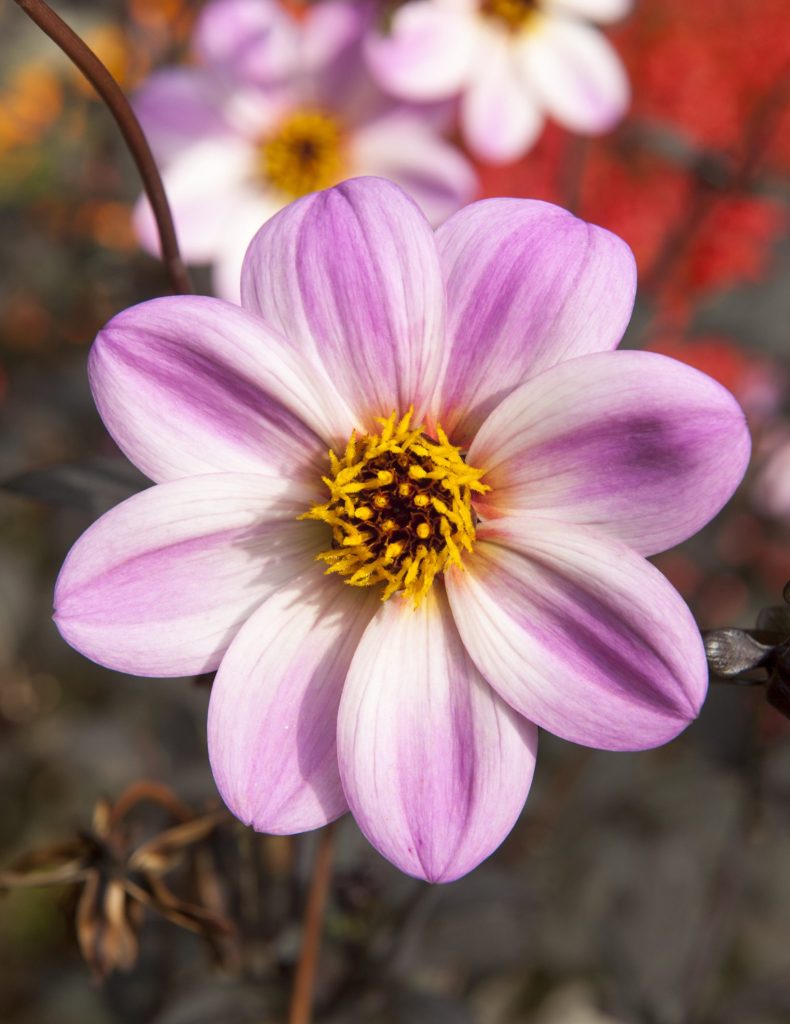
Welcome pollinators into your dahlia garden with Mignon dahlias. Their flowers feature no more than two rows of petals and open blooms giving perfect access to bees and butterflies. Liquid Desire is a well-known favourite Mignon dahlia. Great for mixed borders and containers, this dahlia with 3” blooms features deep red petals fading to white.
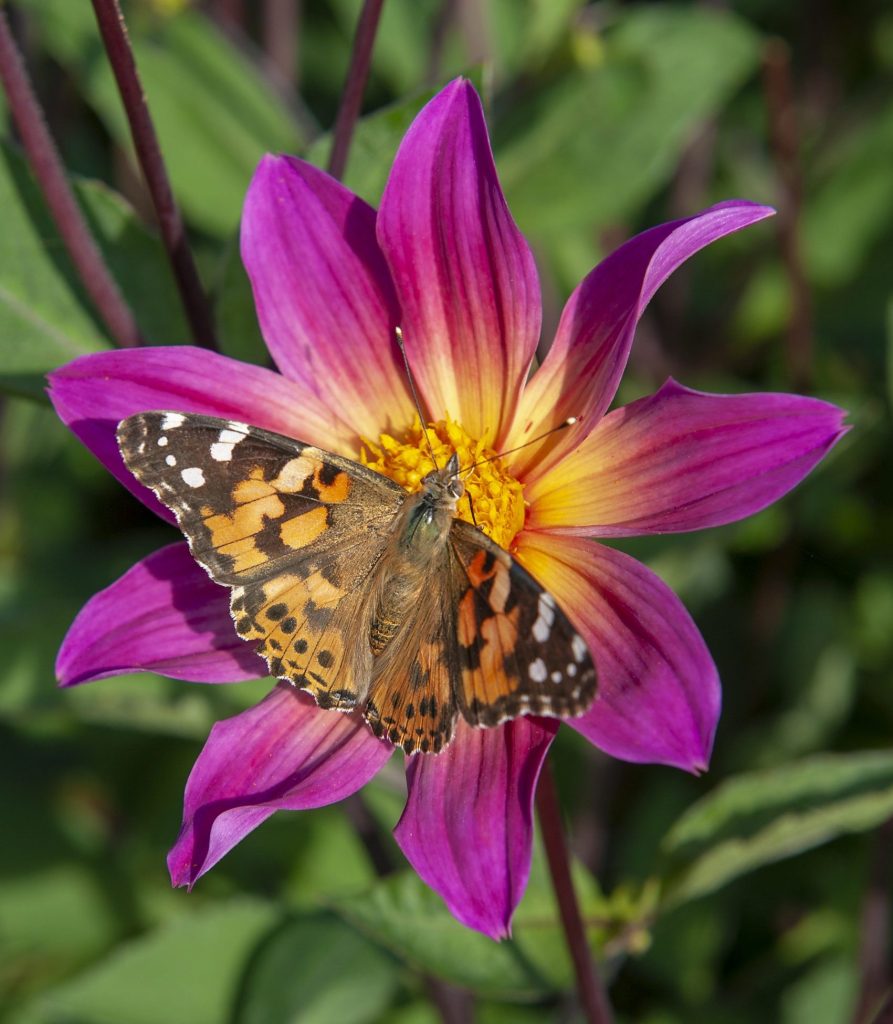
Dahlia Mignon Bright Eyes 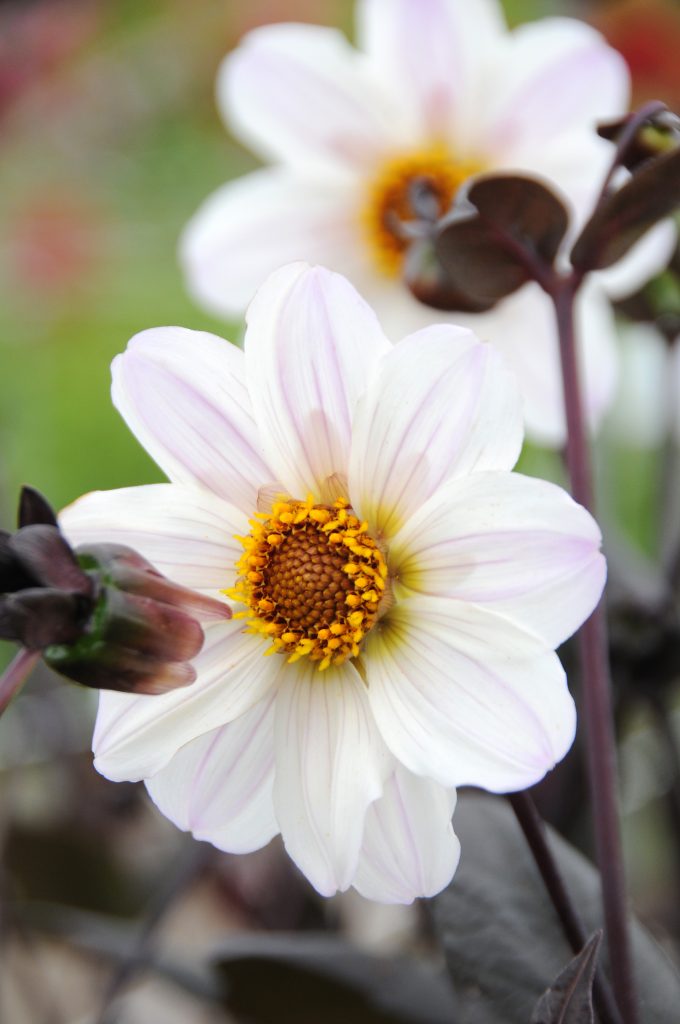
Dahlia Mignon Bishop of Dover 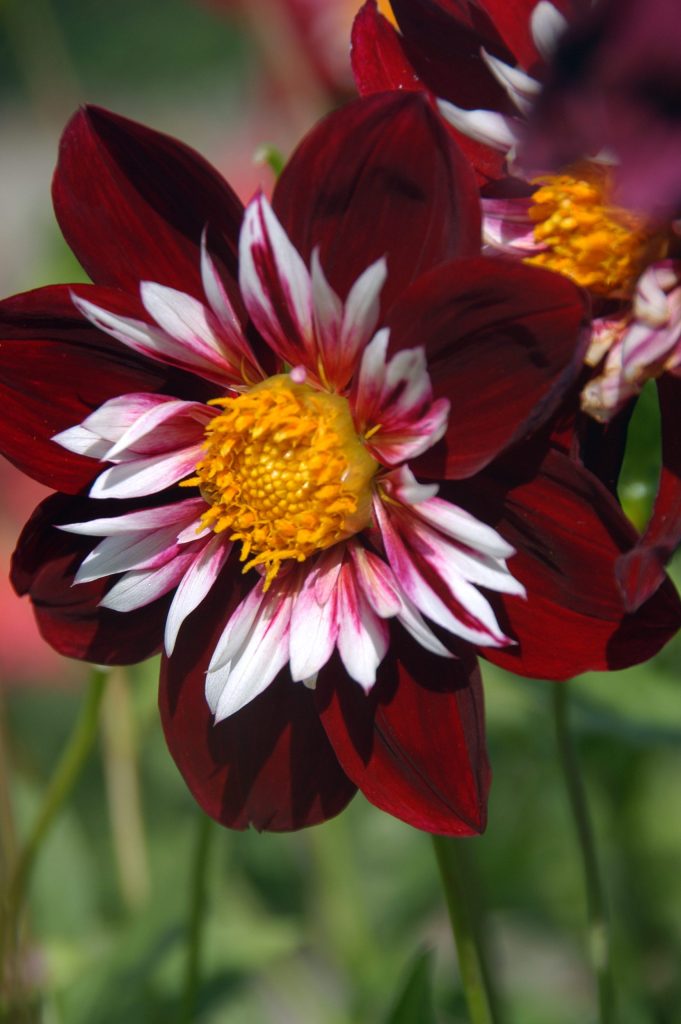
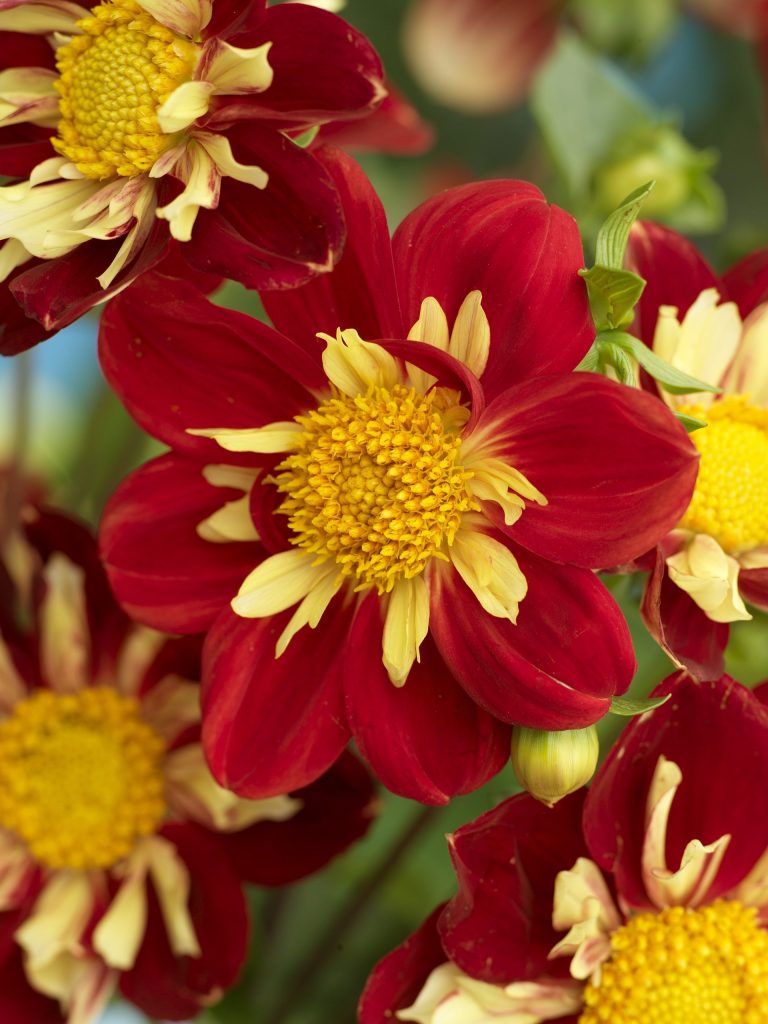
Dahlia Collarette Night Butterfly 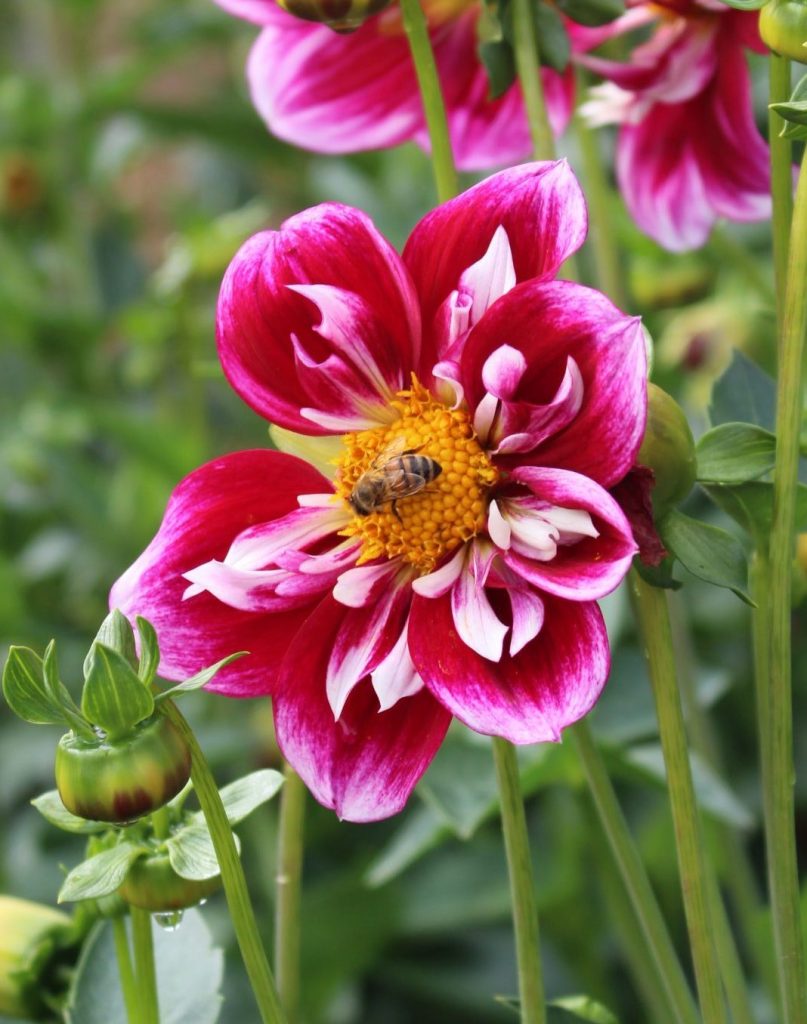
Dahlia Collarette Raspberry Sky
Gallery Dahlias
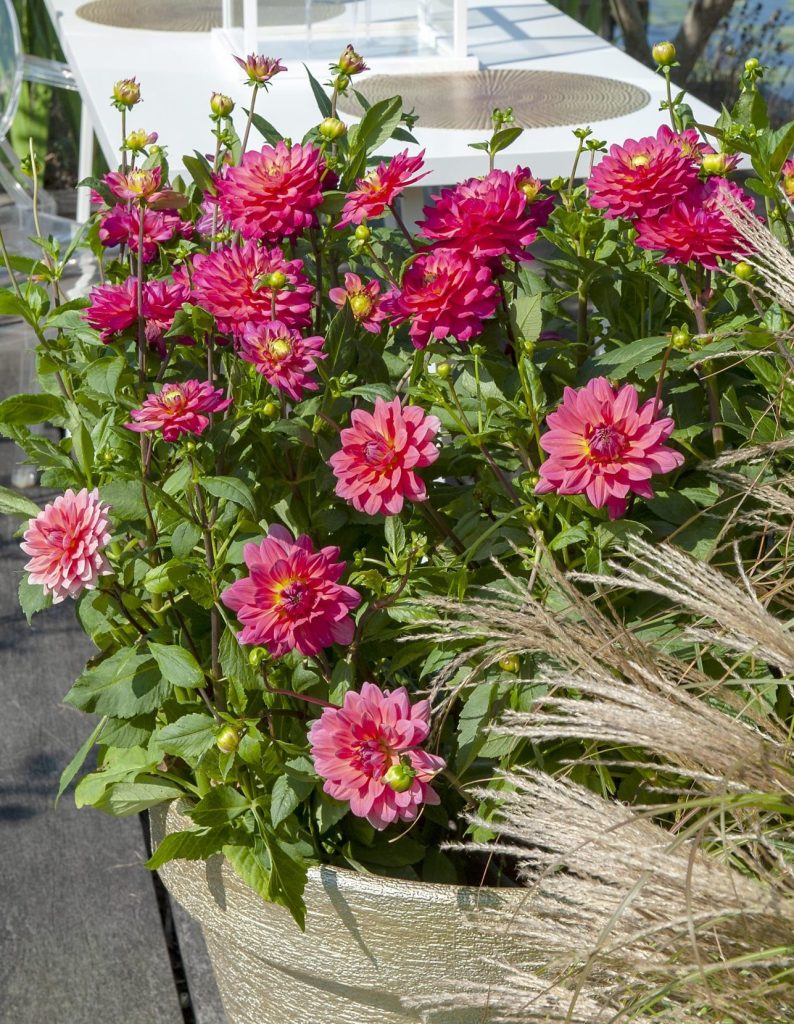
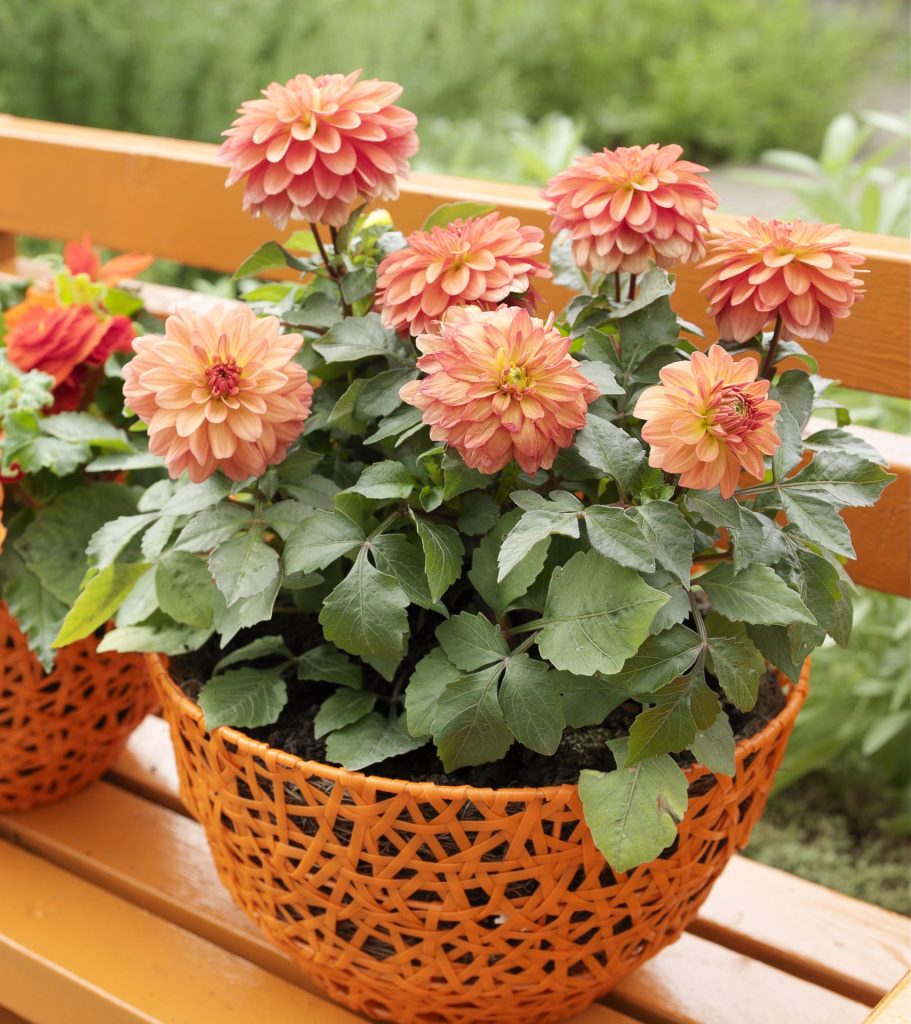
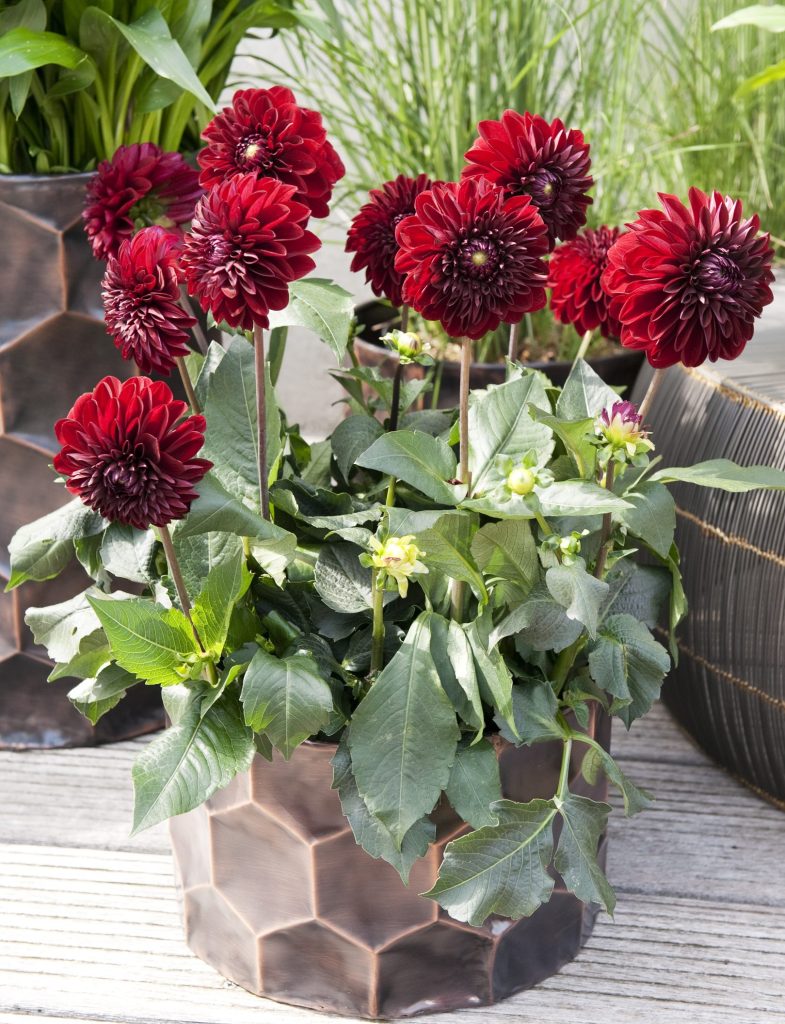
If you have a compact garden that does not have room to grow the largest dahlias, or if containers are your go-to for gardening on your balcony or deck, then there are patio-sized dahlias. The Gallery series of dahlias grow to heights of 30-45 cm (12-18”). These dahlias bring the same beauty and look as giant dahlias, but in a smaller size for compact growing. They are also perfect for the front of your dahlia garden as they hide the bottom shoots of taller varieties.
Now that you are associated with the different varieties, it’s time to learn about planting and caring for your dahlias!
Planting Dahlias
Starting Dahlia Tubers Inside
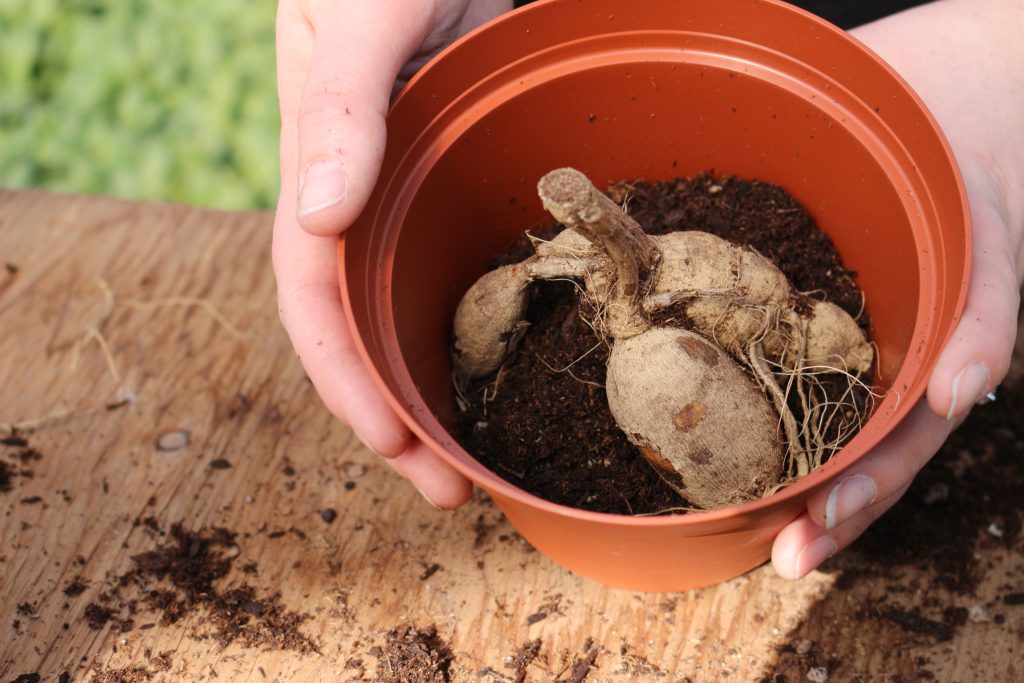
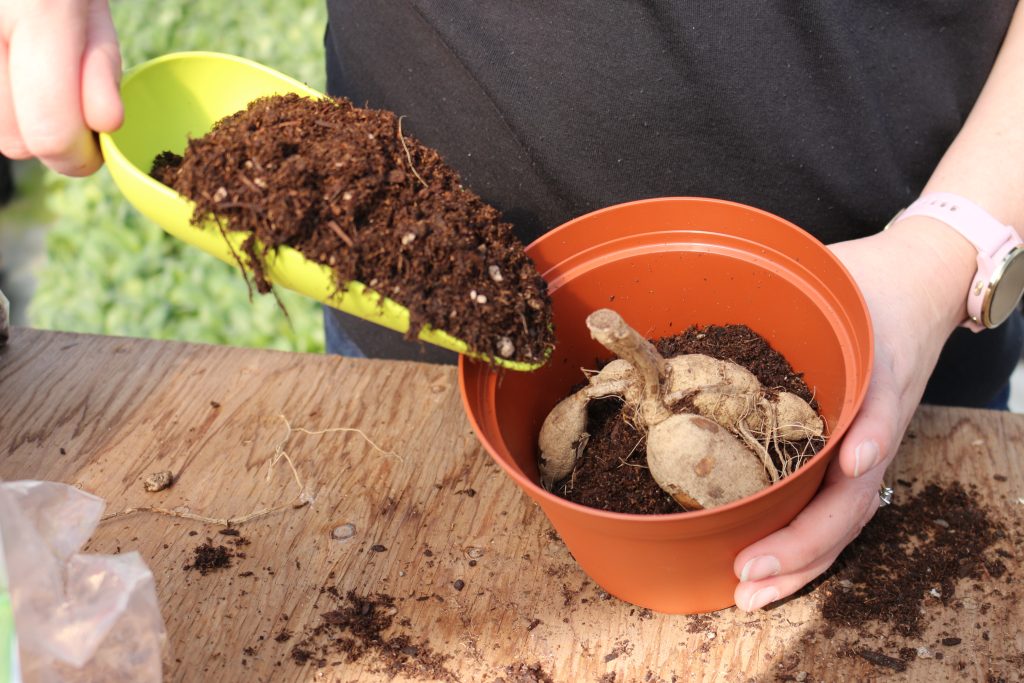
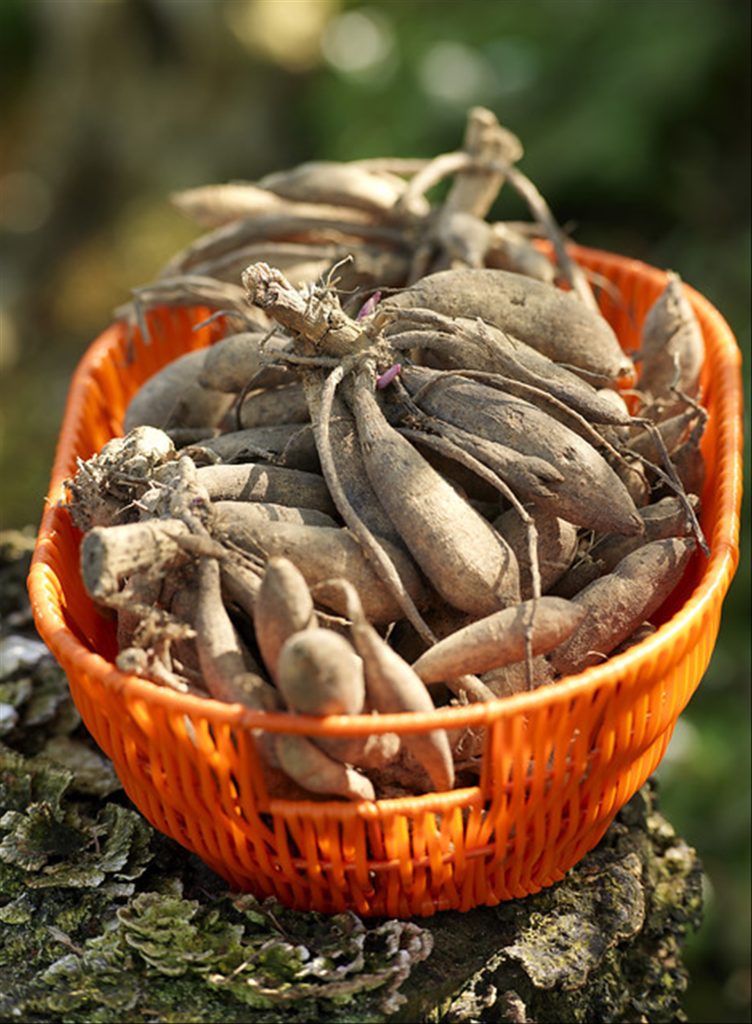
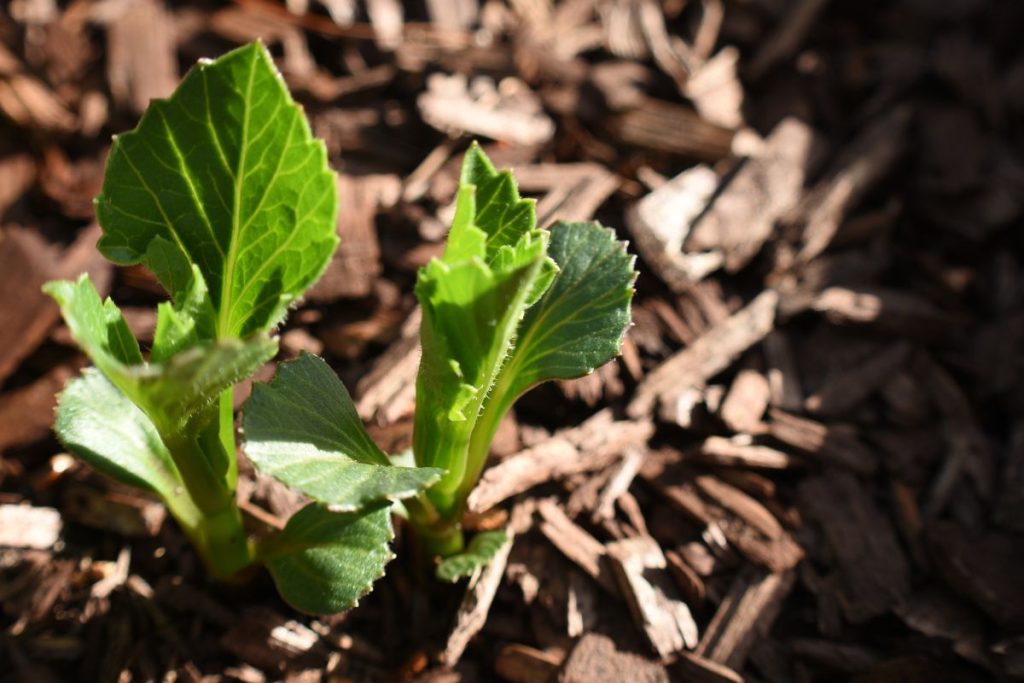
Dahlias grow from a type of bulb called a tuber. The purpose of the tuber is to hold just enough moisture over winter to get the first sprouts growing in spring. These tubers are also very cold-sensitive, so when you have them keep them in a protected, frost-free area indoors. In early spring it is too chilly outside to plant dahlias directly into the garden, so you can pre-sprout your dahlia plants in containers indoors. Choose containers with good drainage holes and large enough to accommodate your clumps of tubers. Dahlias aren’t too picky and these are just starter containers, a well-draining potting soil mix is ideal for this purpose too.
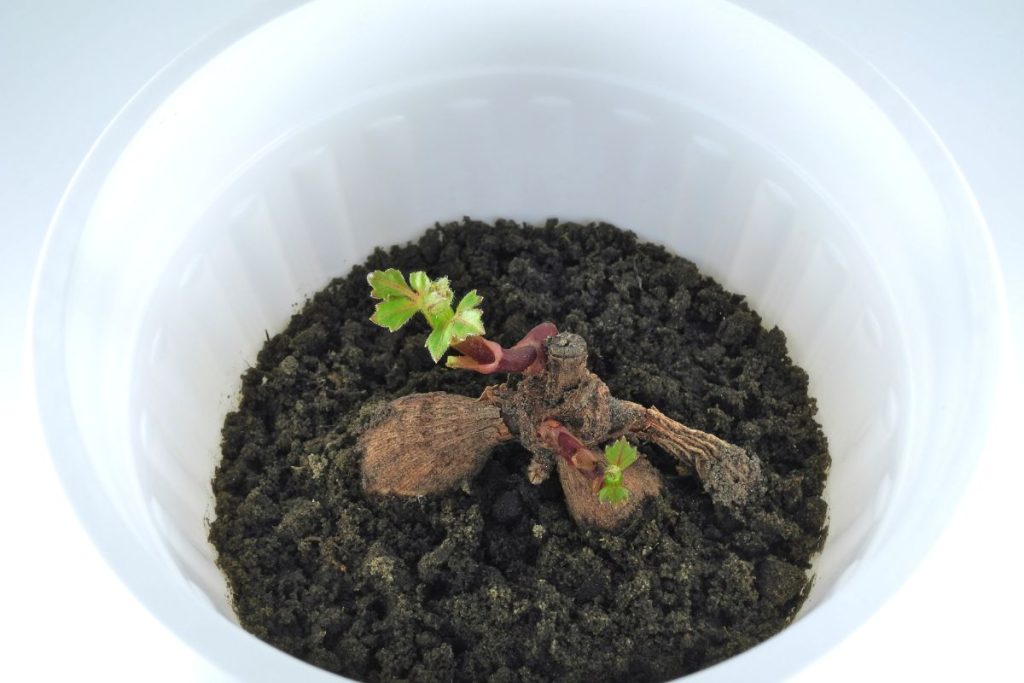
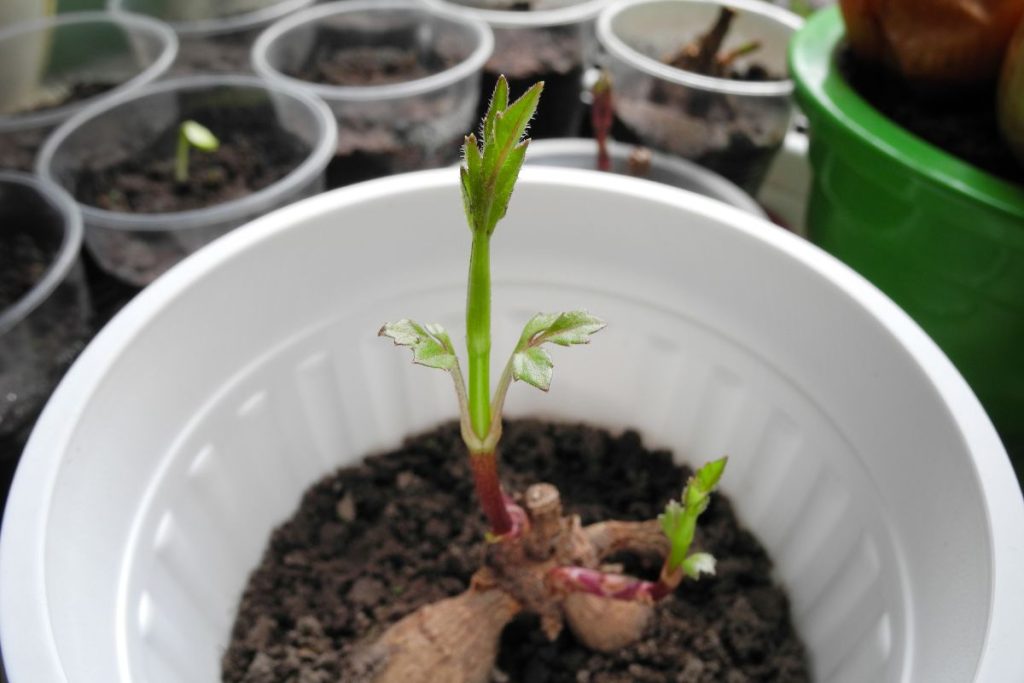
Plant tubers 10 cm (4”) deep in a shallow hole. Cover the tuber with soil, and water well. Keep the soil moist, but not too wet. Locate your container in a warm sunny window that receives a lot of light. Protect your dahlias from freezing temperatures as frost can damage the sprouts and your tubers which will ruin all your efforts. Waiting for the fresh green shoots to poke through the soil is the hardest part!
Planting Tubers Outside
The best time to plant your dahlia tubers directly outside is in late April to early May, once the ground has warmed and the evening temperatures are consistently above 8C. Select areas outdoors that receive at least 6-8 hours of sun each day. Dig a hole 4-6” deep and plant your tubers horizontally with their eyes facing up and cover with soil. For pre-sprouted dahlias, plant them at the same soil level as they were in the starter container. Water the area well.
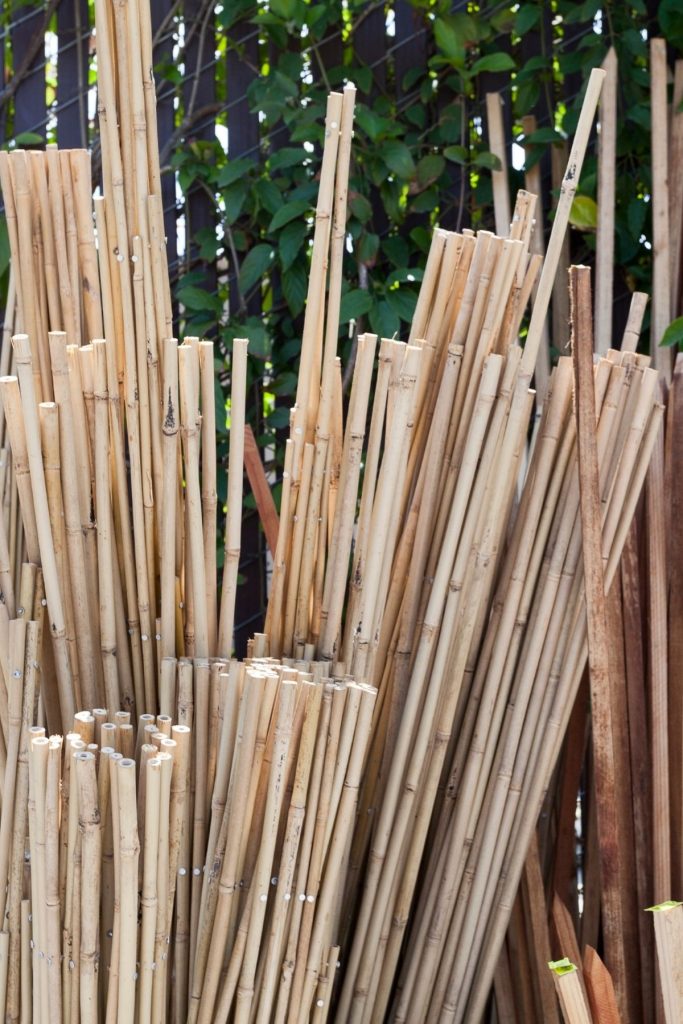
Dahlias often need additional support as they grow, so set a stake at the back of the clump of tubers. For stakes, you can use bamboo poles, and tomato cages, or build your own structure to support many plants at once. When inserting the stakes, place them approximately 3” away from the stems to avoid broken stems. When the main stem needs support, use soft fabric, like an old pair of nylons for stake ties and make sure to leave slack in the ties to allow room for growth.
Growing Dahlias
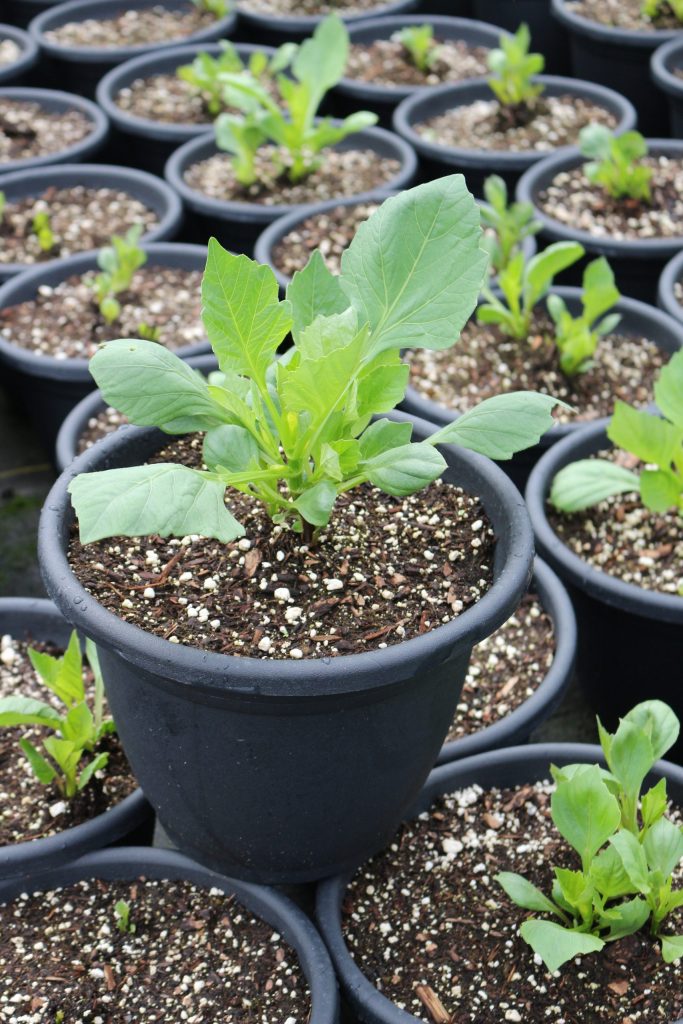
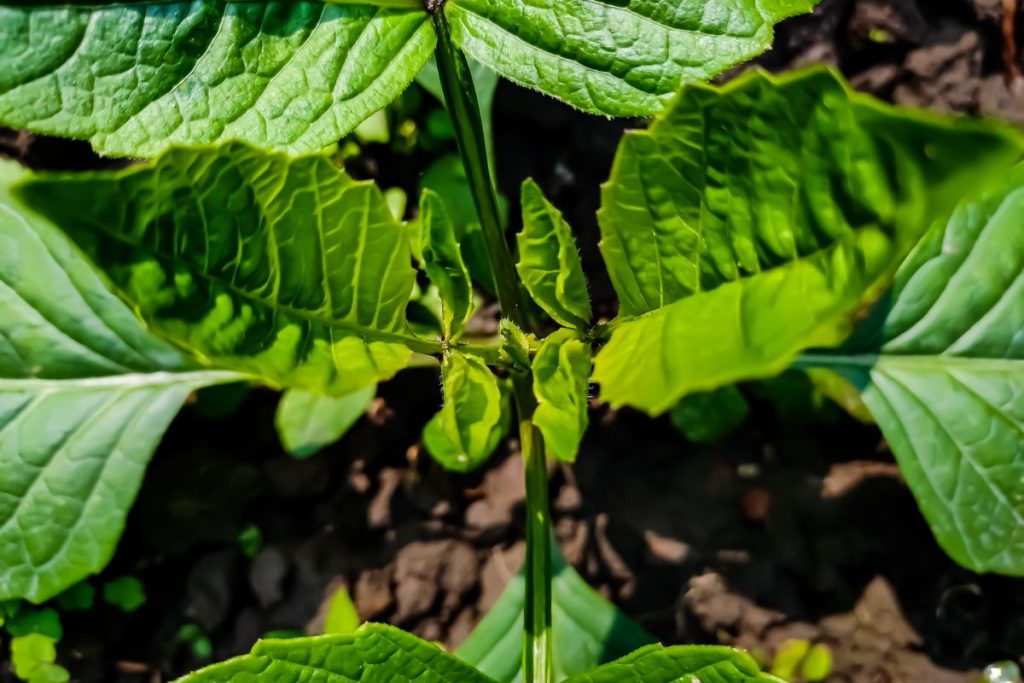
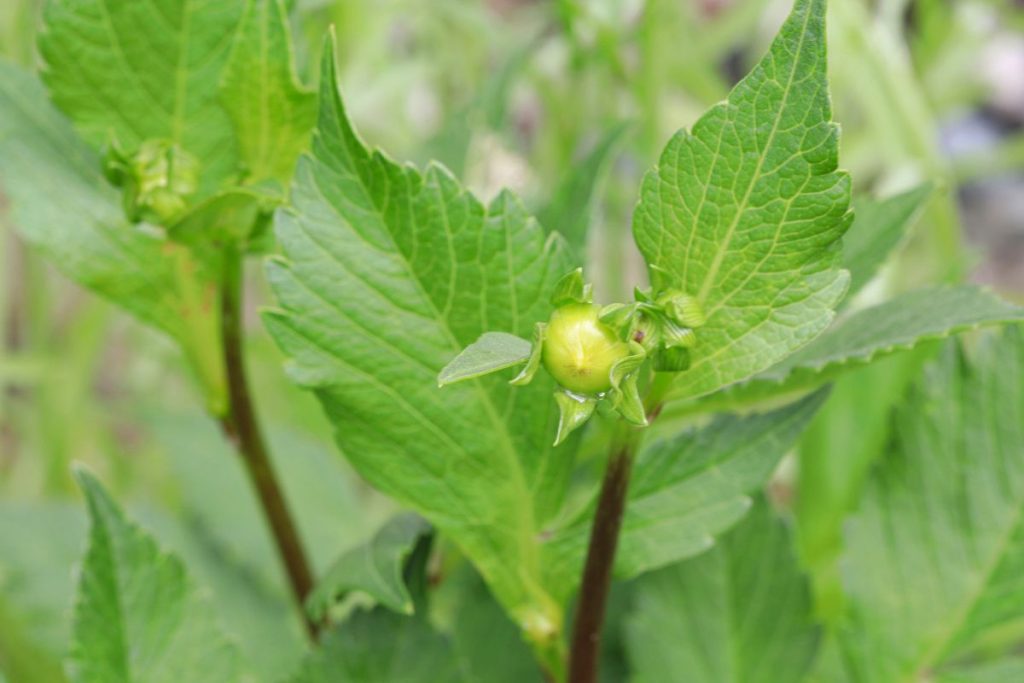
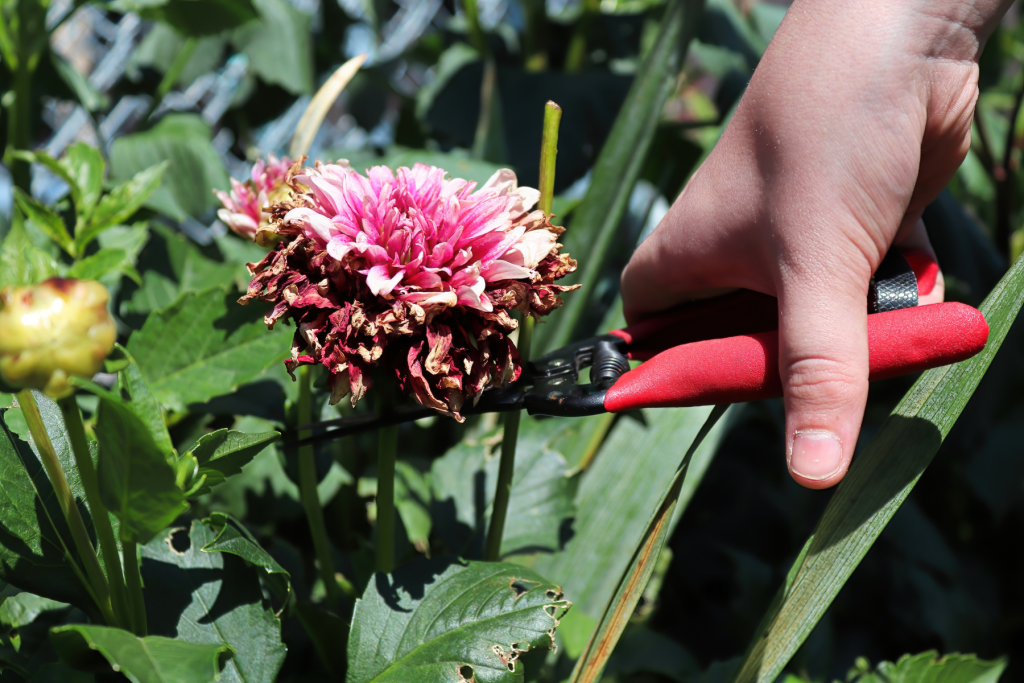
As your dahlia tubers begin to sprout, you will see your young plants (when they are around 10” tall) have at least 4 leaves around the centre stalk. This is the perfect time to pinch your dahlias. Pinching dahlias is an important step to ensure your plants will become larger and bushier with more stems of flowers. On the top uppermost portion of the main stem, carefully pinch or snip off the top of the sprout. This simple step during growth stimulates the lower buds lower to develop into new stems. As your dahlias continue to grow, make sure to water regularly – especially during those hot dry times of summer. Very soon you will see buds forming and the blooms start opening – this is an exciting time! Make sure to have your camera on hand to capture the spectacular displays! Looking for larger blooms? Well, aren’t we all! Buds appear in threes, and for larger-sized decorative and dinnerplate dahlias, you’ll want to keep the main bud and remove the tiny side buds. This allows bigger flowers to form. This step is not necessary for smaller dahlia varieties. Make sure to also dead head your dahlias to encourage more and larger blooms!
Growing Tip: Dahlias need only a light application of liquid fertilizer with a low nitrogen level (5-10-10). Fertilize your dahlias every 3 weeks from mid-summer to early autumn. Never spray your fertilizer directly on the foliage.
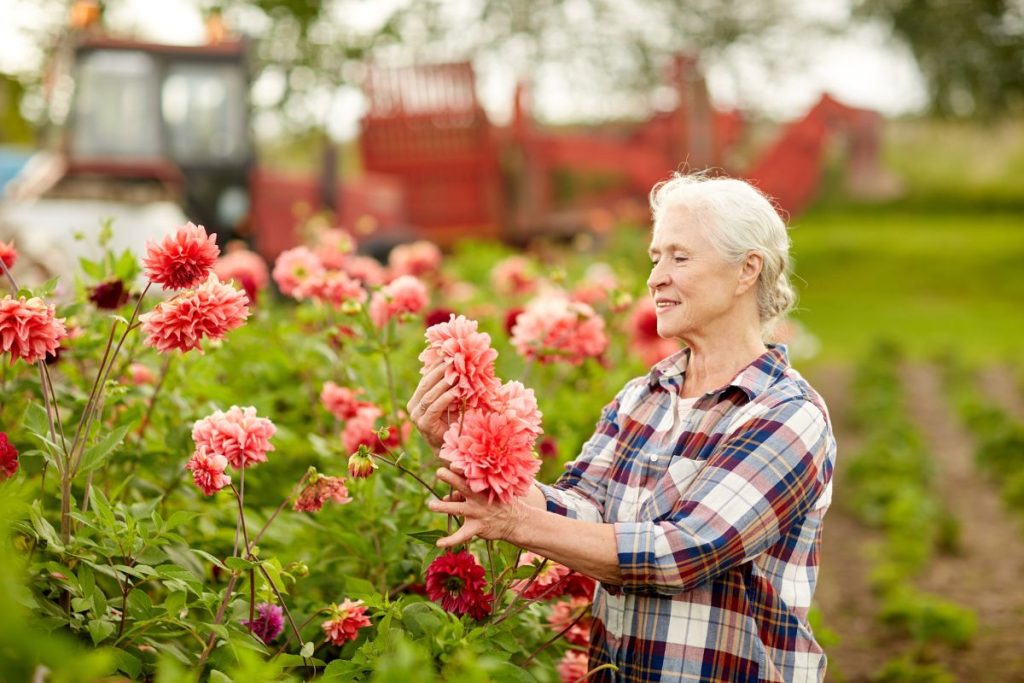
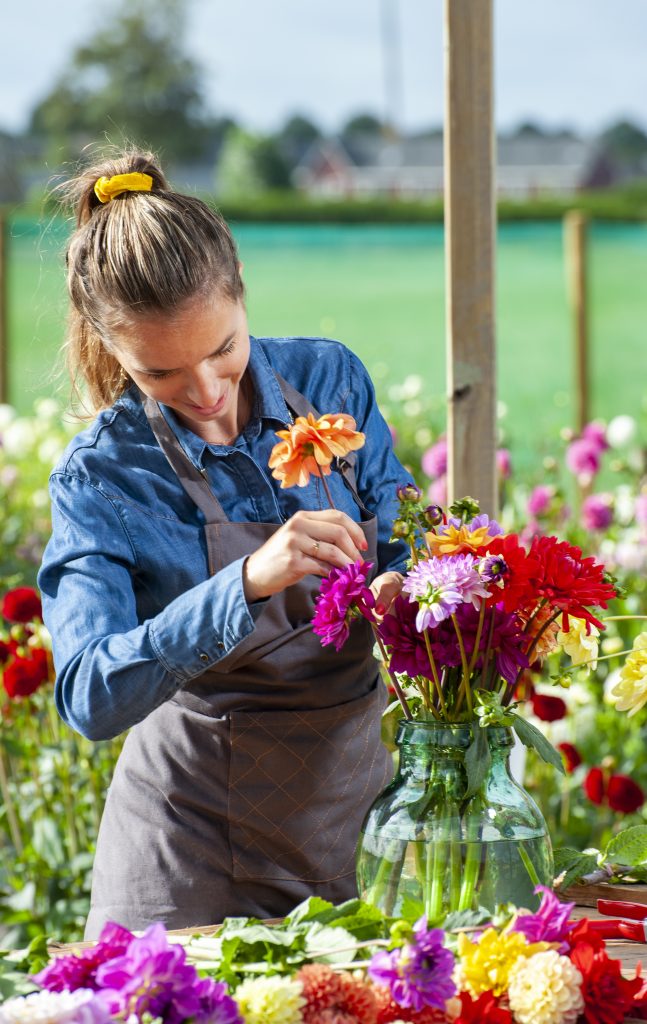
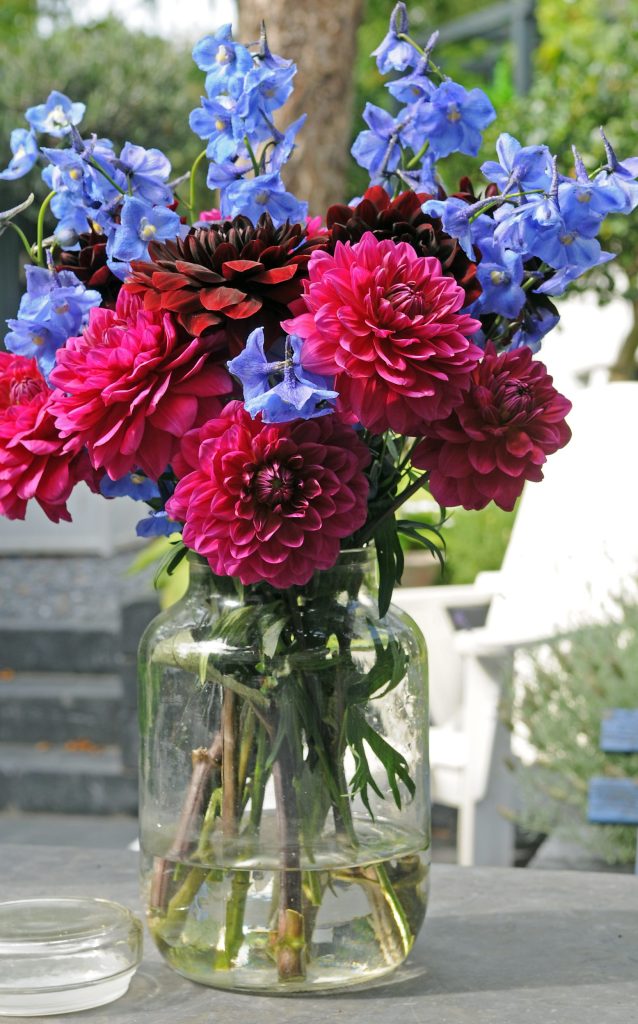
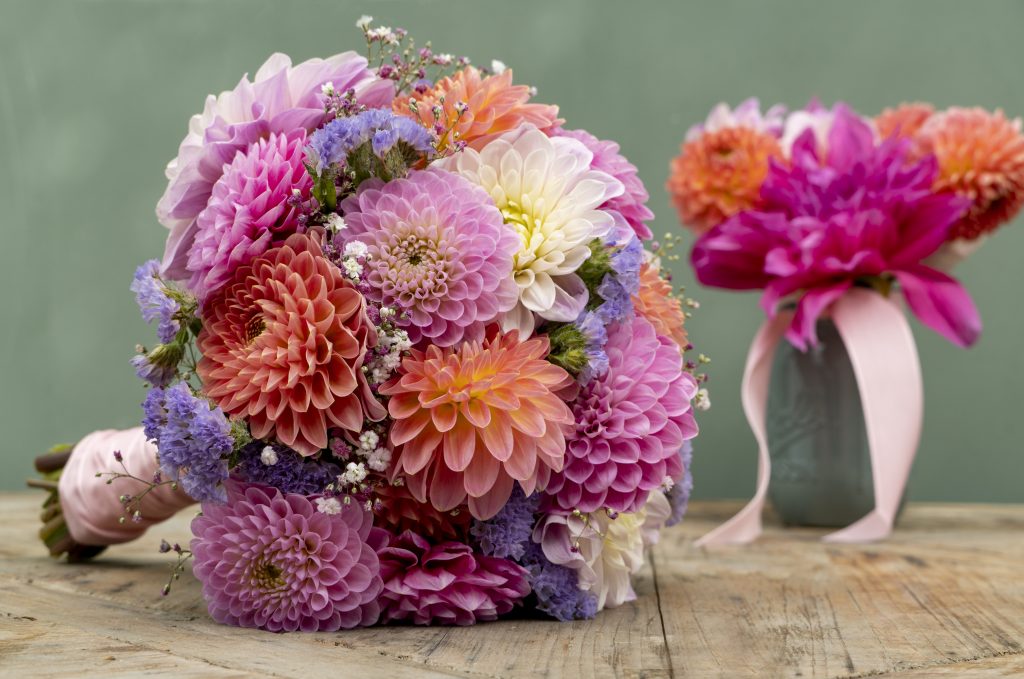
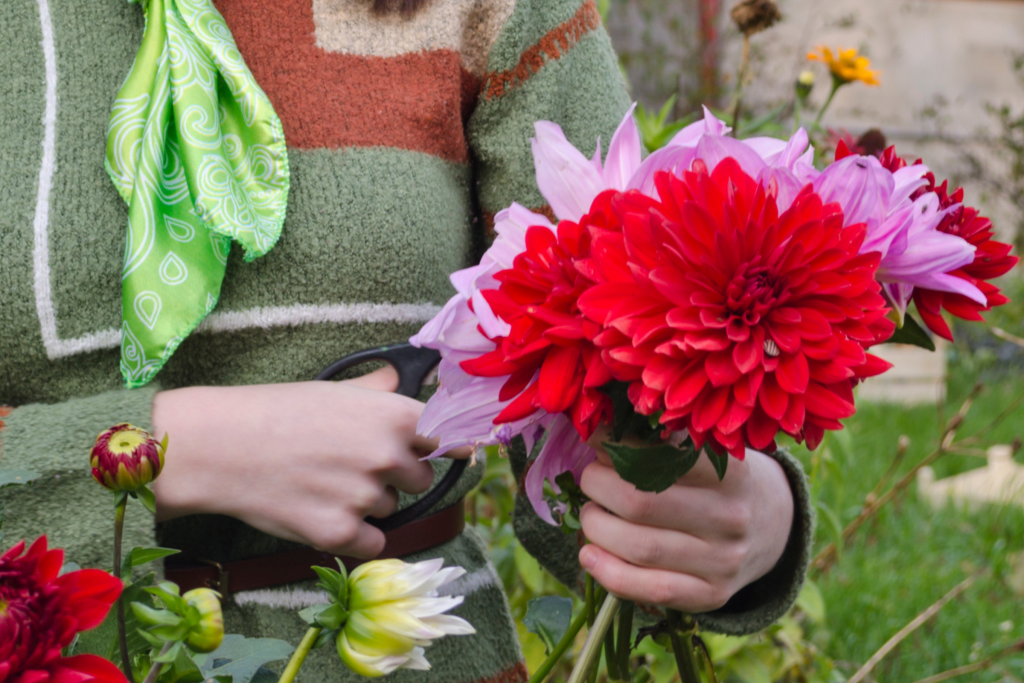
Dahlias are wonderful for bouquets. They are perfect to bring inside to your kitchen table all summer long. Or how about bundling up a bunch to give to friends or neighbours? Make sure you cut your dahlias in the morning. Since dahlias do not develop much after they are harvested, make sure to cut ones that are almost fully open. Remove the bottom leaves and place the freshly cut stems in a bucket of slightly warm water. Cut dahlias last for around 5-7 days inside for you to enjoy!
Overwintering Dahlia Tubers
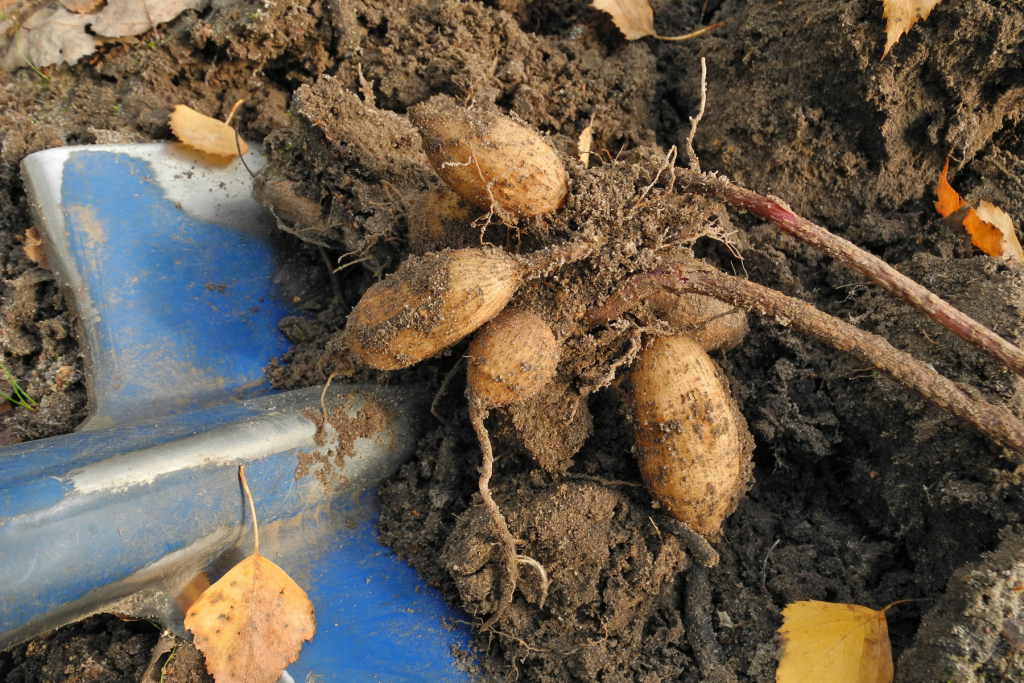
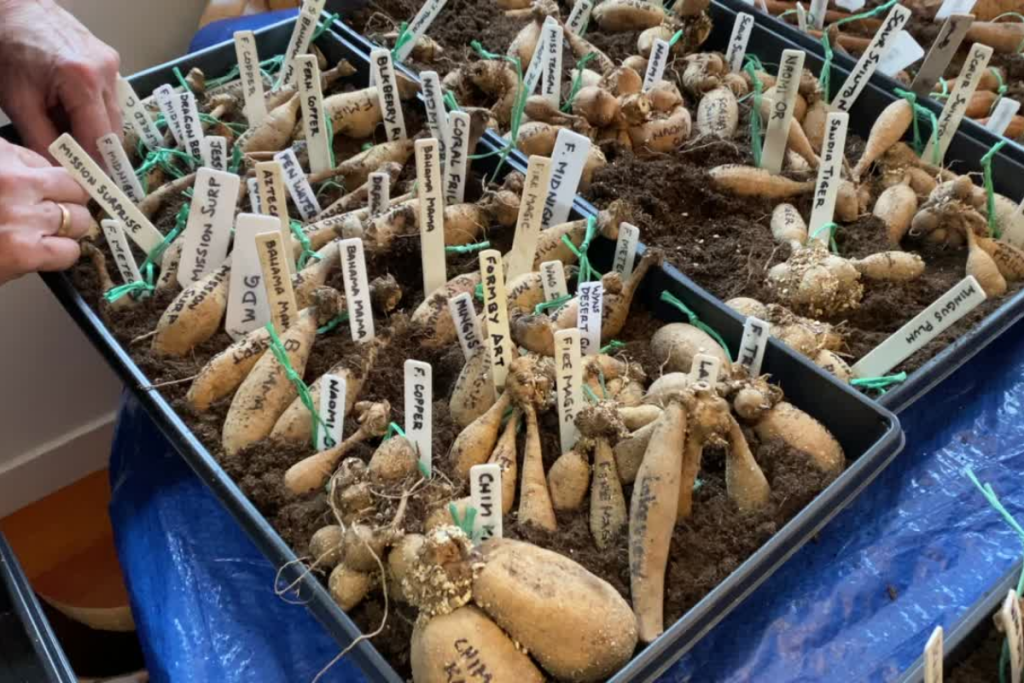
In the fall, around the time of the first frost, usually in late October, comes time for you to dig and overwinter your dahlias. Dahlia tubers are not winter hardy, so you will have to take them out of the ground during those cold winter months. First, cut back the foliage to a couple of inches above the ground. Some of the stalks can be quite thick, so make sure to have good quality sharp pruners on hand. Carefully dig around the tubers, being very mindful not to damage or sever the tubers. Gently shake off excess dirt first, and lightly rinse and wash off the tubers. After rinsing your tubers, inspect them for signs of rot. If there are areas of rot, cut these bits off with sharp pruners. Now is a great time to label them as well with a tag, remember to make note of the colour, bloom size, and height.
Before storing your tubers for the winter, thoroughly dry your tubers for a few weeks. Make sure to dry them in a warm area free from the possibility of freezing! Drying your tubers before storing helps to cure the tuber skins and prevent rot during storing months. Milk crates, paper bags, cardboard boxes or plastic bins are great for storage, but make sure there is good circulation in your storage devices and between the dahlia tubers. Place your dried tubers in a cool, dark space over the winter where they won’t freeze. The ideal temperature is 7-13 degrees Celsius, or 45-55 degrees Fahrenheit. Try an unheated basement, attic, closet, garage, or utility room. Over the winter, visit your tubers a few times checking for signs of rot or give a light mist if they are overly shrivelled.
Splitting Dahlia Tubers
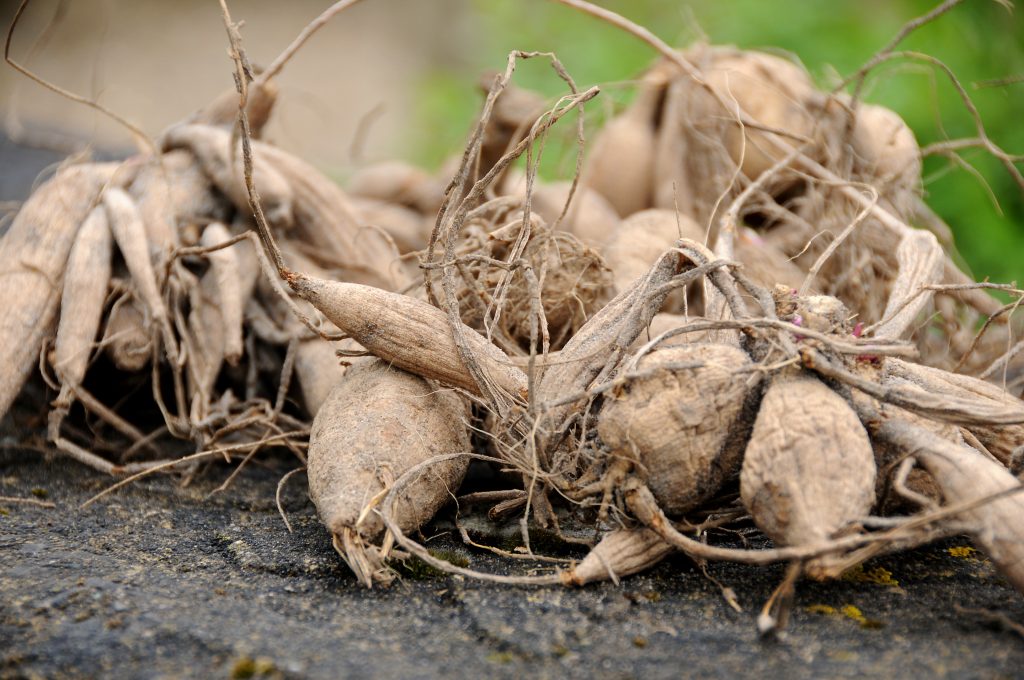
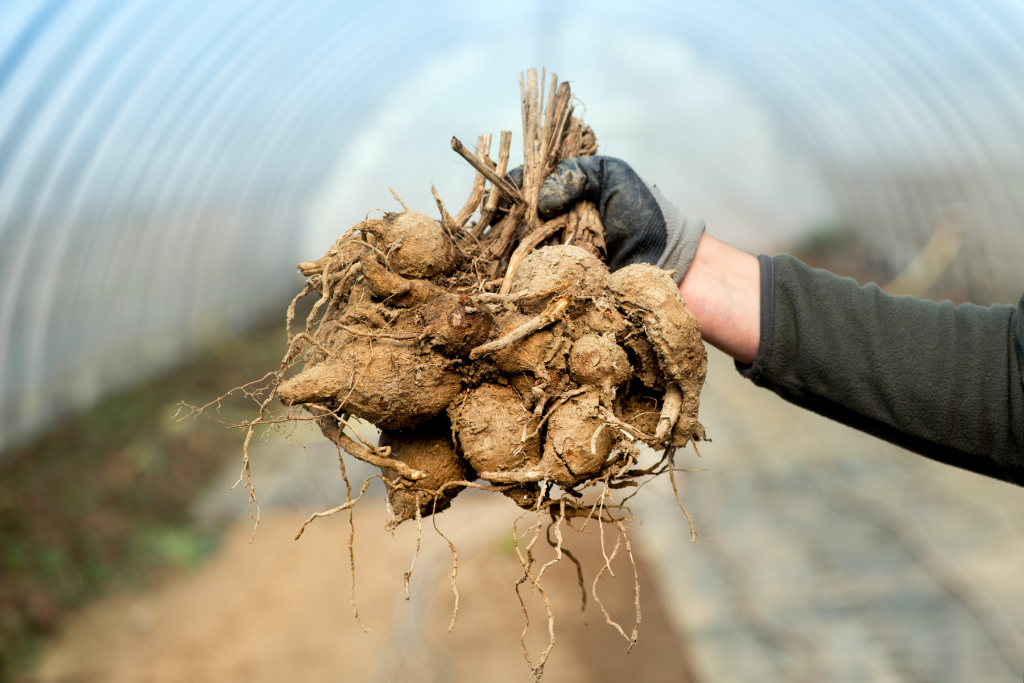
Did you know that a healthy dahlia can produce 5-20 new tubers? Splitting dahlias can seem quite daunting, but once you get the hang of it, it’s a rewarding process. A tuber is a starchy body that contains food, water, and nutrition for a dahlia to grow and provide a root system. Different dahlias can produce different shaped tubers too, some may be long and skinny like fingers and others short and round like golf balls. Remember the purpose of the tuber is to provide the food and nutrients to get the dahlia growth started.
The best time to split your tubers is in spring, right before planting. By this time, the dahlias will have had time to start sprouting or forming eyes will be more visible.
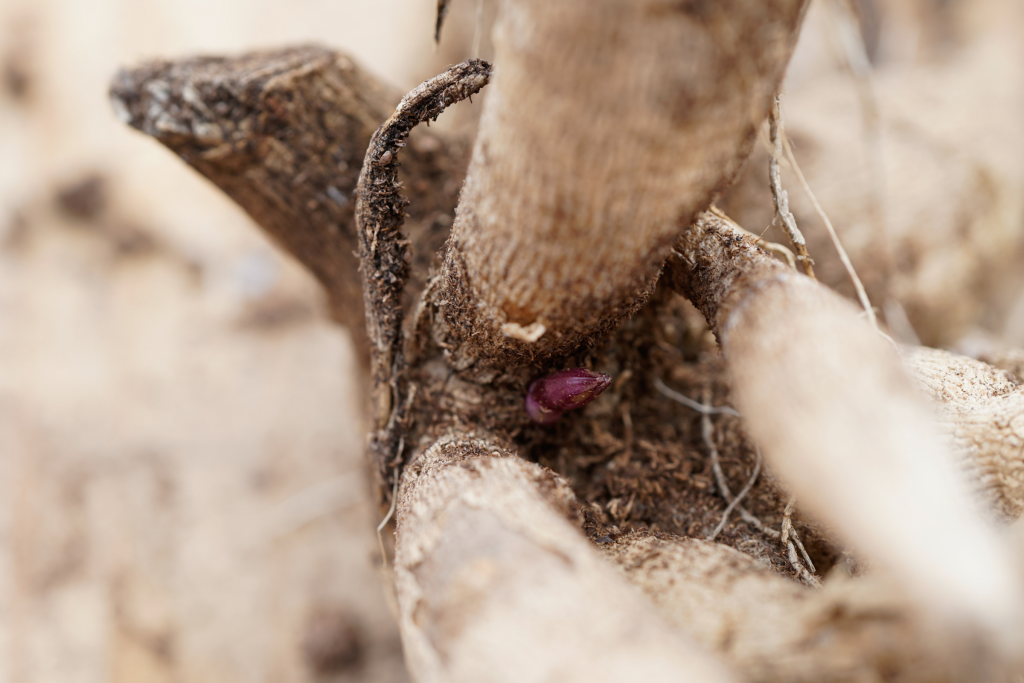
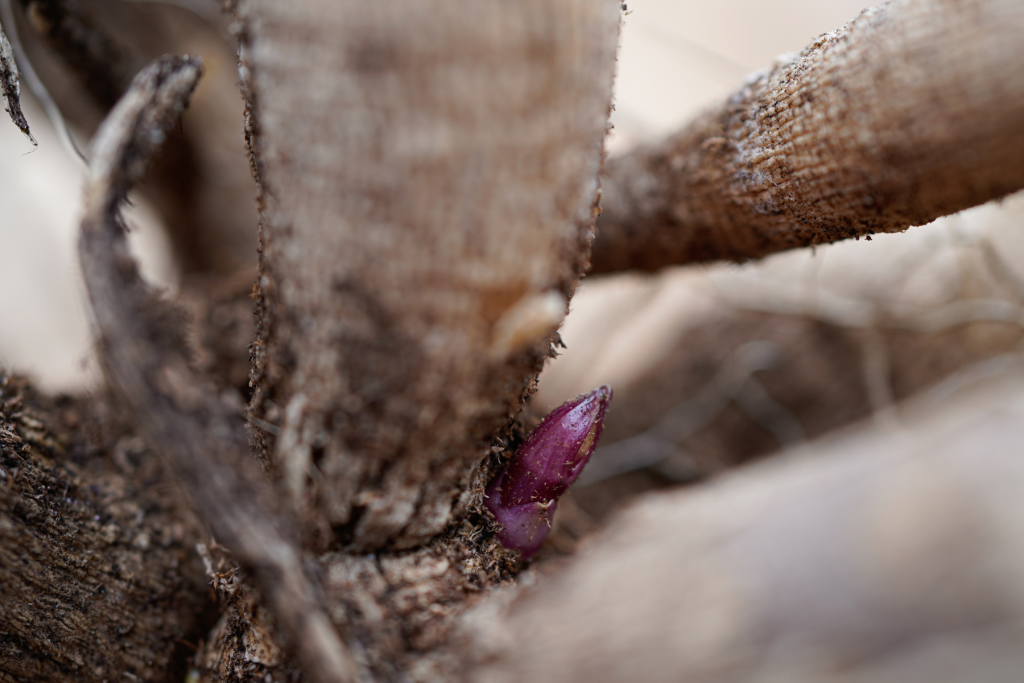
To begin, sort through your dahlias and discard any that are soft or completely dried out. Inspect your dahlia mother root and learn how to identify the ‘eyes’ on the tubers. Every divided tuber must contain one or more eyes and they form where the tuber meets the last year’s stem. Eyes are small, pimple-like growths on the neck of the tuber. They can be as obvious as sprouts beginning to form, or they might be harder to see. Examine the neck of the tuber for small, raised bumps, with a pinpoint dark ‘pupil’ inside, similar to a bullseye. If these eyes have not begun to sprout, do not worry, the tuber is still viable.
In the spring when the eyes start to sprout, they are the easiest to identify. The key is to create a single or group of tubers that contain their own eye which they can produce from. Your cutting will have to contain both a piece of the crown (last year’s stem) with the eye and the tuber attached. If you are having trouble identifying the eyes, place the tubers in a moist, warm area for a week and the eyes will being to sprout.
Remove any tubers with skinny necks, damaged, mouldy, or broken away from the stem. Start by dividing your large mother tuber clump in half. This will allow for easier access to cut and separate out the individual tubers. When splitting out a dahlia tuber that includes an eye, make sure to also have at least 1 cm of the crown attached to the tuber. The key isn’t to split the tubers into the most pieces possible but to properly divide your tuber to create viable and successful tubers to plant. Sterilize your pruners between clumps.
If storing and splitting tubers seems like too much work or too much of a challenge, visiting the garden centre to purchase more is always fun! You can also plant your large, whole tubers from last year, without going to the trouble of splitting them. Whether or not you split dahlias, or plant ones dug straight out of your garden the previous fall, it’s always fun to add new varieties to the garden to expand the range of colours and shapes on display.
For information on where to find Florissa products near you, please inquire on our Find a Retailer page.


