
How to Overwinter Dahlia Tubers
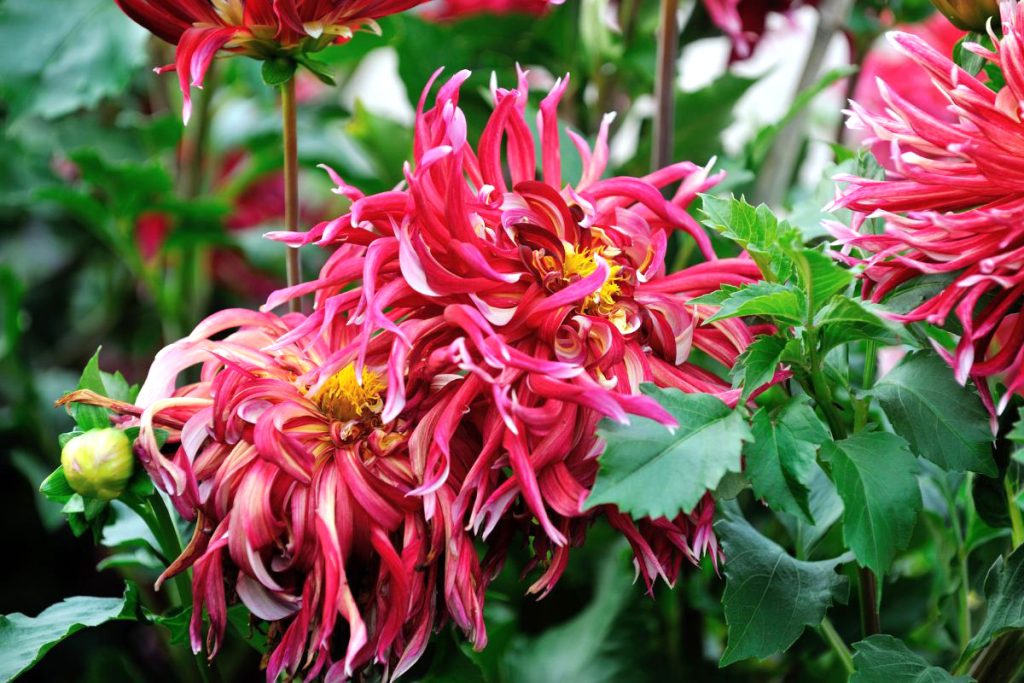
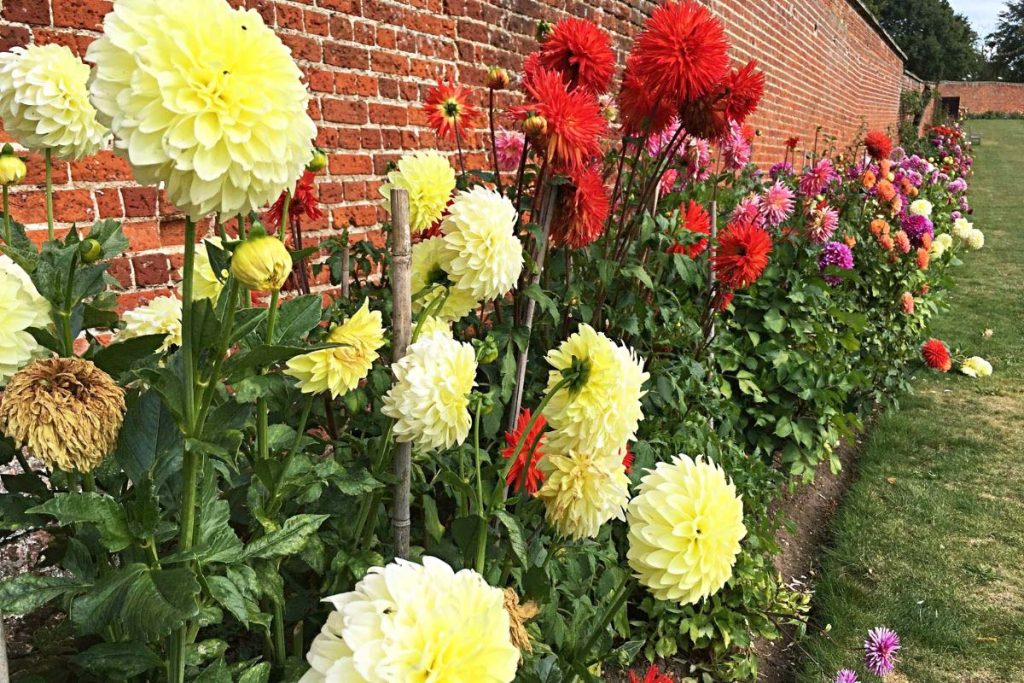
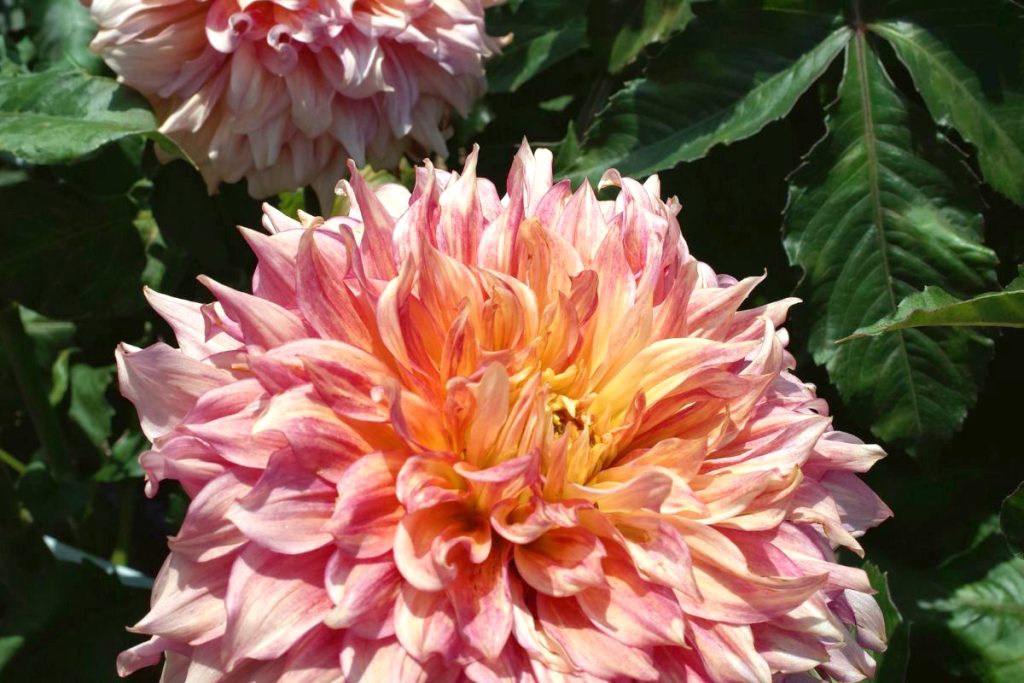
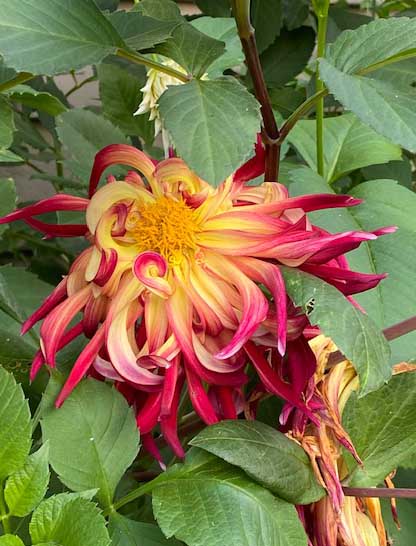
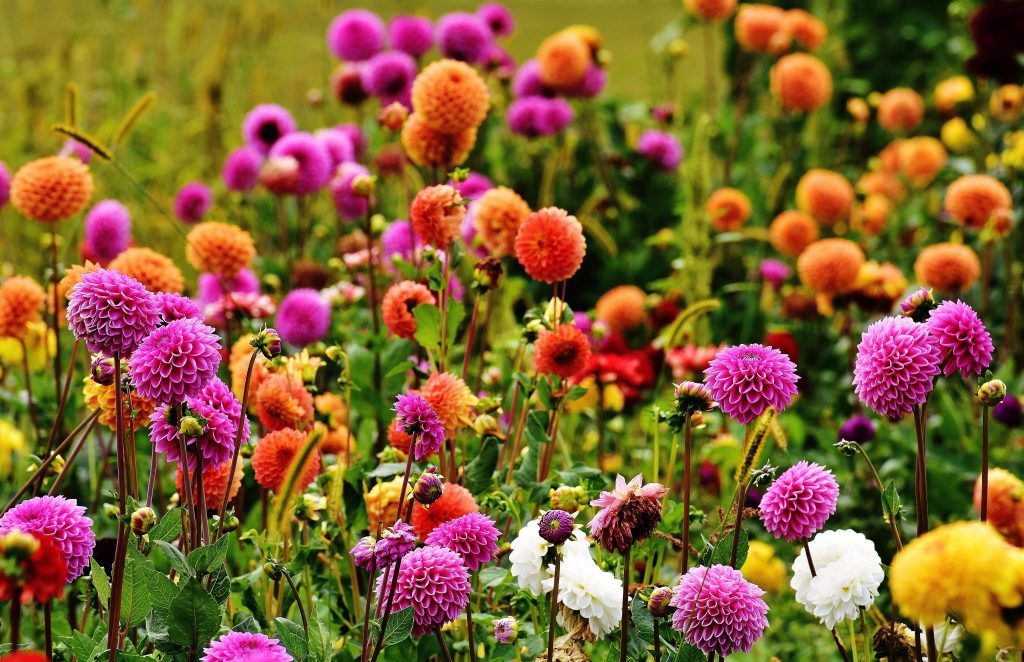
Dahlias are one of the most favourite summer flowering varieties. Unfortunately, dahlia season ends as winter approaches. The cold rolls in and dahlias fade away. Unlike most perennial roots and bulbs such as lilies, dahlias tubers are not winter hardy in most Canadian growing areas. So as a dahlia gardener, you now have an extra task on your fall gardening list, digging and storing your tubers in a warm frost-free area over winter.
When to Remove Your Tubers
In the fall, around the time of the first frost, usually in early October, is the time to dig and overwinter your clumps of dahlia tubers. This is perfect timing, as you will be wanting to plant your spring blooming bulbs in the ground at this time and you will need the garden space.
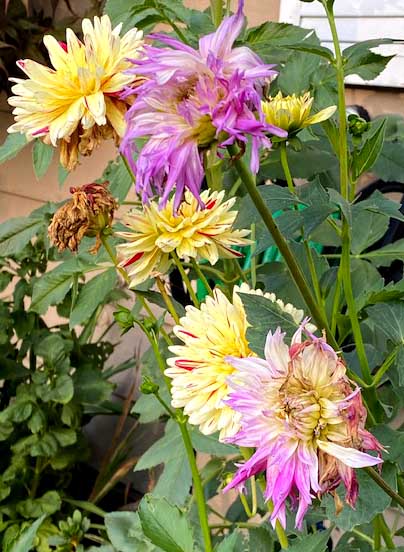
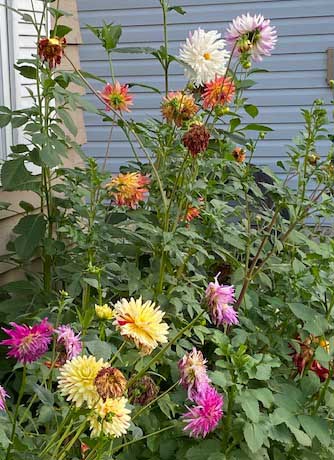
When removing your dahlias, you can wait for the first frost to flatten your dahlias. However, if you have quite a few plants that you would like to save and grow next year, you may want to start a week earlier. The dahlia stems and blooms have a high water content and usually, after the first frost, you will see your whole dahlia plant go limp and collapse. Around the end of September, walk through your dahlias and make sure that you have marked them with a tag or label that includes the variety name, colour and bloom size. You will want to keep the label with the clump of tubers as you are processing them for storage and tuck it in with the tubers over winter.
Removing Your Tubers
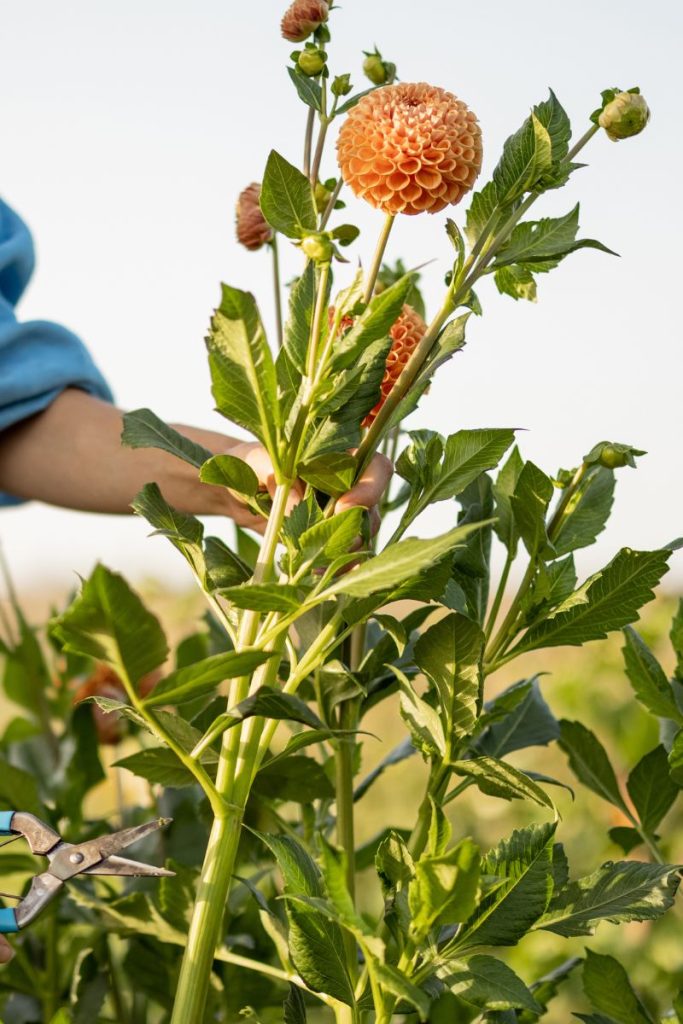
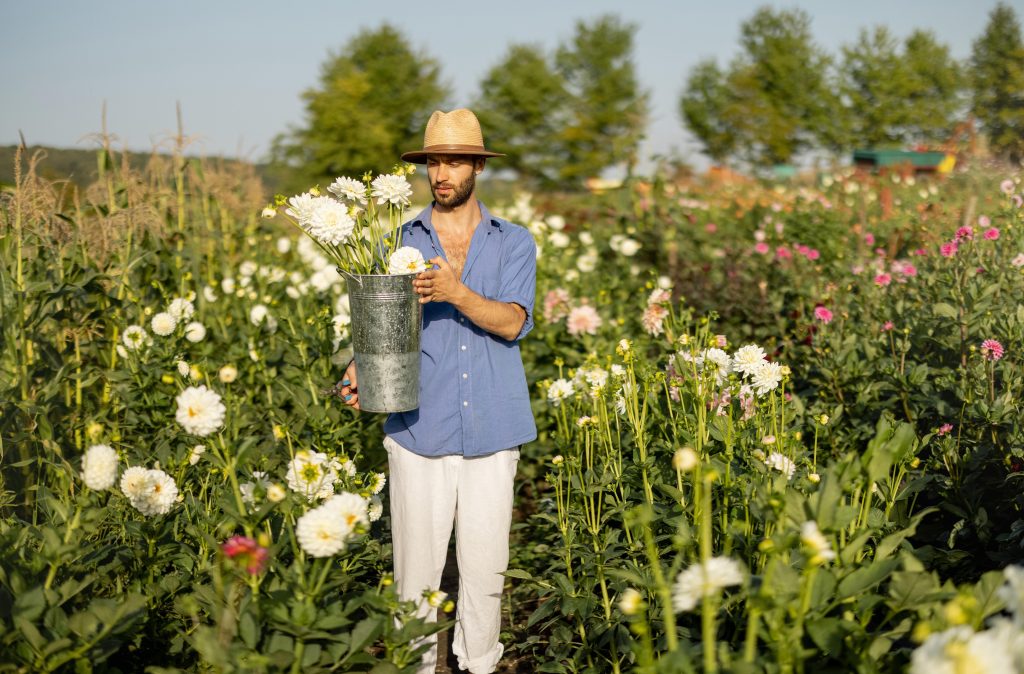
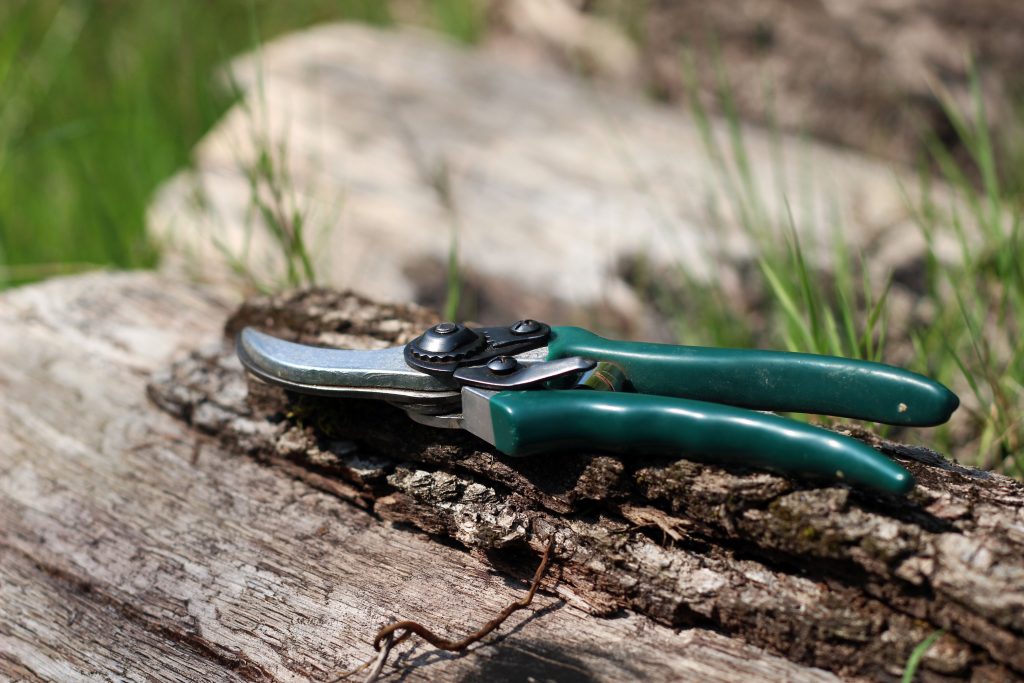
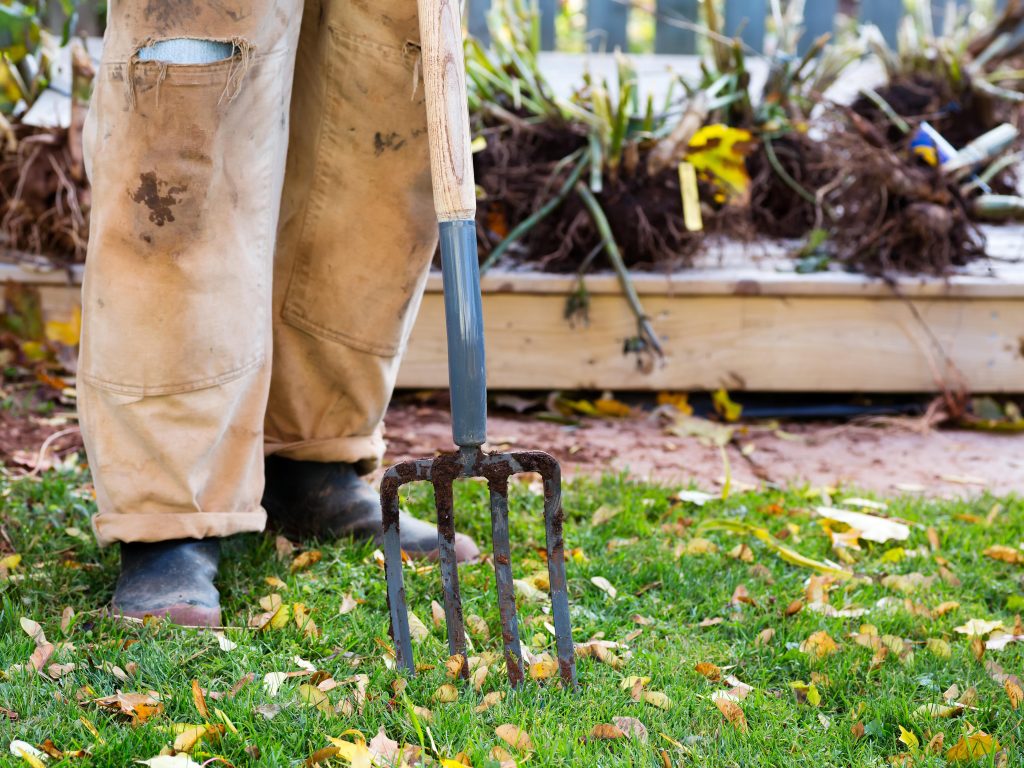
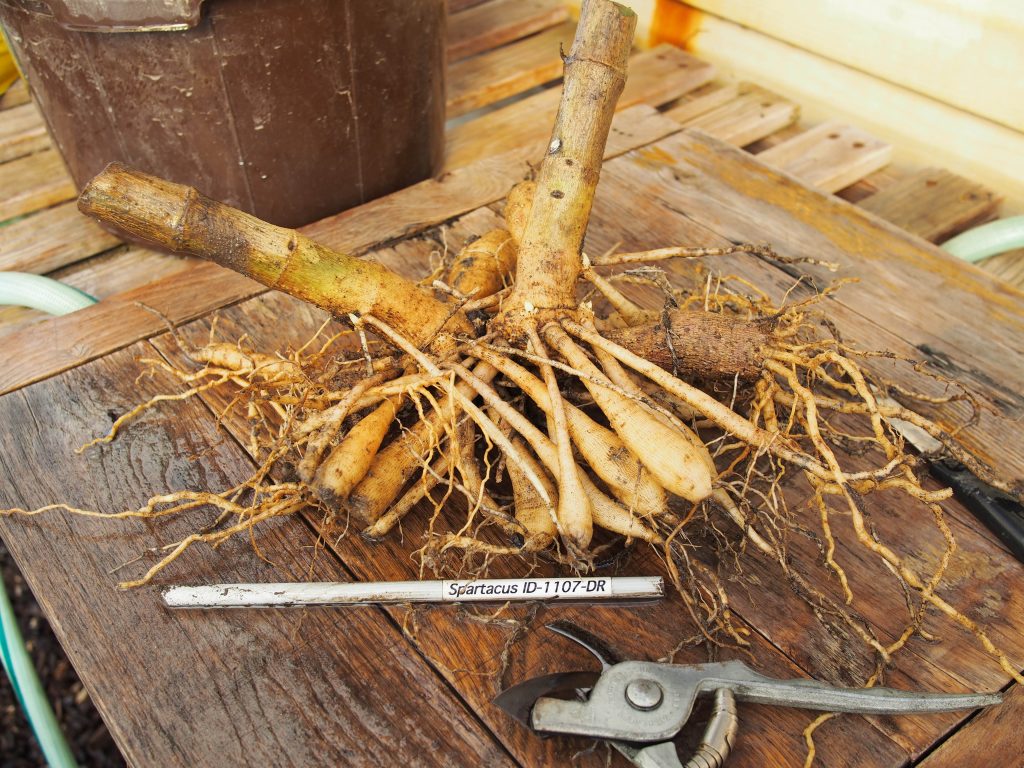
First, cut flowers off the stems to enjoy or share with family and friends. Next, cut back the stems to a couple of inches above the ground. Some of the stalks can be quite thick, so make sure to have good quality, clean and sanitized sharp pruners on hand. The top-growth foliage and stems can be put into the compost. Allow the clumps of tubers to sit in the soil for 3-5 days. This will allow the skins of the tubers to firm up and the eyes will start to plump up.
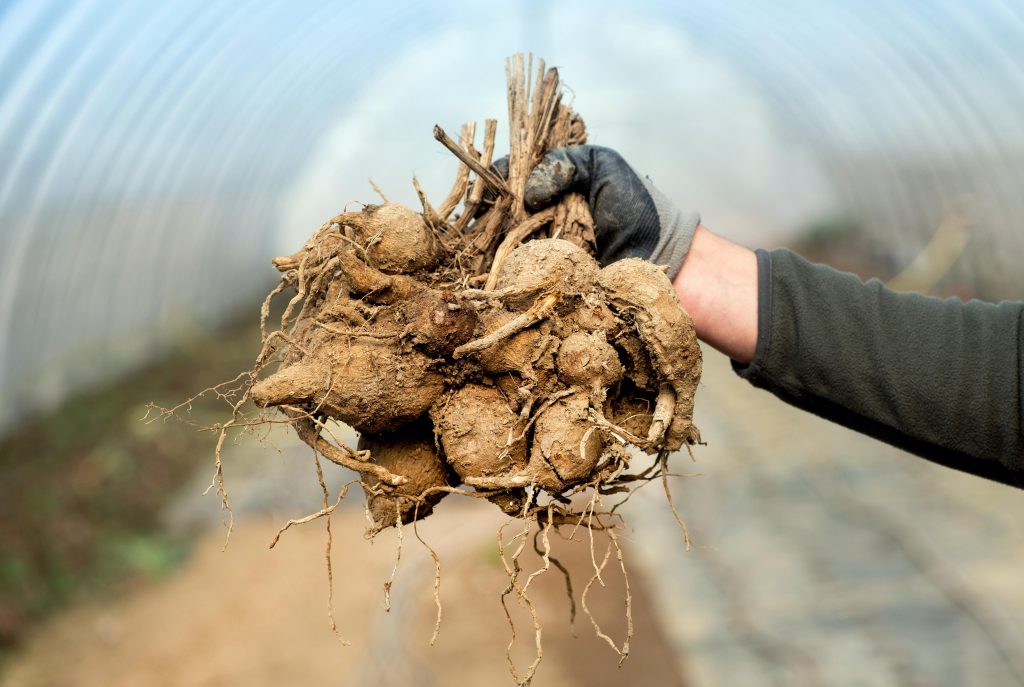
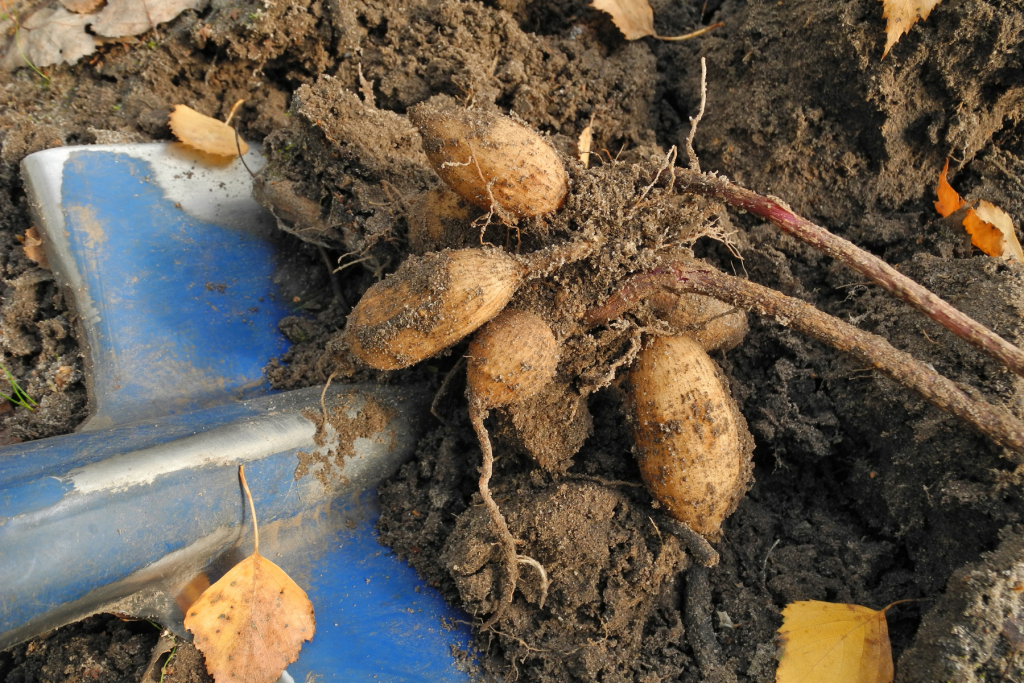
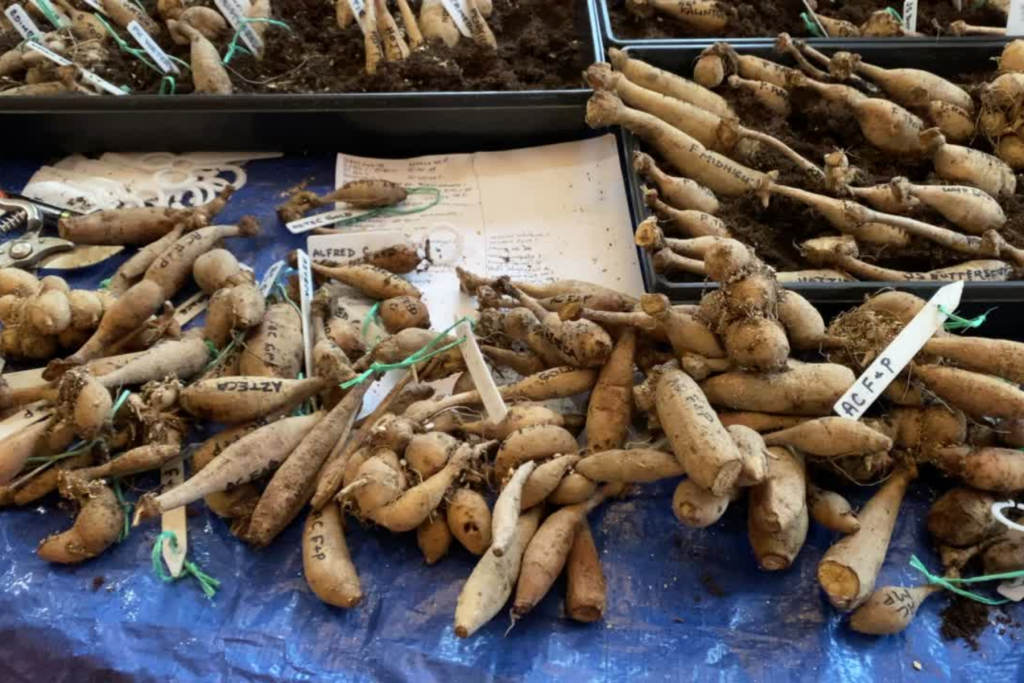
Second, carefully dig around the tubers, being very mindful not to damage or sever the tubers or the neck of the clump. Gently shake off excess dirt and carefully rinse the soil off the tubers, checking all the nooks and crannies. After rinsing your tubers, inspect them for signs of rot. If there are any areas of rot, cut these bits off with your pruners. Now is a great time to label them with the tag you prepared that notes the colour, bloom size, height, and name (if you recall the variety).


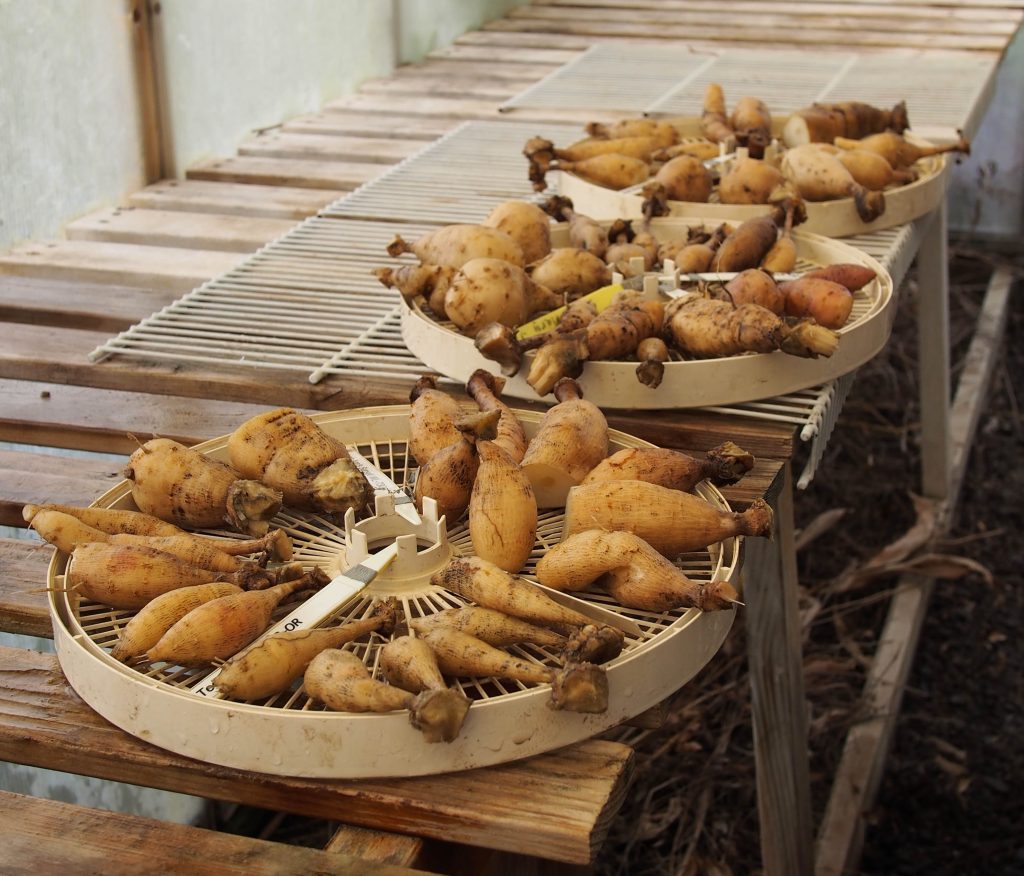
Storing Your Tubers
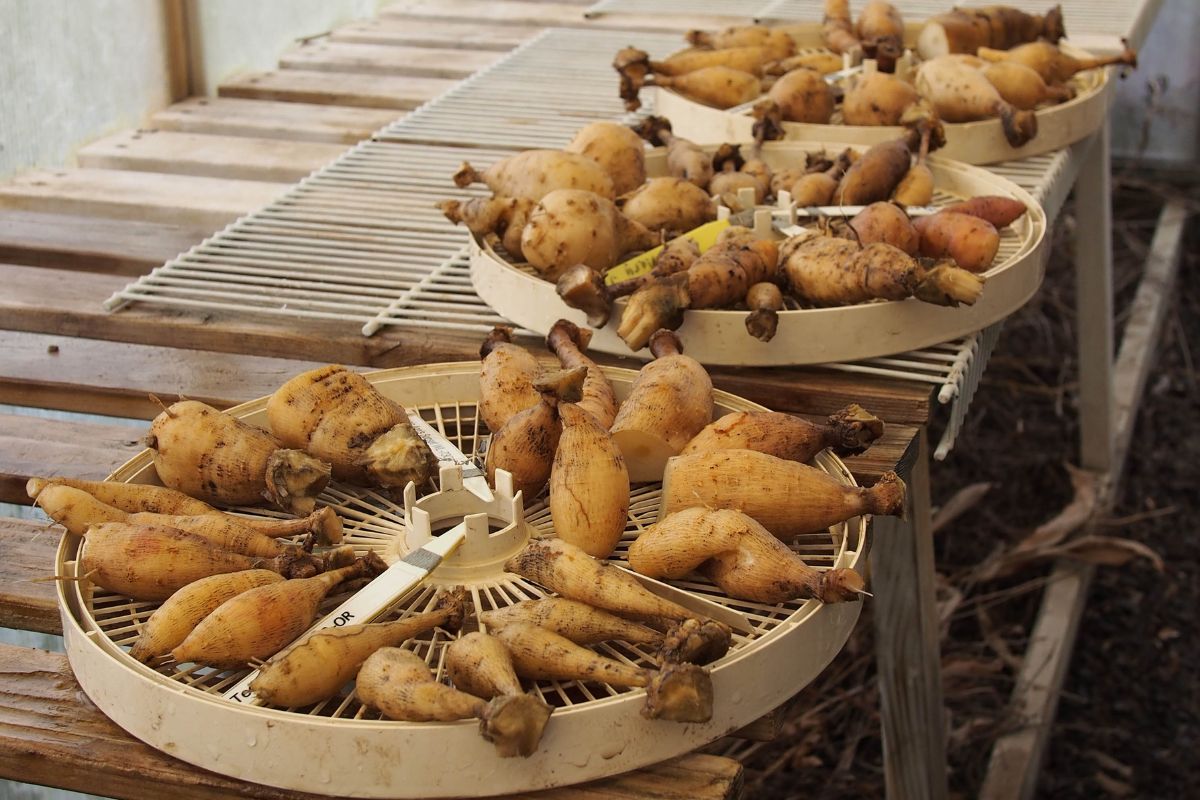
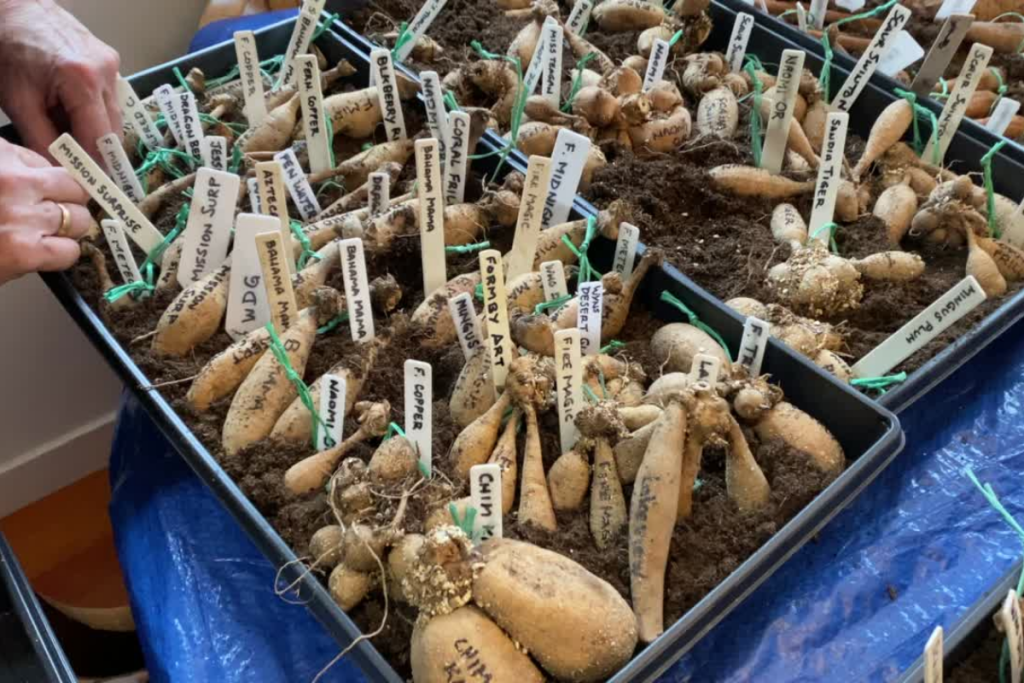
Thoroughly dry your tubers before storing them, this may take a few weeks. Make sure to dry them in a warm area with good airflow and free away from freezing drafts. Drying your tubers before storing helps to cure the tuber skins and prevent rot during storing months. Milk crates, plastic mesh trays, paper bags, or cardboard boxes are great for storage, but make sure there is good circulation in your storage devices and between the dahlia tubers.
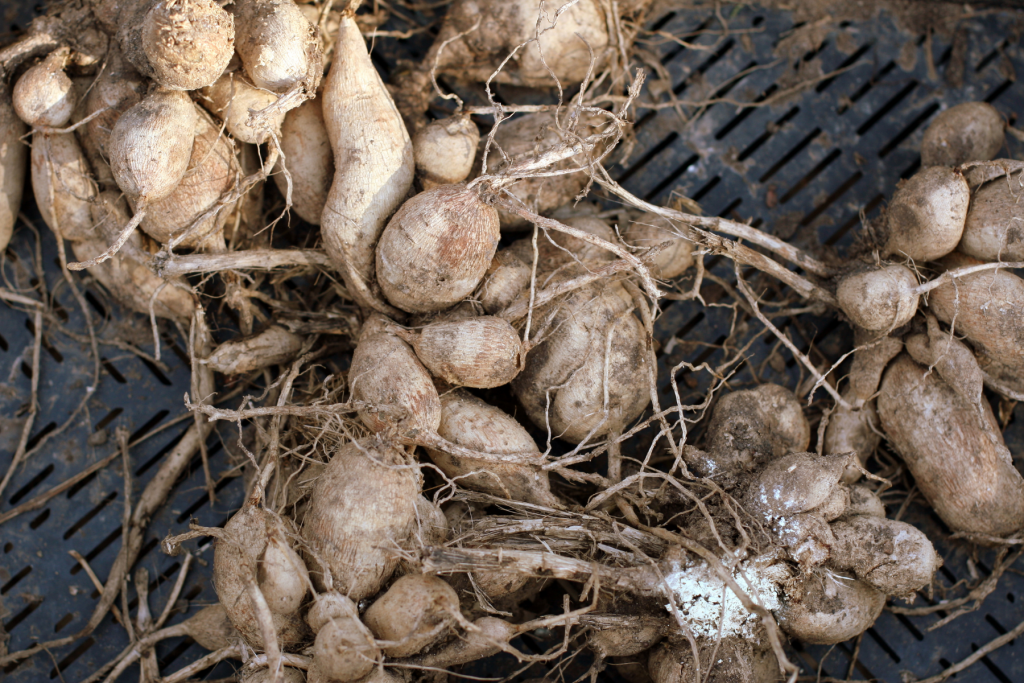
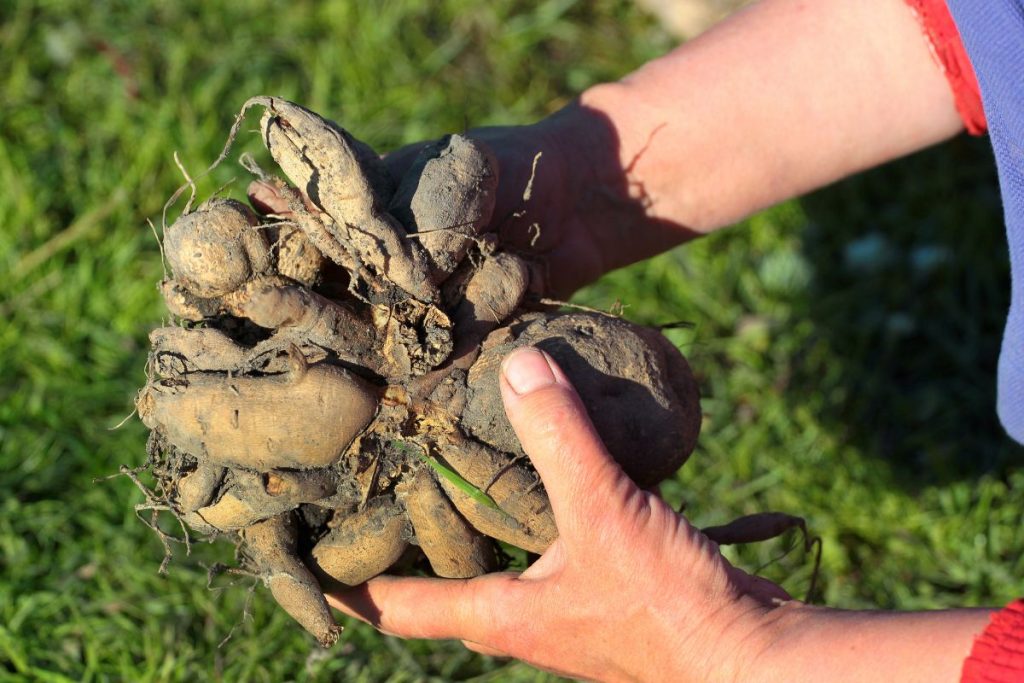
Finally, place your dried and labelled tubers in a cool, dark space over the winter where they won’t freeze. The ideal temperature is 7-13 degrees Celsius, or 45-55 degrees Fahrenheit. Try an unheated basement, attic, closet, garage, or utility room. Over the winter, visit your tubers a few times checking for signs of rot or give a light mist if they are overly shrivelled. You will be amazed at the shapes and sizes of the clumps of tubers. Some varieties produce long tubers and other golf ball shaped. Also, some varieties will produce 3-5 tubers and others will give a bumper crop of 10-20 tubers… each variety is different. Remember the purpose of the tuber is to hold enough moisture to get the eyes growing in spring, so a bit of wrinkling is expected.
Once winter has passed and March comes along, it’s time to pull out your stored tubers, plant, and enjoy for another season! For information on dahlia varieties, splitting tubers and planting, visit our blog How to Grow, Overwinter and Split Dahlia Tubers.
For information on where to find Florissa products, please inquire on our Find a Retailer page.