
Summer Harvesting Garlic
Table of Contents
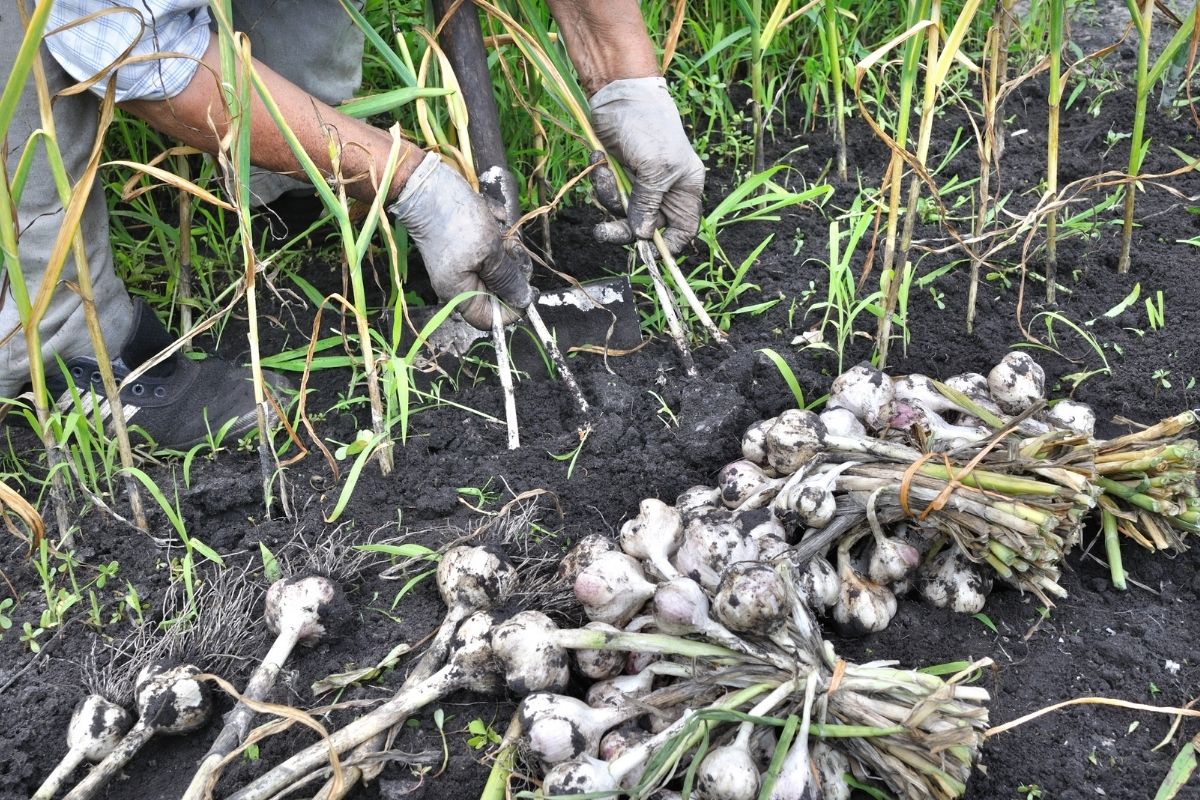
When is it time to begin harvesting garlic?
You planted the cloves last fall; they overwintered in the ground and started growing in the spring. It’s now mid-summer and the plants are 3-4 ft. tall. When the bulb you’re after is underground and you can’t see it, how can you tell when it’s ready to dig?
Some plants give us obvious signs when they’re ready to harvest. For example, take garlic’s cousin, the onion: It’s time to harvest when the tops flop over and start turning brown. The full size onions are quite visible, practically pushing themselves up and out of the soil.
It’s not so obvious when to be harvesting garlic; the signs are there, but they’re just a little harder to read.
Scapes
Garlic plants have a central stalk which grows straight up and then all of a sudden curls making one or two loops. The curling stem is called a scape and it contains a pouch where garlic seed eventually forms. You’ll want to remove the scape before this can happen so that your garlic plants can focus on increasing the bulb or clove size.
When the scape has finished curling, snap it off just like you’re picking a crisp green bean. You’ll be able to find the base of the scape because it is soft and the rest of the plant’s stalk will be rather firm and unbending. All parts of a garlic plant are edible, including the scapes, which offer a sampling of the garlicky flavour of the bulb below ground.
Harvesting garlic is only a couple of weeks away once the scapes have been removed. Stop watering the garlic to allow the soil to dry down. It’s much easier to remove garlic from dry soil as damp soil will clump and cling to the bulbs. Dry soil also gives the bulb a jump start on the curing phase.
Leaves
Above ground, after harvesting garlic, each leaf on a garlic plant is counted as one papery wrapper around the maturing bulbs. It’s those wrappers that protect the garlic and enable you to store the bulbs into winter, keeping the aroma, flavour, and cloves plump. If you lift the bulbs too late, the wrappers may be too thin to protect the cloves. If you lift too early, the bulbs may be undersized.
The green leaves on the garlic plant begin to dry from the bottom and up the central stalk. When the leaves on the bottom half of the plant have dried up and are dead, it’s time to lift the bulbs. The top half of the leaves on the plant will still be green, ensuring protective wrappers for the bulb.
You can gently dig down and around a bulb to check before lifting it from the soil. The bulb should be large, tight, with well-formed cloves.
Curing
Carry it all, bulbs and plants, to an airy, well-ventilated place out of the sun. Your garage or garden shed works well for this purpose. Place garlic bulbs in a single layer on drying racks and leave them to cure for about two weeks. Check on them every few days and turn them. The green leaves remaining on the plant will eventually turn brown and dry up.
After two weeks, cut away the dried stalk, leaving 10 cm (4”) attached to the garlic bulb so that it is easier to break apart the cloves. Trim roots to 1-2 cm (0.5-1”) from the base of the bulb. Rub the roots to release any remaining dirt and carefully remove the dirty outer layer of the papery garlic wrappers.
Store garlic in mesh produce bags, burlap sacks, or wire baskets at cool room temperatures 16-18°C (60-65°F). Good air circulation and dark or low light conditions will allow your garlic to keep 6-8 months or longer depending upon the variety.