
An Easy Guide to DIY Holiday Decor
The winter season is the perfect time to enjoy Christmas trees, snow, and Christmas lights. The holidays are always a special time of year that brings joy and laughter into everyone’s life!
I am so excited for this holiday season because it means bringing out the festive decorations and making new ones! One thing I love doing during Christmas season is decorating my home with Christmas/winter flowers. These flower arrangements make everything feel festive, warm and fresh!
This year I wanted to try out a few new projects that I can put around the house and would also make super cute and fun gifts for my friends and family. As always, I headed straight to Pinterest to find the newest inspiration and found 2 easy projects, one that I can use as a centerpiece for my dining room table and the other to hand out as little winter gifts for friends. Come, grab a free evening, a glass of wine, and join me in the festive project making as I tackle these new DIY flower projects!
Project 1: A Simple Gift for Friends
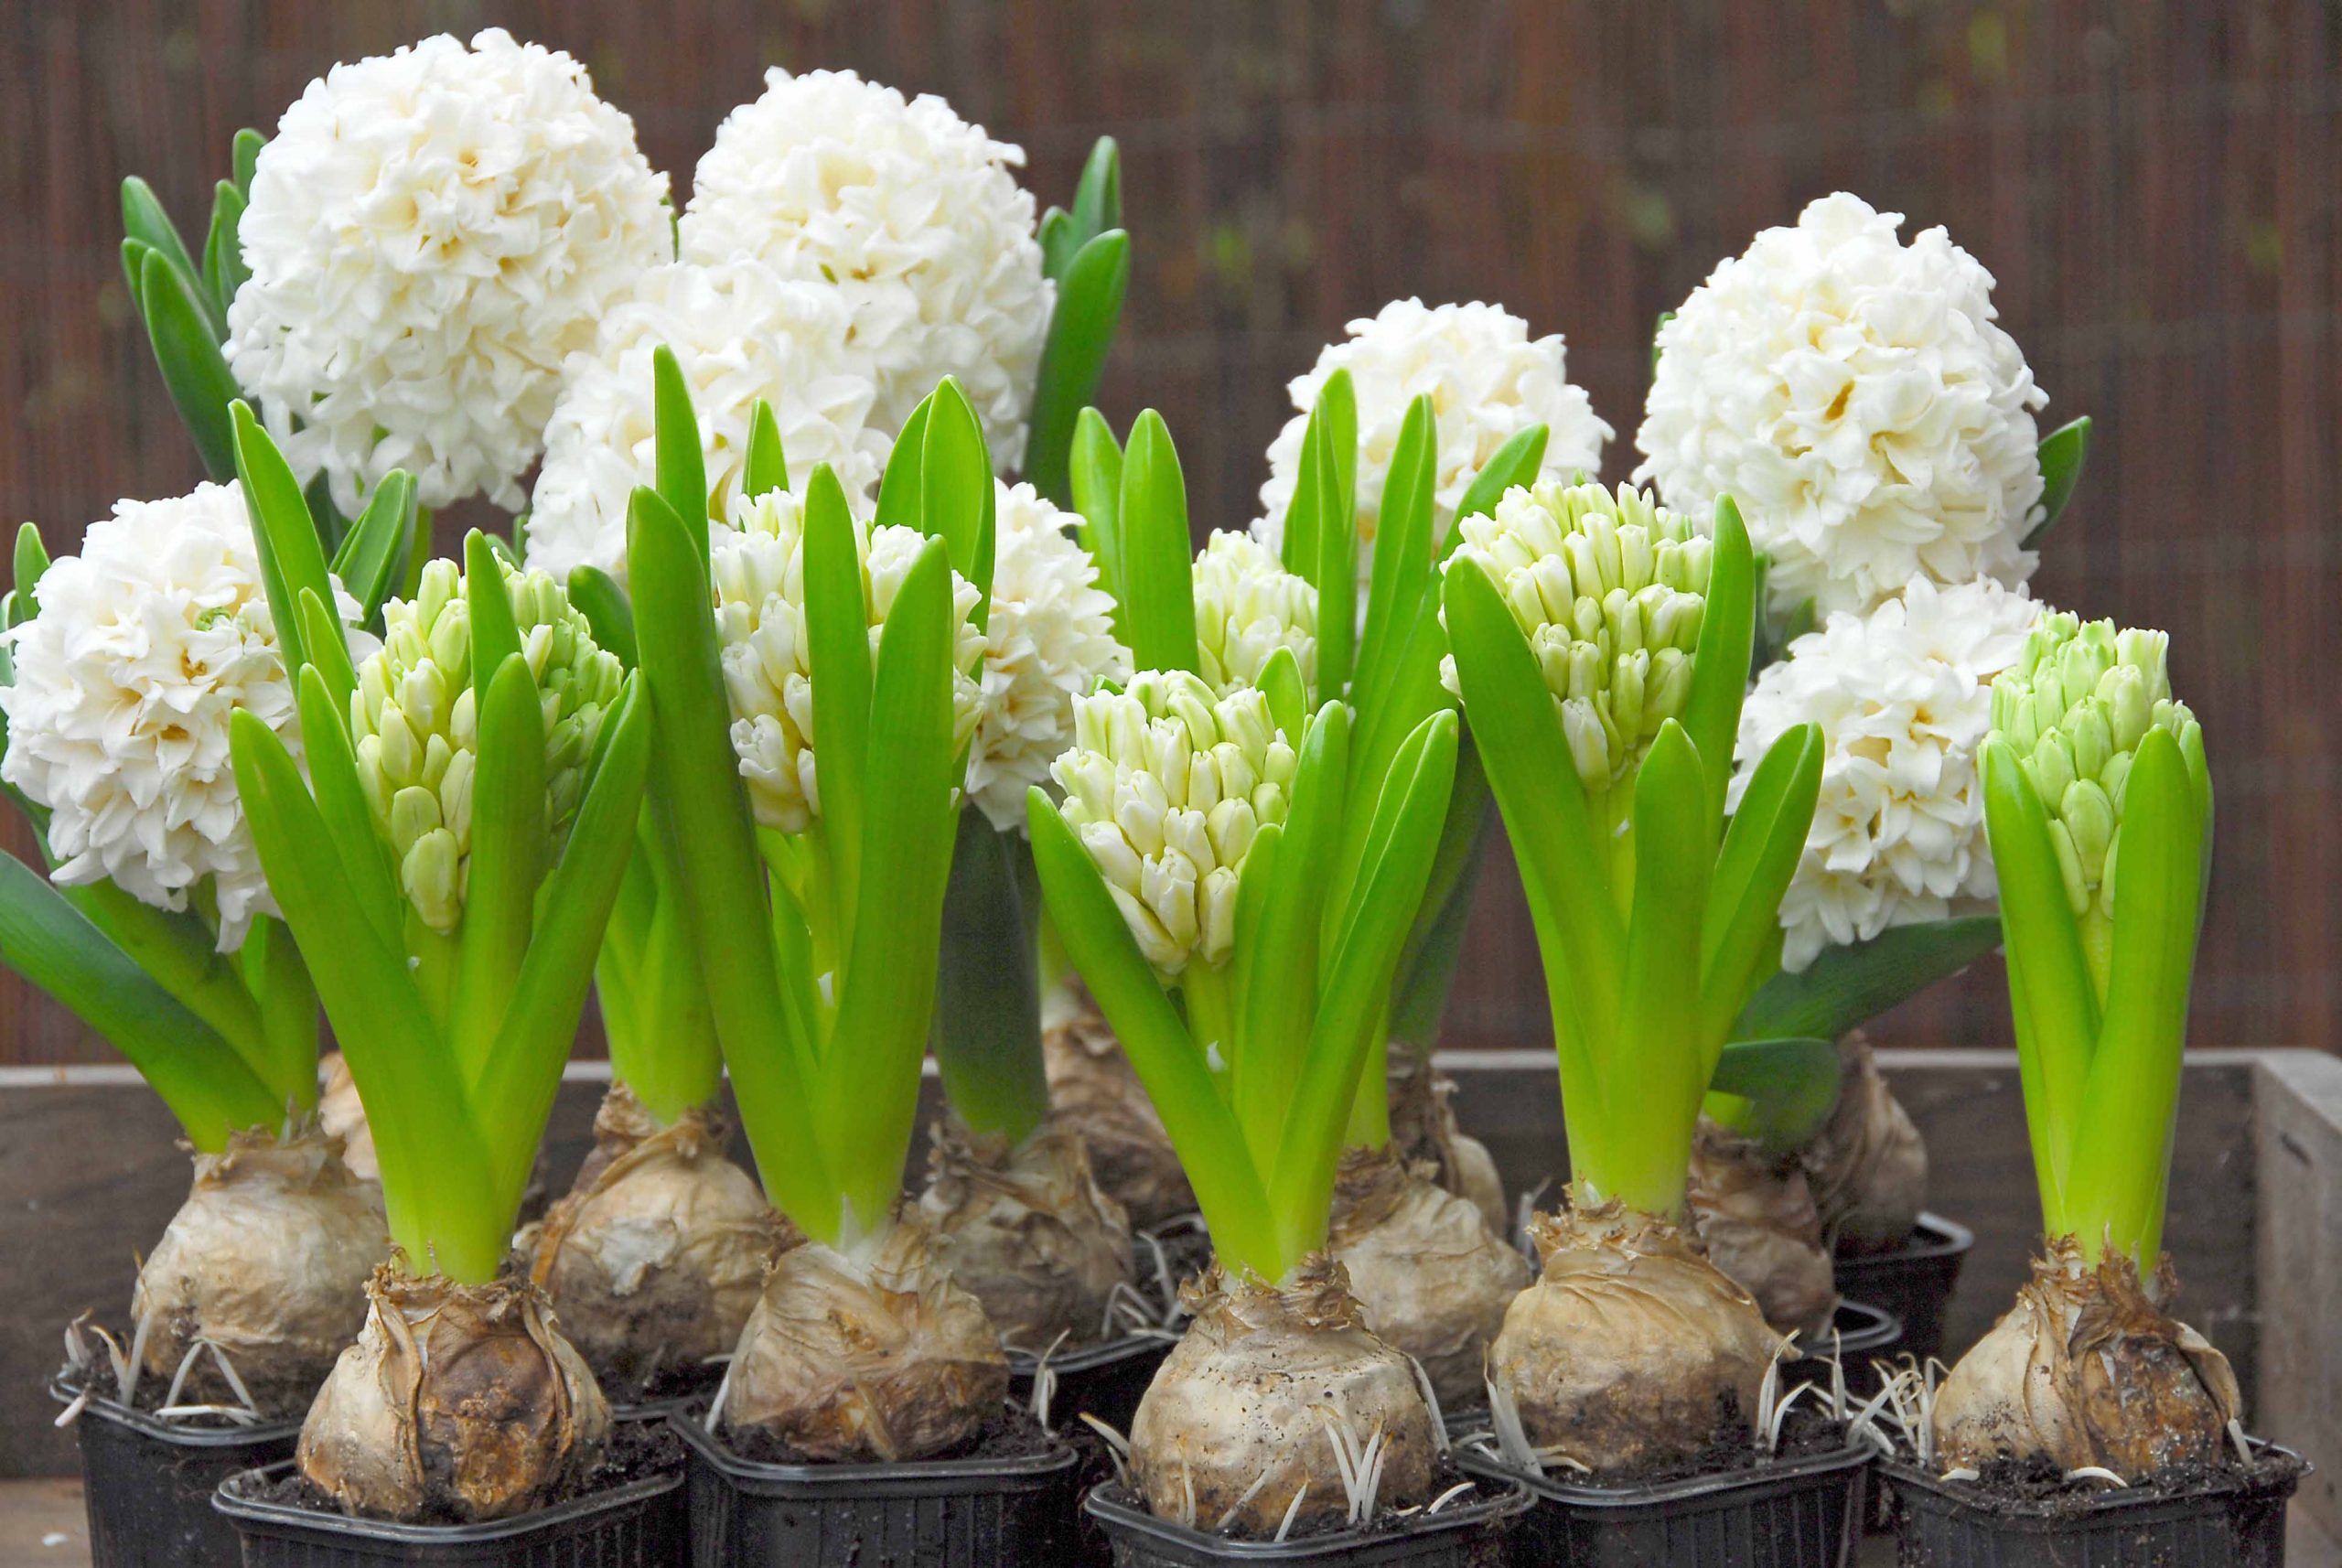
Each year as the festive season rolls around, I am always searching for different gifts to give out to friends and family other than the classic bottle of wine (although a good bottle is always welcome). This year I found a new and easy DIY gift that is simple, wonderful smelling, and a cute addition to the winter decorations. It involves prepared hyacinths; bulbs that have been pre-chilled to mimic the time spent outside in winter and are now ready to bloom quicker. Prepared Hyacinth bulbs have been dug in early in mid-June and have had a specific temperature treatment to advance the flower formation in the bulb. The bulbs still require a cool and dark period for approximately 10-12 weeks at 9°C. After this time there should be a 2-3” sprout and can be moved into a room temperature area and blooms will appear in 2-3 weeks. Bulbs planted by September 30th will be in bloom by Christmas!
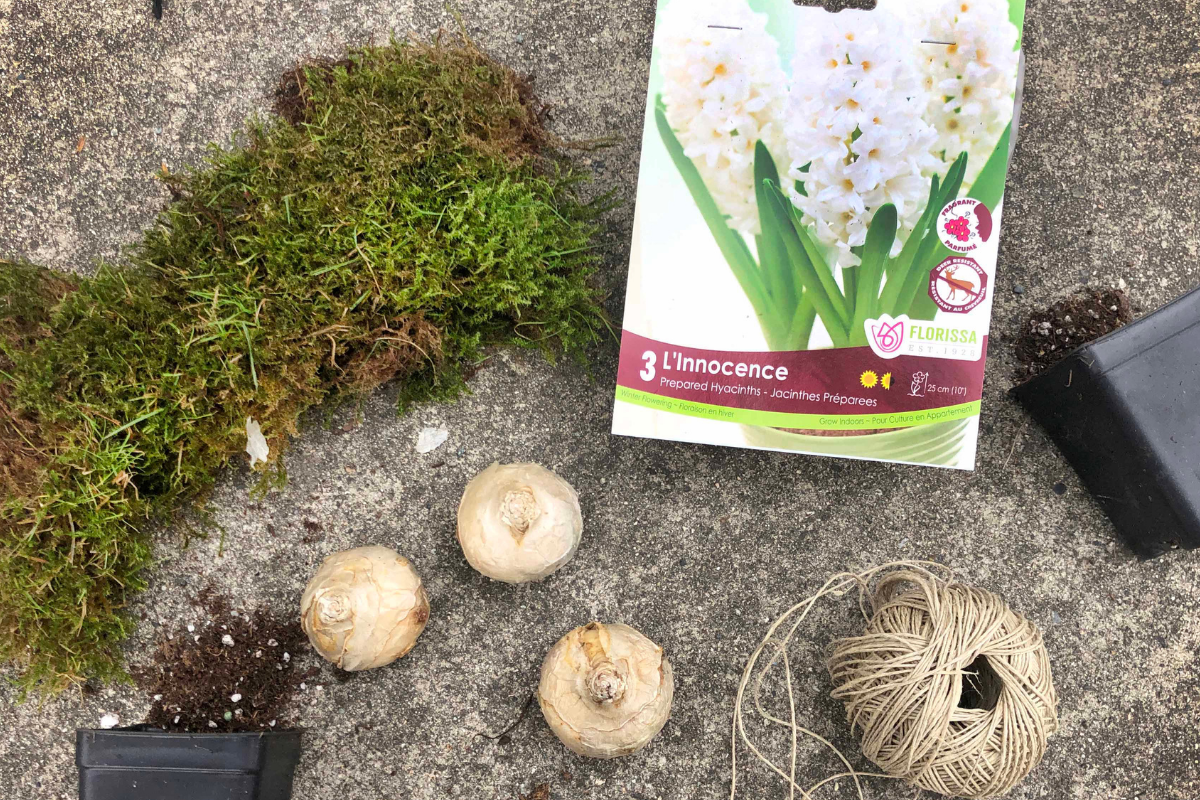
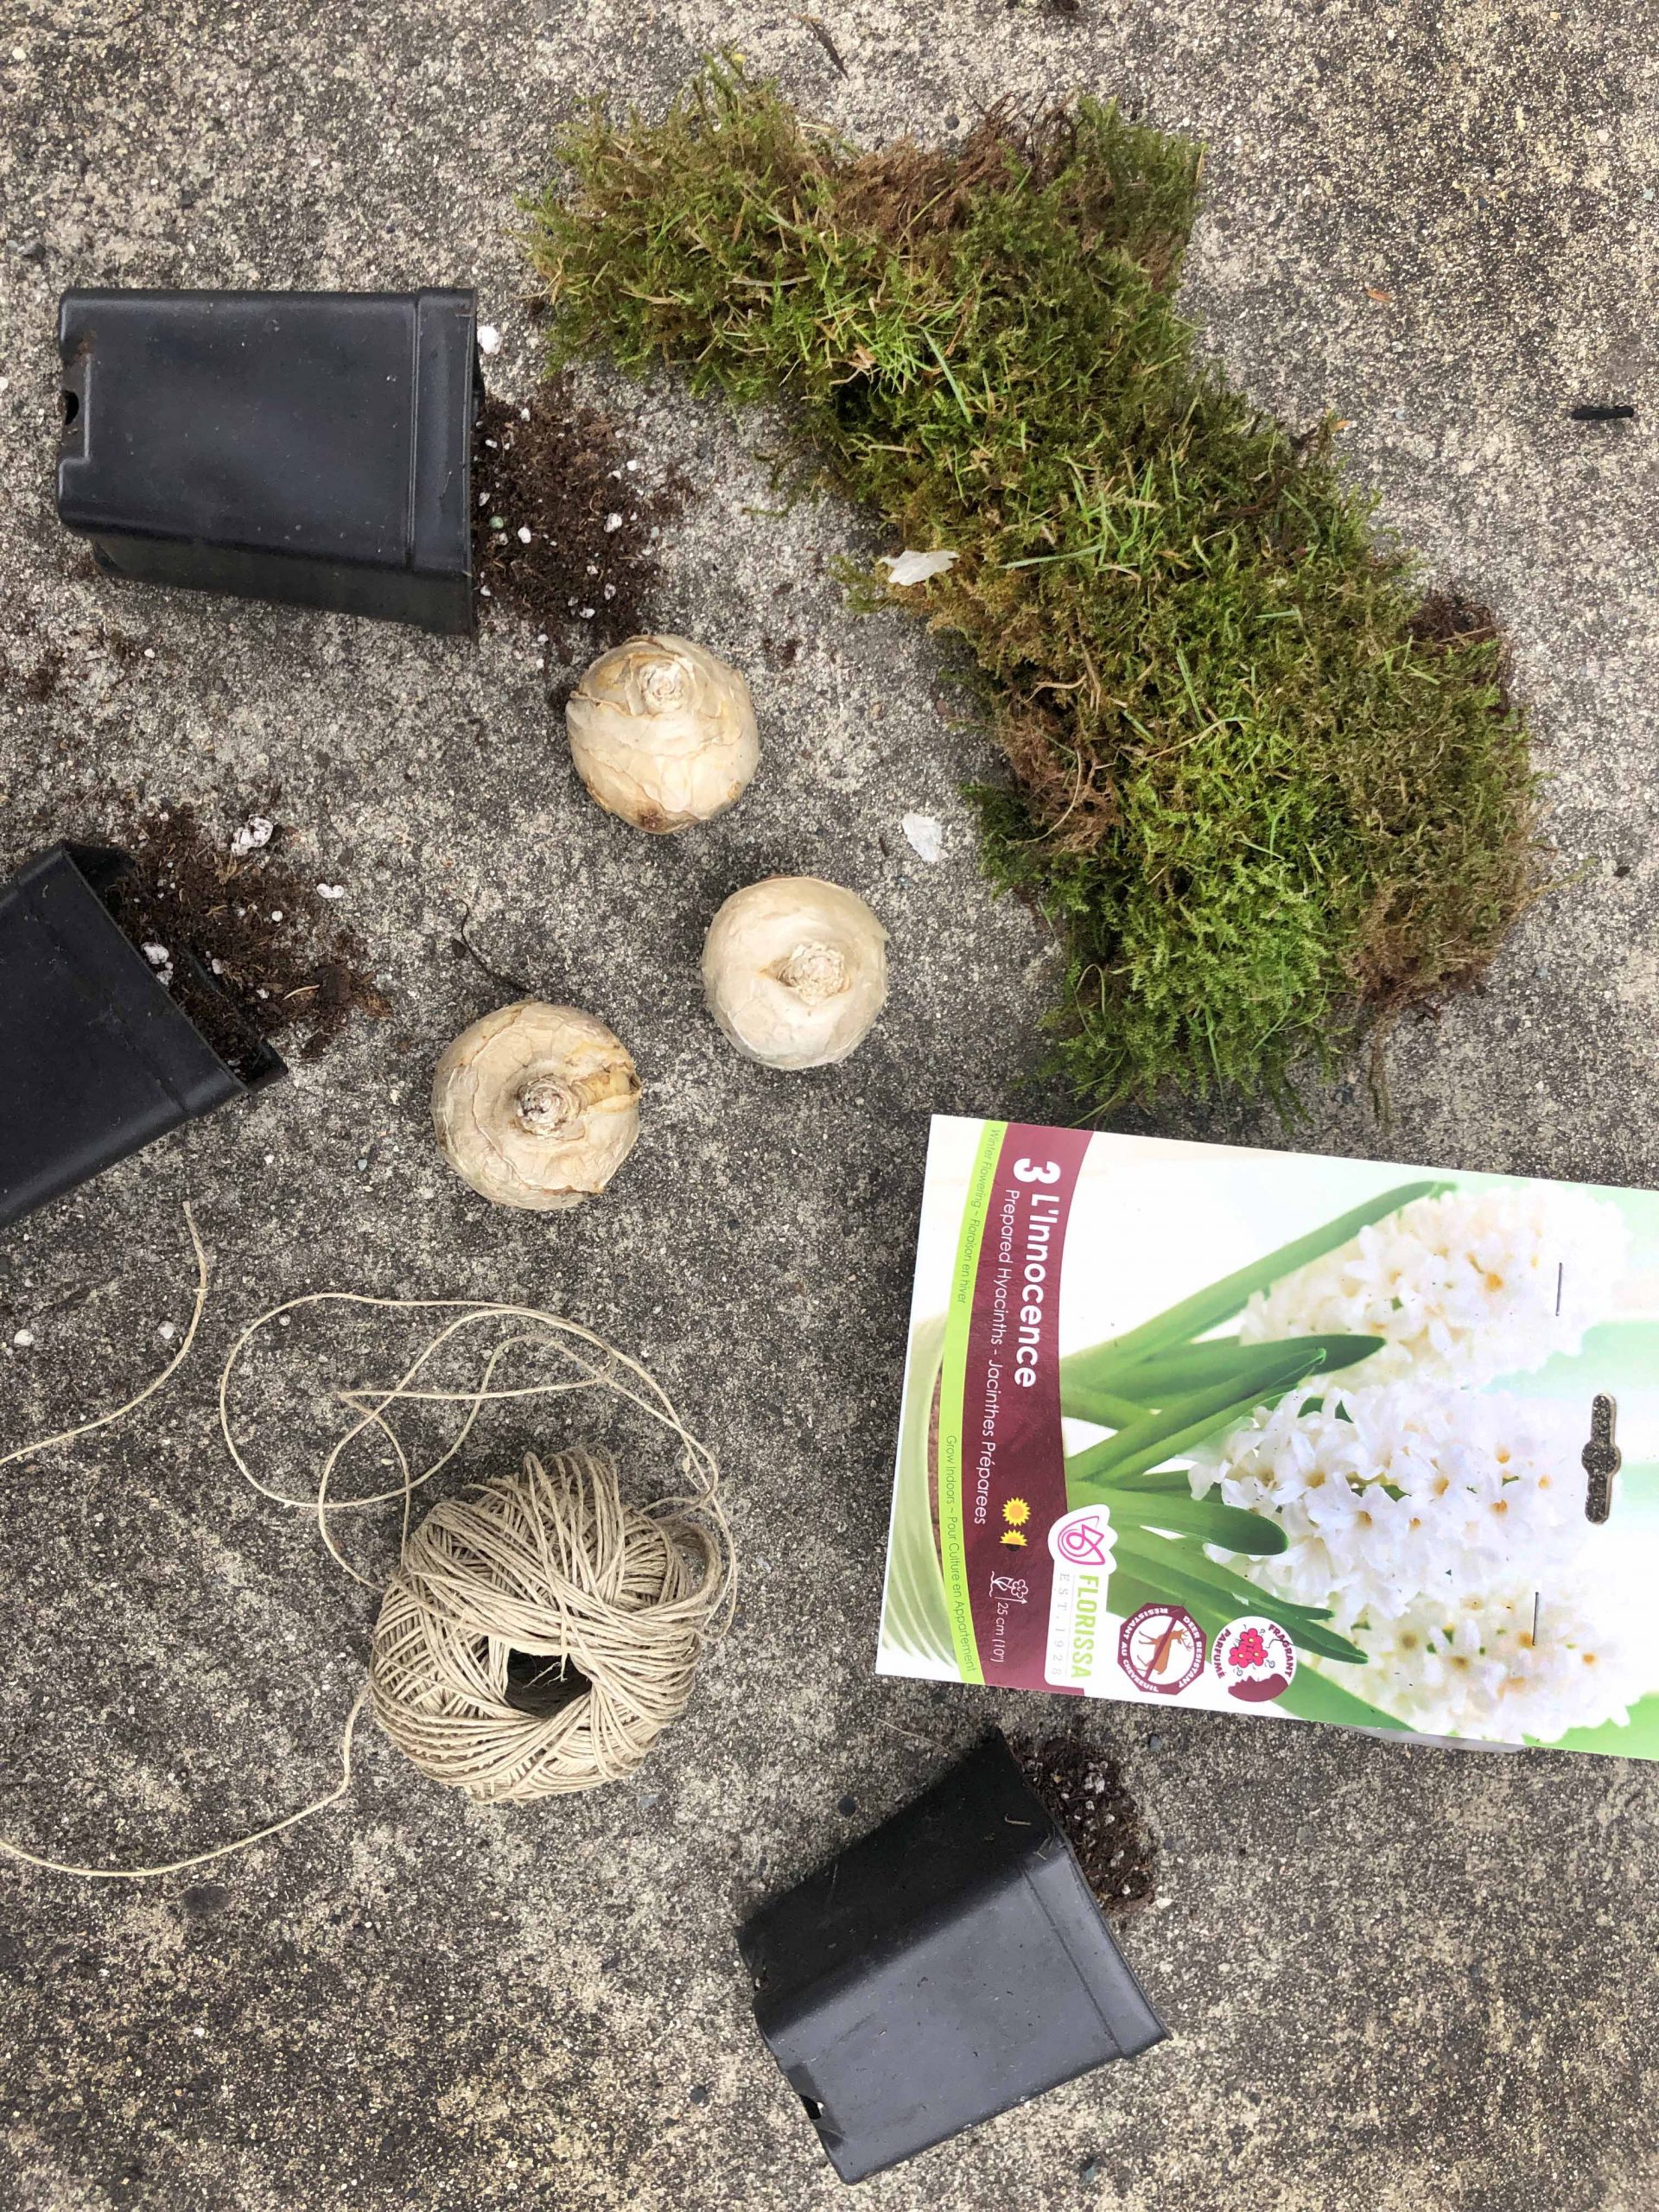
And a huge plus to using these bulbs is that when in full bloom they smell wonderful, adding a beautiful fragrance to any room. For this project (which makes 3 individual gifts) you will need:
● 3 small 2.5″ plastic pots (it can be any pot just make sure it has drainage at the bottom)
● 1 pkg. of Florissa’s L’Innocence prepared hyacinths (you can use any of Florissa’s prepared varieties)
● 8 cups of potting soil
● 1 role of 5 ply twine (you can use another size if you would prefer)
● 3 large pieces of moss
● Optional: Little wooden decoration (I bought mine on Amazon)
 Steps:
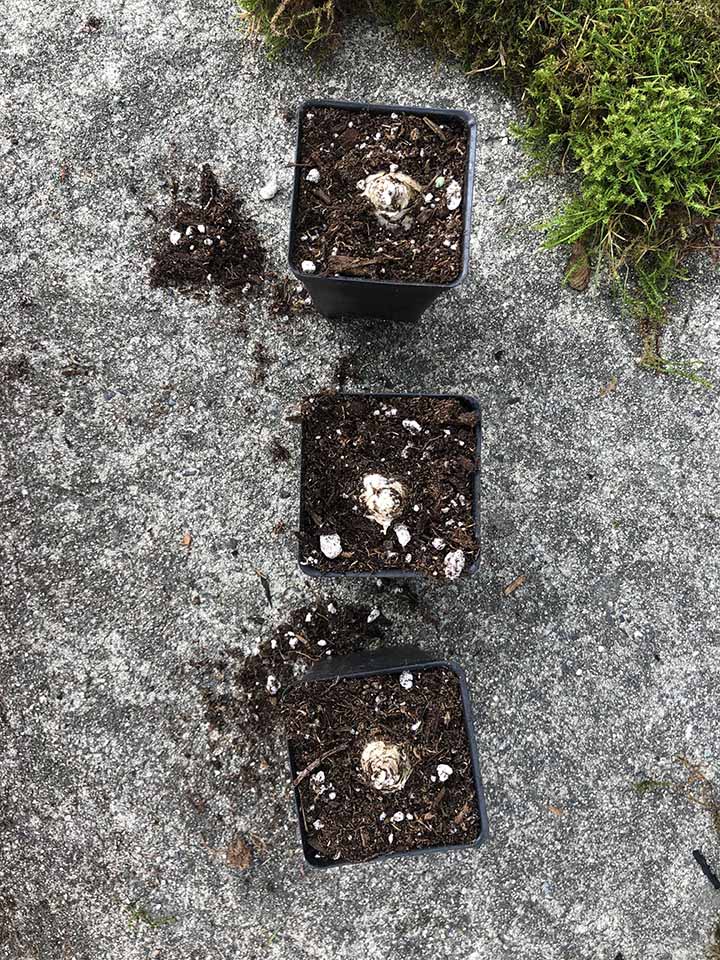
Time to start by planting your hyacinths in the 2.5 inch pots. Fill each pot 2/3 of the way with soil. Then pop 1 bulb in each of the pots and fill the pots up with more soil. Make sure the top of the bulb is just visible before patting down the top.
Now the waiting begins. Place your pots in a cool and dark space for approximately 6-8 weeks (you want the temperature to be around 9°C). Tip: If you cover the top of the pots, you can always store them in your fridge if you don’t have a cool spot in your house.
Once you see the foliage pop 1” out of the top of the bulb it is time to bring them back to room temperature. Put them in an area with a little bit of light but avoid large amounts of sunlight. Time to watch them really grow!
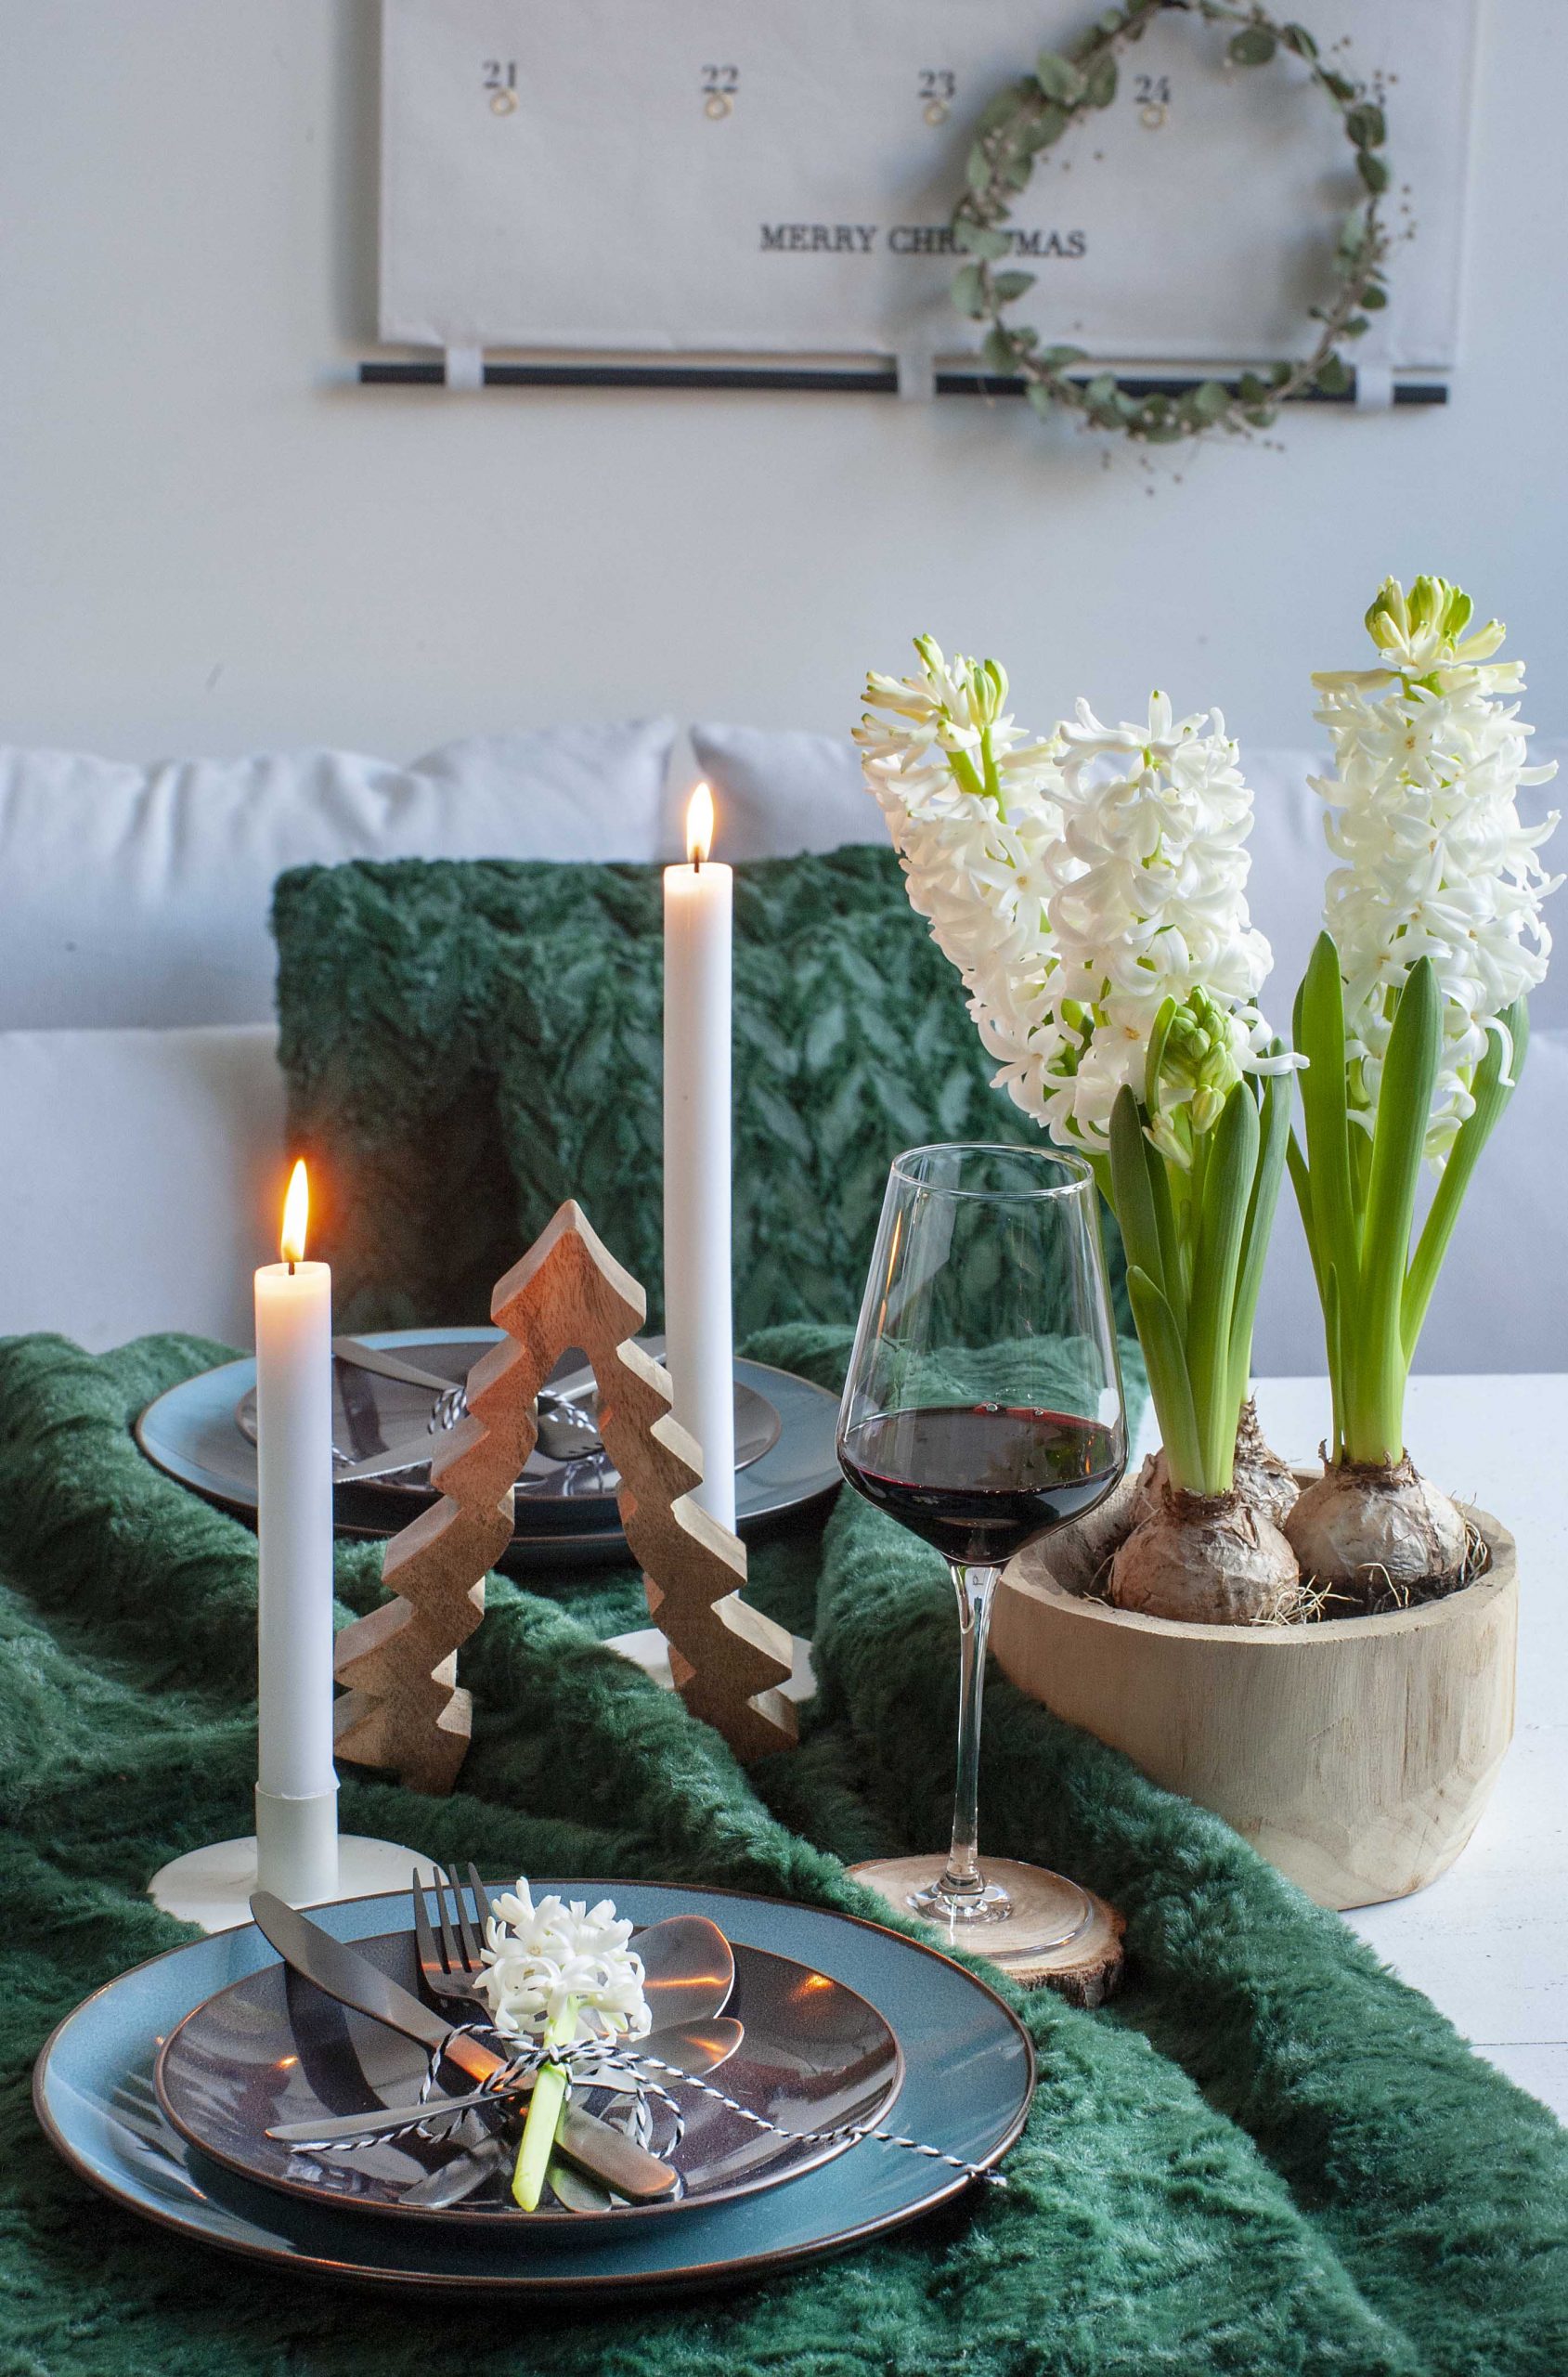
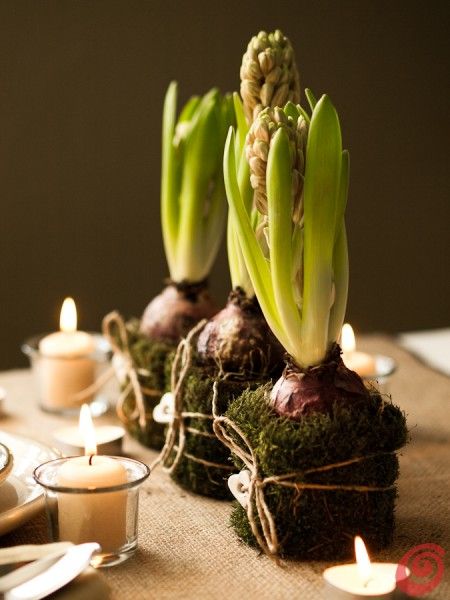
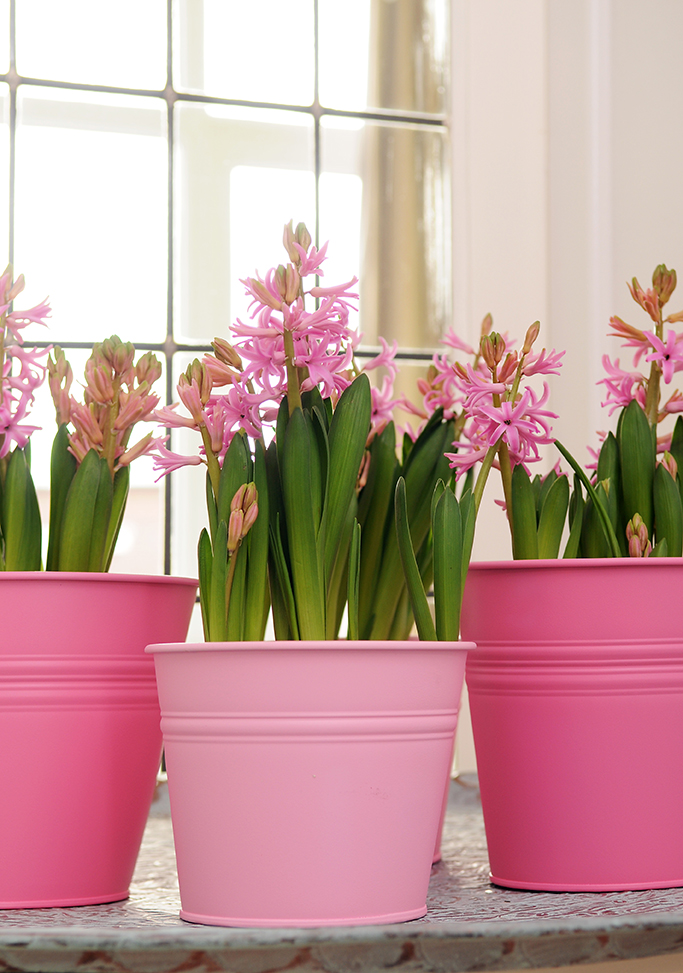
As the foliage grows, it is time to put on the finishing touches. Take your large piece of moss and nicely wrap it around your pot.
Secure it off with some twine and add a little decorative wooden decoration and you are good to go.
Put these on the table as place settings, use them as gifts for family and friends, or to decorate your own home. The beautiful scent of these flowers will just add that extra touch of beauty to the festive season!
Project 2: A Daffodil Display
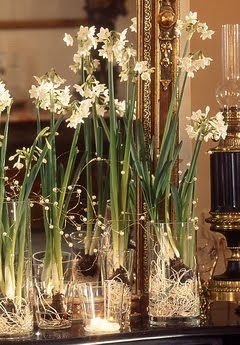
I am always looking for new ways to add in fresh and live items to my holiday/winter decorations. Indoor narcissi are one of my favourites because they are super easy to grow, smell wonderful, and bloom at a time when most flowers are asleep. Plus, they are a no fuss flower because you can grow them without any soil!
This display is very easy to make and can be used as a centerpiece or on any mantle or cabinet. All you need is:
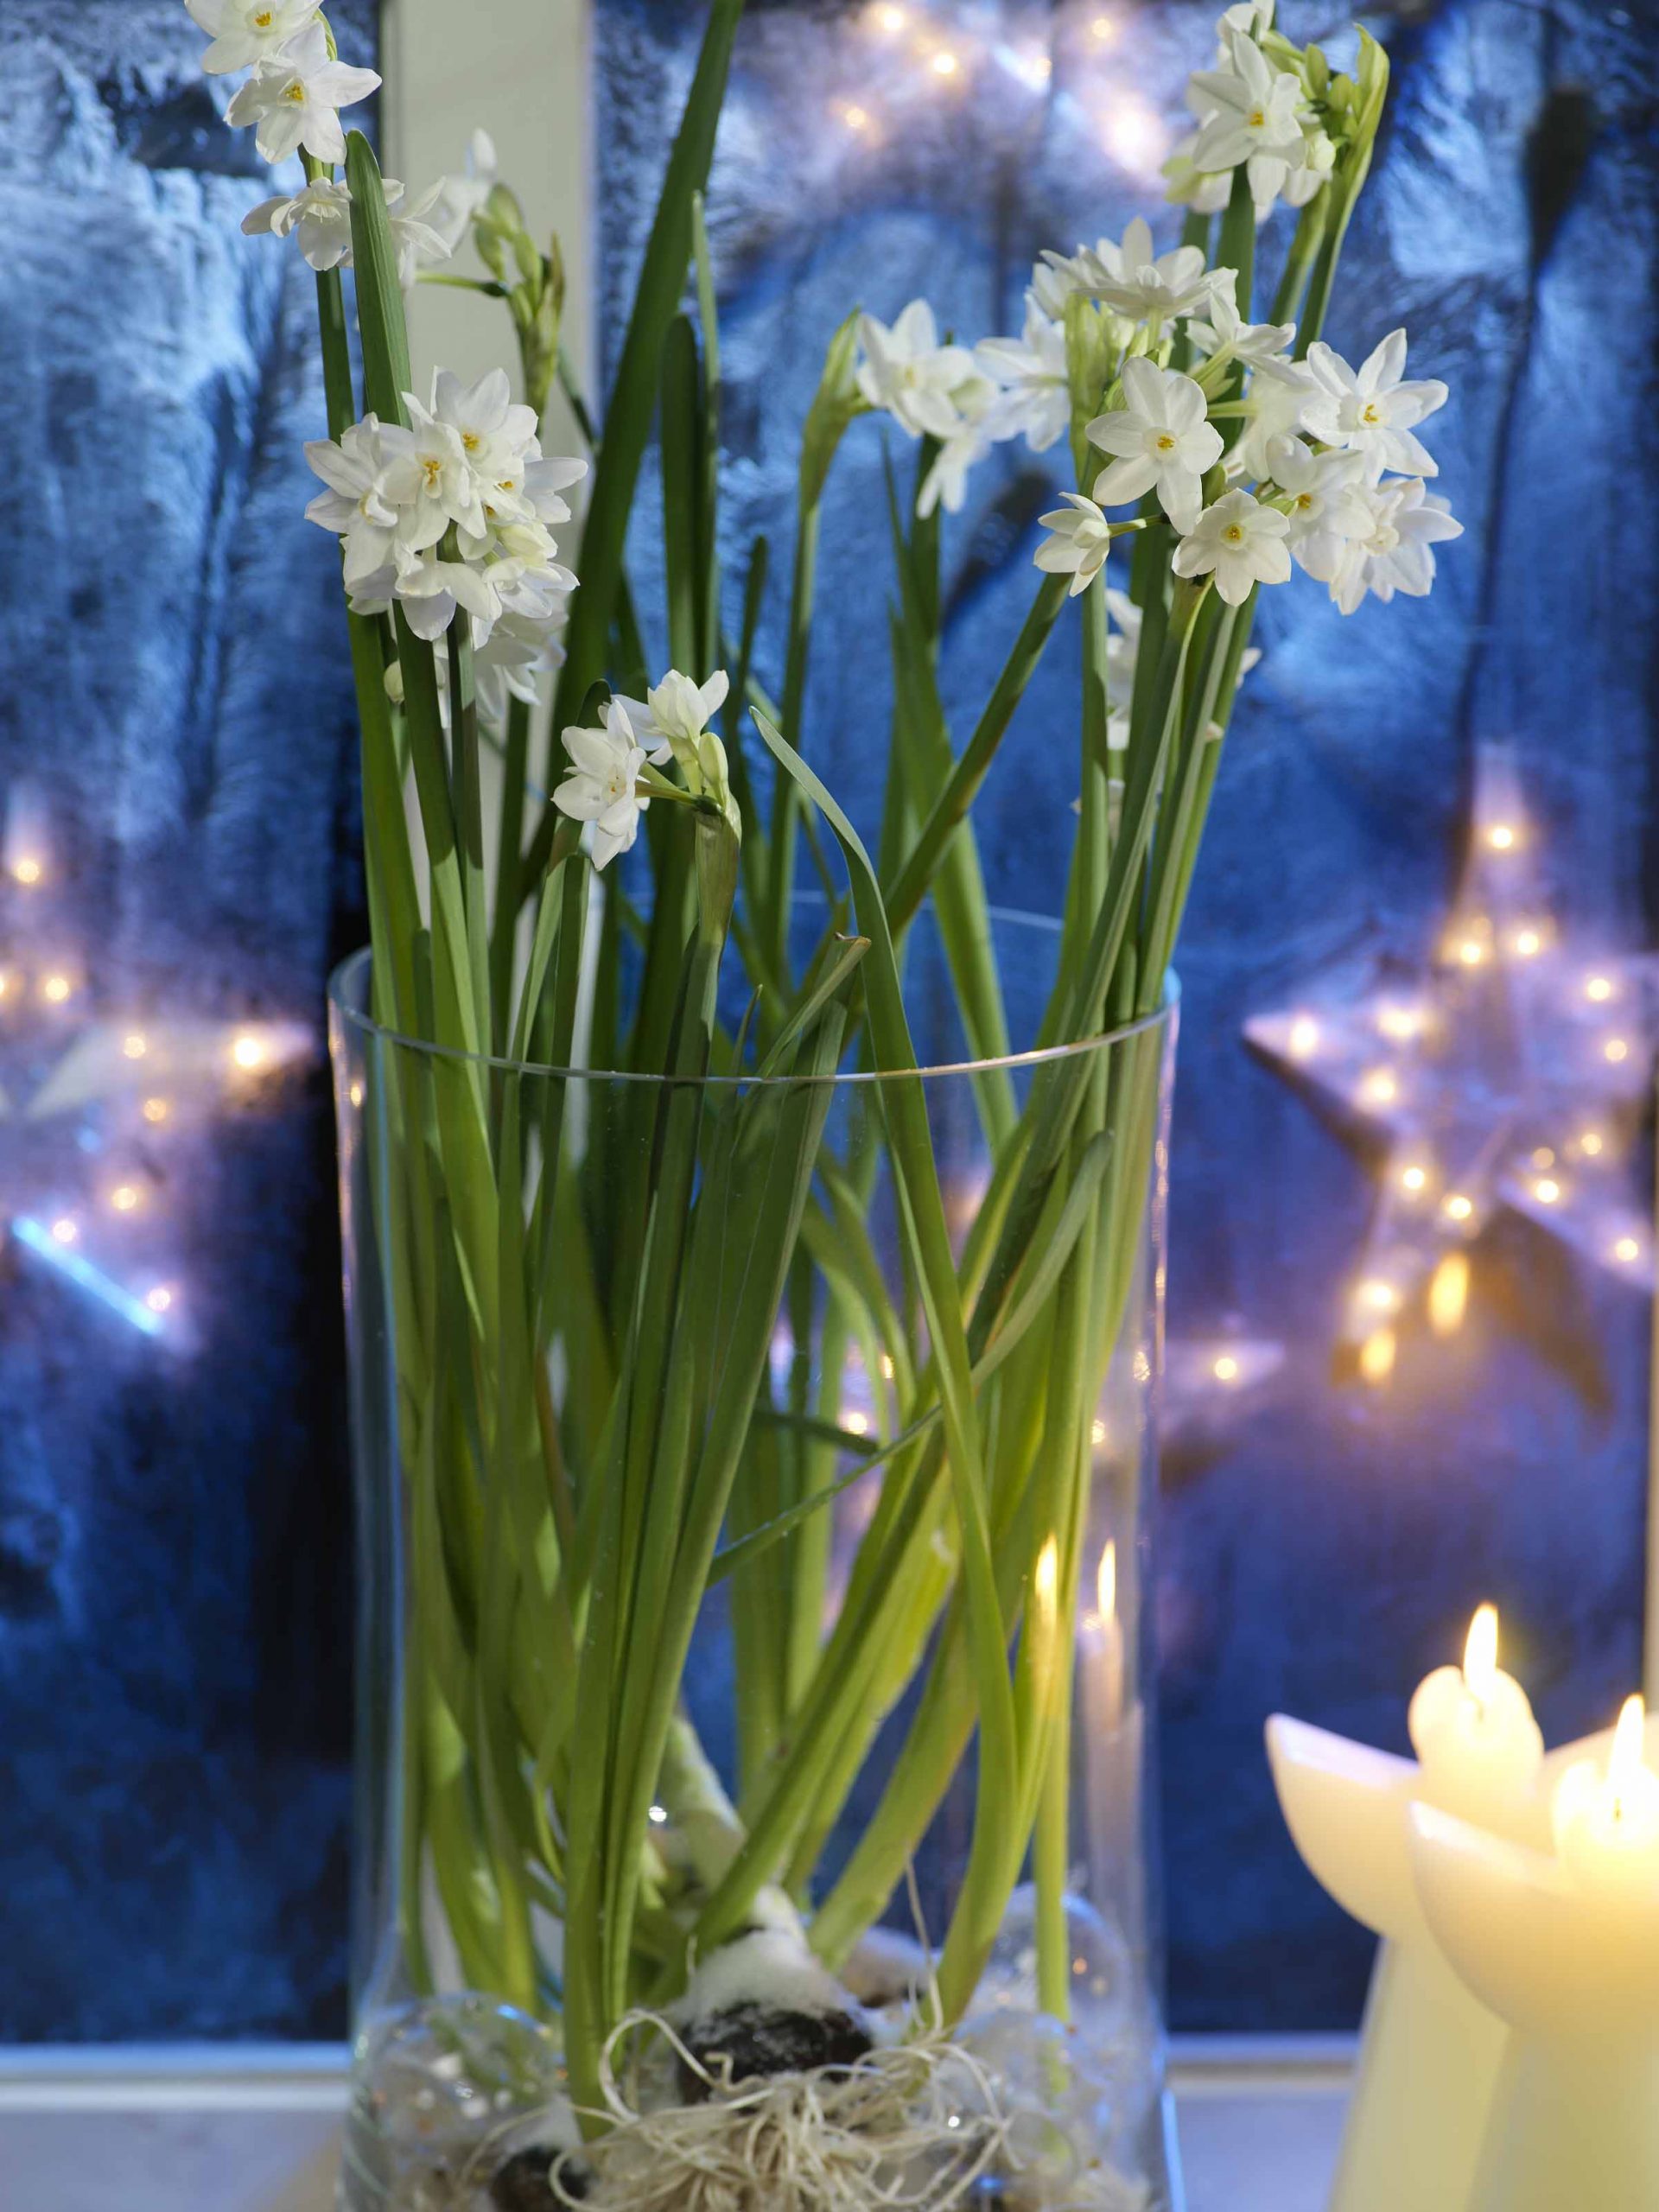
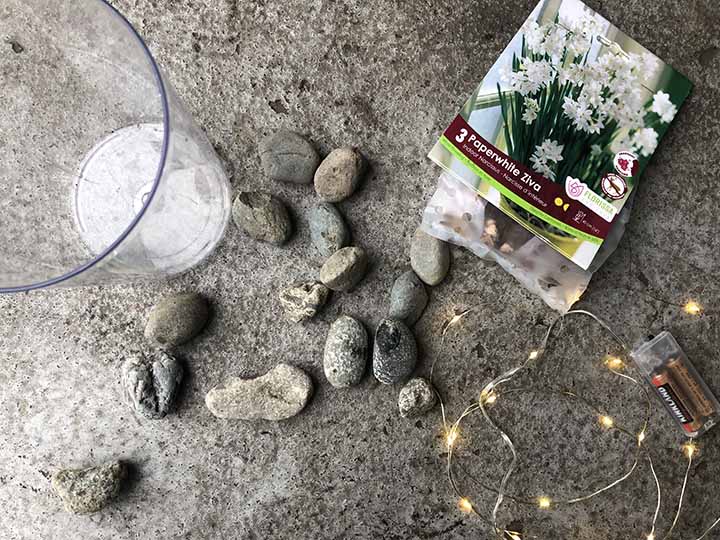
● 3 packages of Florissa’s indoor narcissi paperwhite Inbal (you can use any other variety of indoor narcissi as well)
● 3 clear cylinder vases (can be of varying heights or sizes)
● 4 cups of clean pebbles or small rocks
● Water
● 2 sets of twinkly lights (I found some online at Amazon and also from Dollar Tree)
 Steps:
Place 1 – 2 inches of small rock or pebbles at the bottom of each of your glass vases. You can add more if you want to go for a varying height effect.
Place 3-4 paperwhite bulbs with their roots facing the bottom on top of the rocks in each of the vases. Make sure the bulbs are not touching.
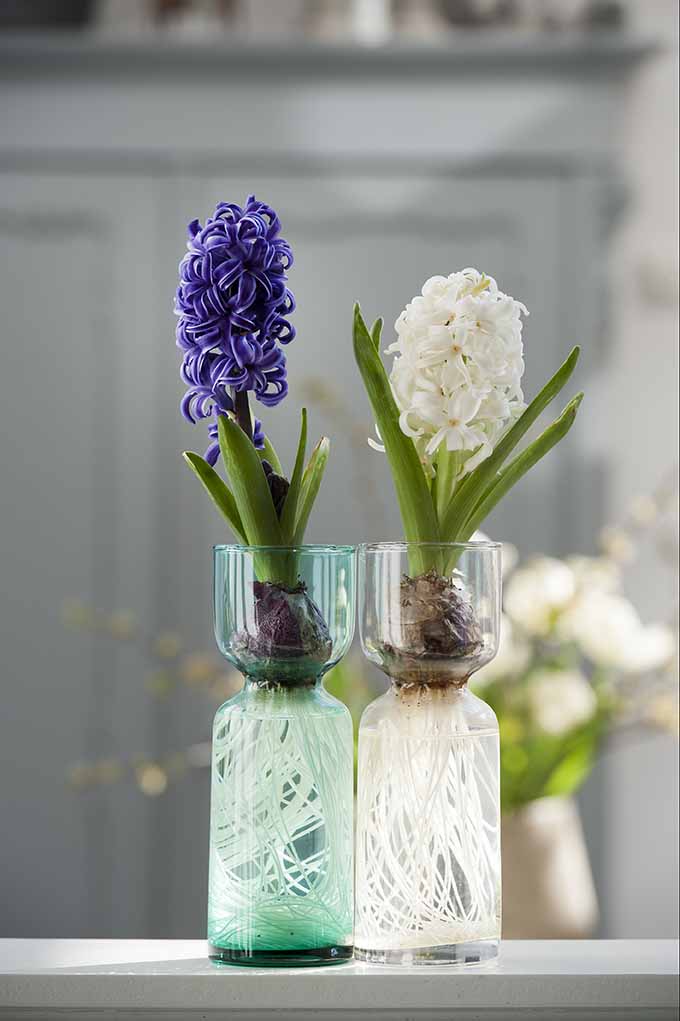
Slowly fill the vase with water about 3 mm (1/8”) below from the base of the bulbs. Make sure that the water is not touching the bulbs as you don’t want them to get moldy.
Now the waiting begins. You will start to see the roots grow into the water. Continue to make sure there is enough water at the bottom of the vase and start to watch the stems grow.
As the stems start to grow, it is time to add your strands of light. You want to do this early enough so as to not damage the flowers when they are fully grown.
And it’s as simple as that. You can put the vases on your table as a beautiful winter centerpiece with some greenery, or on your mantle to add some freshness and beauty.


It’s never too early to start thinking about how you’re going to decorate your home for the holidays. Adding flowers into the mix is just a great way to bring some freshness to the air. If you are looking for the specific Florissa product, feel free to reach out to our team we can help you find a retailer near you. I can’t wait to see how your projects turn out this winter season! Post your creations on Instagram and tag us @florissagarden!
Happy Decorating!
-Emily at Florissa