
3 Irresistible Rhubarb Recipes You Need to Try This Season
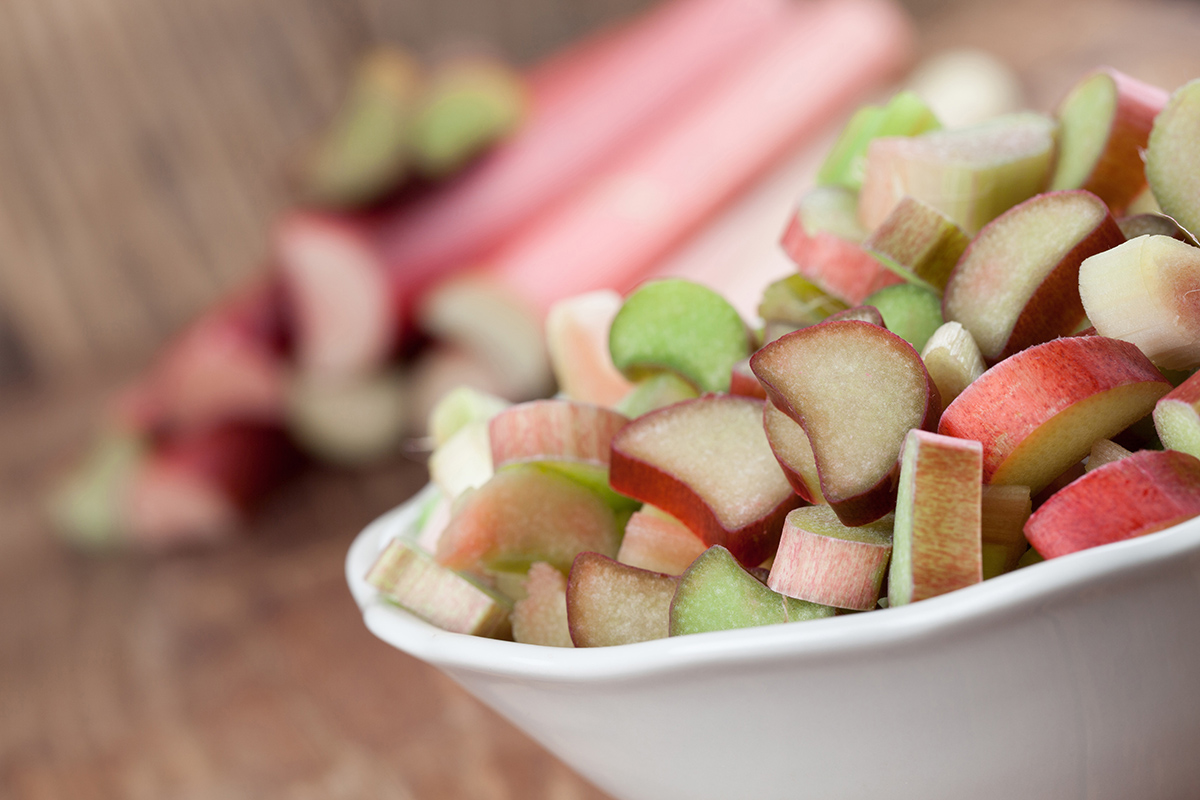
Discover the delightful versatility of rhubarb with these irresistible recipes that transform this tangy vegetable into mouth-watering culinary creations. If you have the space for large textured leaves and sturdy edible stalks, rhubarb plants are a great addition to your edible garden. Believe it or not, rhubarb is actually a perennial vegetable but in the kitchen it is mainly treated like a fruit being used in pies, crumbles, jams, and so many other delicious treats. Not only is rhubarb incredibly tasty, but it is also full of vitamins and minerals like Vitamin C, Calcium, and Potassium.
Rhubarb is a perennial plant and performs best when planted in the early spring, during the cooler months. It is quite a hardy plant – hardy to zone 3 (find your zone), so you can expect to enjoy rhubarb year after year! When planting rhubarb roots, keep in mind the mature size of the plant. Rhubarb grows to about 90 cm (3′) tall by 90 cm (3′) wide, so be sure that you choose a spot where it will have room to grow. Rhubarb is a long-lived perennial so extra planning now will ensure successful harvests for years to come. Rhubarb plants thrive in full sun but can also tolerate some part shade. The sunnier the spot the bigger your stalks will be, if it is too shady, you’ll find the rhubarb stalks will be thinner. They need moist and well-drained soil, so be sure to amend the soil by adding compost and well-rotted manure before planting. Plant the roots with the crown (where the root meets the shoots) just above soil level and water well. Be sure to keep the soil moist and not soggy all summer long the rhubarb plant is getting established in your garden. A layer of mulch to control weeds and pests can be added in the fall. In summer remove any seed stalks as they start to form, to encourage root growth. Keep the soil evenly moist all summer long. In the fall, the foliage will die back down to soil level and in the spring fresh shoots will grow. The best time to divide your rhubarb is in the fall when it has gone dormant and replant right away.
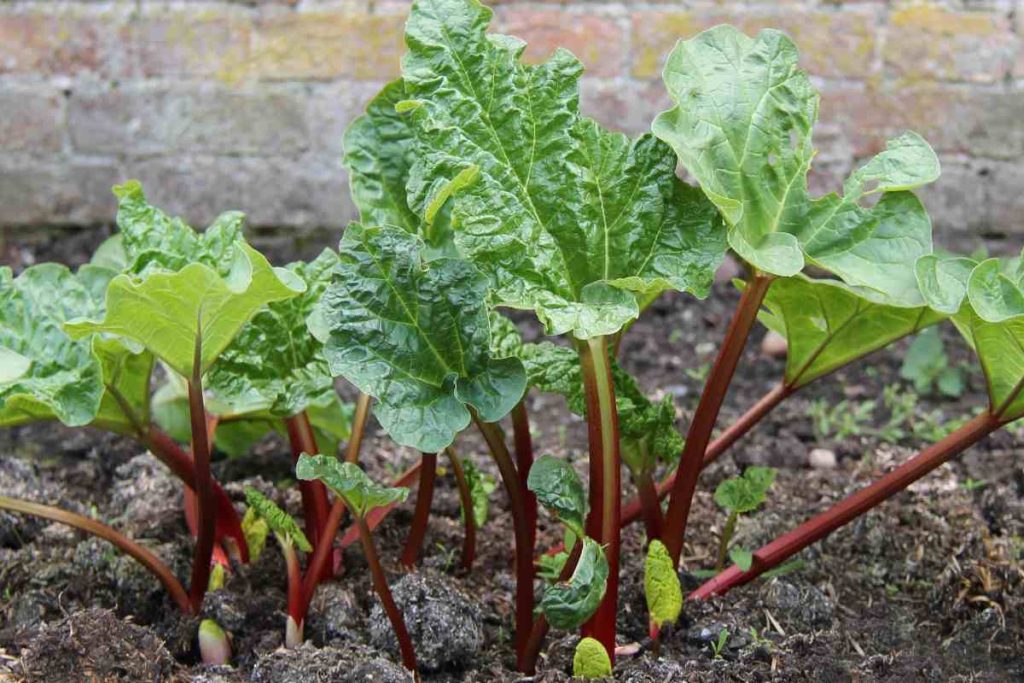

The harvest season usually begins in late spring or early summer and can last all the way until mid-summer. Freshly planted rhubarb roots should be left to establish in the garden the first year and then start to harvest the following year. When the stalks have reached their full length, you can start to harvest. Harvesting rhubarb is easy – simply grab the stalk from the side where it meets with the main crown of leaves and twist it to loosen. Harvesting in the morning when it’s cooler is best, and only gather a few stalks per plant. Immediately trim the leaves from the stalks as they are toxic and compost them. Rhubarb leaves are safe for composting as the oxalic acid quickly degrades in the pile and has no negative impact on your compost. Trimming the leaves will give the rest of the plant time to grow new stalks for another harvest later in the season.
Rhubarb is so delicious and can be used in all kinds of different recipes! The tartness of the rhubarb brings a nice balance to the sweetness that is often found in different desserts and baking. We want to share with you our top 3 must-try recipes when using rhubarb in the kitchen!
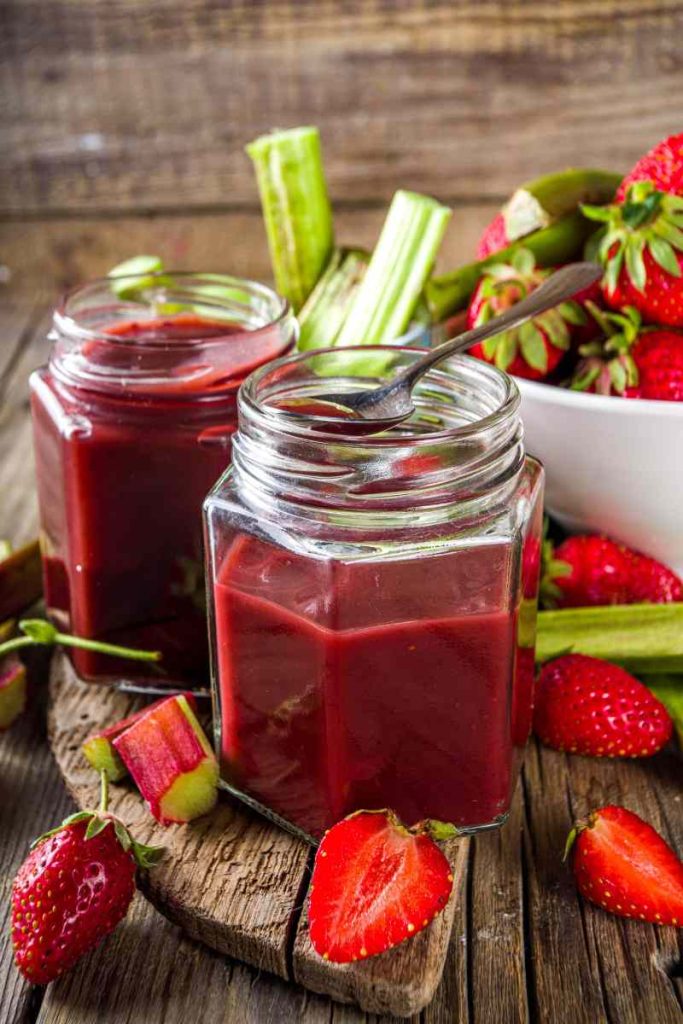
Homemade Strawberry Rhubarb Jam
Ingredients
- 5 cups rhubarb (cut into small pieces)
- 2 cups halved strawberries
- 2 cups sugar
- 1 tablespoon fresh lemon juice
Instructions
- Combine all ingredients in a large saucepan, over medium heat. Once bubbling, reduce the heat until you have a soft bubble. Continue to cook, stirring occasionally until jam has thickened, for about 1 hour.
- Make sure to sterilize your jam jars, including the rings and lids. This can be done by boiling the jars in water for about 10 minutes.
- Have a large, covered pot of boiling water ready, to submerge your filled jam jars into. Make sure there is enough water that the jars are covered.
- Fill each jar with hot jam, leaving about 1/4 inch at the top. Secure the jars with the lids and rings.
- Put filled jars into a pot of boiling water and let boil for about 10 minutes. Once finished let the jars cool, leaving them undisturbed for 24 hours. You will be able to hear the lids pop, soon after taking them out of boiling water.
- Any jars that are not fully sealed should be refrigerated and eaten within 2 weeks. Sealed jars will store in a dark, cool place for up to a year!
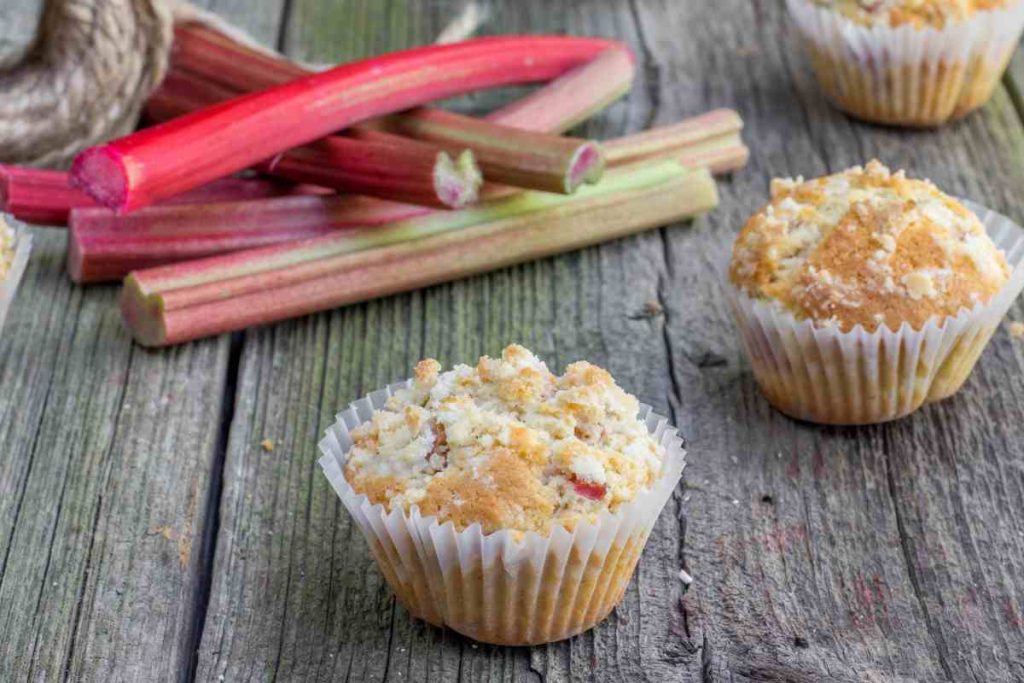
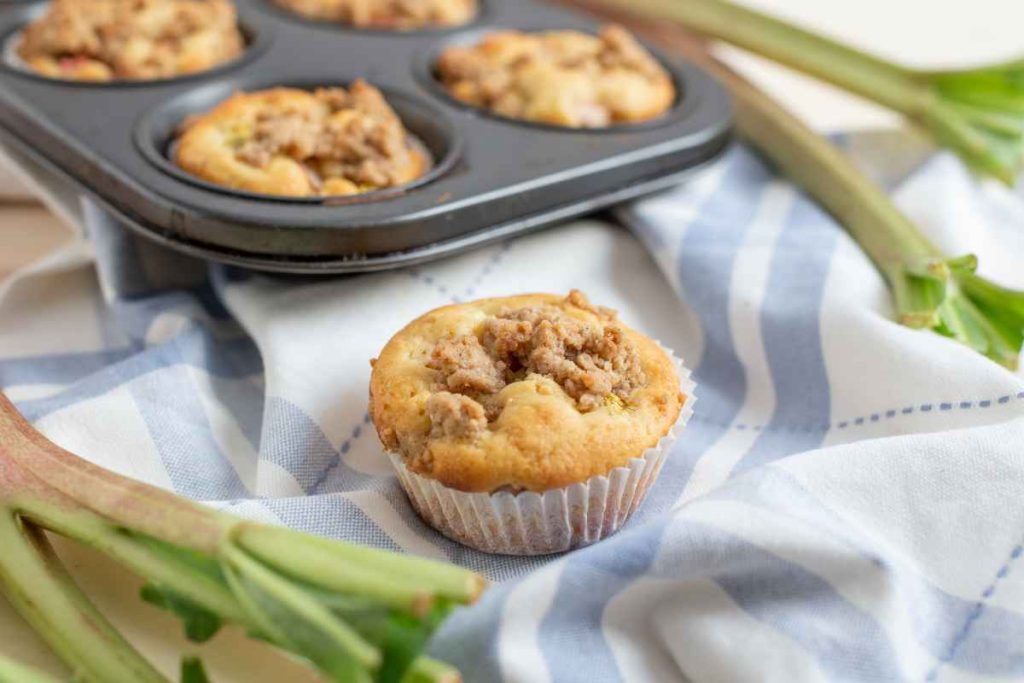
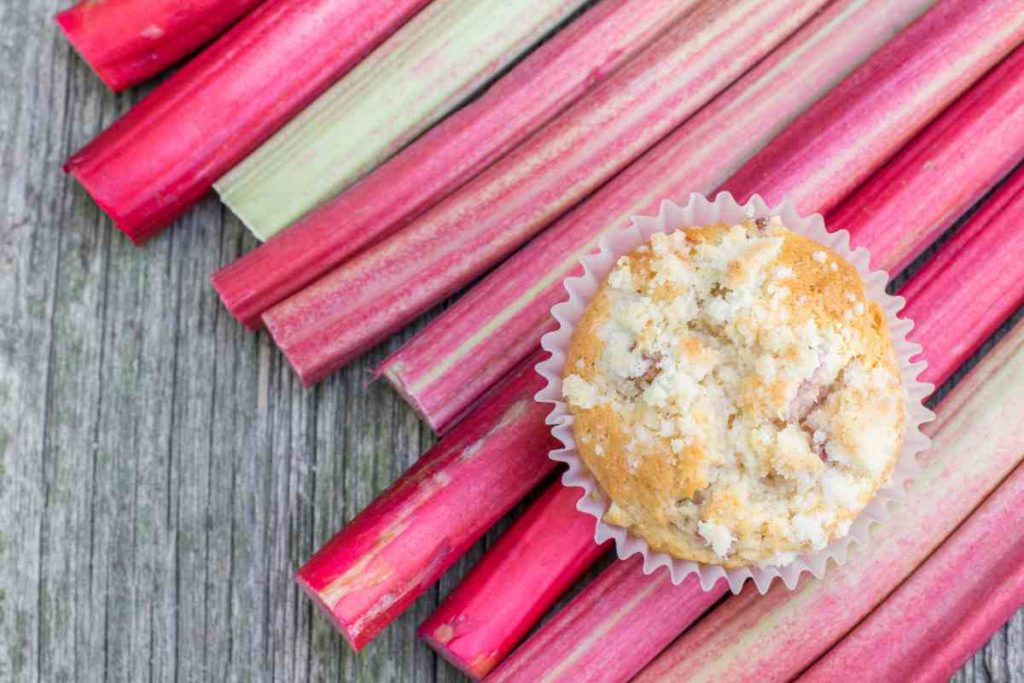
Easy Rhubarb Pecan Muffins
Ingredients
- 1 1/2 cups flour
- 3/4 cup brown sugar
- 1/2 teaspoon baking soda
- 1/2 teaspoon salt
- 1/3 cup vegetable oil
- 1 egg
- 1/2 cup buttermilk
- 1 teaspoon vanilla
- 1 cup chopped rhubarb
- 1/2 cup chopped pecans
The Topping
- 1/2 cup brown sugar
- 1/4 cup chopped pecans
- 1/2 teaspoon cinnamon
Instructions
- Preheat your oven to 325 degrees F.
- Combine all the dry ingredients. Add wet ingredients and mix only until moist.
- Fold in the rhubarb and pecans.
- In a separate bowl, combine the topping ingredients until well-mixed.
- Scoop muffin batter into your favourite muffin tins. Sprinkle the topping mix over the muffins.
- Bake for 20 to 25 minutes. Let cool for 20 minutes and enjoy!
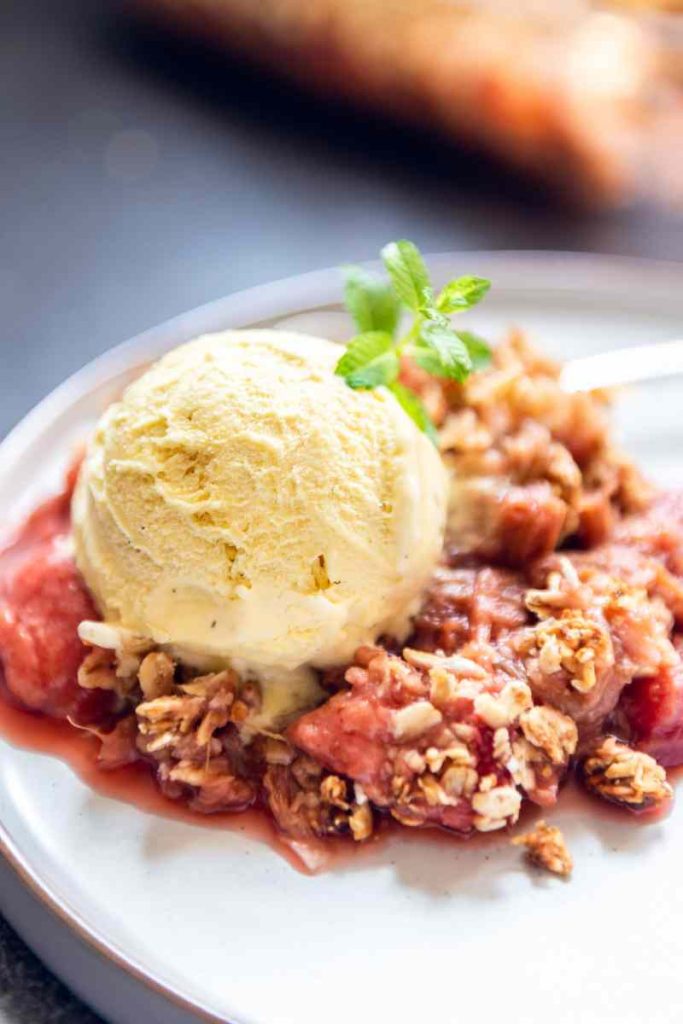
Strawberry Rhubarb Crisp
Ingredients
- 2 pounds rhubarb – sliced into 1/2″ pieces
- 1 1/4 cups sugar
- 3 cups strawberries – quartered
- 3 tablespoons cornstarch
- 1 teaspoon pure vanilla extract
Topping
- 1/2 cup unsalted butter, softened
- 1 1/2 cups light brown sugar
- 1 1/2 cups all-purpose flour
- 1 1/4 cups quick rolled oats
- 3 tablespoons canola oil
- 1 1/2 teaspoons cinnamon
- 3/4 teaspoon salt
Instructions
- Preheat the oven to 375 degrees F.
- In a large bowl, combine the rhubarb and 3/4 cup of the sugar, stir together, and put to the side. In a separate bowl toss the strawberries with the rest of the sugar (1/2 cup) and put aside.
- After about 10 minutes, combine the rhubarb and strawberries, and discard any rhubarb juice. Add the cornstarch, vanilla, and lemon juice and stir.
- Once combined, transfer the mixture into a 9 x 13 glass baking dish.
- For the topping: combine all ingredients in a bowl and mix until well combined.
- Sprinkle the topping evenly over the rhubarb mixture and bake for 30 minutes. Lower the oven temperature to 325 F, and bake for another 30 minutes.
- Let the crisp rest for 15 minutes. Serve with a scoop of vanilla ice cream and enjoy!

Rita Pearsall
Thank you for sharing. Lovely! So good. I plan to do the same and share with family and friends.