Germination: Starting Vegetable Seeds Indoors
Winter is definitely still here, but that doesn’t mean we can’t start planning for the spring garden! One way we like to get ahead for the spring season is to germinate seeds indoors during these colder months. This is a great way to get a jump on planting and will give your plants a head start once the warm weather arrives. Just remember, although you may be itching to get your hands dirty again, it’s important not to start your seeds too early. It’s better to be on the later side than early, so you don’t end up with leggy plants. Don’t worry if you think you’re too late! Some questions you may ask are how to start seeds or when to start seeds indoors? Make sure to read each seed packet to see how long the germination time is and go from there!
When planning what to start indoors, there are some crops that will produce better when they are given time to develop their roots indoors where they are protected from harsh weather. Vegetables like cauliflower, celery, and peppers all have roots that take longer to develop. Also, vegetables like tomatoes and eggplants are very vulnerable to the cold temperature swings of the early spring. It’s important to remember that although many do like to be started indoors, there are also many seeds that like a direct sow into the ground as they don’t like their roots to be disturbed! Make sure to read your seed packets before you start them indoors. Now head down to your local garden centre and pick your favourites!

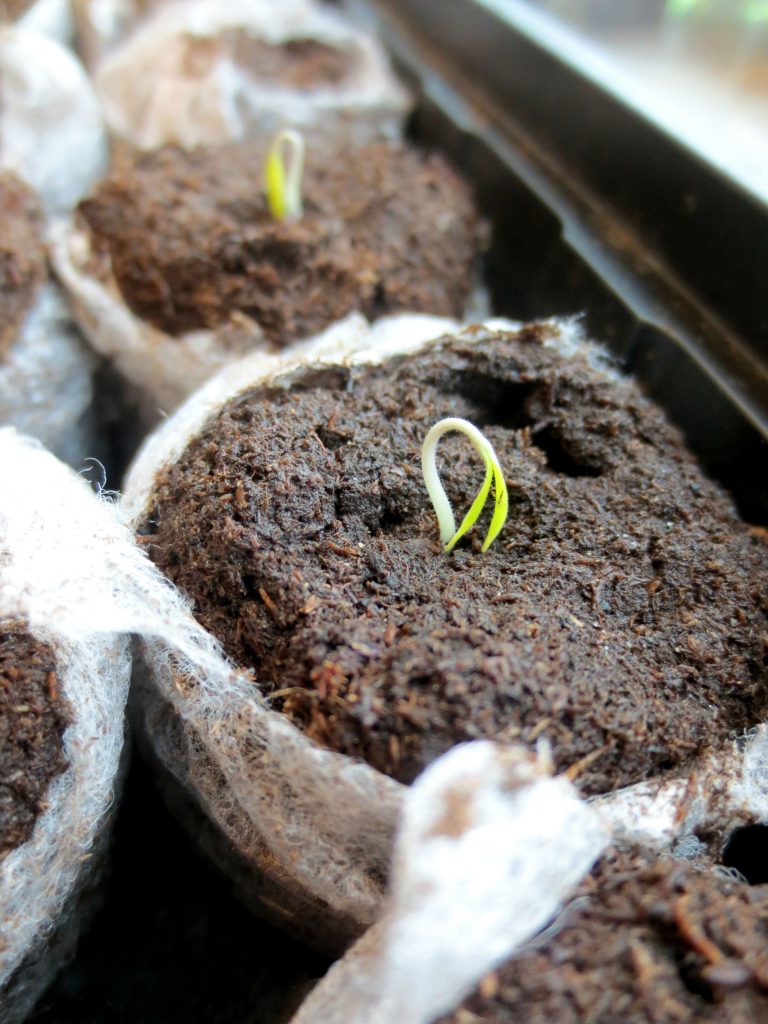
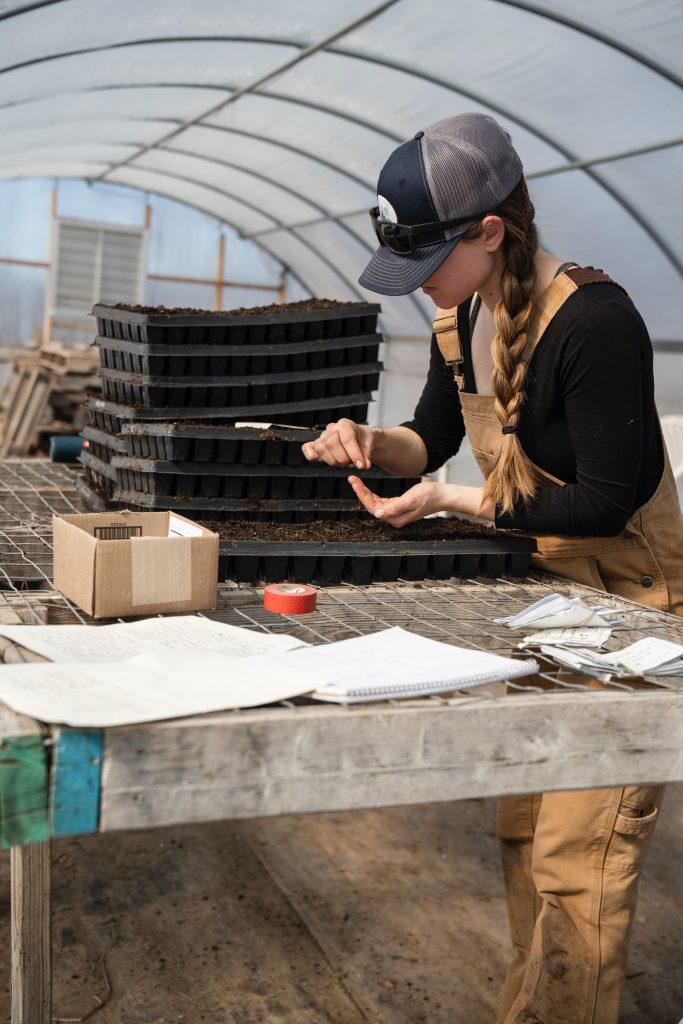
Table of Contents
Find the Right Spot
So now that you’ve picked out the seeds you want to sow, how do you begin? Well, many seeds need water and warmth to germinate or sprout. Find a place indoors that gets a lot of light, at least 12 hours of light is best to grow strong seedlings. You can use a grow-light to increase the available light time too. As well as a place that is warm enough, generally seeds like to have temperatures between 18°C to 24°C. This allows for them to germinate well. If you have trouble getting the right temperature, try a seed starter heat mat and once they break out with green sprouts, move them off of the heat pad and start another batch.
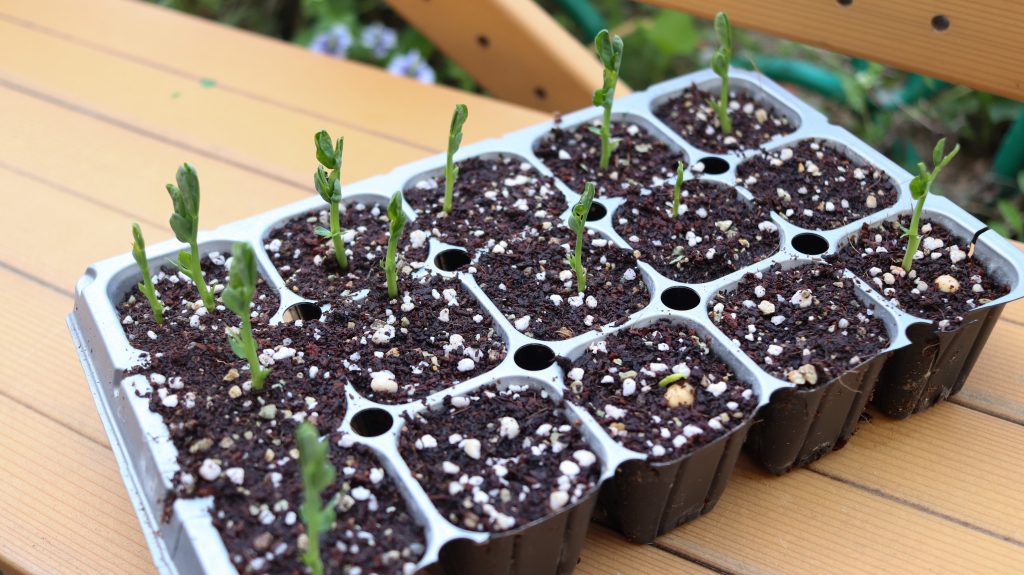
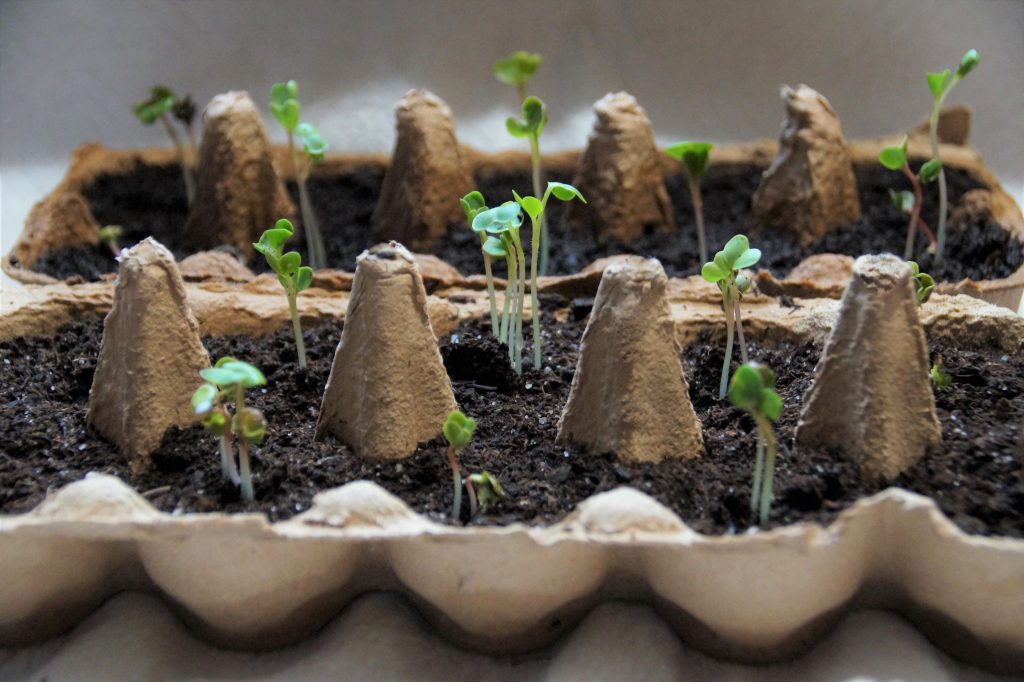
Choose Your Containers
The choice of what to use to start your seeds is almost endless. You can use seed starting trays, or peat pots which you can find at your local garden centre. For an economical option, you can use egg cartons, paper tubes, or cups from yogurt containers with a few holes poked into the bottom for drainage.
Prepare the Soil
It’s best to use a seed starting soil that you can find at the garden centre. Start seeds in fresh, clean soil for seedlings that has the right drainage and texture to give them their best start. Oftentimes soil from the garden or other plants can have bugs or disease in it that the young seedling can’t handle. Also seeding starter mixes may have an organic slow-release fertilizer, that gradually will feed your seedlings, keeping them strong and easily transplantable. We suggest looking for a soil mix that has a slow-release fertilizer to help with the growth of the seedlings. Make sure to moisten the soil well before you start to sow your seeds.
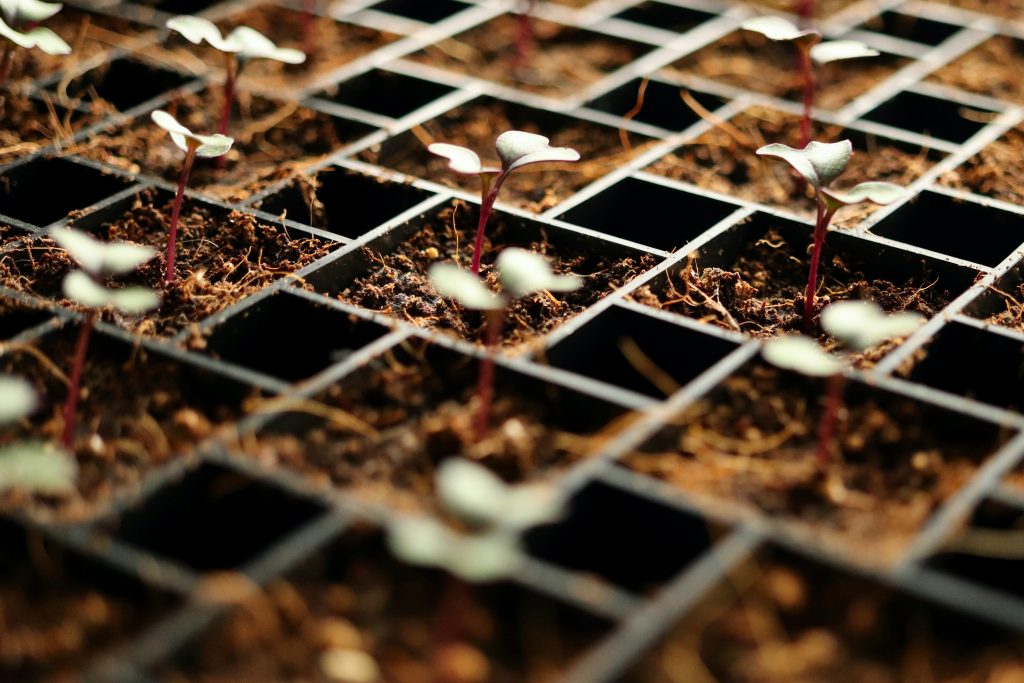
Sow Your Seeds
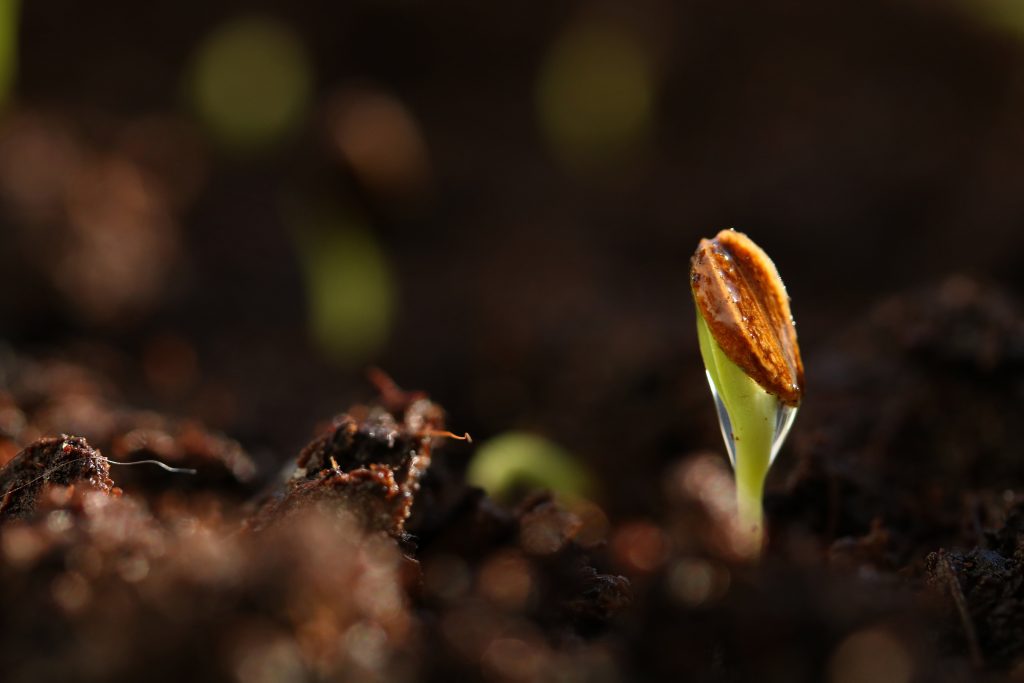
Now you’re all ready to start sowing your seeds! Read your seed packet-if there is no info about the depth, a general rule is to plant the seeds 2 to 3 times as deep as their width. Some tiny seeds like to be just on the top of the soil and others prefer to be about 1-2cm (1/4″) deep, in the soil containers. Sometimes the depth can be a tougher thing to decipher if you’re not too sure stick to a shallower depth. If the plants are too deep, they’ll have a harder time finding the light to grow! Use a dibbler or chopstick to make a hole in the soil, then place 2 seeds in each hole, then carefully cover with soil.
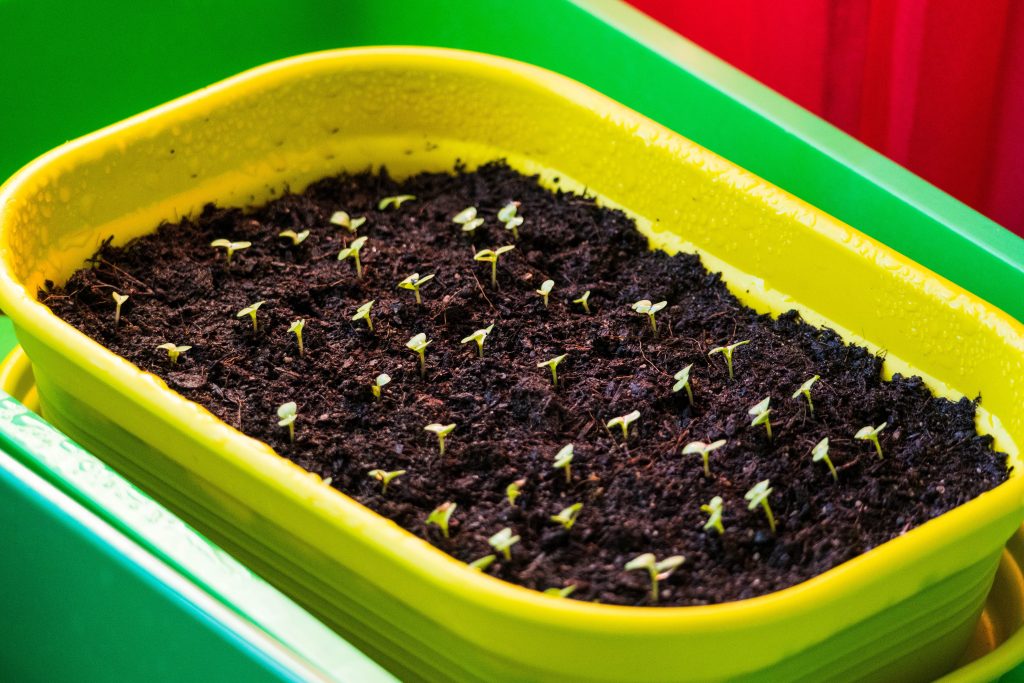
Water & Watch Them Grow!
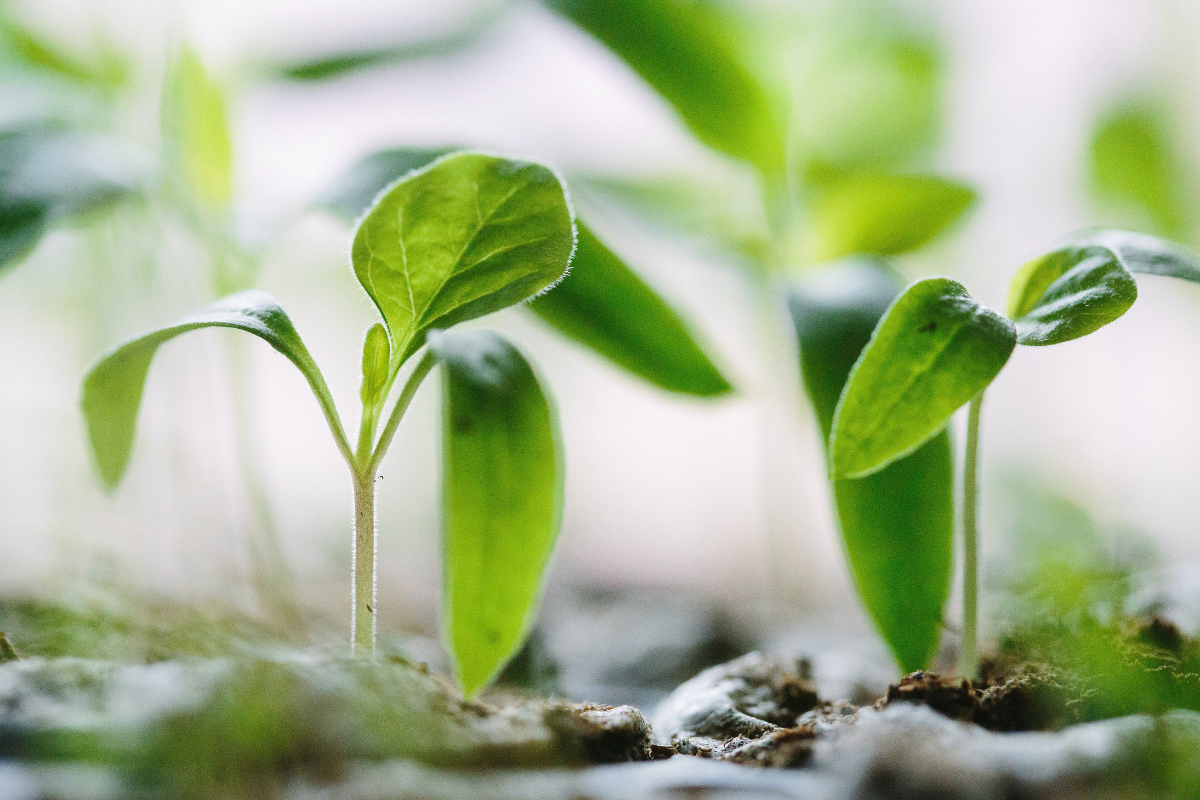
Now that all the seeds are sown, it’s important to keep a consistent moisture. A dome covering or clear plastic wrap can help to keep heat a moisture in. Make sure to check on them regularly to ensure they have enough water. Keep the seedlings moist but not too saturated, think of a dampened sponge as a good reference point. Now wait patiently and watch the seedling emerge! Once your seedlings emerge, remove the dome or plastic wrap. When they have 3 or 4 leaves and the temperature outdoors is warm enough, you can transplant into the garden and watch them continue to grow!