
Everything You Need to Know About Tulips…and More!
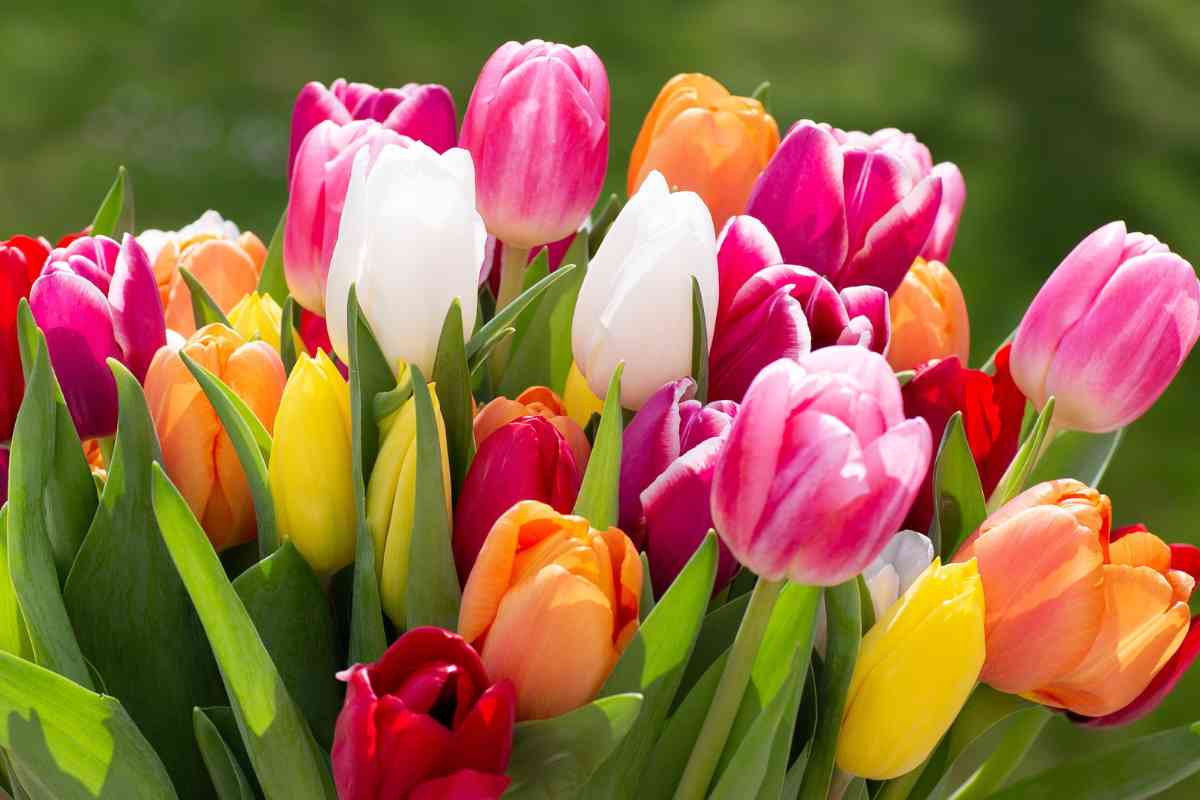
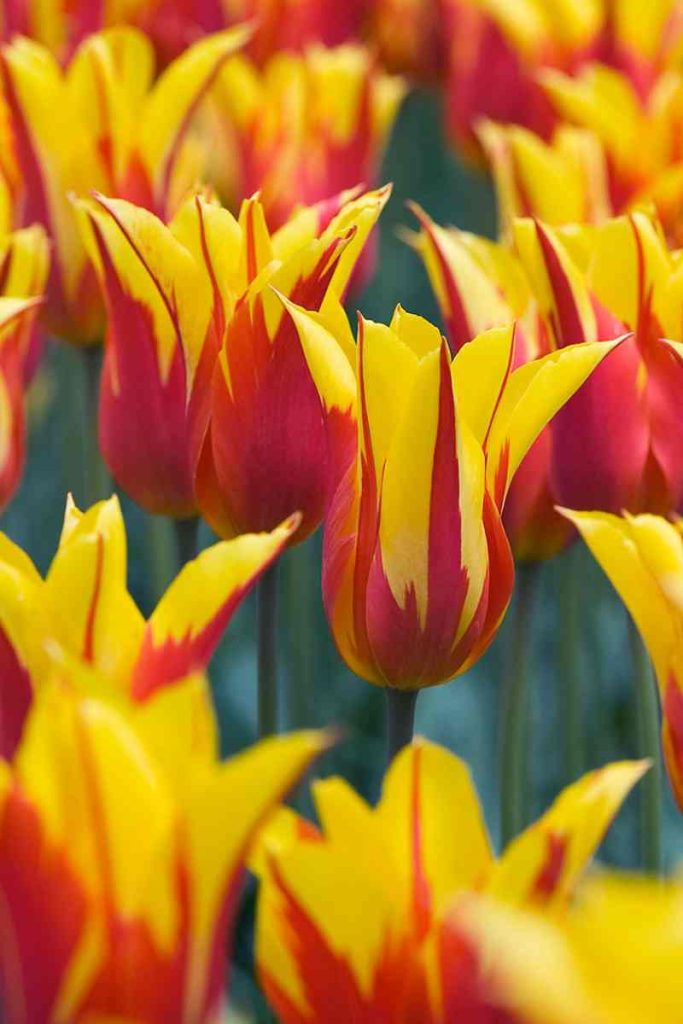
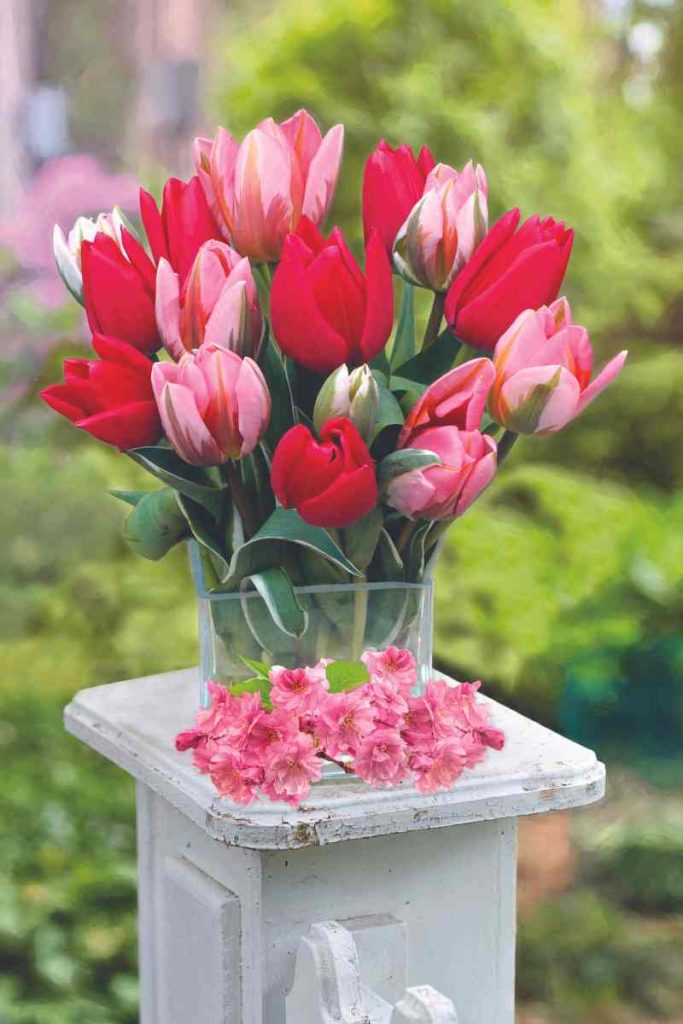
Have you ever met a tulip you didn’t like? We haven’t either! Tulips, those vibrant, vivacious, and downright irresistible blooms take center stage in your spring-blooming flowery fiesta. Let’s dive headfirst into a world of petal-packed delight. From the magical moment in fall when you pop those bulbs into the earth, to the thrilling day they burst forth in a kaleidoscope of colour you will be the envy of every garden enthusiast on the block! So, grab your gardening gloves, and let’s embark on this tulip-tastic adventure!
Tulips exhibit a diverse range of blooming times, adding intrigue to the world of flower gardening throughout the spring. Among the various tulip classifications, early blooming varieties tend to awaken from their winter slumber first, often gracing gardens with their vibrant colors in early to mid-spring. Mid-season tulips follow, creating a seamless transition into late spring. Finally, the late-blooming tulips take their turn in late spring to early summer, ensuring a continuous display of beauty. This staggered blooming schedule allows gardeners to orchestrate a symphony of colours and textures throughout spring. So, make sure to strategically plant different tulip varieties to extend the floral showcase throughout the season. Whether you prefer the cheerful charm of early bloomers, the classic allure of mid-season varieties, or the dramatic impact of late-blooming tulips, there’s a time and tulip for every garden enthusiast to savour.
Table of Contents
Early Season Blooming Tulips
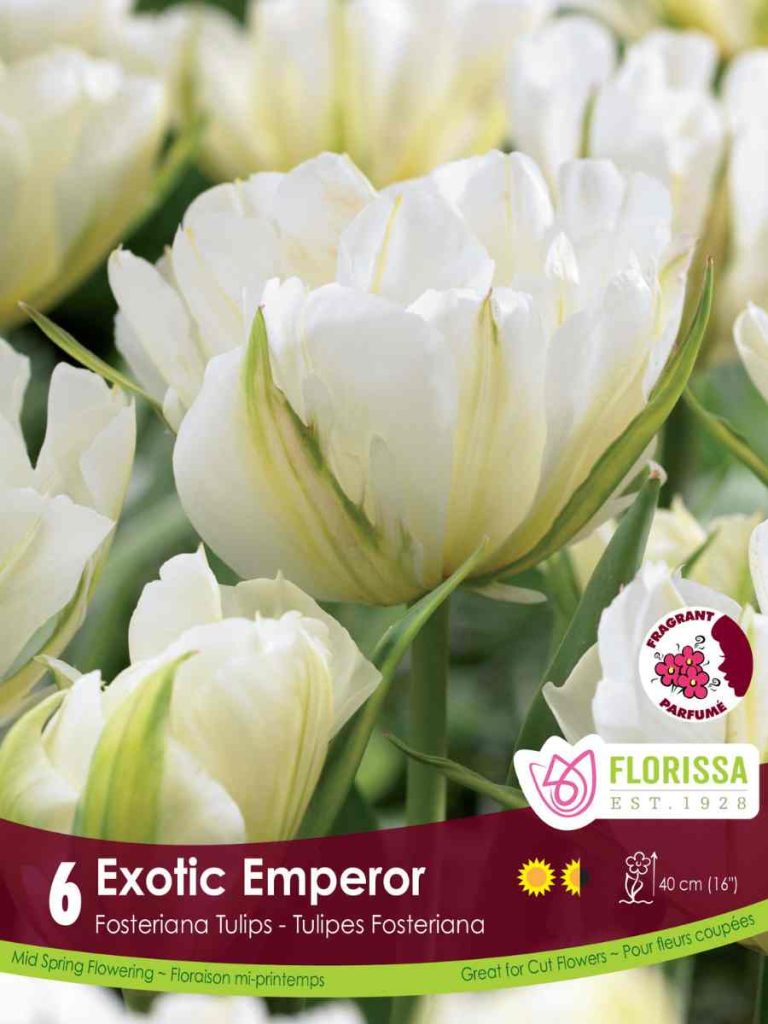
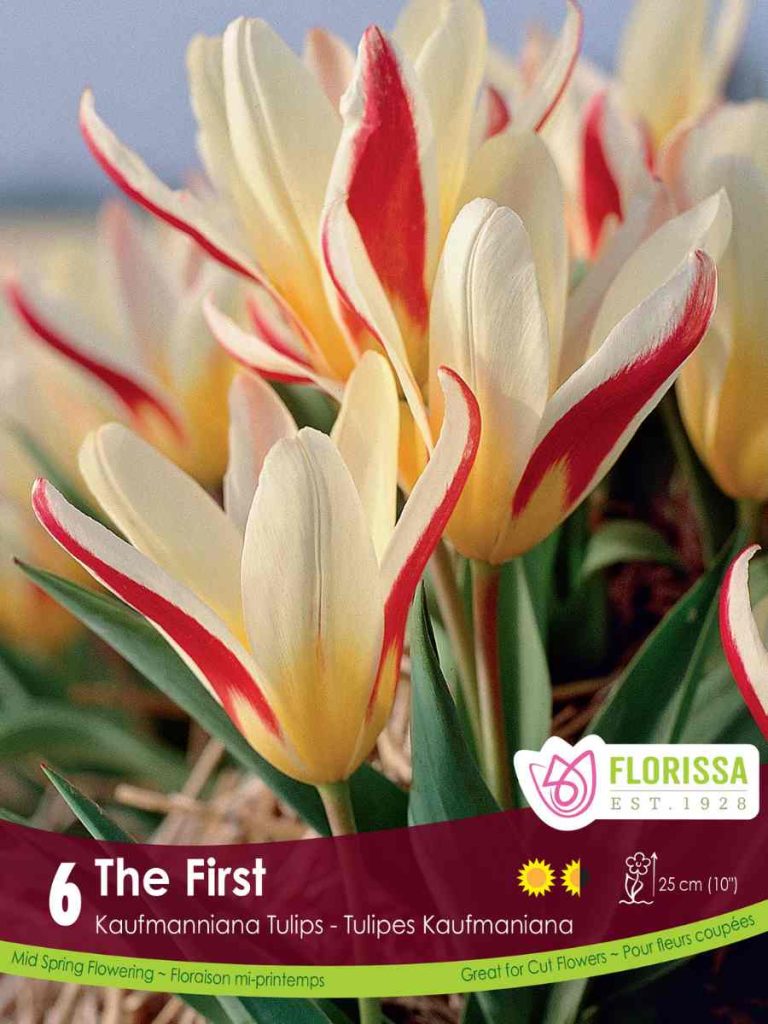
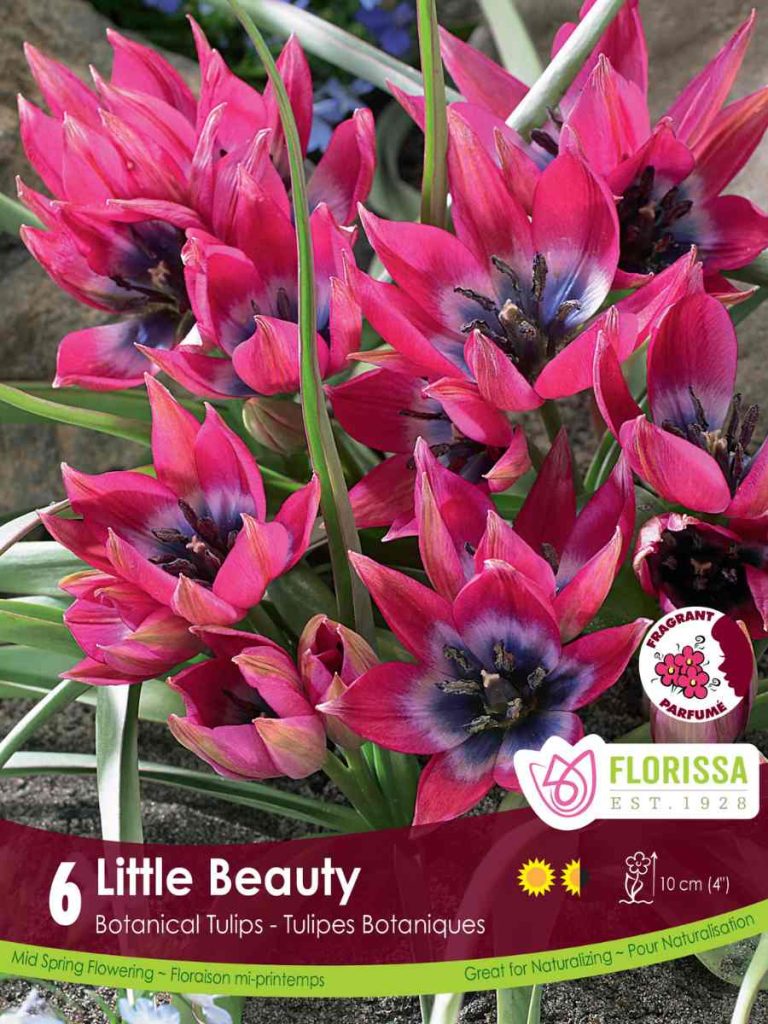
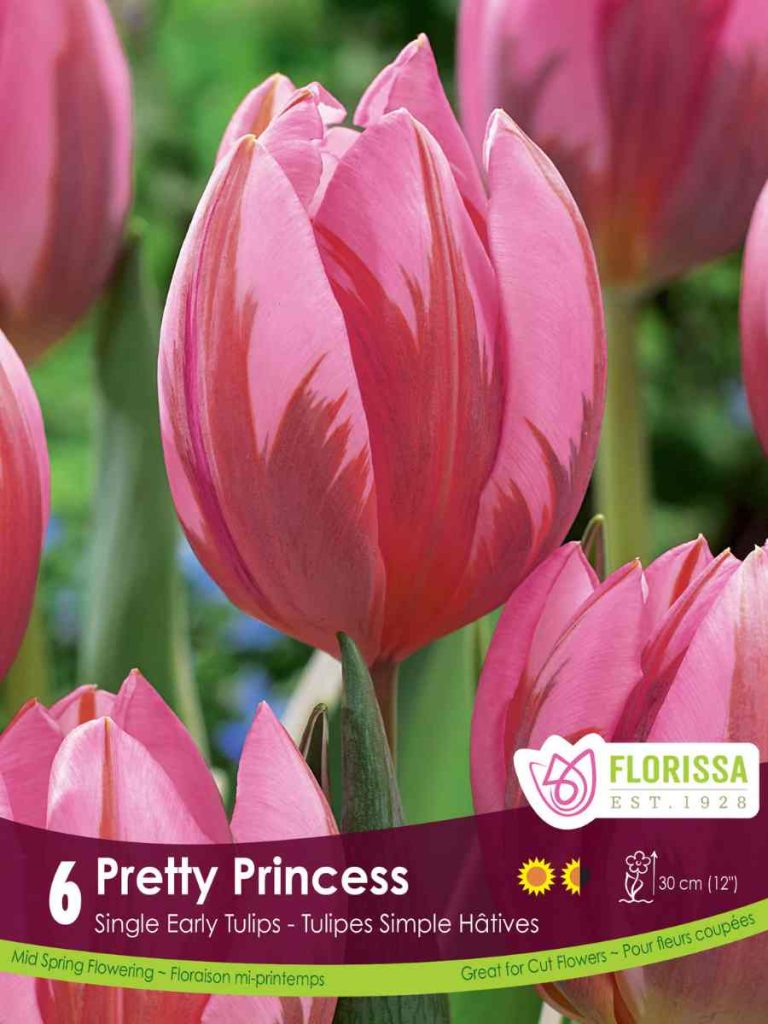
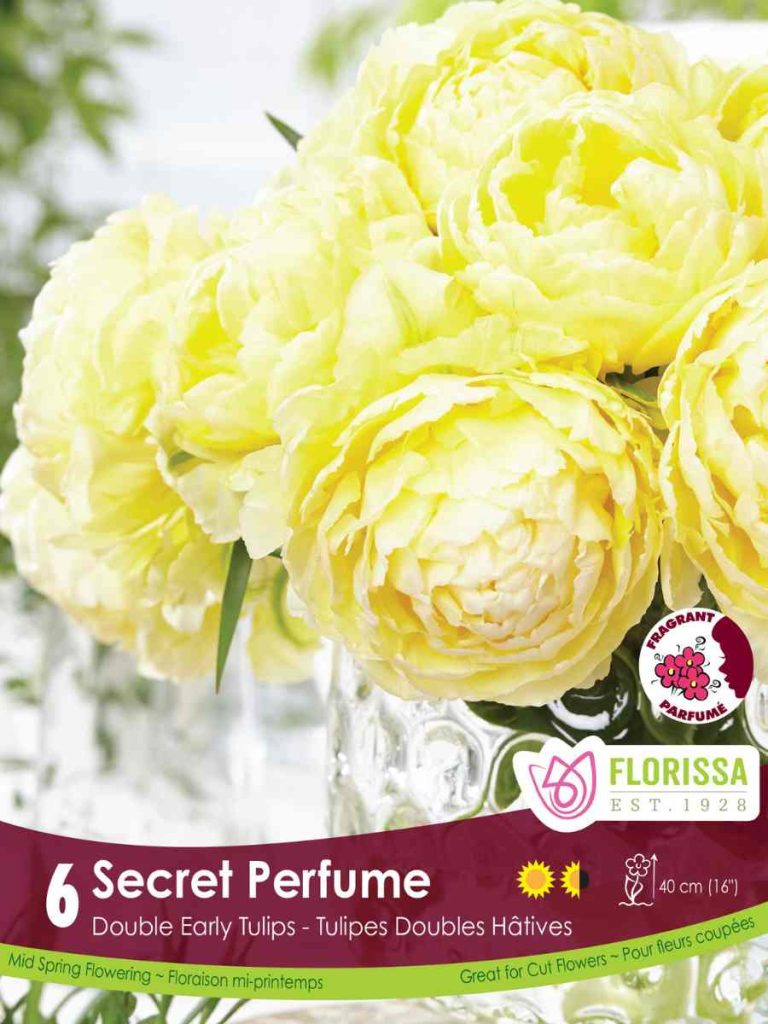
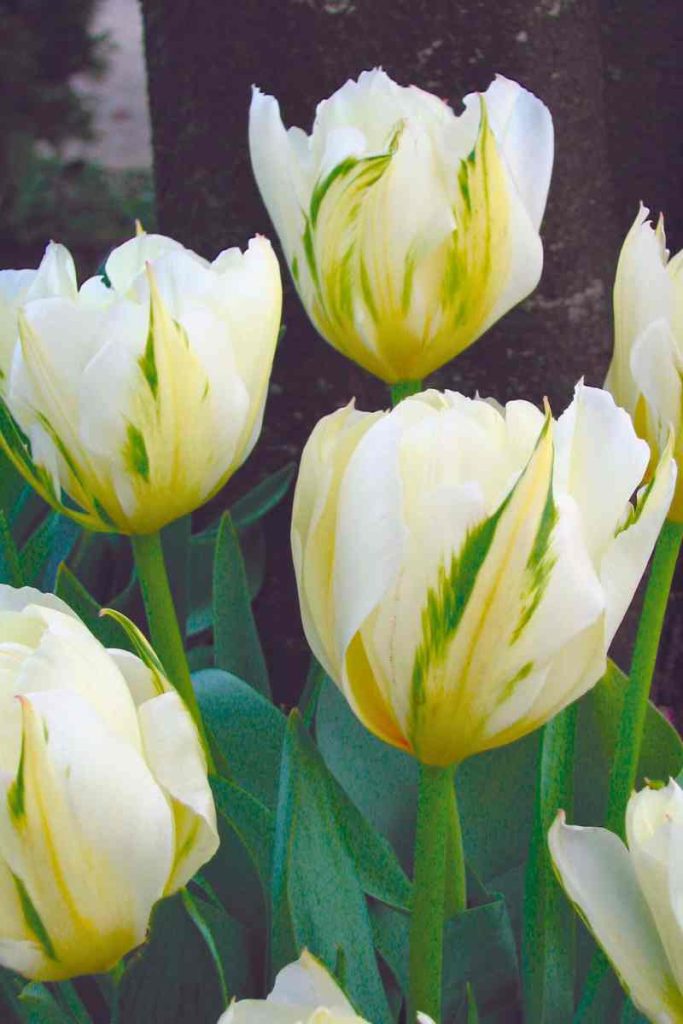
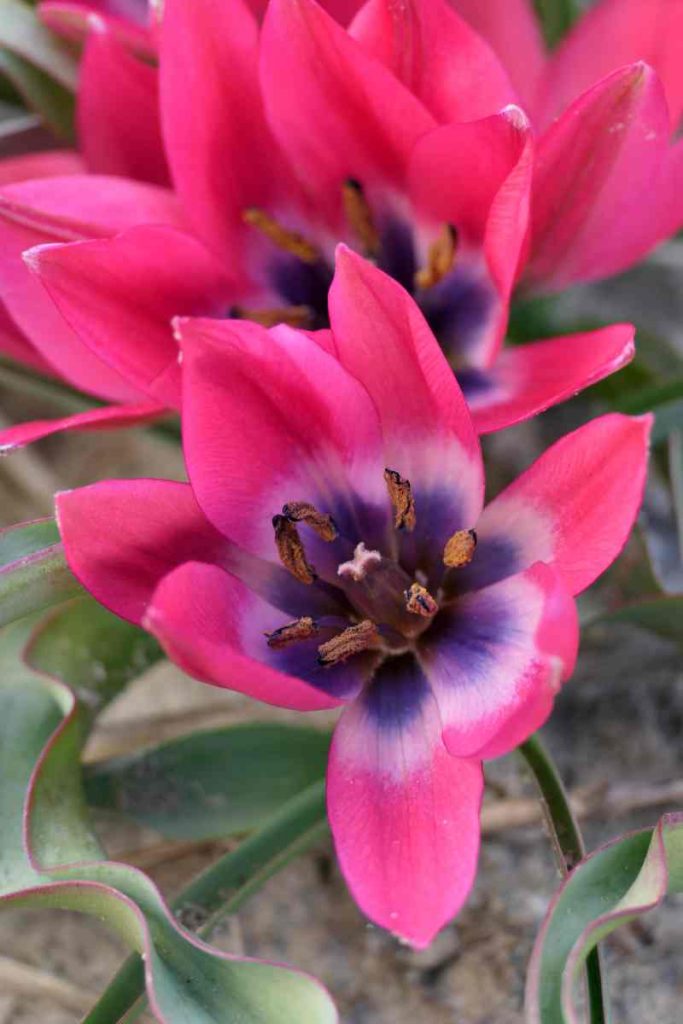
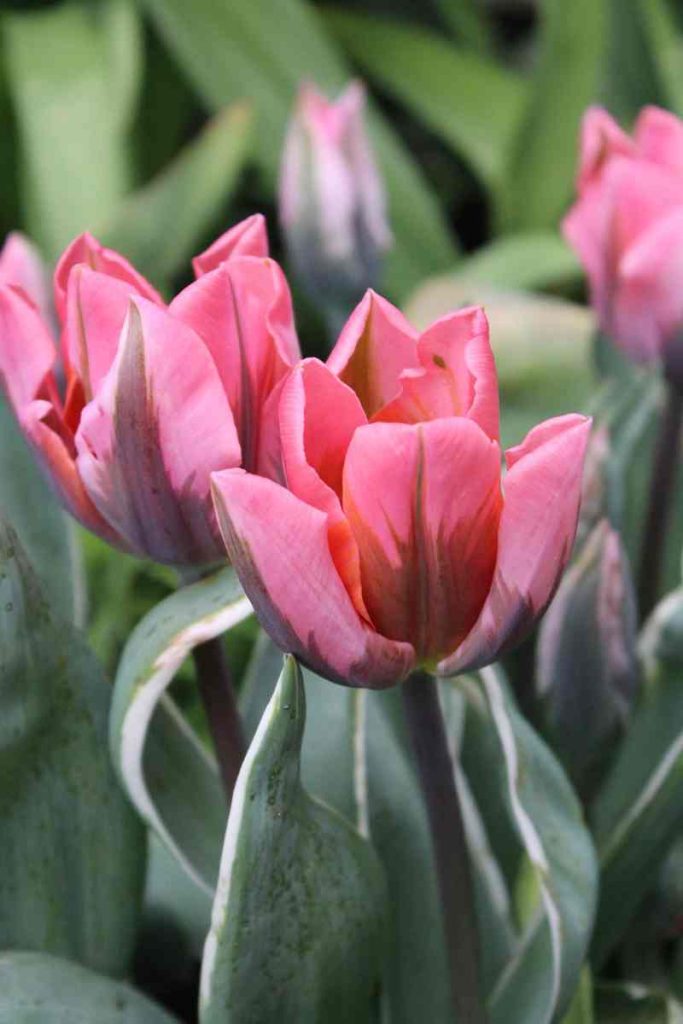
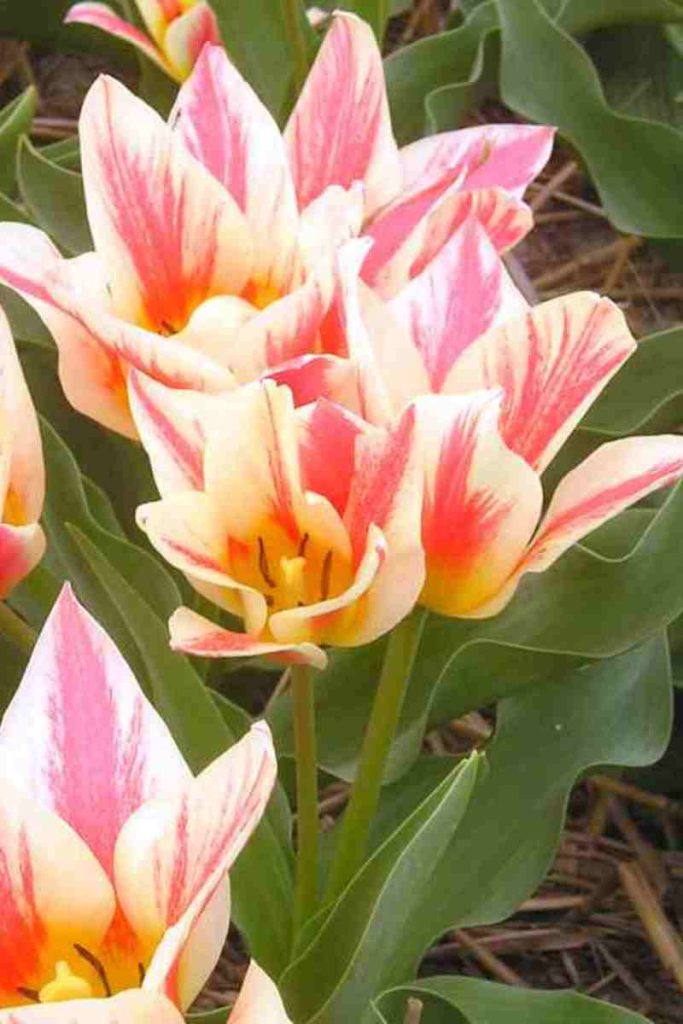
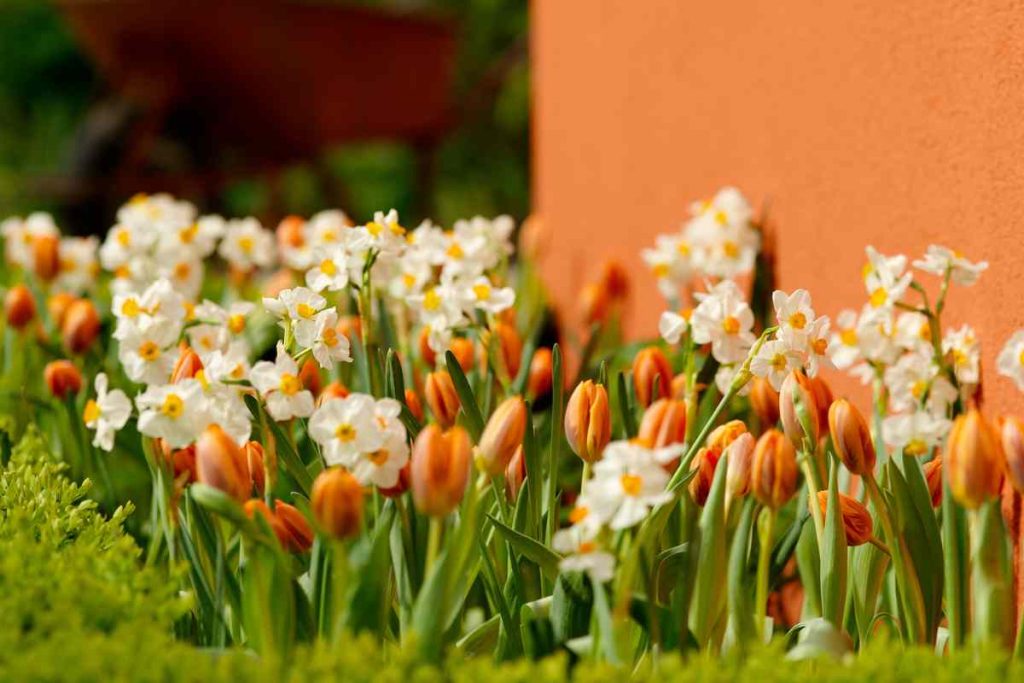
Early season blooming tulips include the Fosteriana, Greigii, Kaufmanianna, Mini- Botanical, Single Early and Double Early types. These are the blooms that set the stage for the spring drama to unfold. Depending on where you reside in Canada and when winter starts to loosen its grip, early blooming varieties can start to show their colour in Mid-March. Also, if you are looking for varieties of tulips that will more readily naturalize and come back year after then these are the types to add to your gardening wish list. A few of our favourite early flowering tulips are Exotic Emperor, The First, Little Beauty, Pretty Princess, and Secret Perfume.
Mid-Season Blooming Tulips
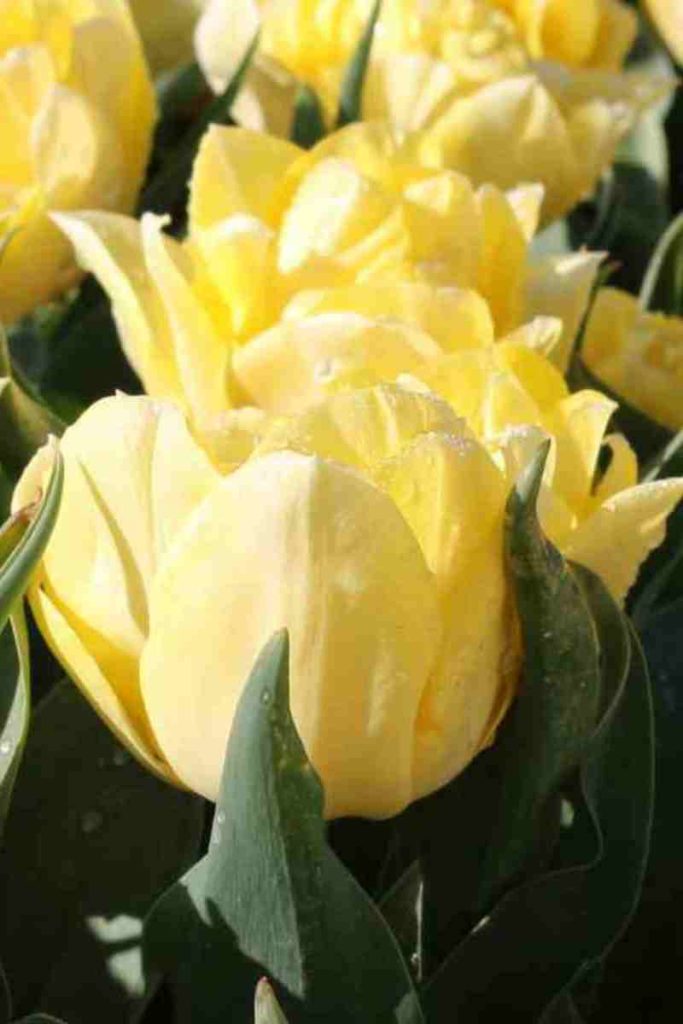
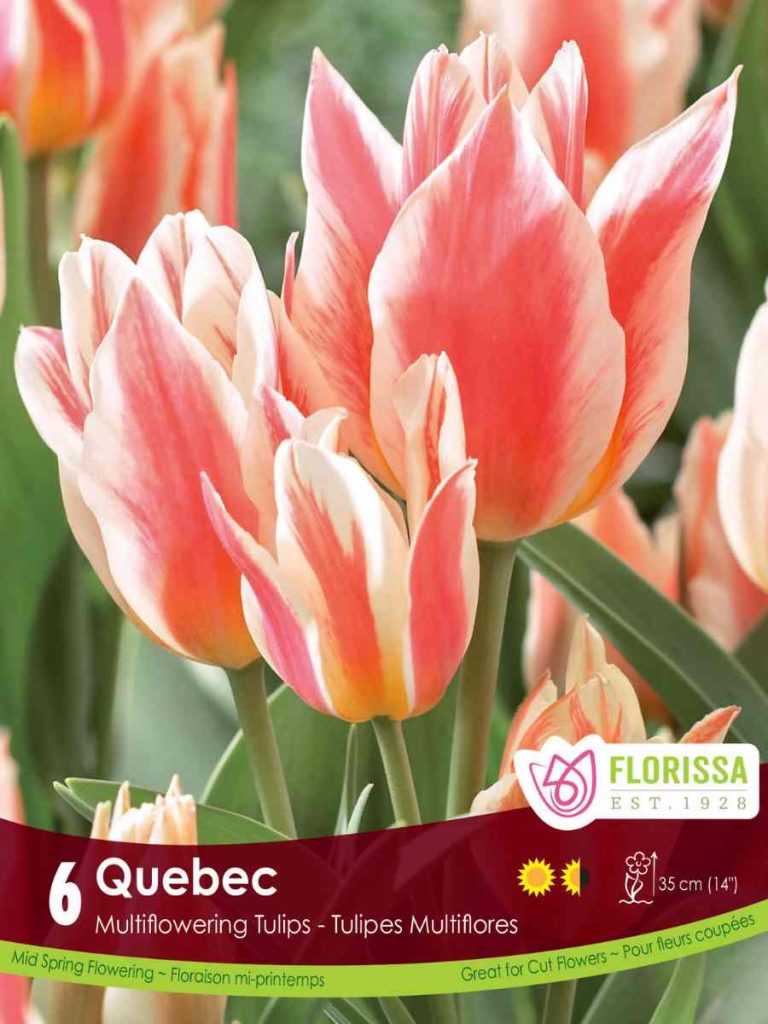
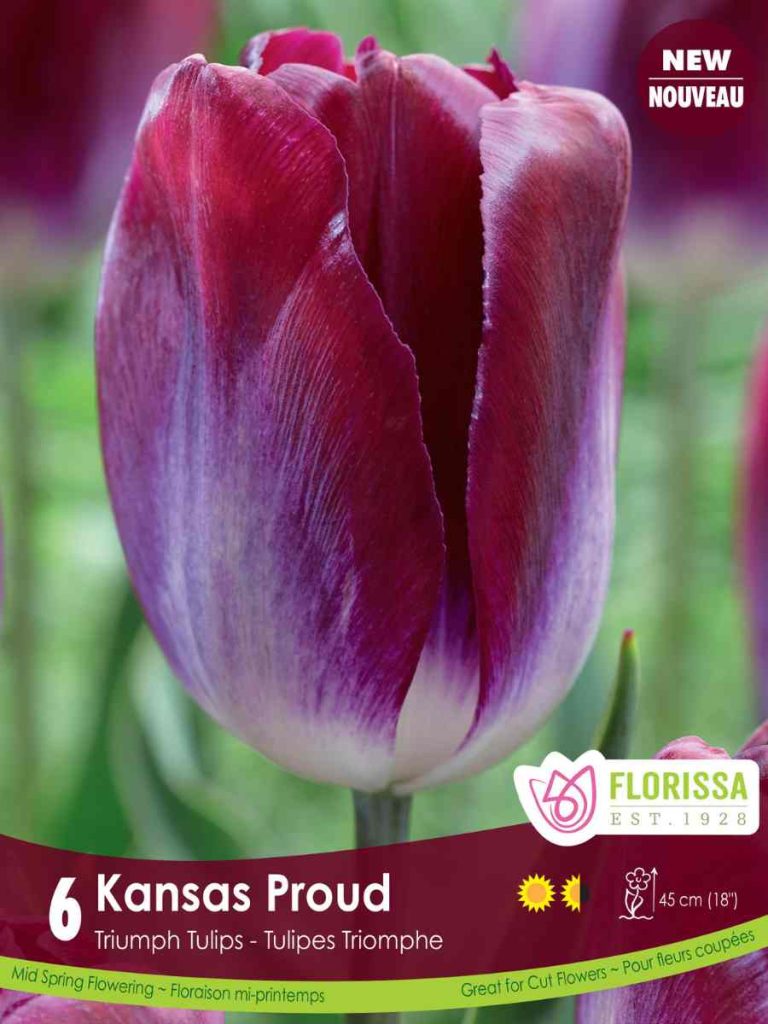
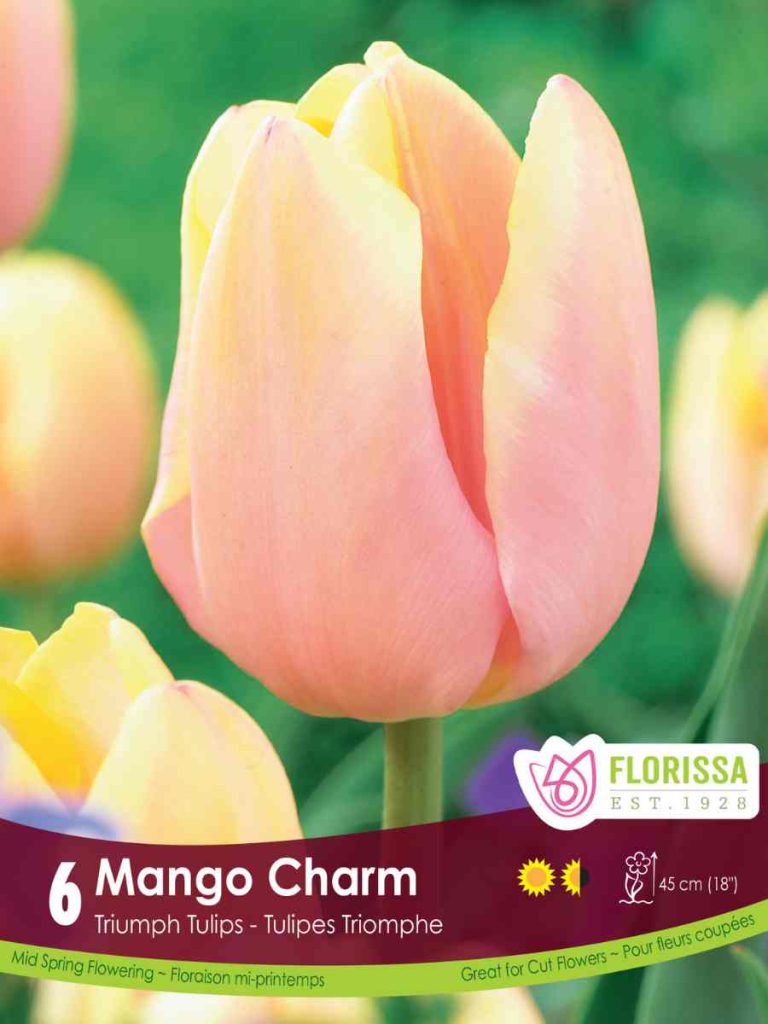
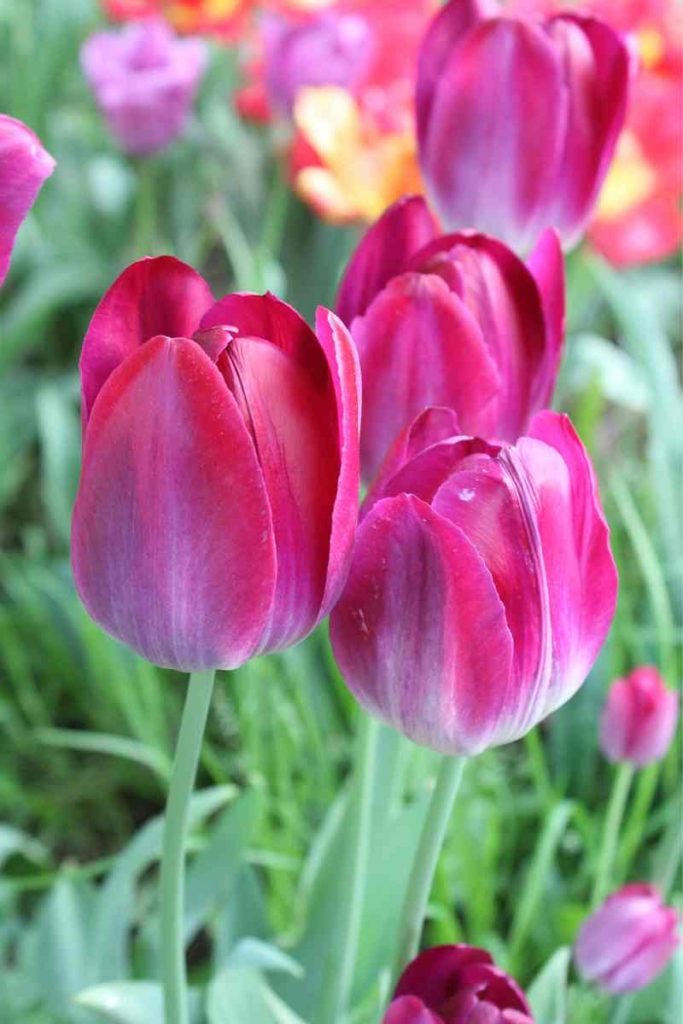
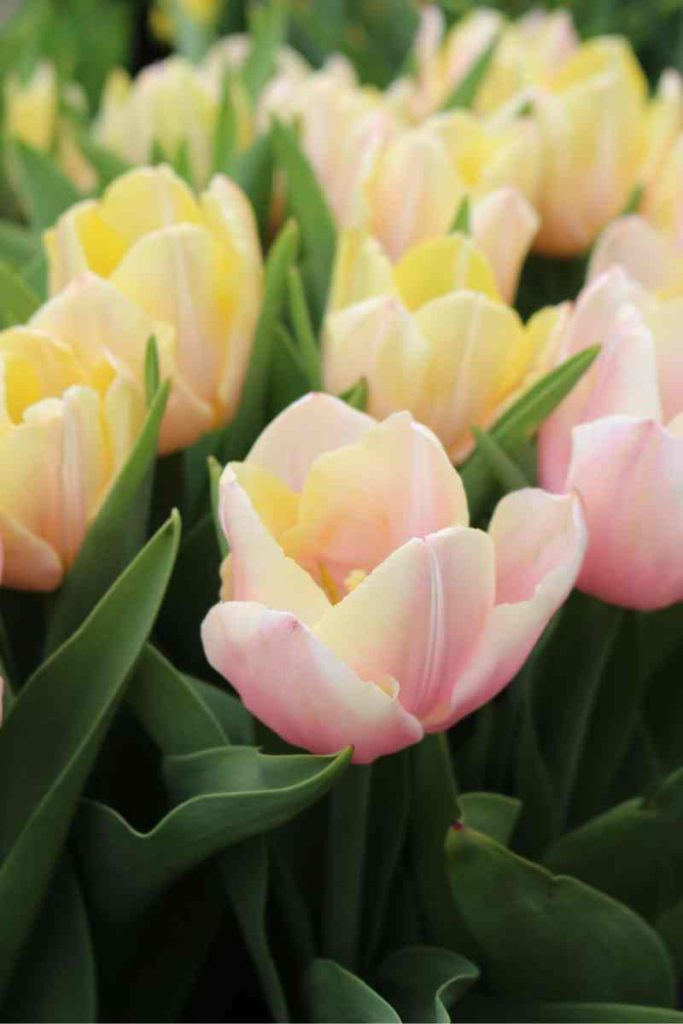
Mid-season blooming tulips are the main show of the spring party. These varieties include the Multi-flowering (bouquet flowering) and Triumph types. Mid-season tulips are ideal for landscaping and containers so plant them in areas that you are looking for long-lasting impact. As the early season varieties start to wind down these mid-season blooms will start to appear in early to mid-April. To add some spectacular colour to your garden, plant Quebec, Kansas Proud, and Mango Charm!
Late-Season Blooming Tulips
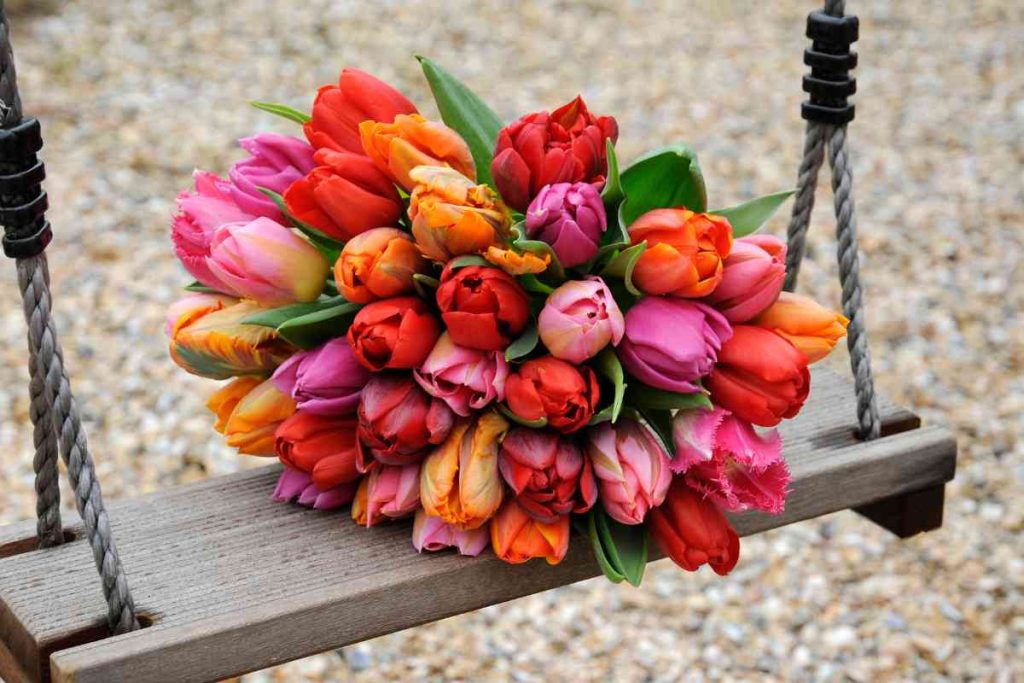
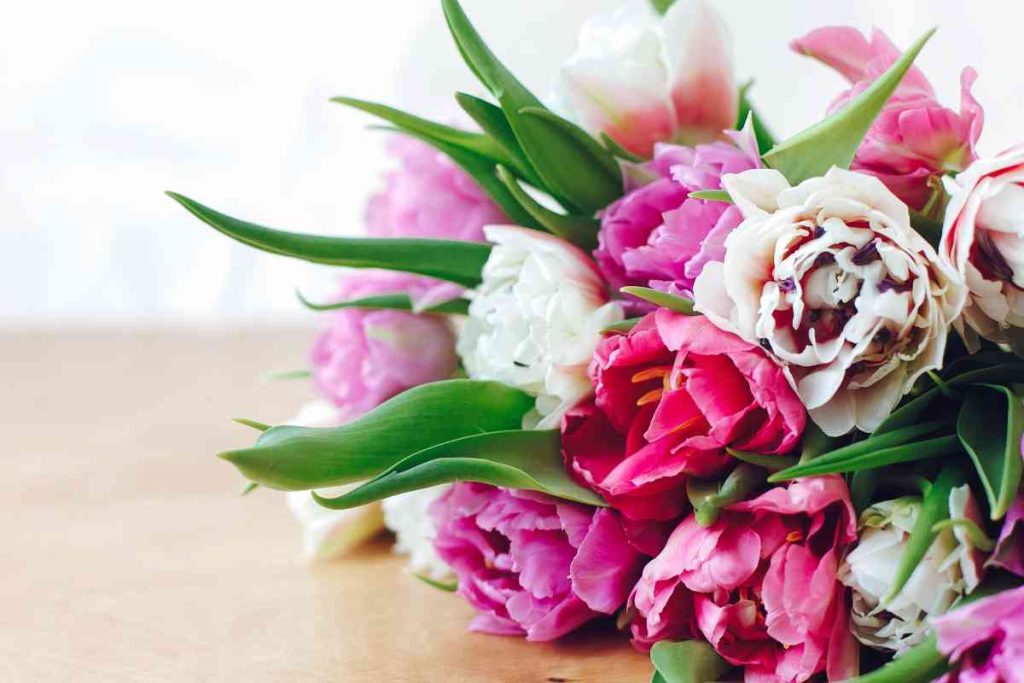
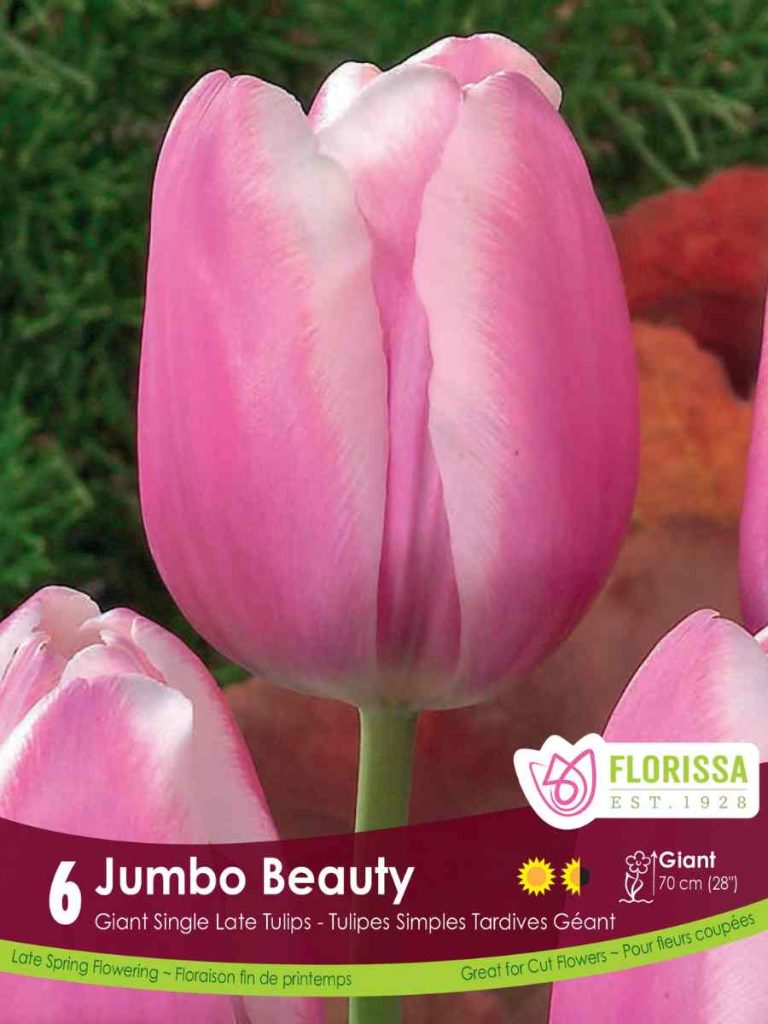
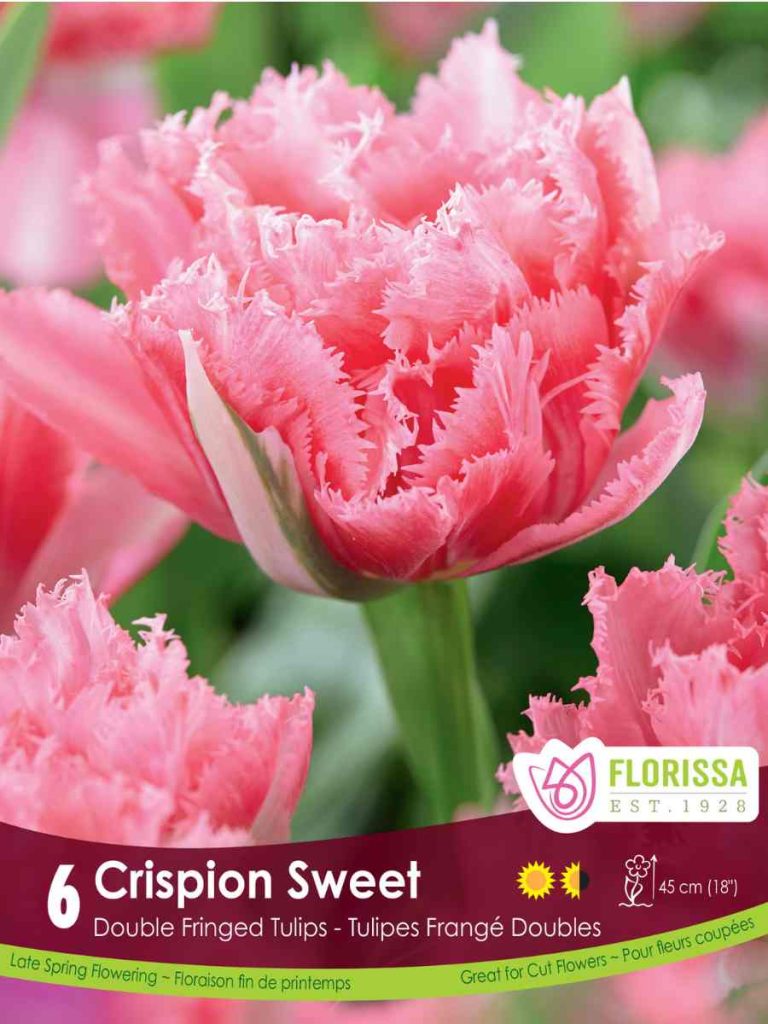
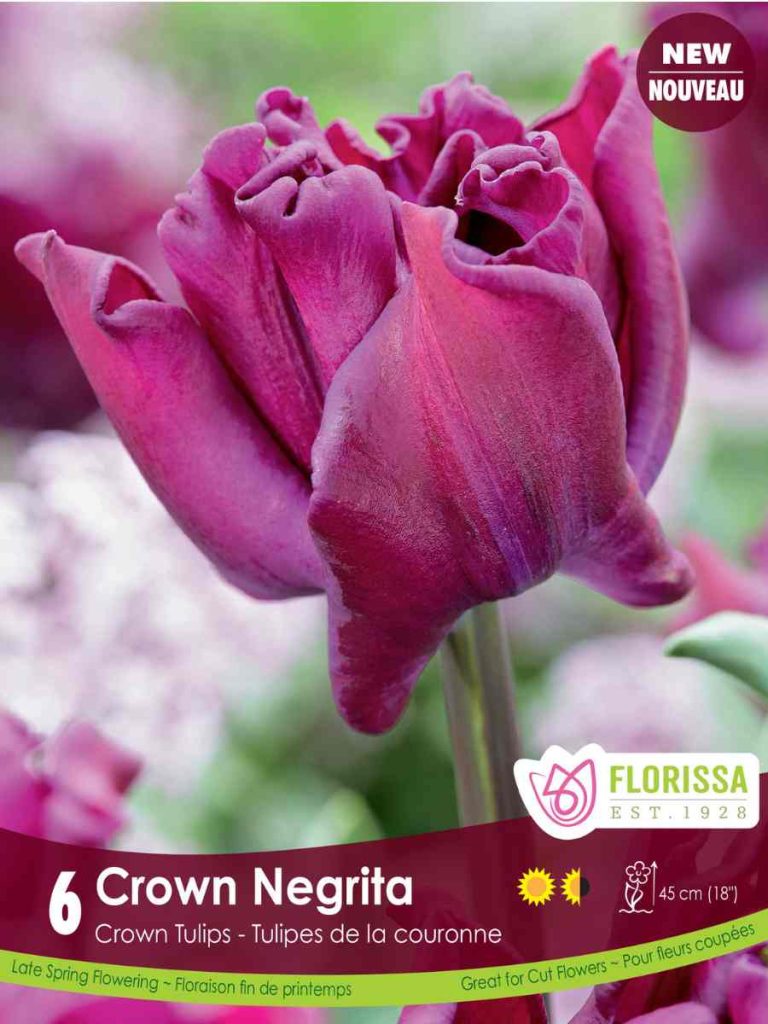
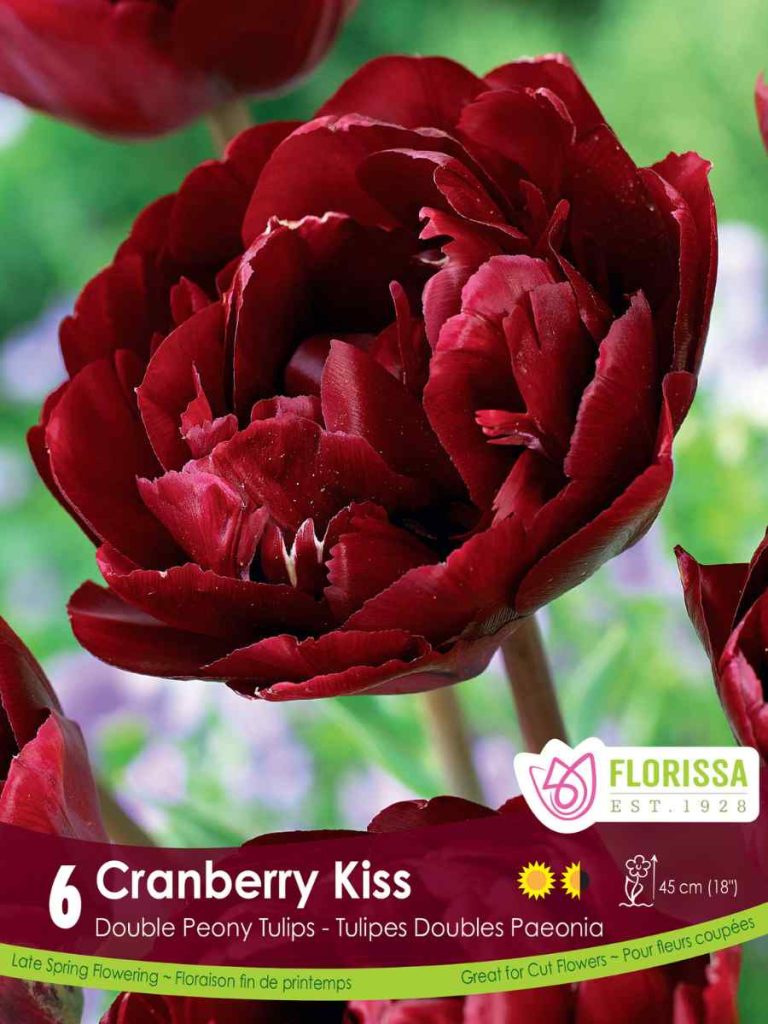
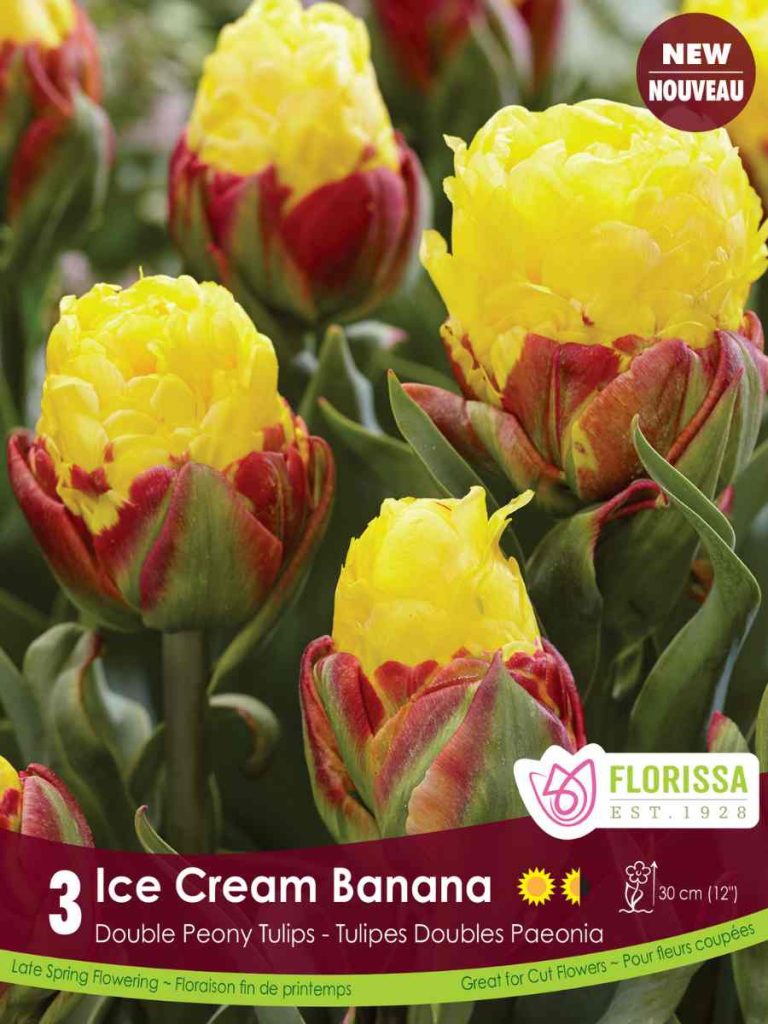
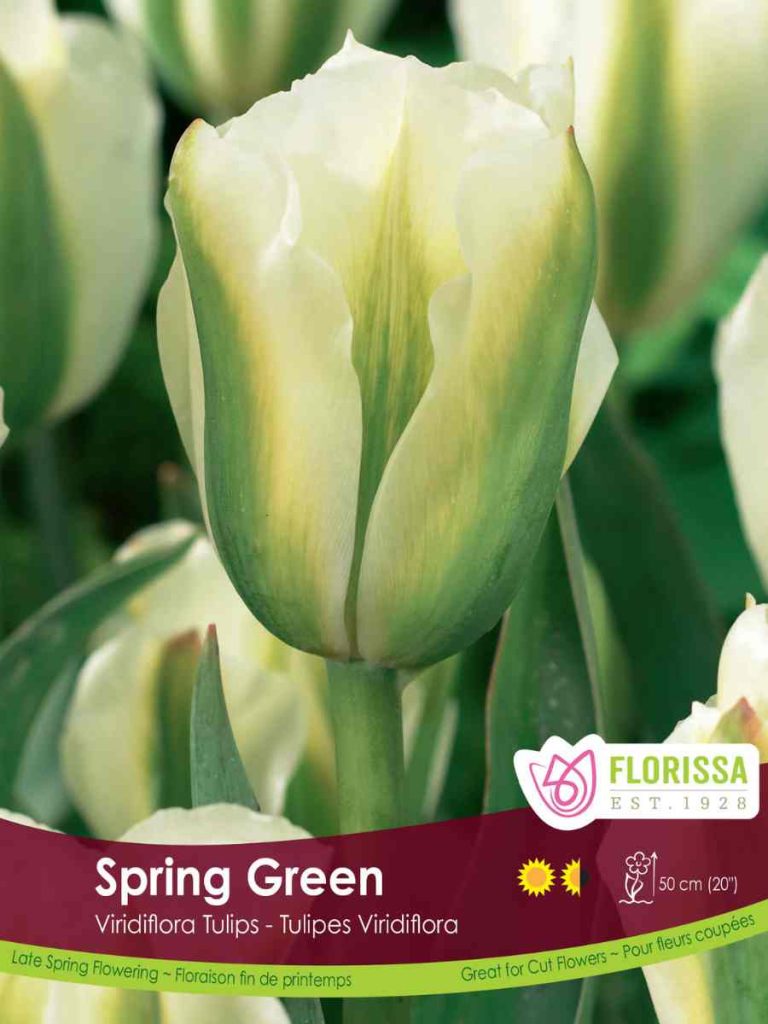
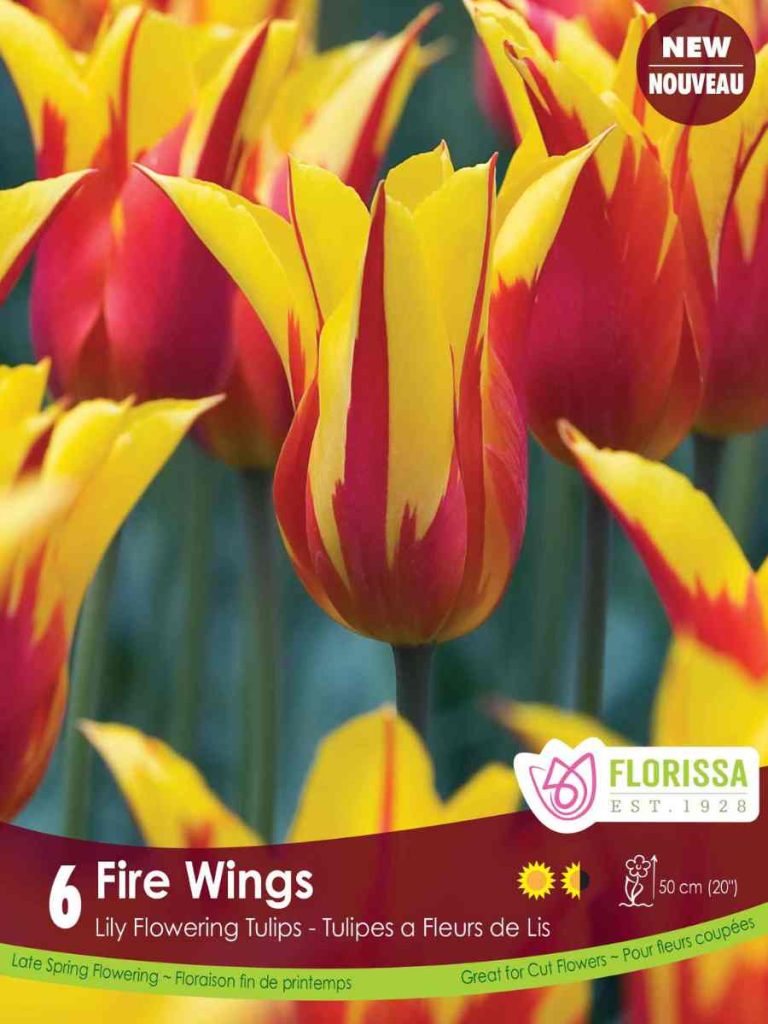
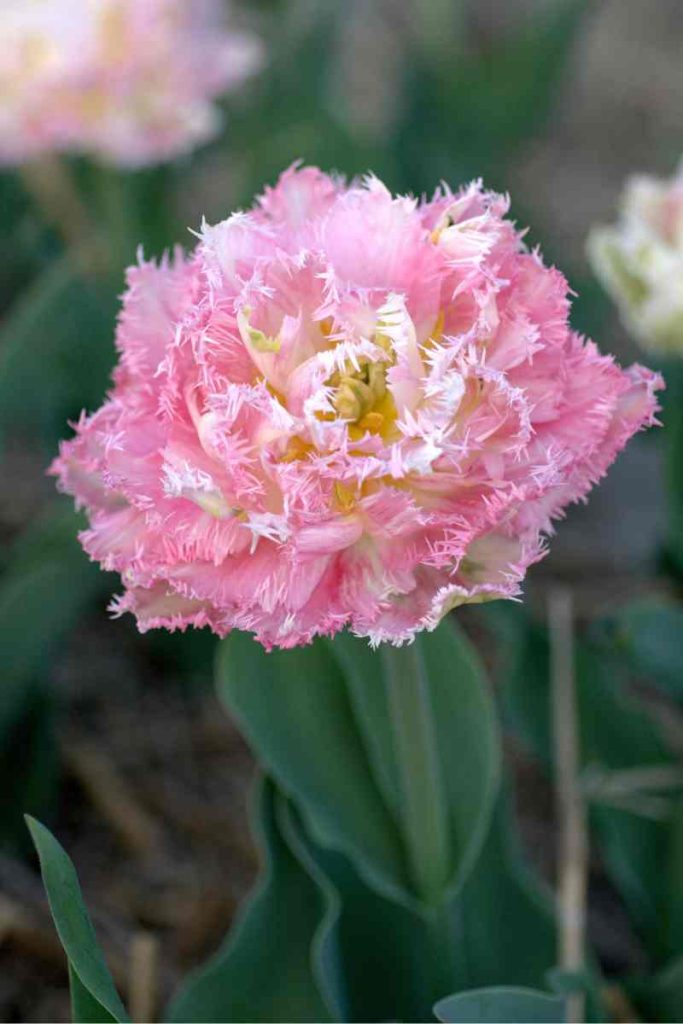
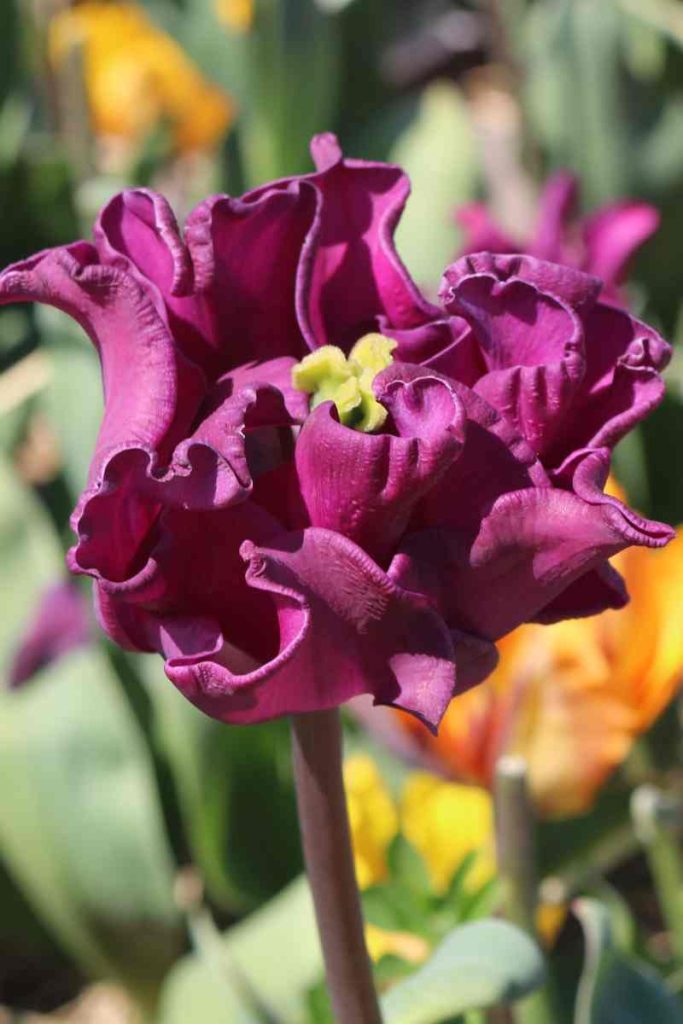
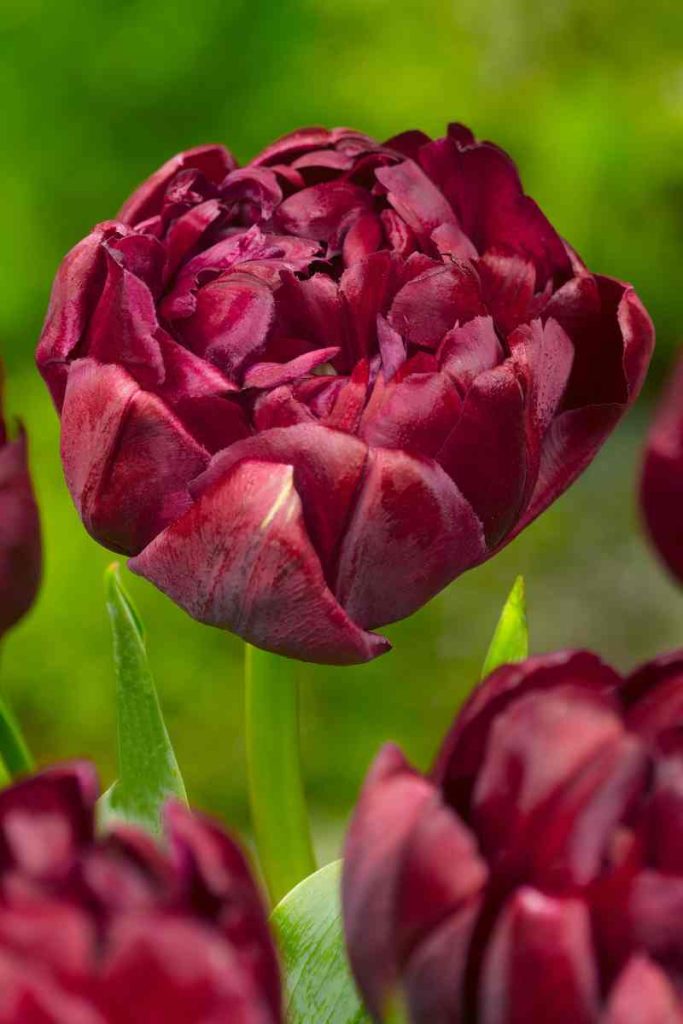
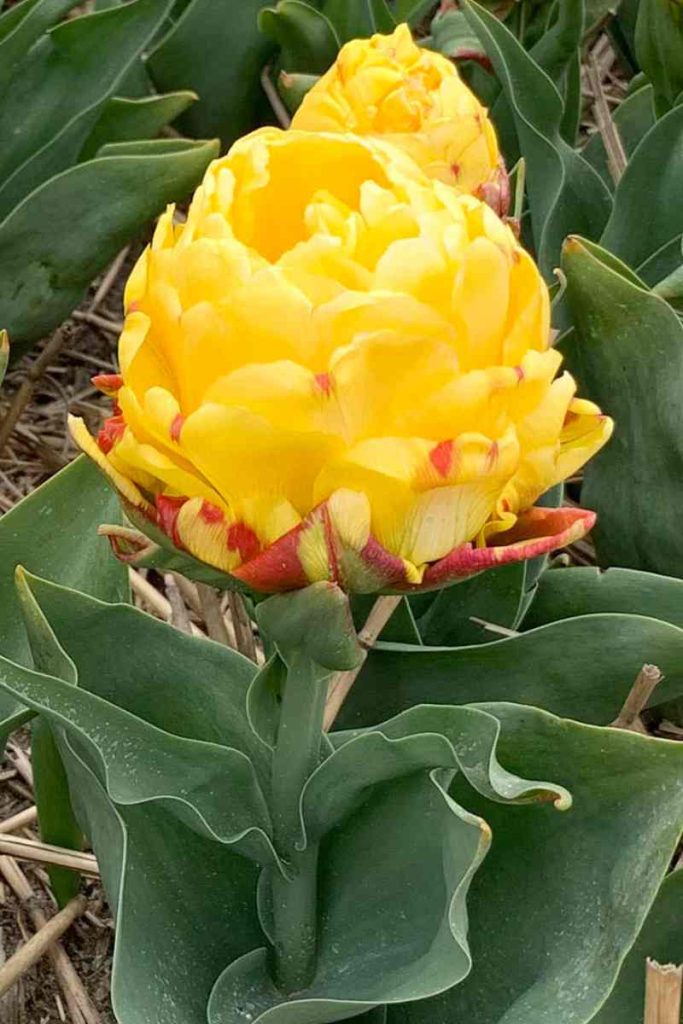
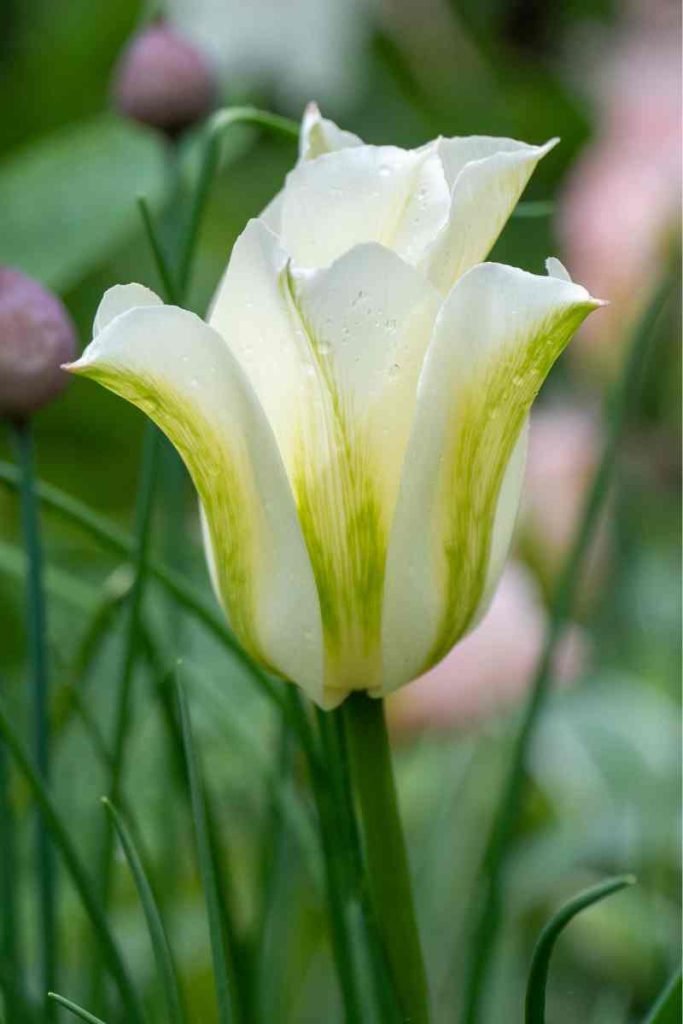
Late-season blooming tulips are the fun and festive late-spring party. These varieties include Darwin Hybrid, Single Late, Giant Beauty, Fringed, Cornette, Double Peony, Viridiflora (green flamed), Lily flowering, and lastly the Parrot types. These are the fancy flowering varieties that produce some of the most amazing and intricate blooms in the tulip world. The late-season blooms will start to appear in late April and will bloom through May and June, depending on your growing region and seasonal temperatures. Be sure to plant a selection of these unique blooms to add WOW to bouquets and enjoy the later show that is full of surprising shapes and textures. To add a spectacular array of blooms to your late-season garden, try Jumbo Beauty, Crispion Sweet, Crown of Negrita, Cranberry Kiss, Banana Ice Cream, Spring Green, Fire Wings, or Black Parrot! All of these tulips will add a dynamic flair to your garden!


Planting
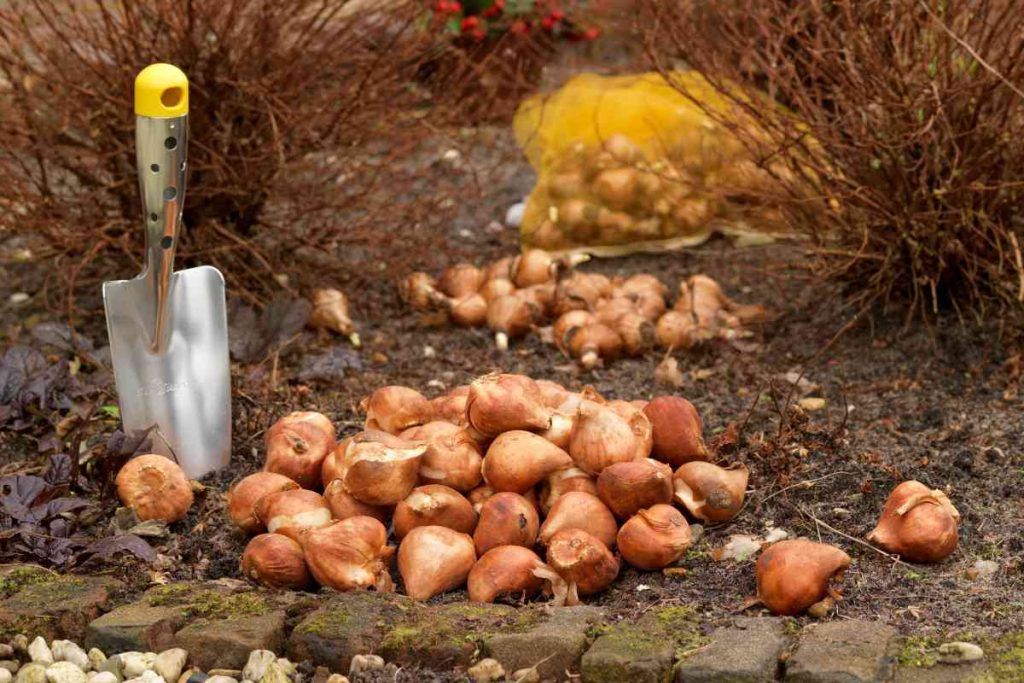
Now, let’s start at the beginning with the planting of your favourite tulip bulbs.
Head over to your local garden centre! When fall rolls around, and those mornings become crisp and fresh, you can bet your local garden centre has their Florissa bulbs in stock! Look for varieties that catch your interest!
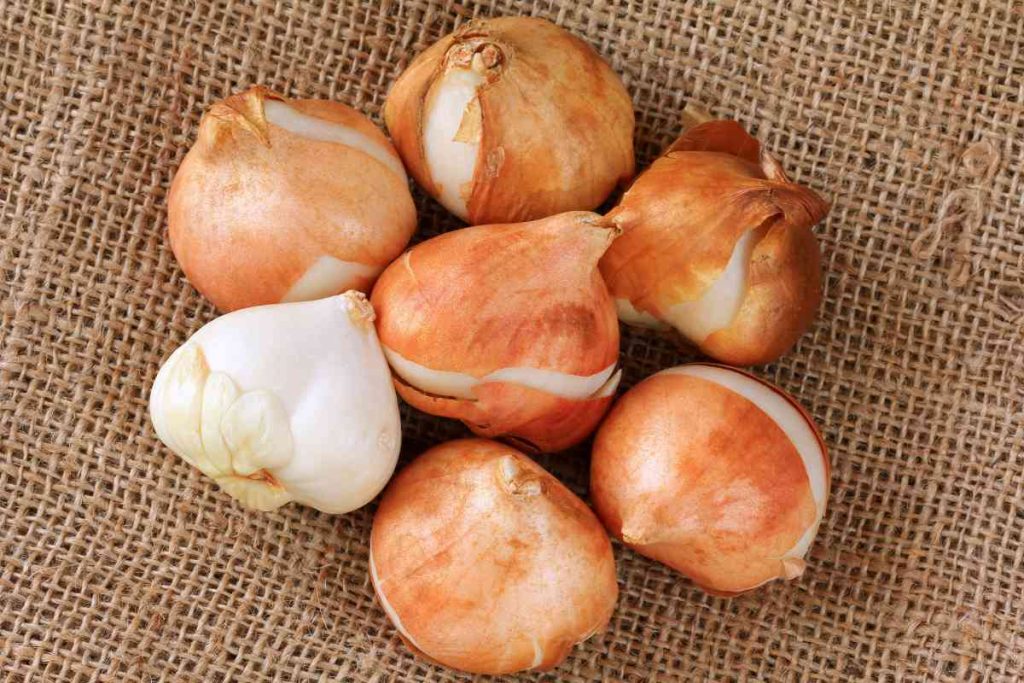
Timing is important when it comes to planting your bulbs.The time to plant tulip bulbs is in the fall, typically between September and November, before the first hard frost or lasting snow in your area. This gives the bulbs ample time to establish their roots before winter. Bulbs are different than seeds as they cannot be kept for months or years and then planted. As they have a high moisture content, the longer they are out of the soil, the more dried out they become and the less viable or successful they will be in blooming. Read more about tulip bulbs here.

Make sure to pick the best spot for your tulips. Tulips thrive in well-draining soil and require a location that receives at least 6 hours of sunlight each day. Ensure the soil is not waterlogged all winter, as tulip bulbs can rot in overly wet conditions. Avoid areas that flood over the winter and remember those areas under leafy trees and shrubs. These under-planting areas are ideal locations as the tulips will be up and flowering before they set all their shade.
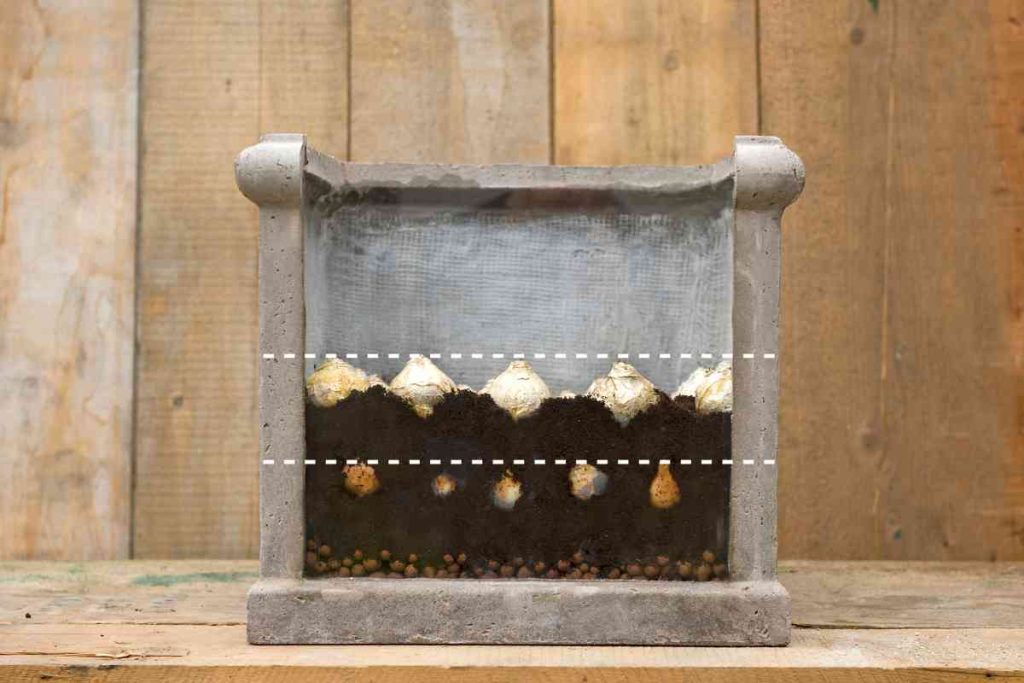
Tulip bulbs should be planted at a depth of approximately 15 cm (6”), measured from the base of the bulb to the soil surface. Smaller bulb varieties like mini botanical tulips are best planted at a depth of 10 cm (4”). In colder growing regions across Canada, you can plant tulips a couple of inches deeper. When planting in containers you can plant tulip bulbs a couple of inches shallower.
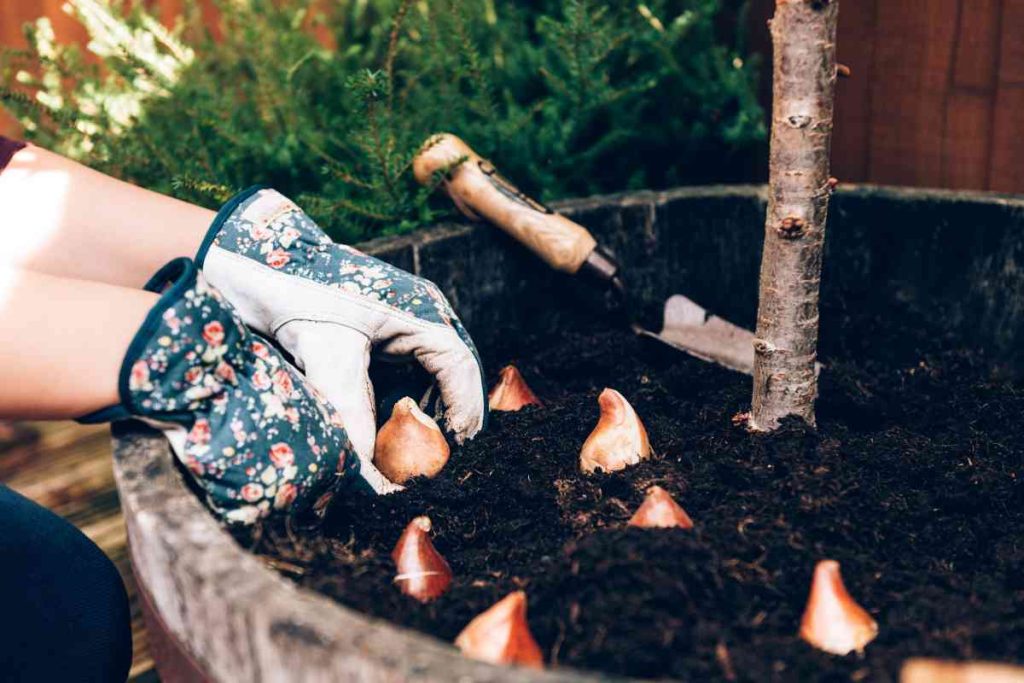
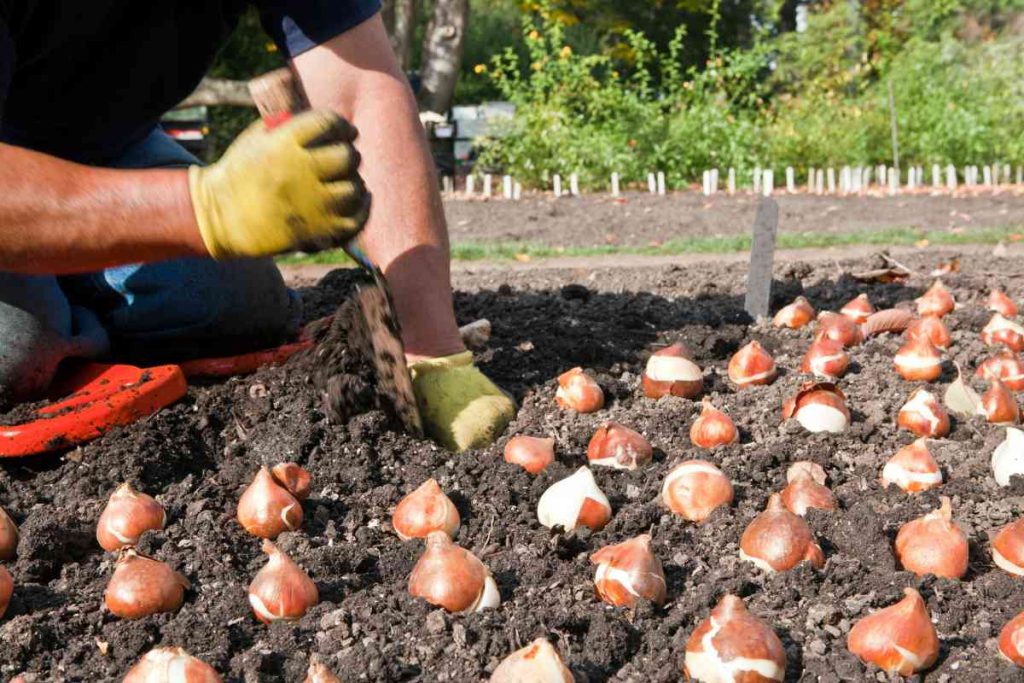
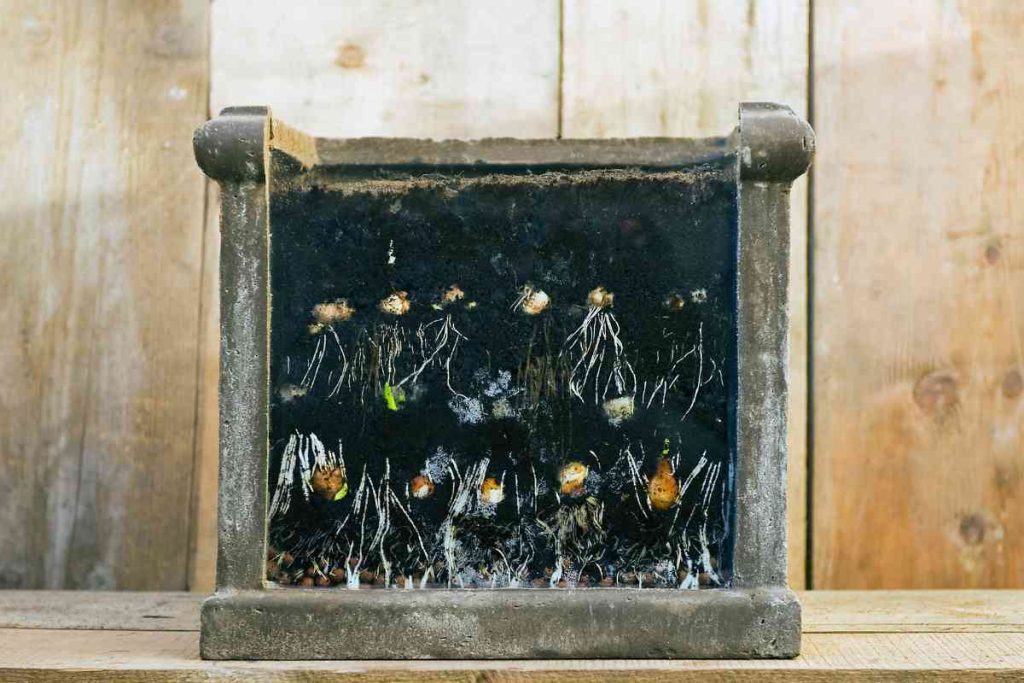
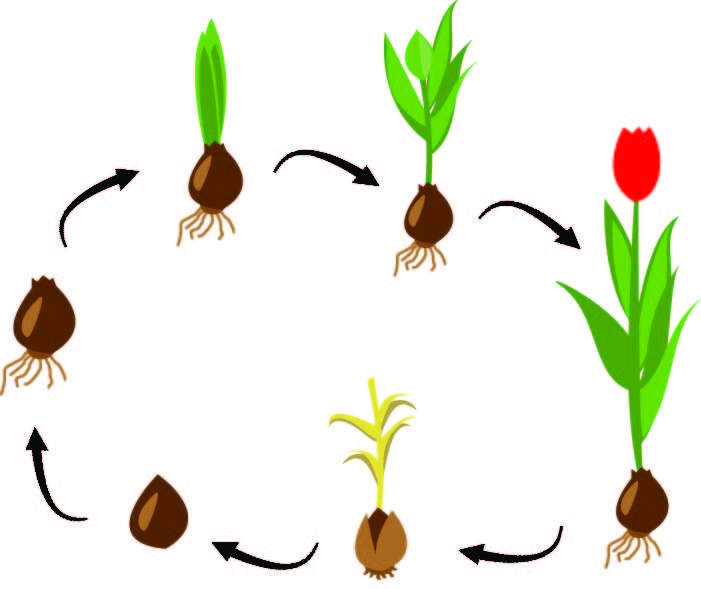
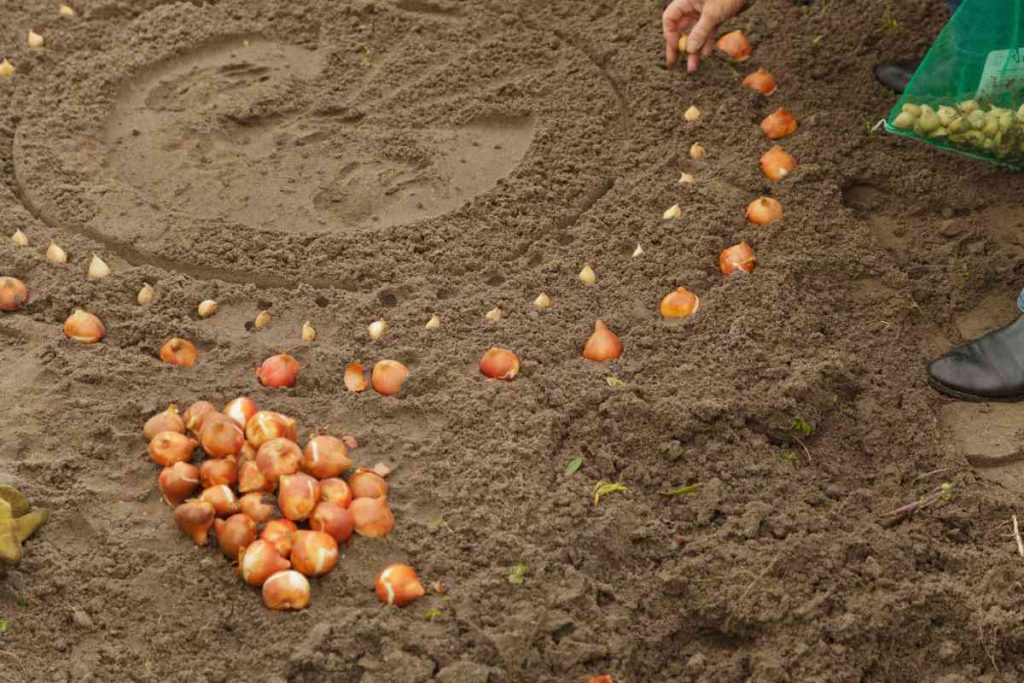
Place the tulip bulbs in the prepared hole or trench with the pointed tip facing upward. This is where the shoot will emerge, and the flat end is where the roots will develop. Ensure the bulbs are upright and not tilted.
Space each bulb about 10 cm (4”) apart to provide sufficient room for growth. You can plant them individually, but planting in clusters of 5, 7 or more bulbs will have a more visually appealing display. When planting in containers the bulbs can be more closely planted as they will typically be in a container for only a season or two.
Gently backfill the hole or trench with the loose soil, covering the bulbs entirely. Lightly pat down the soil to remove air pockets, avoid compacting the soil too tightly though.
A creative way to plant your spring flowering bulbs is layer planting. Layer planting is placing your bulbs at different levels in your containers, to ensure a full display of blooms throughout the spring. Learn more about layer planting on our blog Easy Layer Containers with Florissa.
Give the newly planted tulip bulbs a thorough watering to settle the soil around them. After this initial watering, you typically won’t need to water again until spring, unless the weather is exceptionally dry in the winter.
Place planted containers in a protected area over winter, where they can still experience the cold without the dry winds. Snow piled up on your containers is okay, as it works as an insulator from the wind. So, tuck containers close to the building on patios, in a cold frame greenhouse or garage. Place them where you can check them and give a light watering to keep the soil moist.
For colder growing regions across Canada, add a 5 cm (2”) layer of mulched leaves for extra winter protection.
All the work is done! Now you can sit back, relax, and wait for your beautiful show of tulips to arrive in the spring!
Tulip Winter Care
Periodically check your potted bulbs and water as needed to keep the soil moist. Check the drainage of the flower beds to ensure that your tulips are not in standing water or flood areas.
Tulip Spring Care
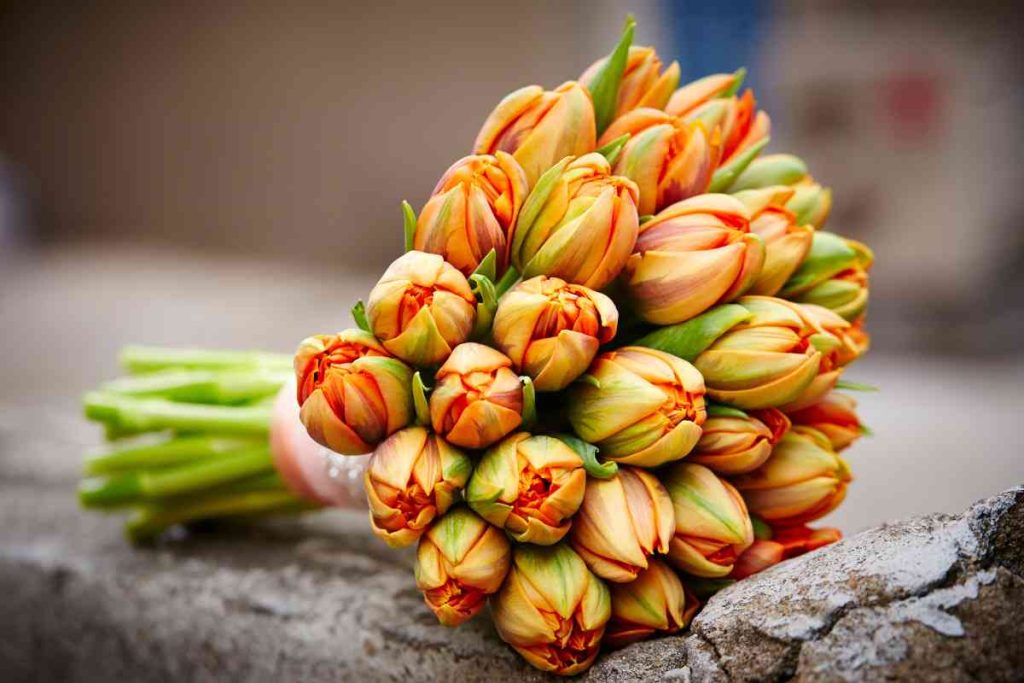
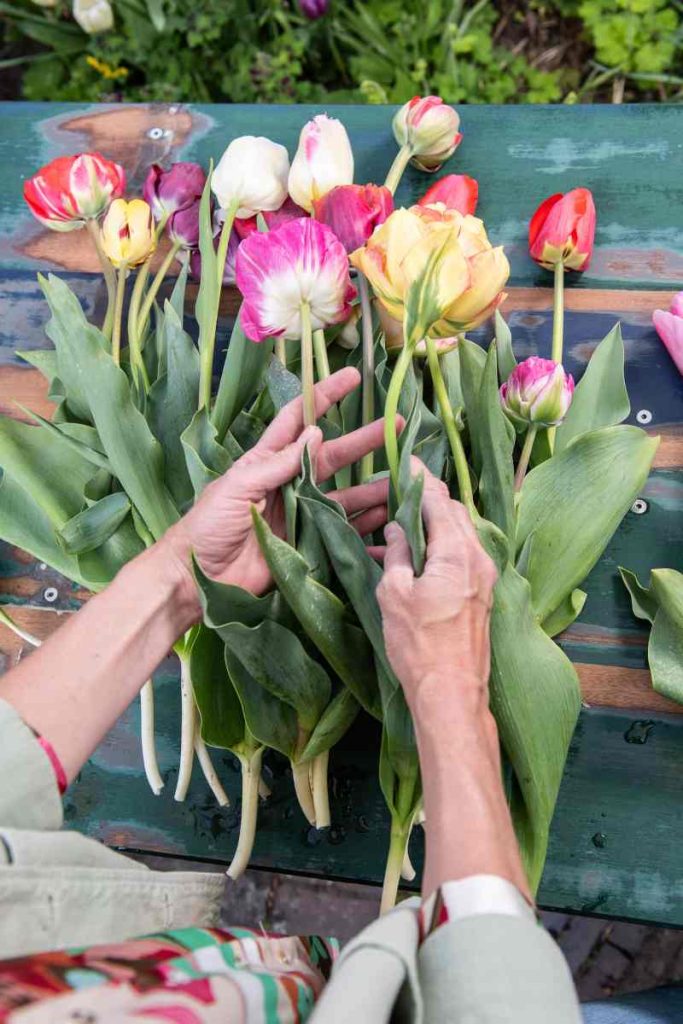
Once spring arrives you can place your containers of planted bulbs in your favourite areas of your patio, garden and front entrance. If it is hot for a few days, check the soil and water as needed. The bulbs you freshly planted in fall have everything they need for their first year’s flowers and foliage. Enjoy the colour displays as they change from early, mid, and late-season blooms. Cut some stems for bouquets to brighten someone’s day.
Once the flowers start to fade there will be a bit of time before they go summer dormant. As you are walking through your garden in spring make note of areas that can benefit from a splash of festive spring colour.
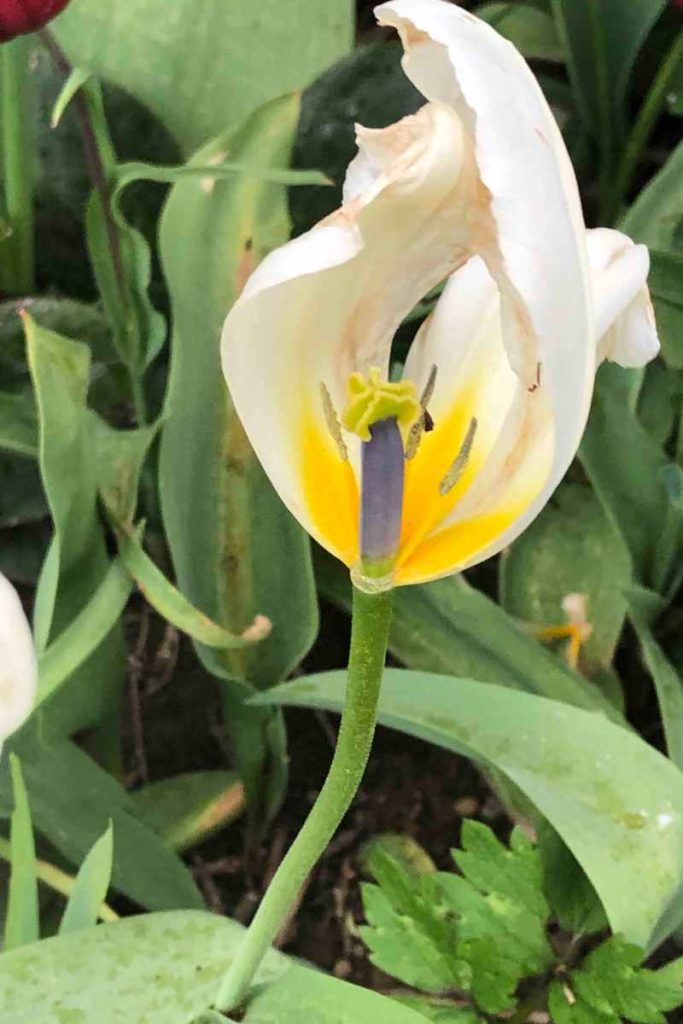
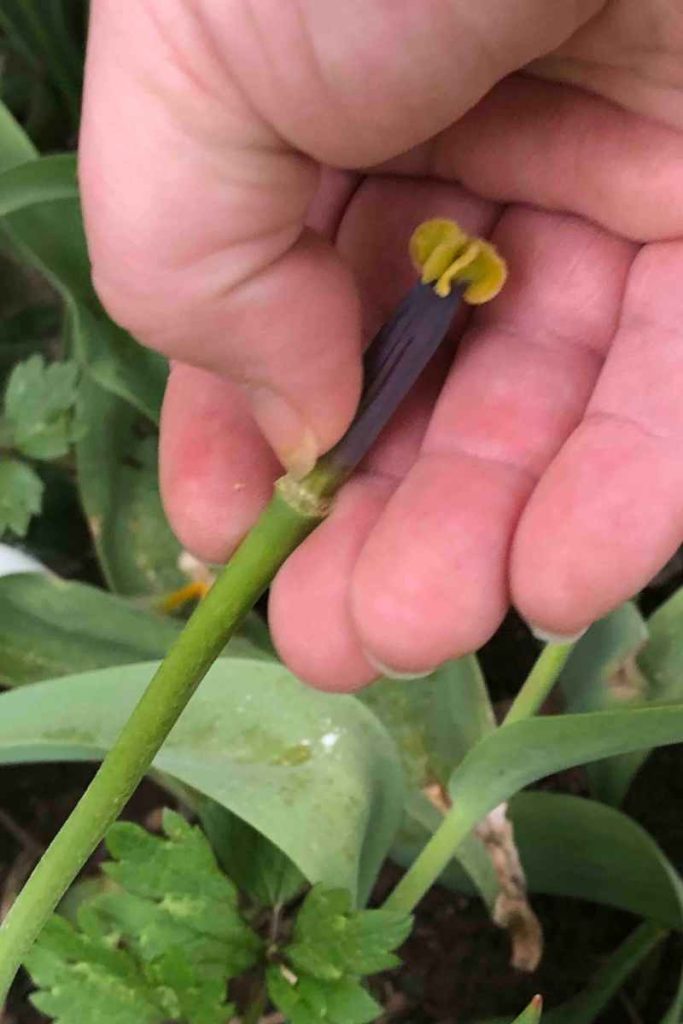
After the early tulips bloom, you can add bulb food and fertilizer to your plantings. Remember it is how you care for tulips after they have finished blooming that will bring success for years to come. Remove the faded blooms in the spring by snapping blooms off at the top of the stem, just below the thickening seed pod.
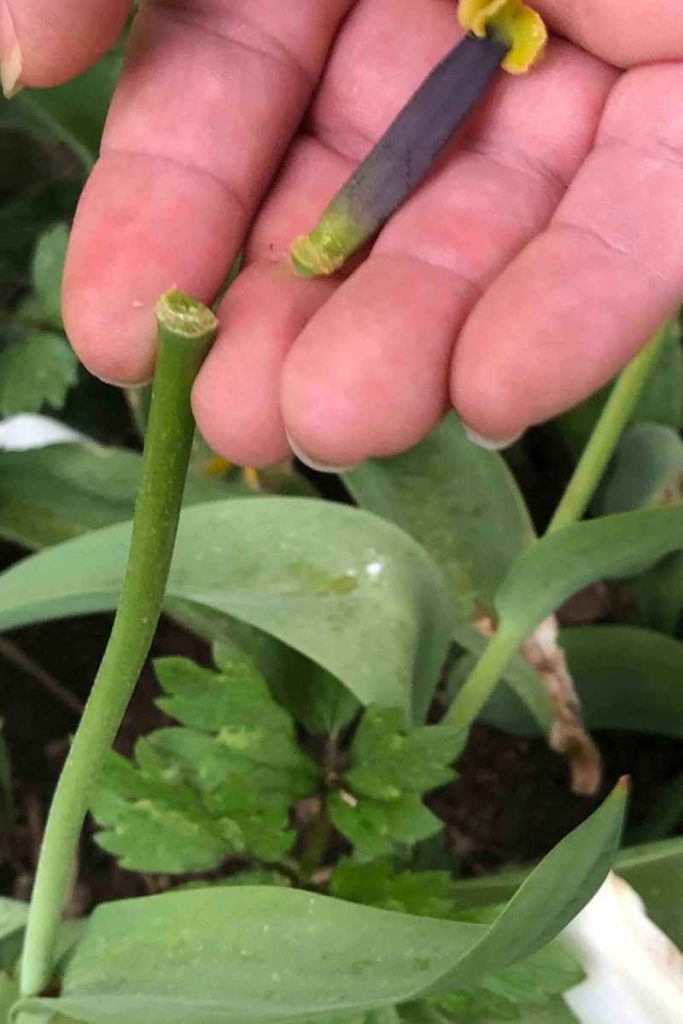
Continue to water and allow the foliage to grow until it turns yellow, then you can trim the stem and leaves down to soil level. Tulips that bloom later in the garden take longer to complete their growing cycle than the early spring-blooming varieties. Many gardeners start to trim back the foliage too soon in the spring, in anticipation of planting annuals in the flower beds. Unfortunately, this greatly reduces the amount of nutrients the bulbs have been able to store for next year’s blooms. As a result, the bulbs only have enough energy to produce leaves as the tulips try to grow and store more nutrients to produce amazing blooms. Yellow foliage is a sign that the bulb has filled its storage and is ready to go dormant for summer. So, you can then trim the foliage to soil level and the bulbs are dormant until next spring. Now is an ideal time to divide overcrowded clumps of naturalizing tulip bulbs and replant right away.
Tulip Fall Care
This is the time to add more bulbs to your garden. Design a special combination for a container or plant a cut flower patch.
Garden Pests
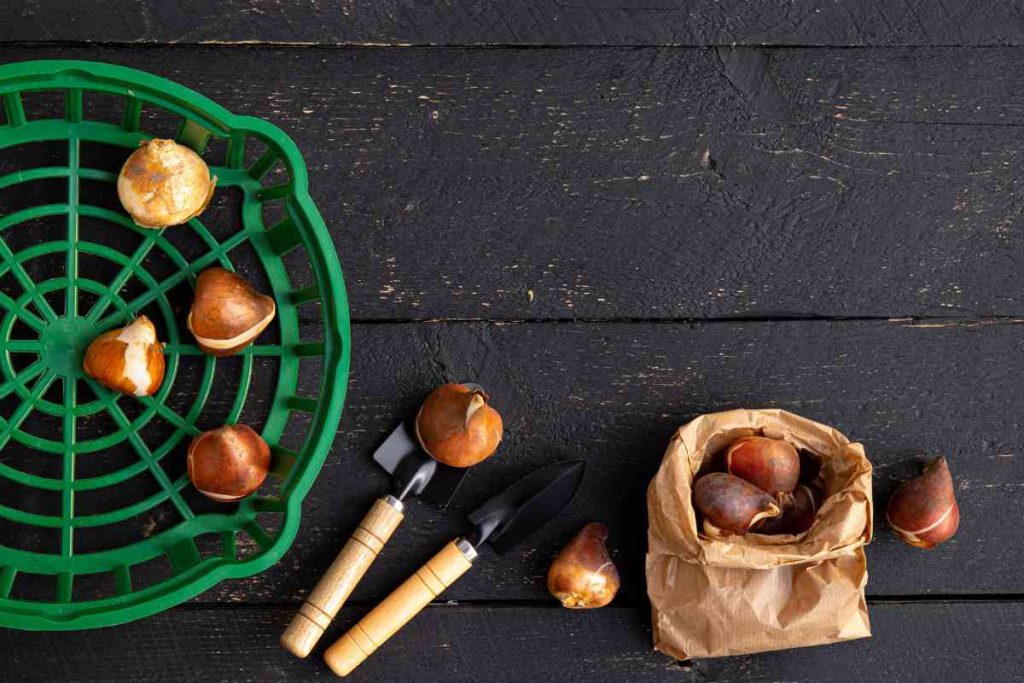
In tulips pests tend to be the four-legged kind – yes we are talking about rabbits, squirrels, voles, mice… in which you may need to plant your tulip bulbs in bulbs trays as an underground defense. For an above-ground defense, in fall place chicken wire over containers and flower beds or fencing around plantings, to keep unwanted visitors out. In the spring you can try deterrent sprays like Bobbex to keep the deer at bay. Another solution is to plant naturally deer-resistant varieties among your tulips. Try our companion planting bulb and perennial suggestions.
Companion Plants for Tulips
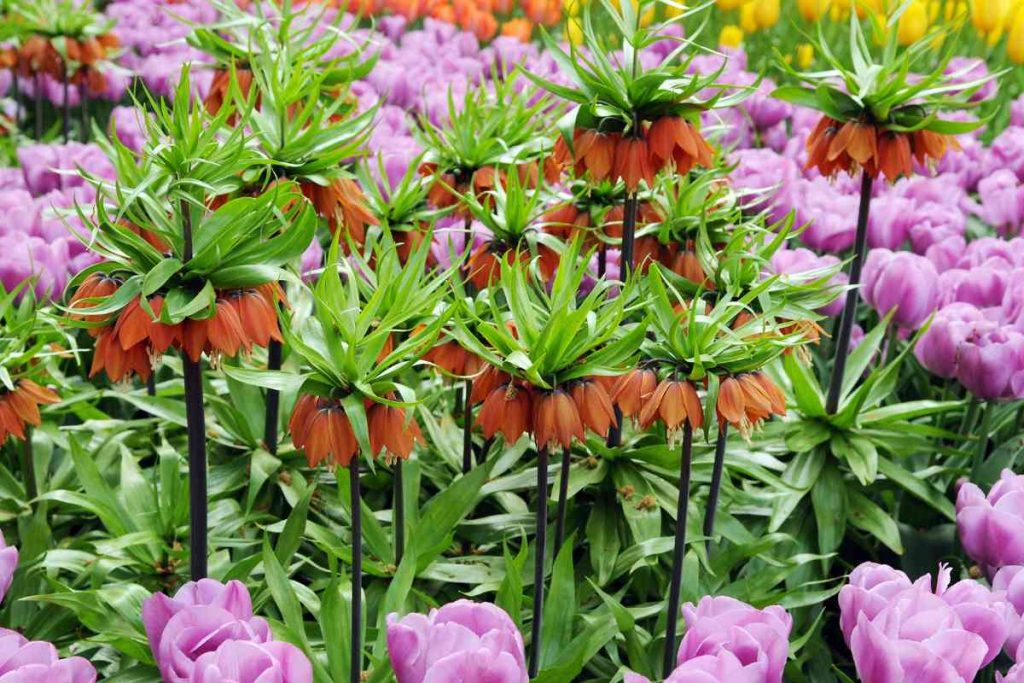
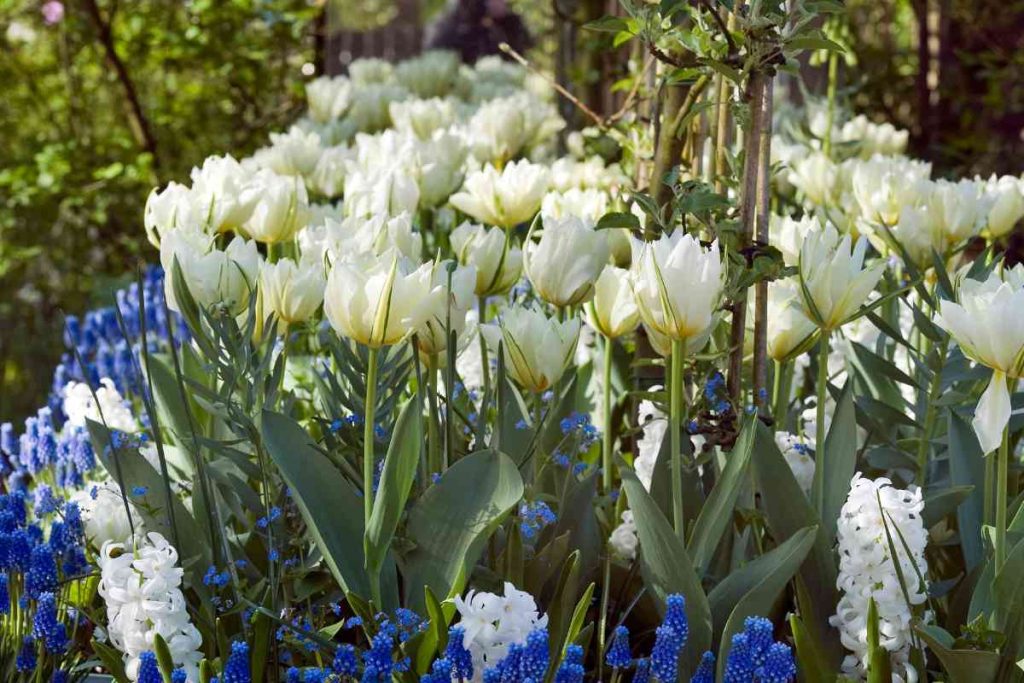
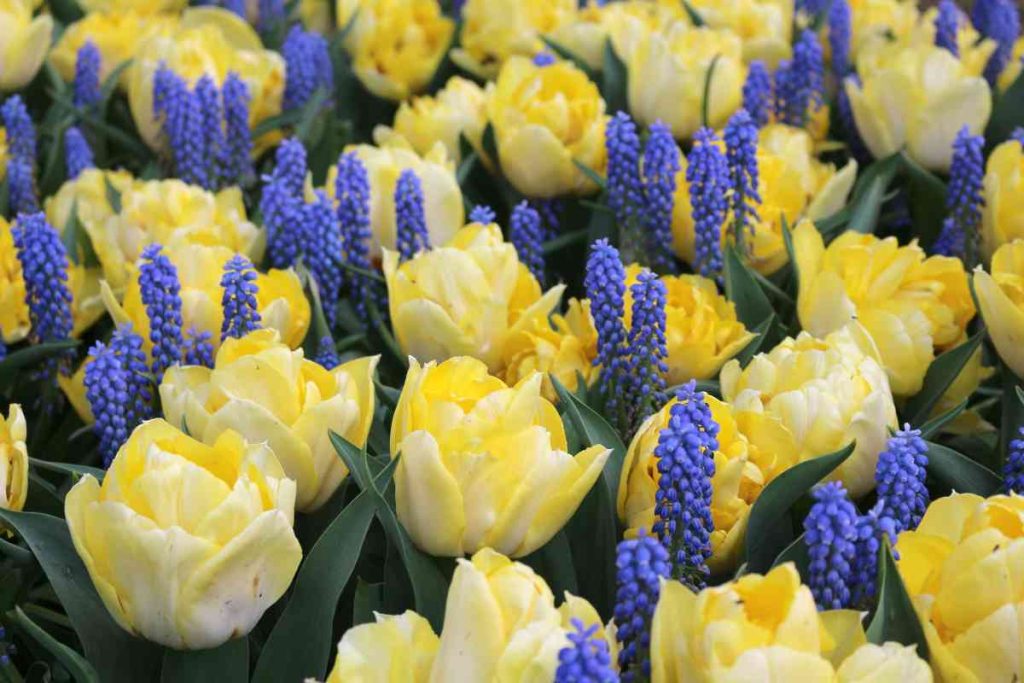
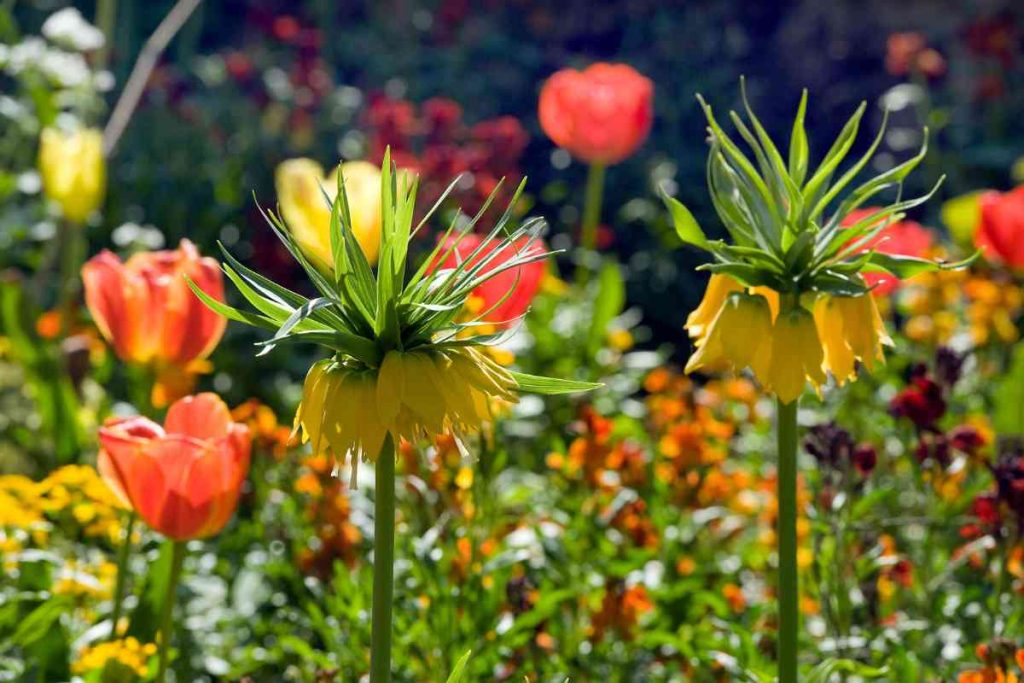
When planning a garden with tulips, selecting companion plants can enhance the beauty and longevity of your floral display. Try planting other bulbs with your tulips like daffodils, hyacinths, muscari, and fritillaria. Not only do these bulbs have differing blooming times, but they also help deter pests from your tulip bulbs, that our furry friends often find so tasty!
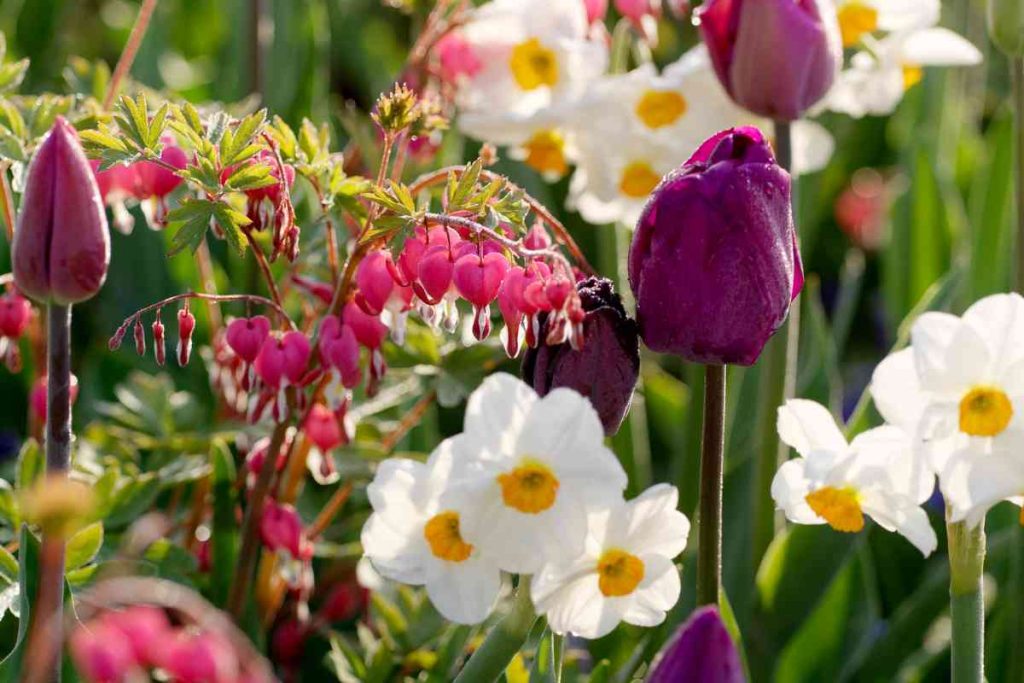
We love to add our favourite perennials as companion plants to our tulips, including dicentra (bleeding heart), heuchera (coral bells), and lavender. Together with the tulips in your garden it can create a delightful and harmonious landscape. Dicentra’s graceful, arching stems adorned with heart-shaped blooms in shades of pink and white add a touch of elegance alongside the vibrant tulips. Heuchera, with its colorful foliage in various shades of green, purple, or silver, provides a striking contrast and textural interest, making the tulip bed truly dynamic. Introducing lavender to the mix not only infuses a soothing fragrance but also contributes a Mediterranean flair, with its aromatic, silvery-green foliage and purple blossoms. Together, these perennials and tulips form a picturesque ensemble that combines the allure of spring blooms with the enduring beauty of foliage and fragrance, transforming your garden into a multi-season masterpiece.
Planting tulips is a rewarding and enchanting endeavor for any garden enthusiast. These resilient and vibrant flowers offer a burst of colour and elegance that heralds the arrival of spring. Whether you choose to plant them in formal beds, mixed borders, or containers, tulips never fail to captivate with their diverse array of colours and shapes. So, roll up your sleeves, get your bulbs in the ground, and watch as your garden bursts into life with the vibrant beauty of tulips!