
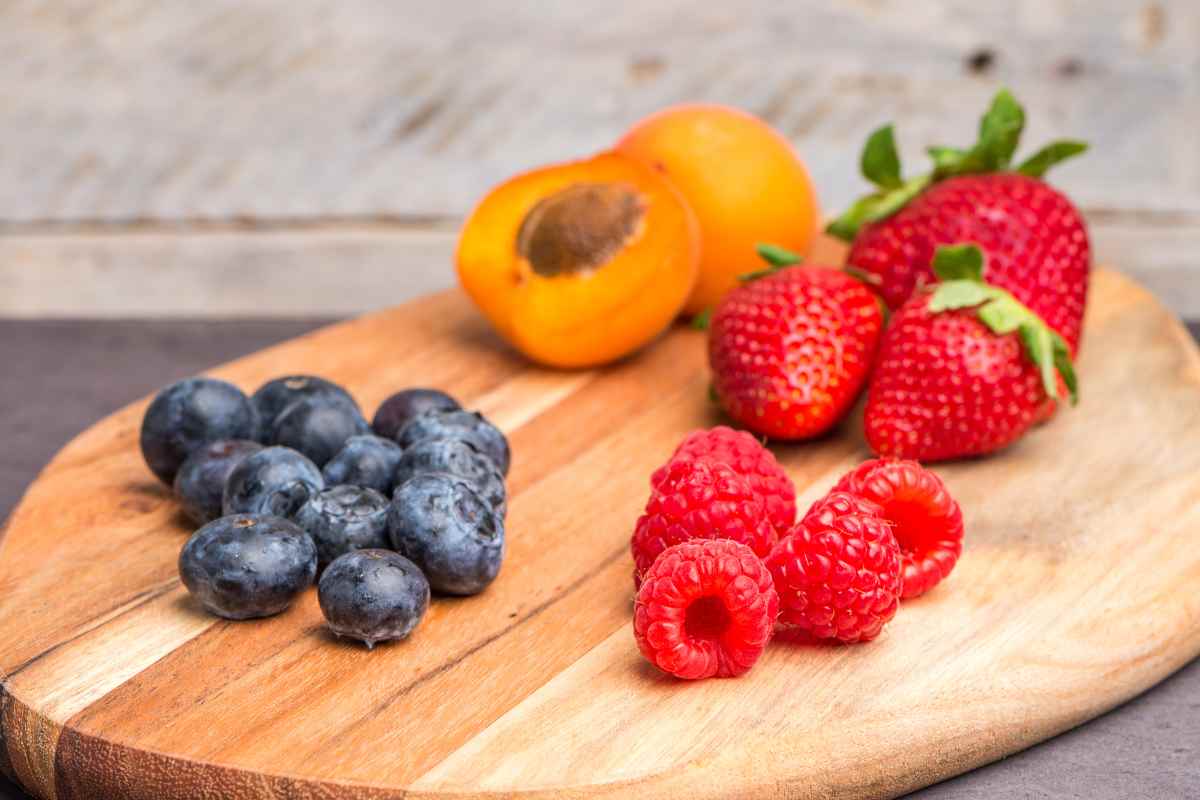
4 Amazing Recipes for Your Summer Fruit Harvest
When choosing fruit and berries to plant in my yard, I always think about the delicious recipes I can make with my harvest. After planting and carefully tending to the fruit and berries in my garden, I am rewarded with a tasty bounty! Fresh fruit is amazing to eat right off the bush, tree, or vine. However, it’s always nice to bake a delectable dessert to share or preserve to enjoy during the winter months. There are many different cakes, tarts, jams, and muffin recipes I like to make each summer. Jump into the kitchen with me and try out these incredibly tasty recipes!
Table of Contents
Strawberries
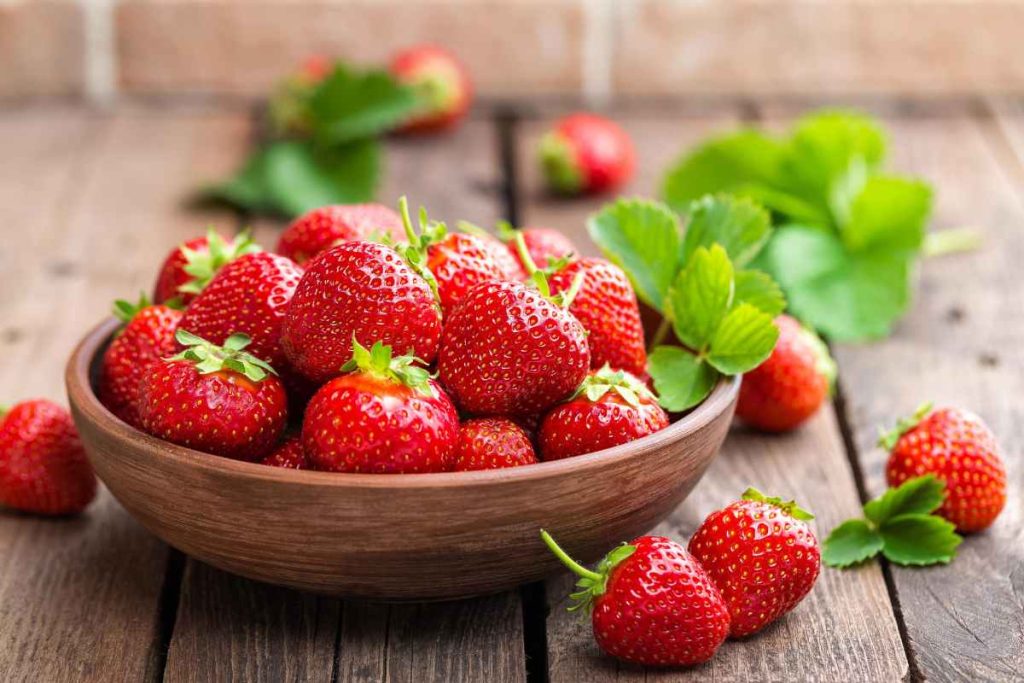
As one of my favourite summer treats, I have plenty of strawberries planted in my garden. Strawberries are an excellent ground cover, so I planted mine in garden beds. I chose a good full-sun location and ensured there was well-draining soil. I prefer to plant everbearing strawberries in my garden, as they will produce sweet berries all season long, from late spring through to fall.
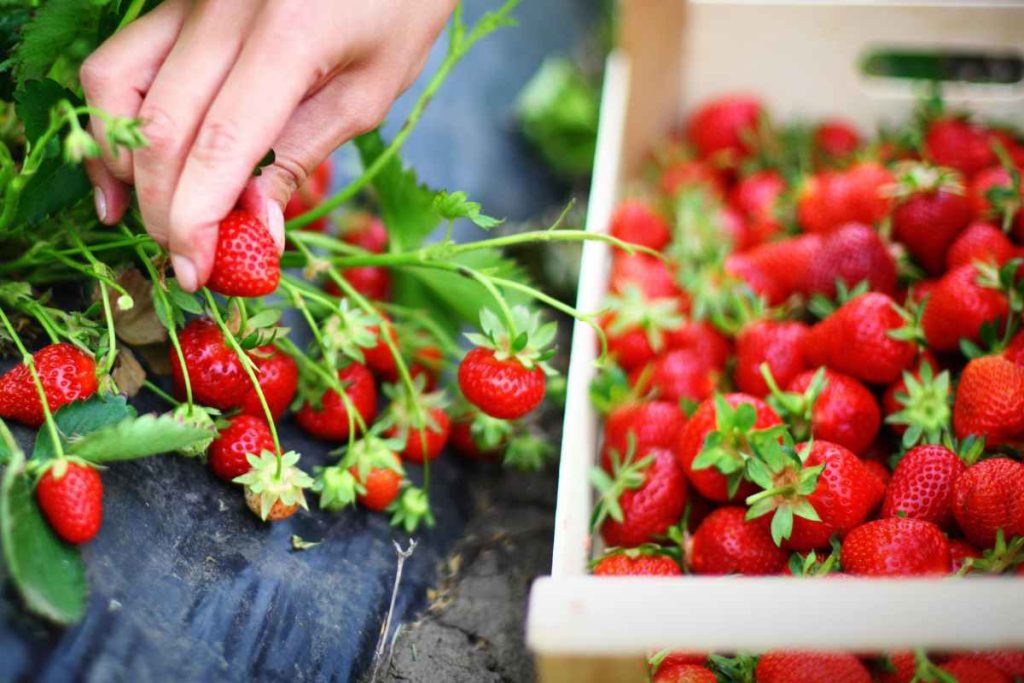
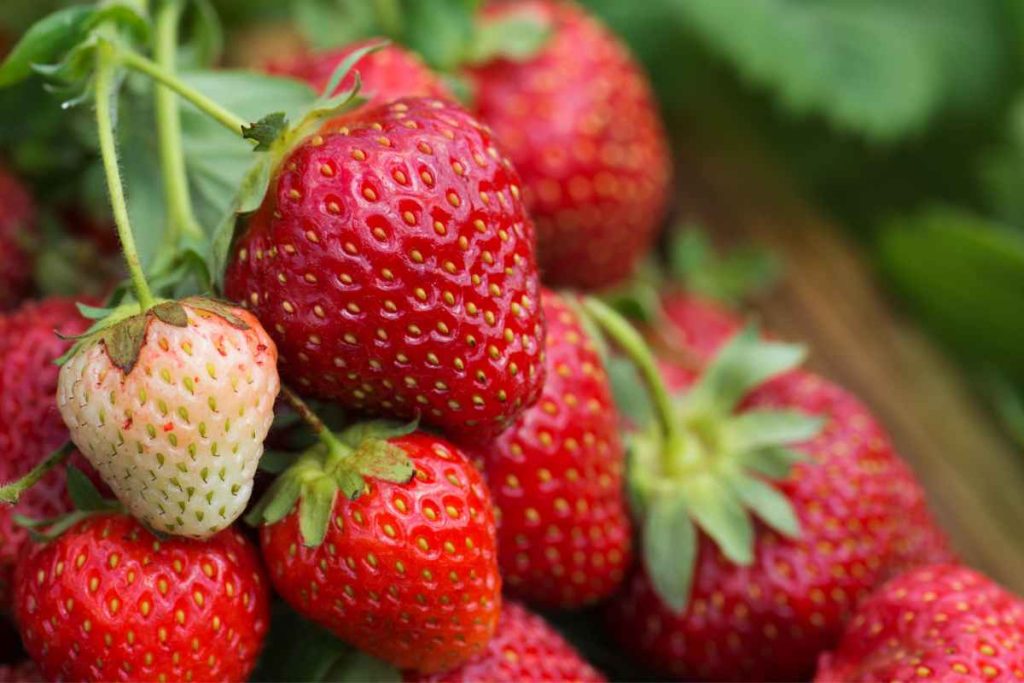
A strawberry that can always be found in my garden is Eversweet. With very large berries of exceptionally sweet taste, these strawberries are perfect for fresh eating as well as use in my favourite desserts and preserves. For any extra berries, I haven’t eaten or baked (it’s a rather unlikely scenario!) I make sure to freeze them to use them throughout the year in my banana-strawberry smoothies.
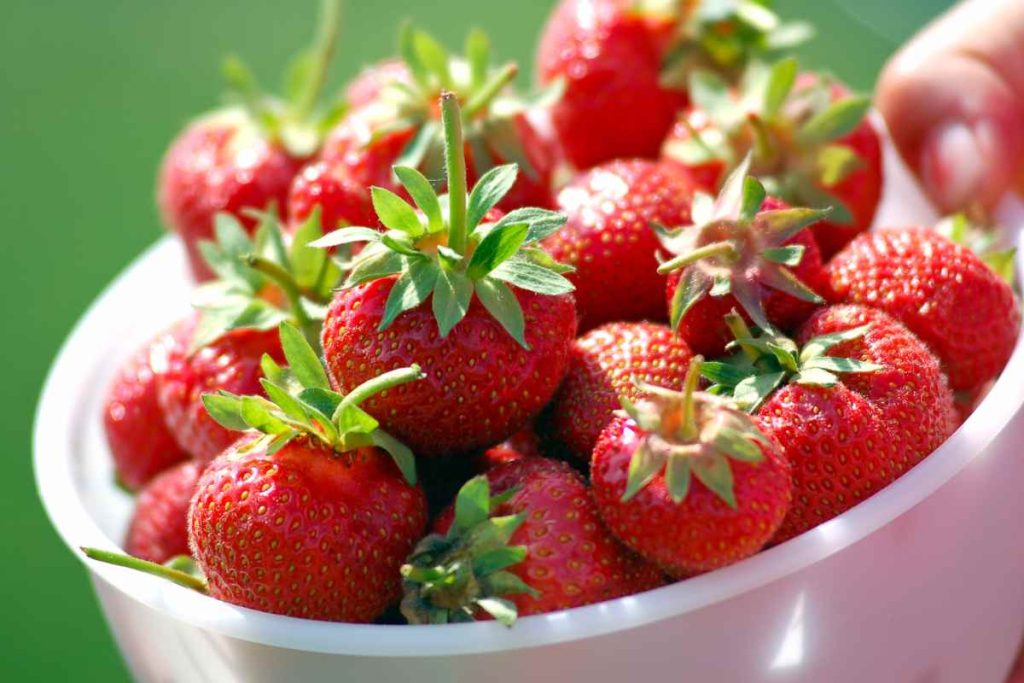
Classic Strawberry Shortcake

Growing up, my mom made strawberry shortcake for my birthday every year. As delicious as it was, it was made with a vanilla cake mix, whipped cream, and sliced strawberries. Now, don’t get me wrong, it’s still one of my favourite no-hassle desserts to make, as it’s so easy to whip up when I’m craving something sweet. However, now that I am older, my tastes have broadened, and I have come to explore more complex desserts. A classic traditional strawberry shortcake is made with biscuits instead of sponge cake. This recipe with buttery biscuits and fresh whipped cream is a delicious way to highlight your summer strawberries!
Ingredients:
For the Berries
- 2 cups fresh strawberries, washed and sliced
- Juice of 1 lemon
- ¼ cup sugar
For the Biscuits
- 3 cups all-purpose flour, plus more for dusting
- ½ cup plus 2 tablespoons granulated sugar
- 1 tablespoon plus 1 ½ teaspoons baking powder
- ¾ teaspoon salt
- 9 tablespoons cold unsalted butter, cut into small pieces
- 1 ¼ cups plus 1 tablespoon heavy cream
- 2 large eggs
- 6 tablespoons sugar
To Serve
- ½ cup heavy cream
Directions
- Prepare the berries: Toss the strawberries with lemon juice and sugar to combine. Let stand at room temperature for 1 hour.
- Make the biscuits: Preheat oven to 375 degrees. Whisk to combine flour, granulated sugar, baking powder, and salt. Using a pastry blender or two knives, cut the butter into the flour mixture until the mixture resembles coarse meal. Mix 1 ¼ cups heavy cream and 1 egg. Add to flour mixture and stir with a fork just until the dough starts to come together but is still crumbly.
- Turn out dough onto a lightly floured surface and pat into a 6×9 inch rectangle, about 2 inches thick. With a short side facing you, fold the bottom third up as you would a business letter, followed by the remaining third. Pat into a square. With a 2 ½ inch round cutter dipped in flour, cut biscuits from the dough, and place them evenly spaced on a parchment-lined baking sheet. Gather dough scraps together, fold once, and gently pat them into a square. Cut out the remaining biscuits. Whisk the remaining egg and 1 tablespoon cream, then brush egg wash over the tops of the dough rounds. Sprinkle each with 1 tablespoon of sugar.
- Bake until the tops are golden brown, rotating the sheet halfway through, about 25 minutes. Transfer biscuits to a wire rack and let cool slightly.
- When ready to serve, whip cream in a chilled bowl until soft peaks form. Split the biscuits in half and place the bottom half on each plate. Top generously with berries and their juice, then top with dollops of whipped cream followed by remaining biscuit halves. Scatter a few more strawberries on top and around plates.
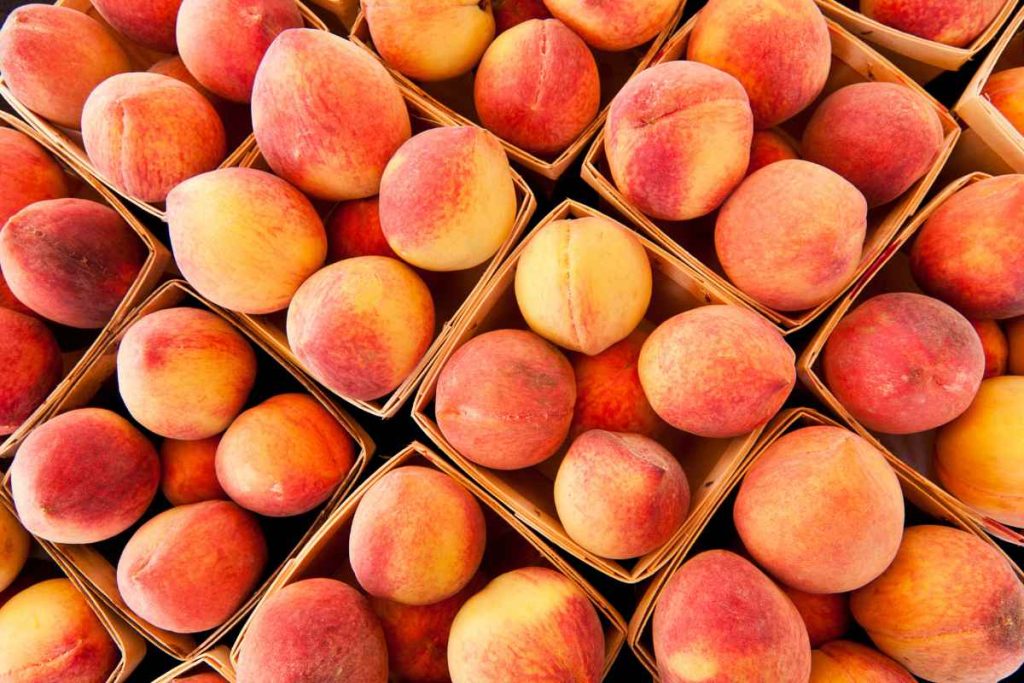
Peaches
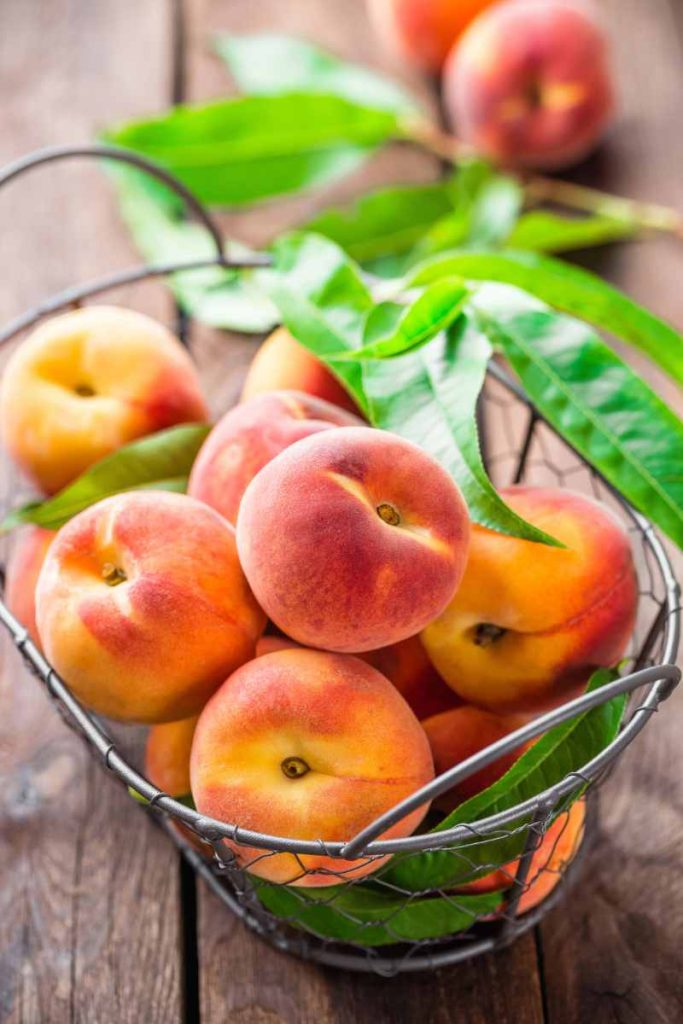
Living on the Westcoast, I always plan a trip to the warm Okanagan during the summer. A highlight of my trip is buying a flat of peaches at a roadside produce stand. There are many different yummy treats I use my peaches for; however, they are mostly used for fresh eating. One thing I cannot live without is making my yearly batch of peach ginger jam. It’s a perfect jam to have on hand throughout the year. I use it on my morning sourdough toast, mixed into yogurt for a refreshing snack, and on thumbprint cookies. Try out my favourite jam recipe – I know you will love it!
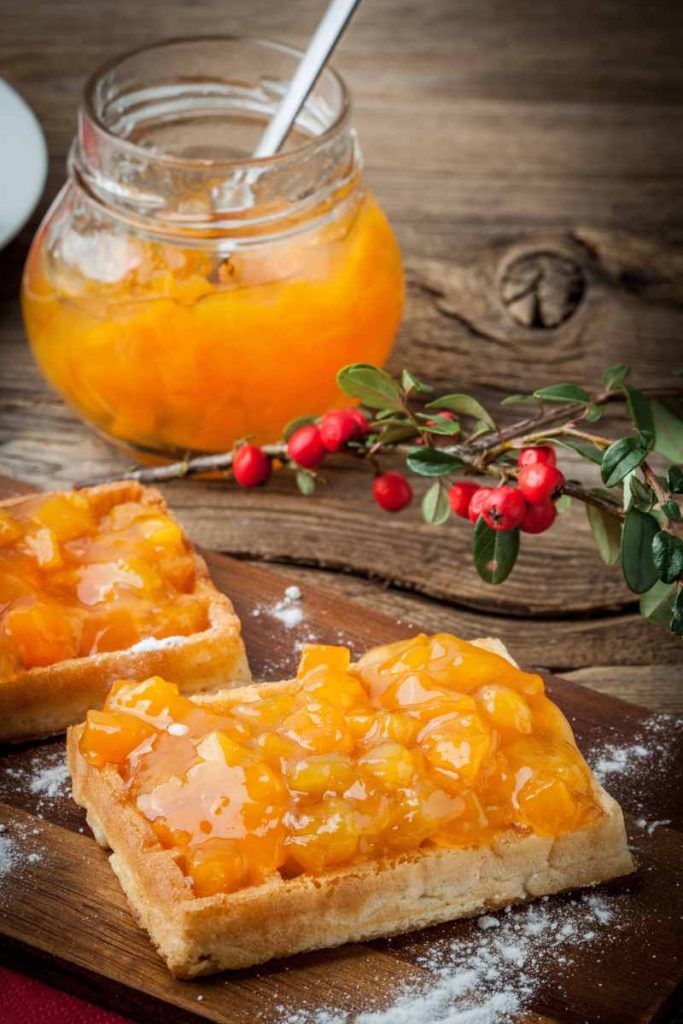
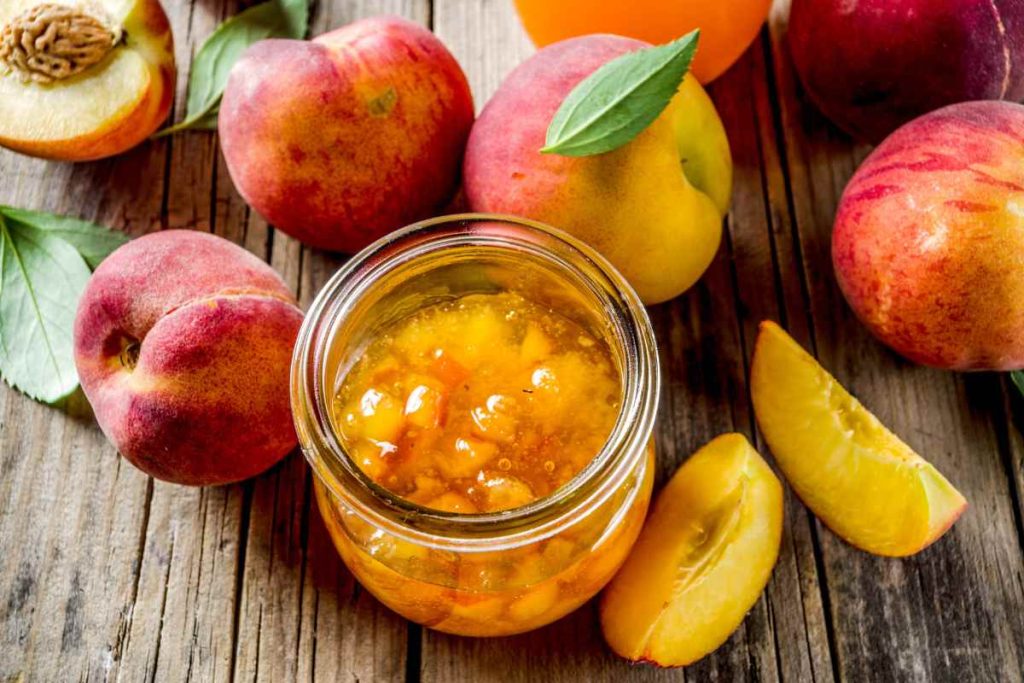
Peach Ginger Jam
Ingredients:
- 1 cup granulated sugar
- 1 pouch freezer jam pectin
- 3 cups peeled, pitted & diced peaches, (approximately 4 large peaches)
- 3 tbsp peeled and pureed ginger root
- Grated peel and the juice of 1 lemon
Directions:
- Container Preparation: wash and rinse 6 containers 250 ml freezer-safe containers.
- Peaches Preparation: blanch to peel and pit peaches; blend to desired chunkiness and measure 3 cups peaches into a large mixing bowl.
- Ginger root preparation: peel and slice fresh ginger root 1/8” thick crosswise through the fibers of the root, then puree or dice to desired size.
- Lemon preparation: wash and grate fresh lemon peel avoiding the white pith, then slice and juice the fruit.
- Blending it all together: Add to the peaches the sugar, ginger, and lemon peel and let stand for 10 minutes. Give it a taste test as this will be very close to the final flavour, keep in mind that the ginger will mingle in more.
- Gradually stir in freezer jam pectin until well blended; stir 3 minutes longer. Stir in lemon juice.
- Ladle jam into containers, leaving 1.5 cm (¾ inch) expansion space. Wipe container rims removing any residue. Apply lids tightly. Label and date. Let stand until thickened, about 30 minutes. Refrigerate for up to 3 weeks and freeze for up to 1 year.
Raspberries
Although picking raspberries with my mom when I was younger was never much fun, as I’d rather hit the local swimming pools, I now see why she loved going to the berry patch! I have brought the berry patch to my backyard and have a proliferous raspberry bush, providing me with juicy berries. Growing to a height of 180 cm (6’) my raspberry bushes are lovely garden giants that provide me with beautiful, tasty, morsels of delight. I have planted raspberry Heritage in my garden. This everbearing raspberry has early summer and fall crops that are produced on new canes each year. Make sure to mow the canes to the ground at the end of the season.
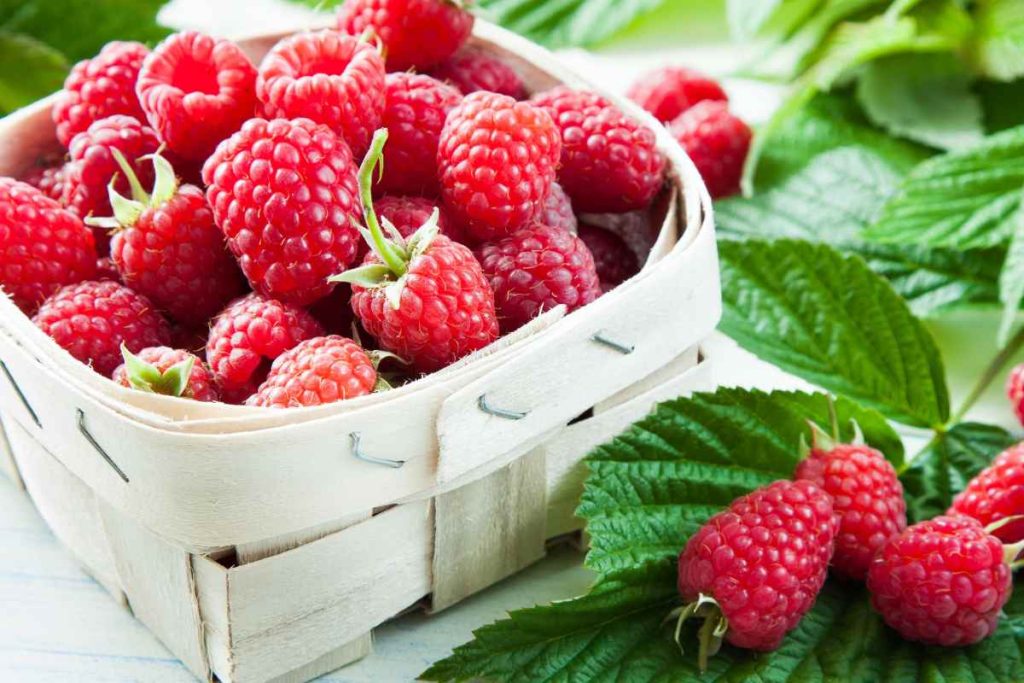
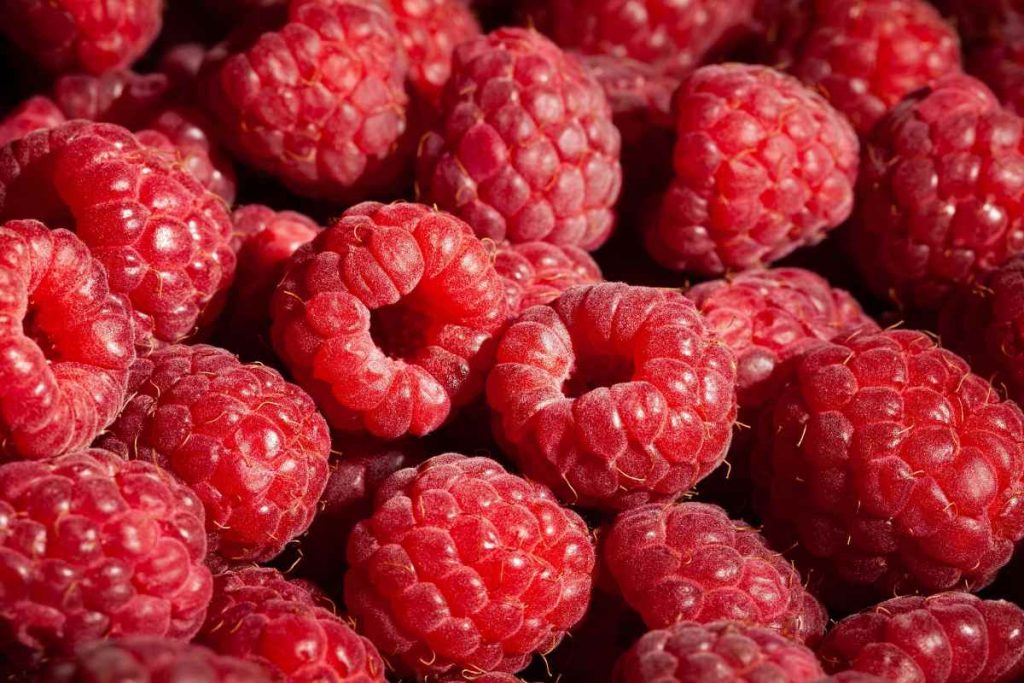
Heritage has a heavy yield, with large red berries. I love the sweet flavour of these raspberries. They are perfect for fresh eating, preserves, freezing, and of course, baking!
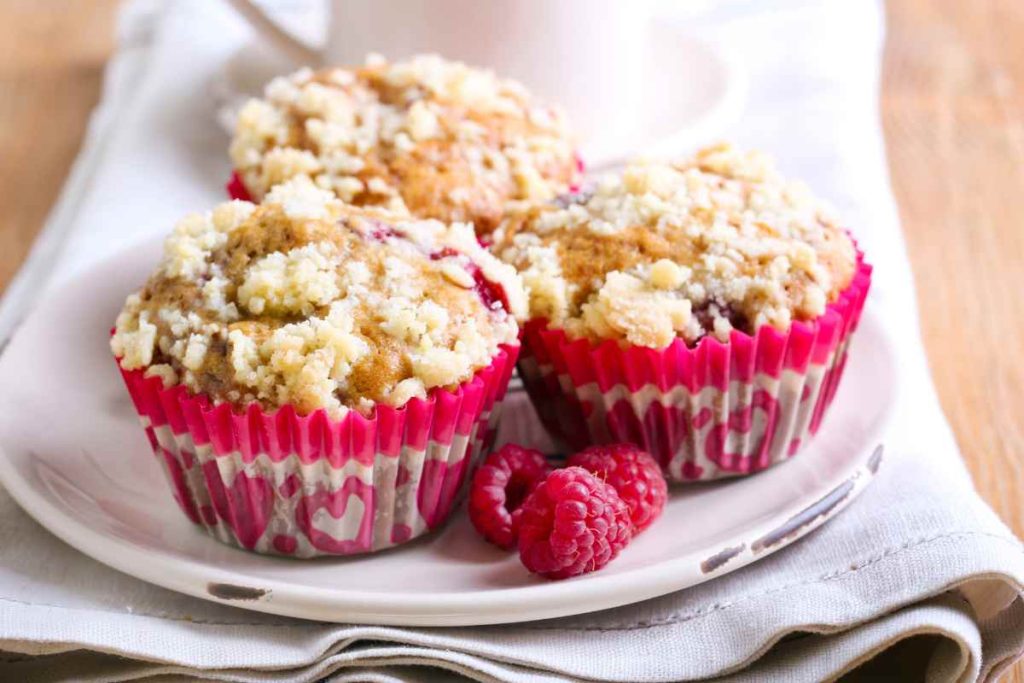
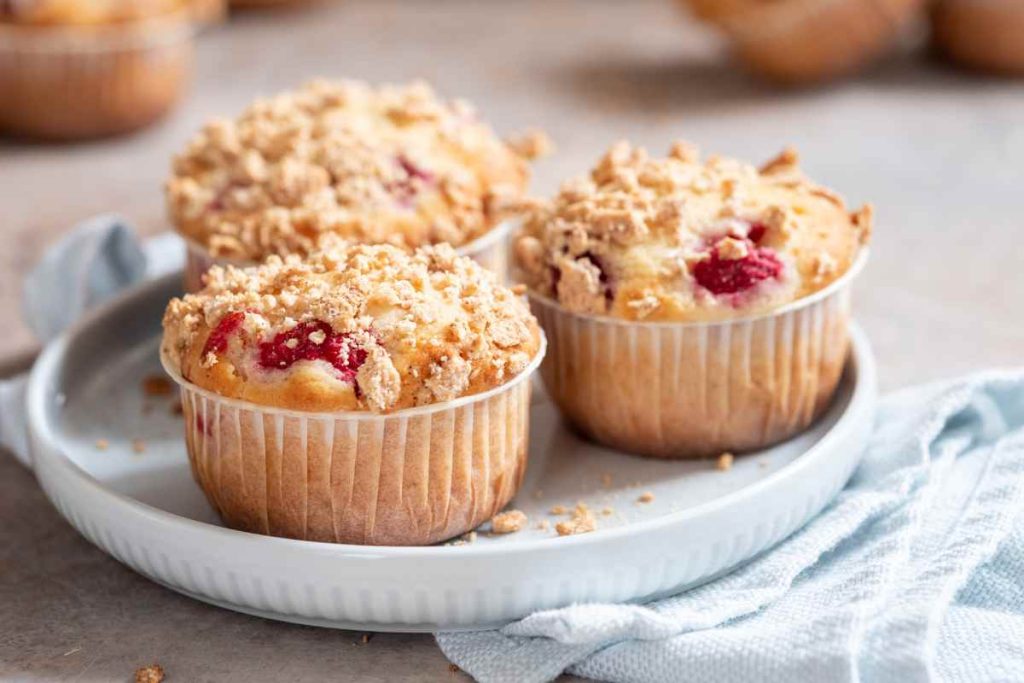
Raspberry Orange Crumble Top Muffins
Muffins are great for a quick snack and popping into lunch bags. I often find myself rushing to make my lunch for the next day late in the evening. These muffins are perfect to freeze, and then to add to your lunch when needed! There are many raspberry muffin recipes out there. The delectable attraction of these muffins is the infusion of cinnamon, nutmeg, cardamom, and orange zest. It elevates the regular raspberry muffin to a new level!
Ingredients
Muffins
- 2 cups flour
- 2½ teaspoons baking powder
- ½ teaspoon salt
- 1 teaspoon cinnamon
- ¼ teaspoon cardamom
- ½ cup unsalted melted butter
- 1 cup white sugar
- 2 eggs
- ½ teaspoon vanilla extract
- ½ cup sour cream or plain Greek yogurt
- ½ cup milk
- zest of 1 orange (about 2 tablespoons)
Raspberry Mixture
- ½ cup flour
- 2 cups raspberries
Cinnamon Crumb Topping
- ⅓ cup brown sugar
- ⅓ cup white sugar
- 1 cup flour
- ⅛ teaspoon salt
- 1 teaspoon cinnamon
- ½ teaspoon nutmeg
- ¼ teaspoon cardamom
- 6 tablespoons unsalted butter, melted
Instructions
- Preheat oven to 350°F. Line muffin tins with paper liners or spray with cooking spray. Set aside.
- Start by making the crumble topping. Then it will be ready to top as soon as you fold in the raspberries.
Crumb Topping
- With a fork, mix sugars, flour, salt, cinnamon, nutmeg, and cardamom.
- Pour melted butter over the dry mixture and use a fork to mix, allowing clumps to form. The larger the clumps, the larger the crumbs on top of the muffins will be. Set aside once mixed.
Muffins
- Mix dry ingredients together and set aside.
- In a large bowl combine sugar, butter, eggs, and vanilla. Mix well.
- Once incorporated, mix in orange zest, sour cream/or yogurt, and milk.
- Then slowly add the dry mixture to the wet, mixing well. Use a whisk if needed to get out any clumps.
- Carefully cut the raspberries in half. You won’t want them too big in the muffins.
- In a separate bowl, mix halved raspberries with ¼ cup of flour. Just sprinkle the flour lightly over the raspberries, and turn gently with a spoon, so you don’t crush the berries. Mixing the flour with the raspberries will keep them from all sinking to the bottom of your muffins.
- Once all raspberries are coated, carefully fold raspberries into the muffin mixture.
- Once mixed, use a large kitchen scoop or spoon to place the batter into prepared muffin tins. Fill about ¾ full.
- Sprinkle 1-2 tablespoons of crumb topping over each muffin. Bake in the oven for 20-25 minutes until tops spring back and/or until a toothpick inserted comes out clean.
- Remove from oven and let muffins rest in the tin for 10-15 minutes.
- Top with extra orange zest if desired.
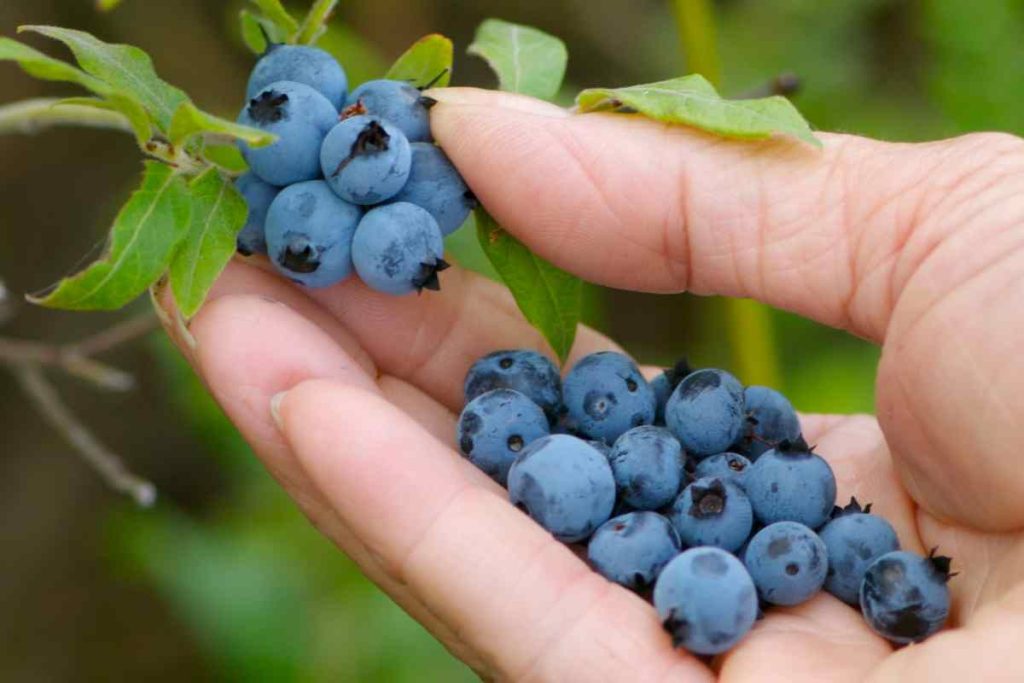
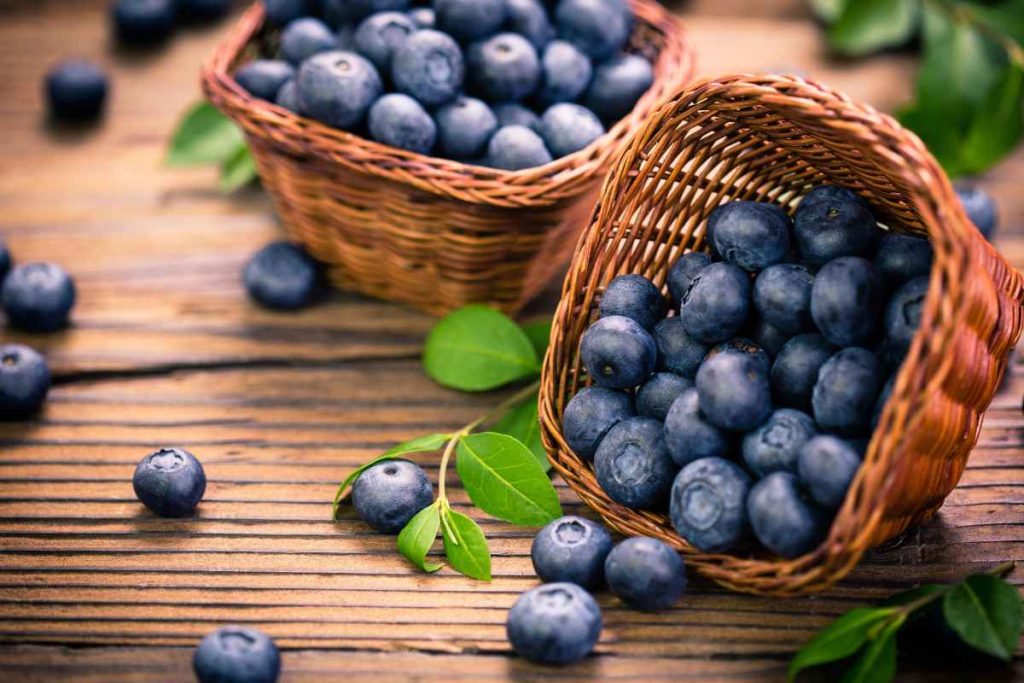
Blueberries
I love the taste of fresh blueberries – and they are even better if they are from my own garden! Planting and growing blueberries is easy and rewarding. The blueberries I have planted in my garden are Chandler and Duke. I enjoy these varieties with their long harvest time spanning from July to August. By planting two or more varieties in the garden, through cross-pollinating you can expect a higher yield of larger berries. I visit my backyard bushes and come back inside with a bucket of tasty and robust berries. Chandler is known as the world’s largest blueberry with some growing to the size of cherries and Duke is so sweet and flavourful! If you have a lack of space in your garden for planting fruit, try Top Hat. These blueberries produce heavy yields of full-size berries, yet they are compact in growth which makes them ideal for containers on the patio! I absolutely love cheesecake, and for those like me that are lactose-free, there are some amazing lactose-free cream cheese, sour cream, and whipped cream options that you can substitute in this recipe!

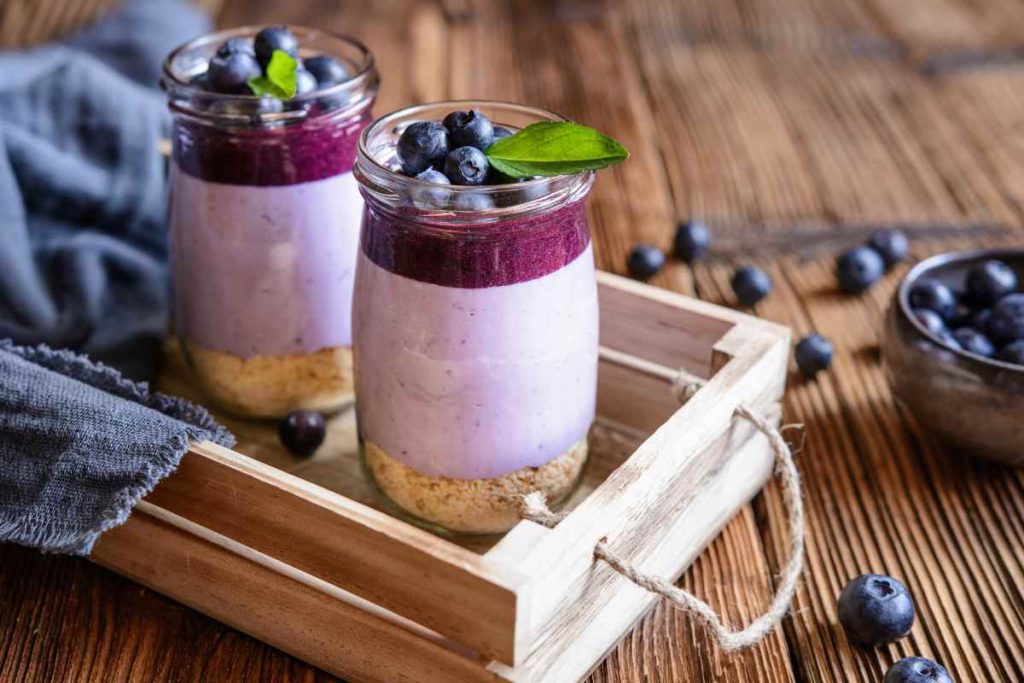
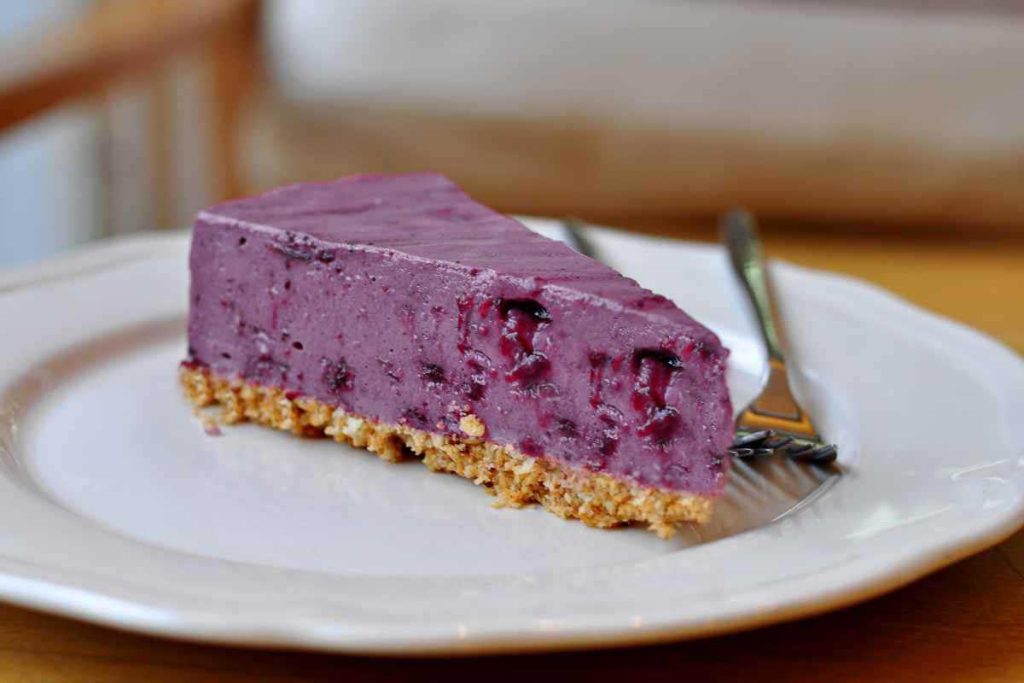
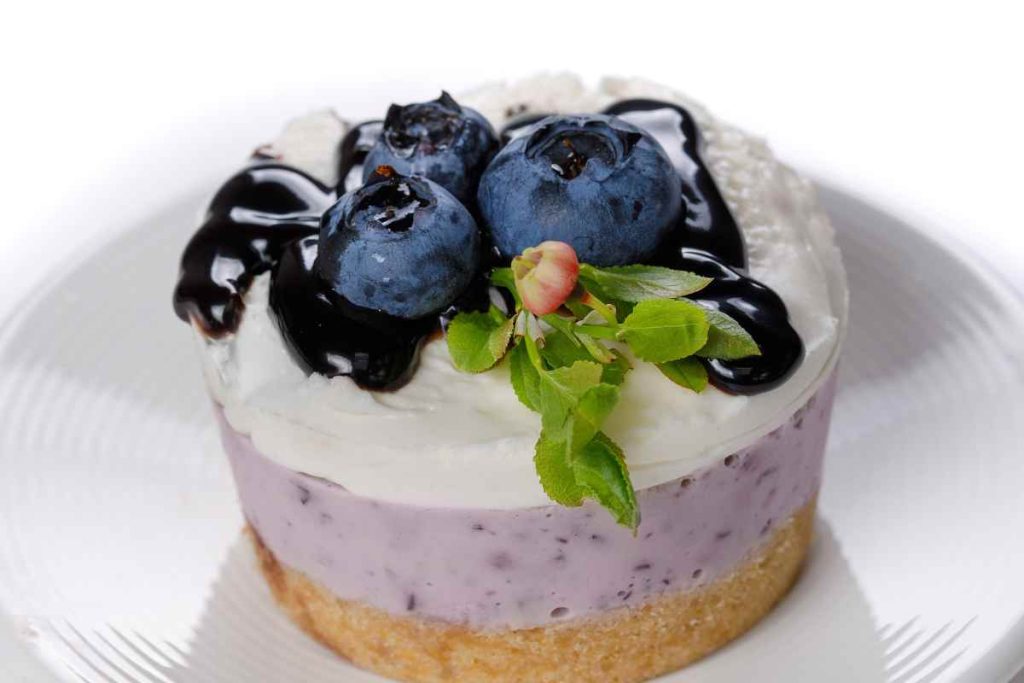
Blueberry Cheesecake
Ingredients
Blueberry Puree
- 2 cup blueberries
- 2 tablespoons granulated sugar
- 2 teaspoons lemon juice
- 2 tablespoons grated lemon peel
Crust
- 9 graham crackers, finely crushed (about 1 ¼ cup)
- 5 tablespoon butter, melted
- ¼ cup granulated sugar
Cheesecake
- 4 (8-oz.) blocks of cream cheese, softened (lactose-free works wonderfully too!)
- 1 cup granulated sugar
- 2 large eggs
- 1 teaspoon pure vanilla extract
- ¼ cup sour cream (lactose-free is great too!)
- 2 tablespoons all-purpose flour
- ¼ teaspoon salt
- 1 cup blueberry puree
Topping
- Whipped cream (lactose-free is perfect here too!)
- Blueberries
Directions
- Preheat oven to 325°F. In a small food processor, blend blueberries until smooth.
- In a small saucepan over medium heat, add blended blueberries, sugar, and lemon juice. Bring to a boil, then reduce heat and let simmer until slightly reduced, stirring occasionally, for 10 minutes. Let cool to room temperature and add grated lemon peel.
- Make the crust: In a large bowl, mix together graham cracker crumbs, melted butter, and sugar, until the mixture resembles wet sand. Press into the bottom and up the sides of an 8″ or 9″ springform pan.
- Make the cheesecake filling: In the large bowl of a mixer, beat cream cheese and sugar until no lumps remain. Add eggs, one at a time, then stir in vanilla and sour cream. Add flour and salt and beat until just combined. Fold in the blueberry puree.
- Pour the mixture over the crust. Wrap the bottom of the pan in aluminum foil and place in a large roasting pan. Pour in enough boiling water to come halfway up the baking pan.
- Bake until the center of the cheesecake only slightly jiggles, about 1 hour and 30 minutes. Turn off the heat, prop open the oven door, and let the cheesecake cool in the oven, for 1 hour.
- Remove foil and refrigerate cheesecake until completely chilled, at least 5 hours, and up to overnight.
- When ready to serve, top cheesecake with whipped cream and blueberries.
Alternate option: skip the eggs and layer the dessert in individual jars and refrigerate instead of baking. Add whipped cream and fresh blueberries just before serving.
This summer, make the most of your fresh berry harvests and bake something delicious! For a guide to all of Florissa’s strawberries and assorted fruit and berries, check out our handy chart detailing each variety’s yield, taste, harvest time, and more!