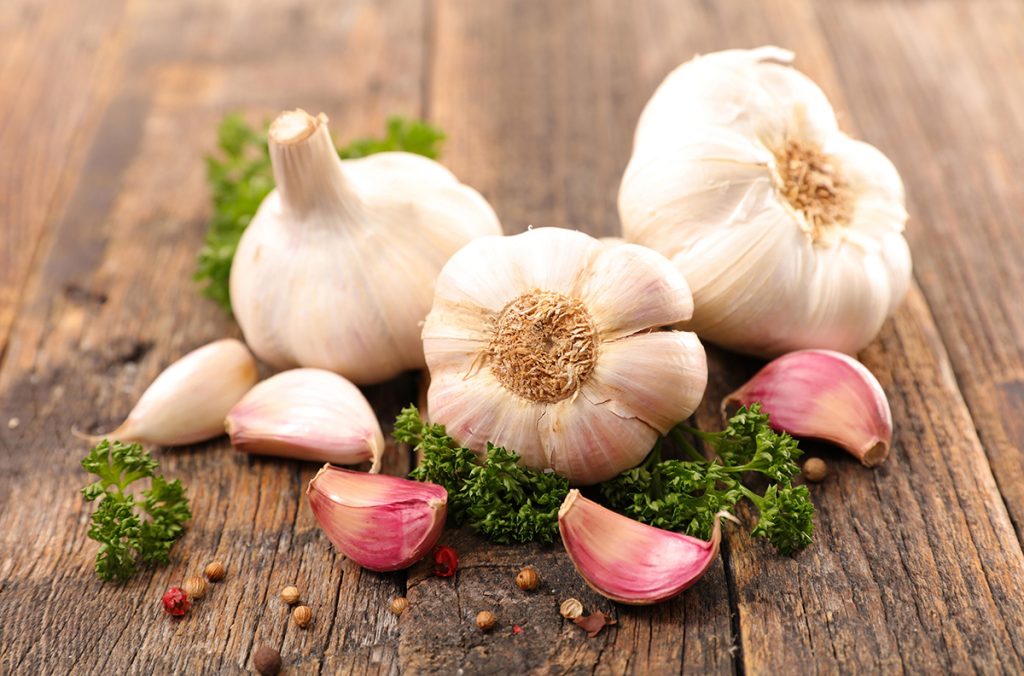
All About Garlic: How to Plant, Grow and Care for Garlic!
Garlic, with its health benefits, rich flavour and culinary versatility, is a staple in kitchens worldwide. While garlic is readily available at grocery stores, there’s something deeply satisfying about planting, growing and harvesting garlic from your garden or patio. Growing your own garlic allows you to experience the rewarding process of nurturing a plant from planting to harvest. Then you can savour all your efforts and appreciate it in the amazing food you prepare with your crop of garlic. Planting and growing your own garlic, rewards you with a great supply all year long, and ensures the best quality and growing conditions. Let’s go through everything you need to know about garlic from planting, growing, caring for and harvesting, from beginning to end.
Table of Contents
Different Varieties of Garlic
There are different classes of garlic you can grow. There is hardneck, softneck, and elephant. With many different varieties to choose from, it can be difficult to know which one to plant. Luckily, we have created a helpful chart listing many different varieties Florissa offers, with their clove size, harvest time, yield, and flavour profile. From sweet to mild, and hot and spicy, there are many options to choose from.
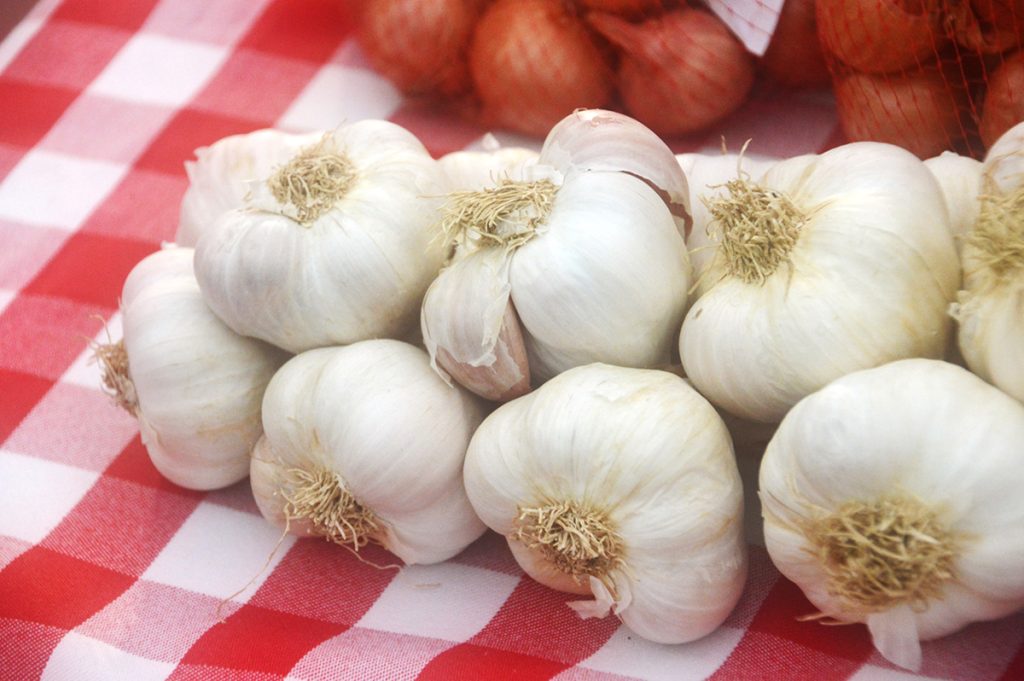
Softneck Garlic
Softneck or Artichoke garlic grows better in warmer climates, as they are not as winter hardy. Softneck varieties do not produce garlic scapes, they can be braided and store longer than hardneck varieties. Each softneck bulb has about 10-14 cloves per head. The softneck – Artichoke varieties have good flavour but are less complex than the hardneck types. This is our regular white garlic.
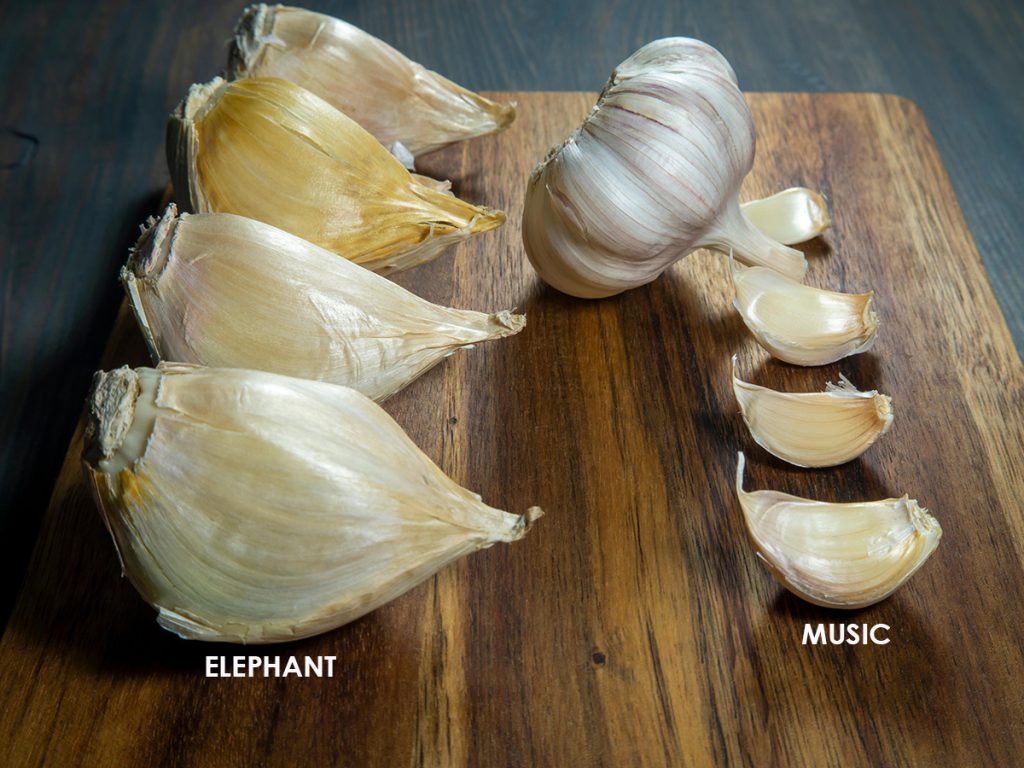
Elephant Garlic
Elephant garlic is technically a bulbing leek. It produces massive bulbs (up to the size of a grapefruit) holding 2-3 very mild-tasting cloves. Elephant garlic is harvested in late summer, and you can store it for up to one year.
Hardneck Garlic
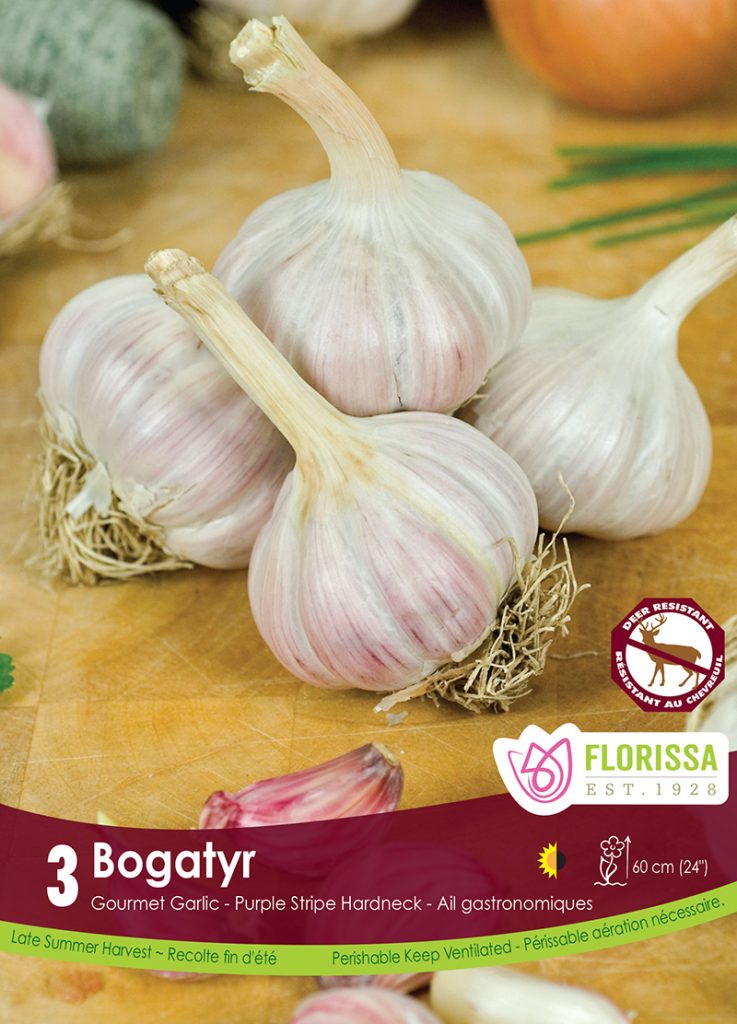
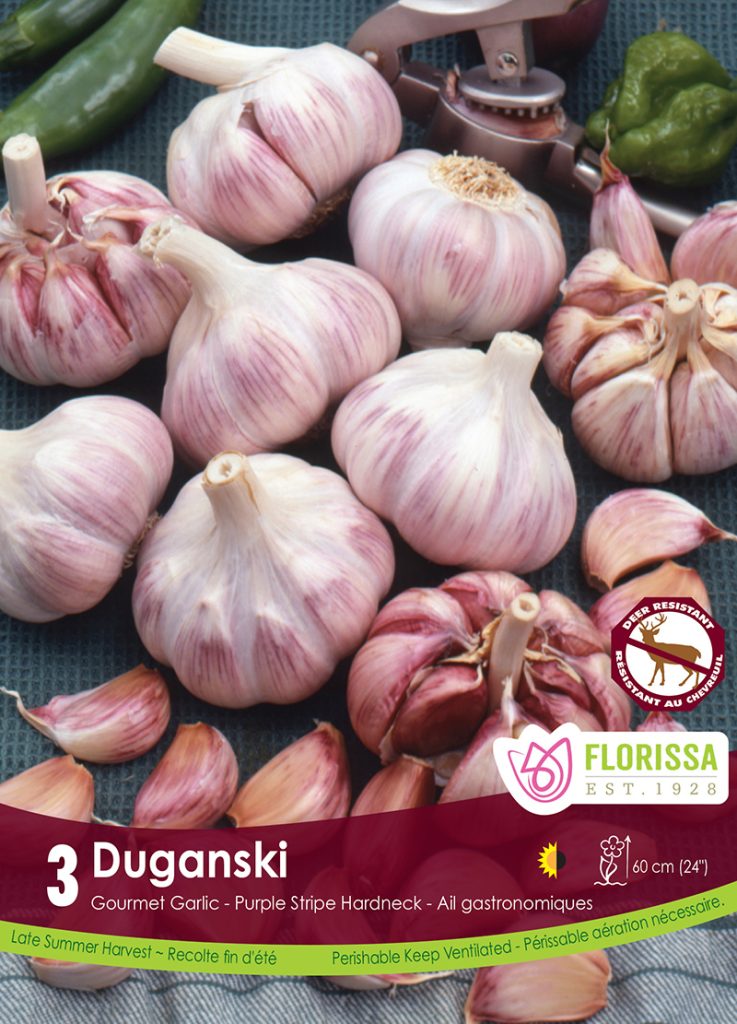
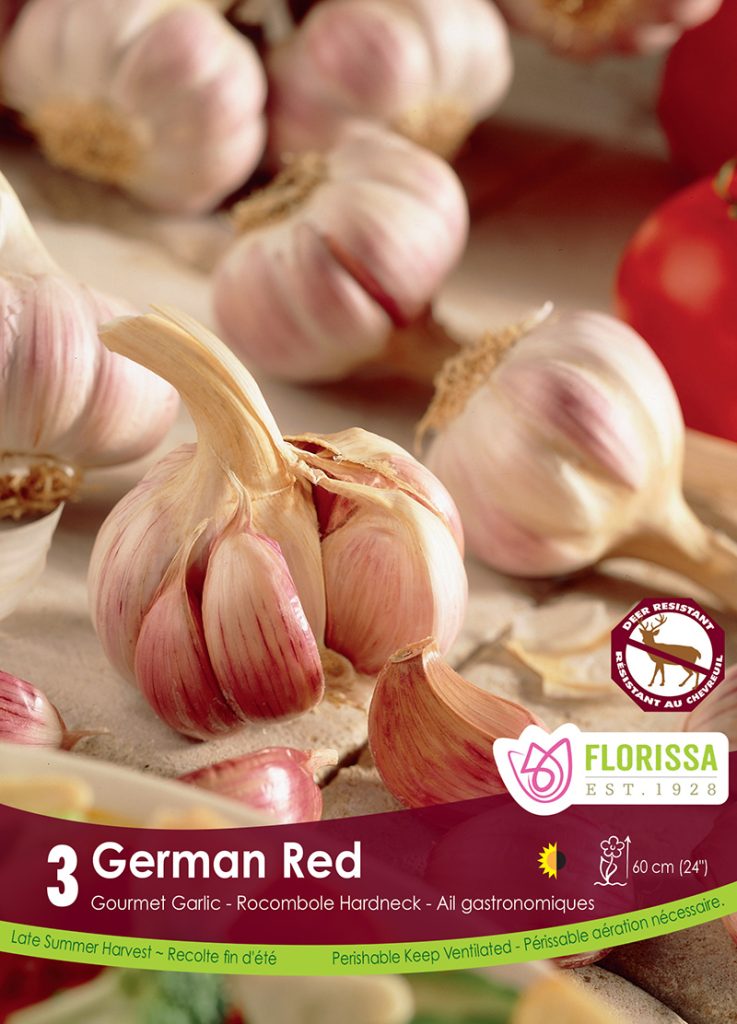
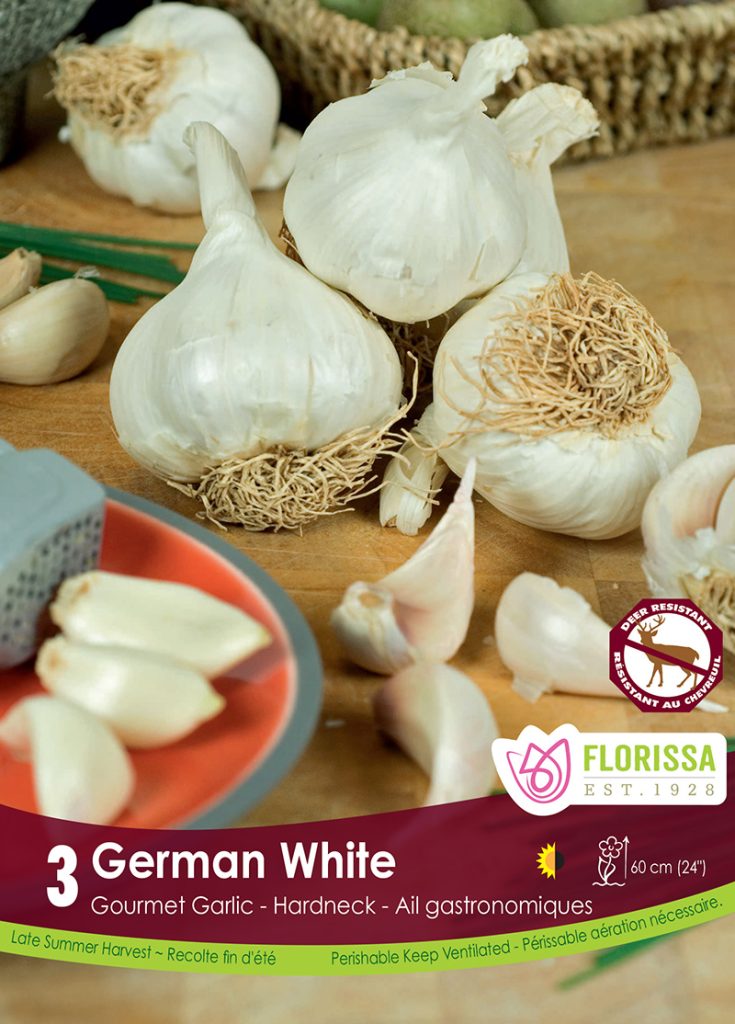
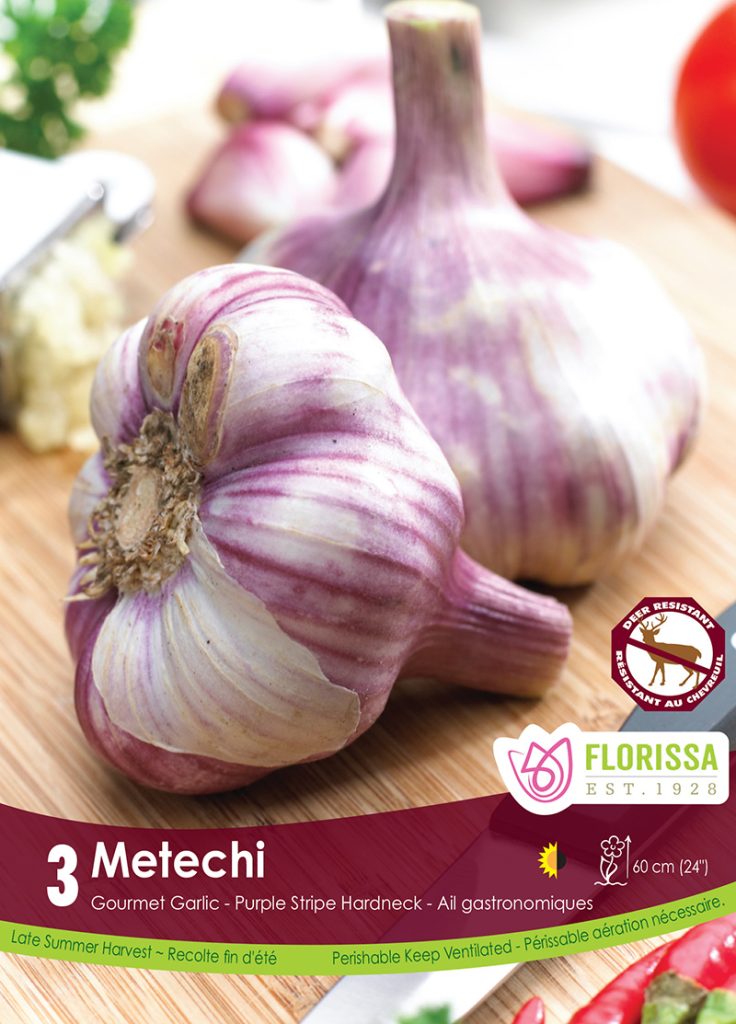
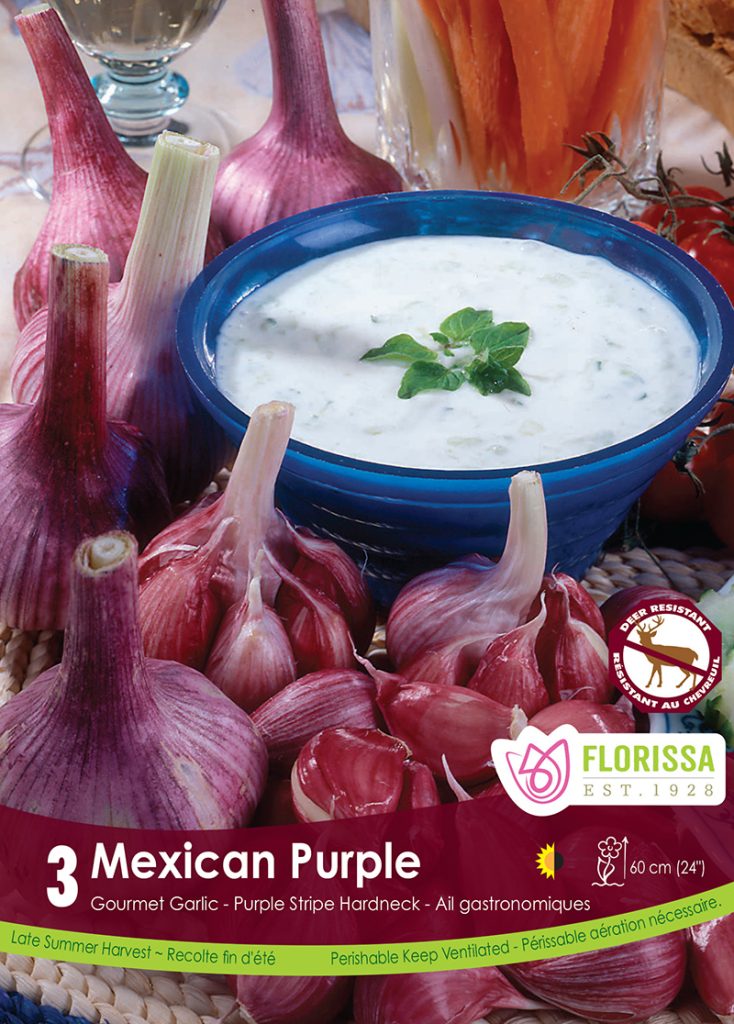
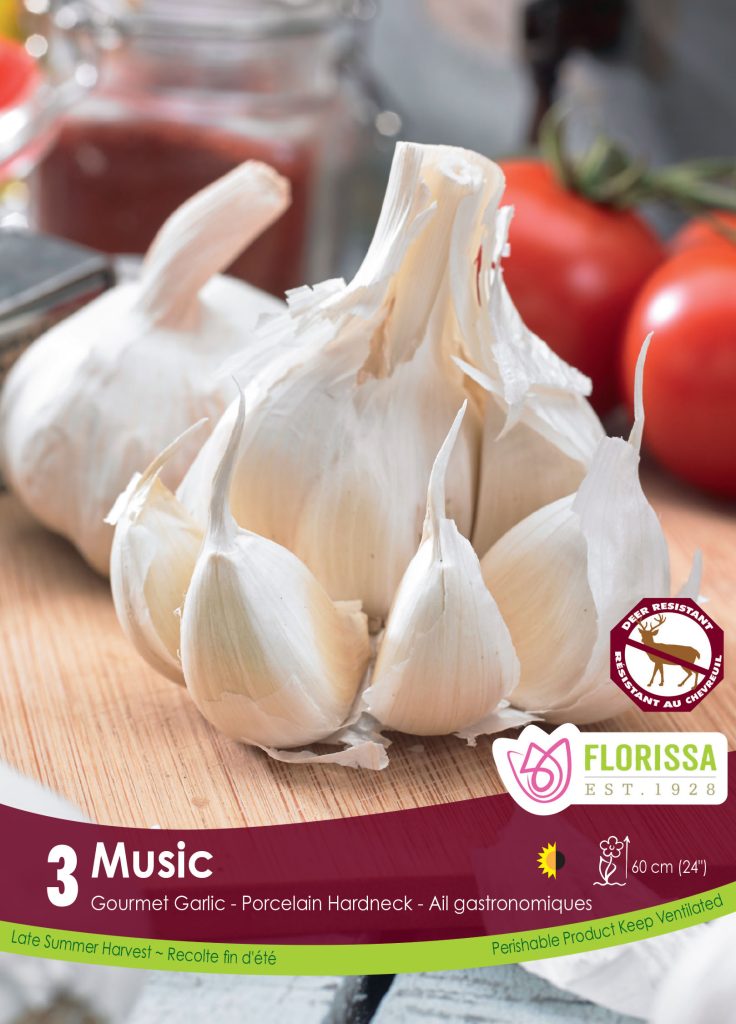
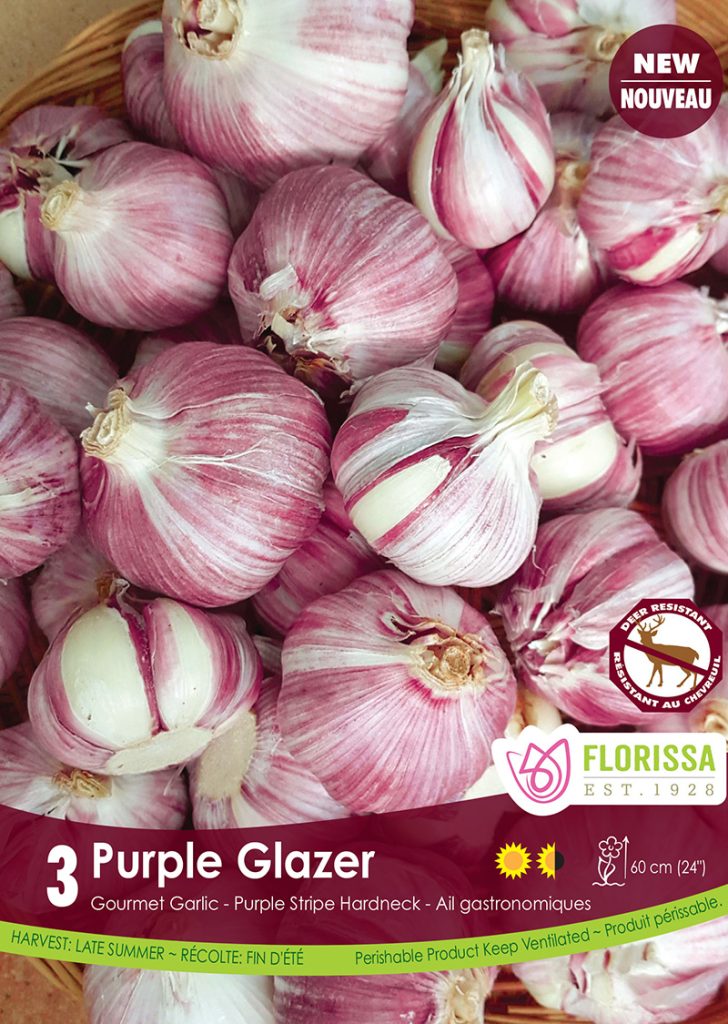
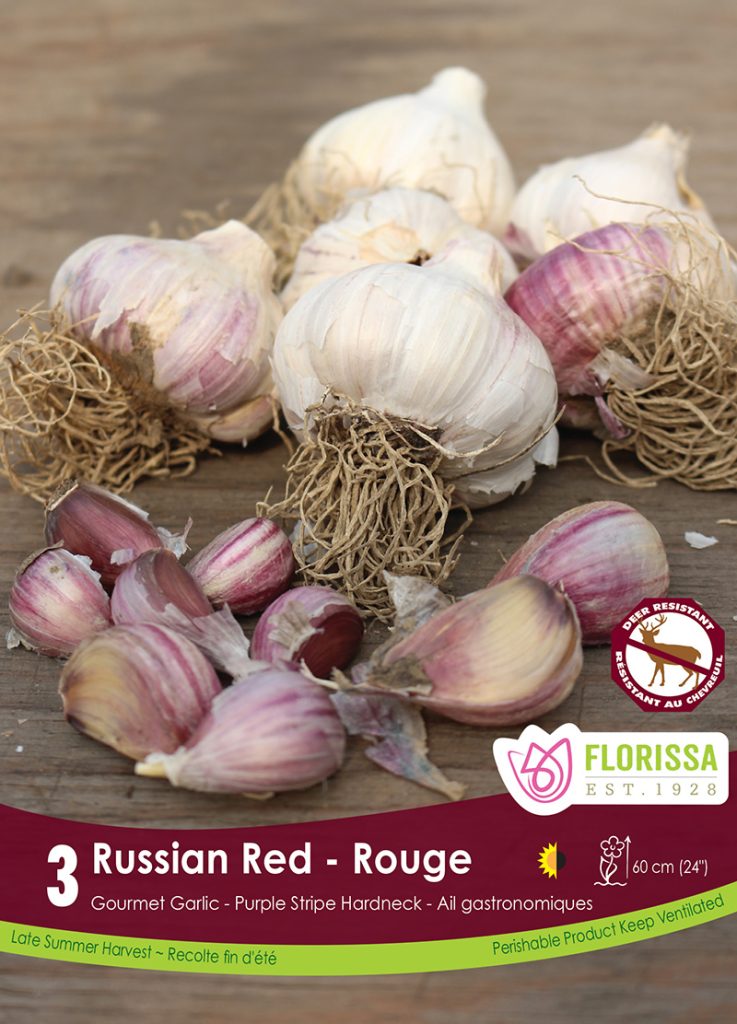
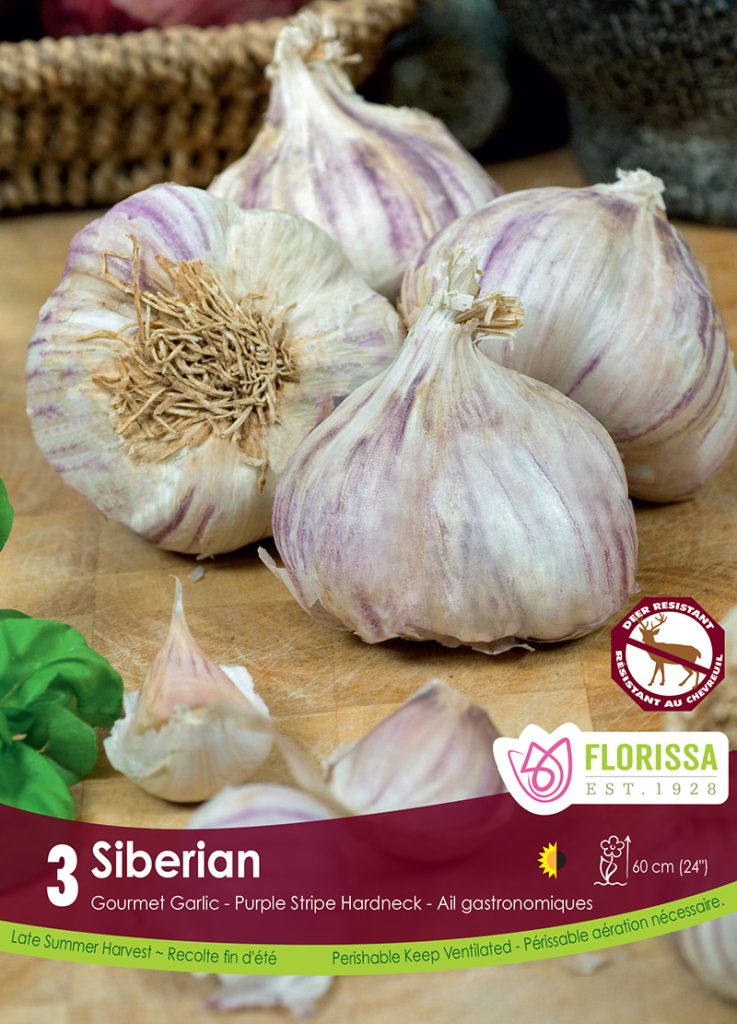
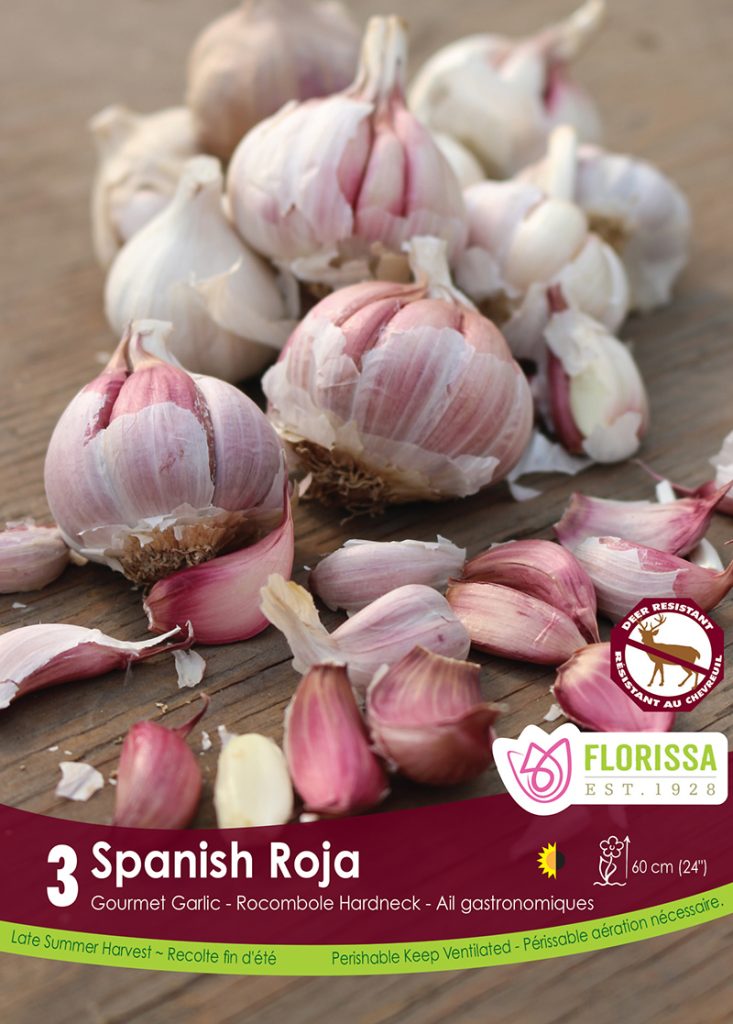
Hardneck garlic varieties are more popular for growing in Canada, as they are hardier for our colder climate. There are many hardneck varieties to choose from and they are divided into different groups: porcelain (Music, German White), rocambole (German Red, Legacy, Russian Red, Spanish Roja), purple stripe (Bogatyr, Duganaski, Russian Purple), glazed purple (Purple Glazer), marble purple stripe (Metechi, Siberian), asiatic, turban and creole. Many people find hardneck varieties more flavourful and easier to peel.

Selecting Garlic Cloves
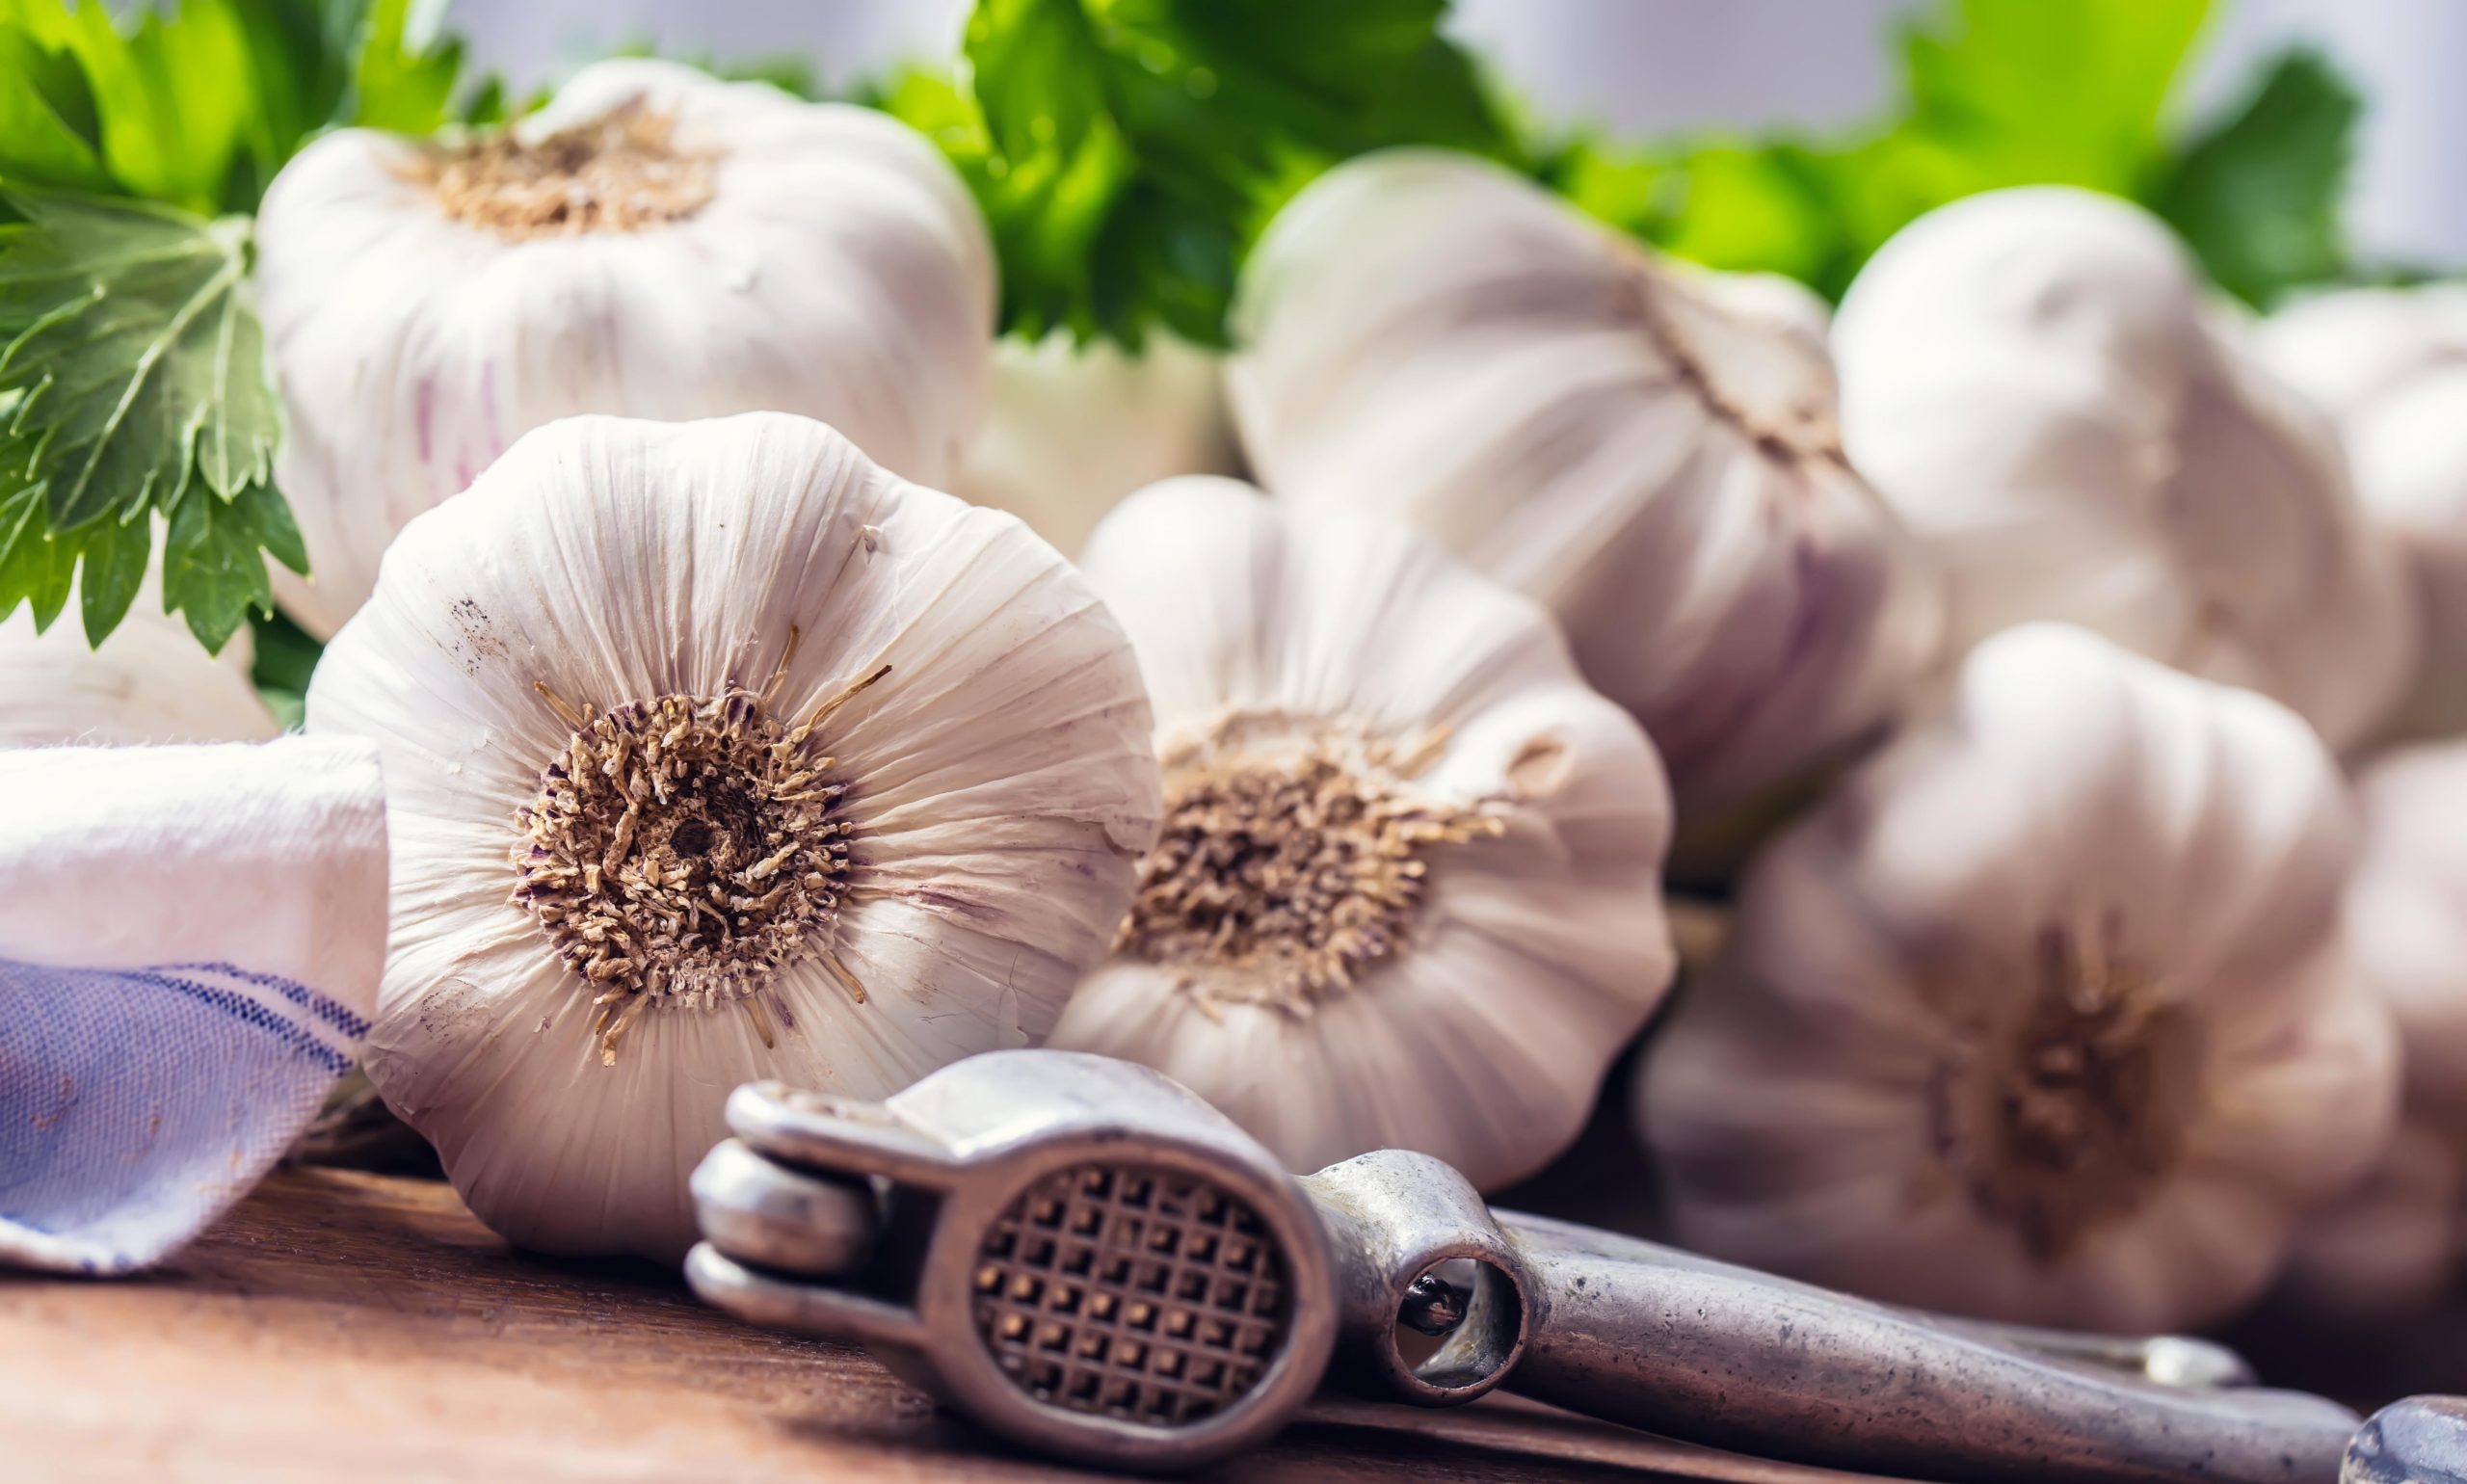
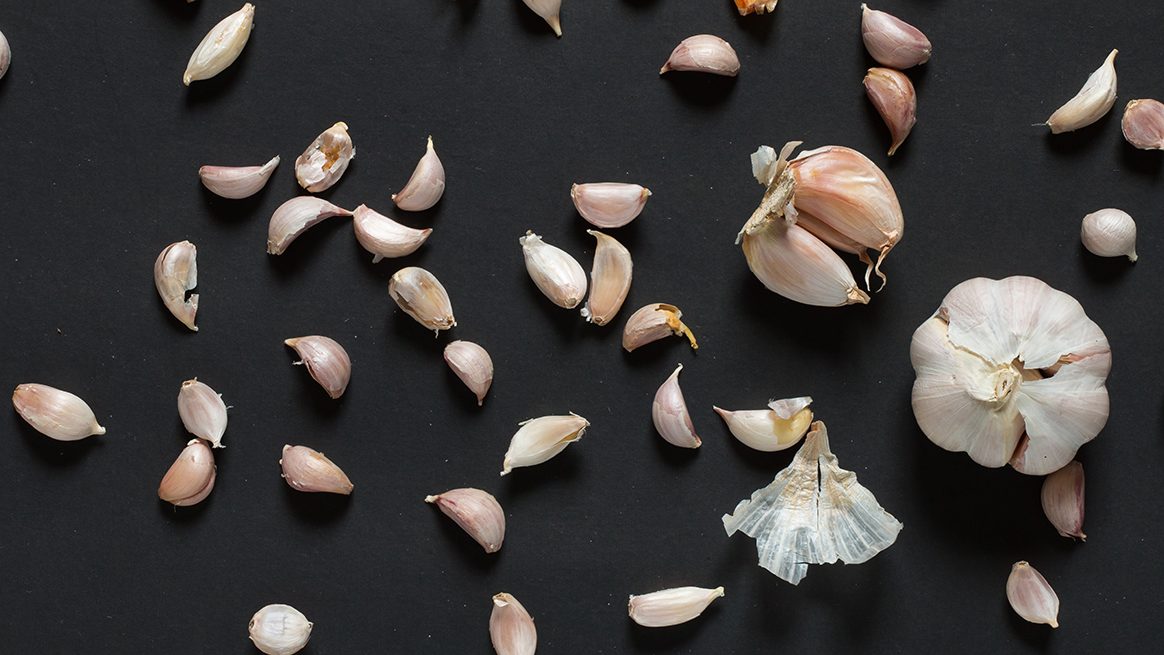
The first step in growing garlic is selecting the right cloves for planting. While you can technically plant any cloves you have on hand, it’s best to choose large, healthy cloves from a reliable source. These cloves are more likely to produce robust, flavourful bulbs. Avoid cloves that are soft, shriveled, or moldy, as they may not sprout or develop properly.
You can plant grocery store garlic, which is a soft neck, but may have been sprayed with chemicals to inhibit sprouting and to control pests and it will not be as hardy for Canadian climates as other varieties available. Also, with so many different types of garlic to choose from, try a few different varieties to explore the range of flavour.
Preparing the Soil
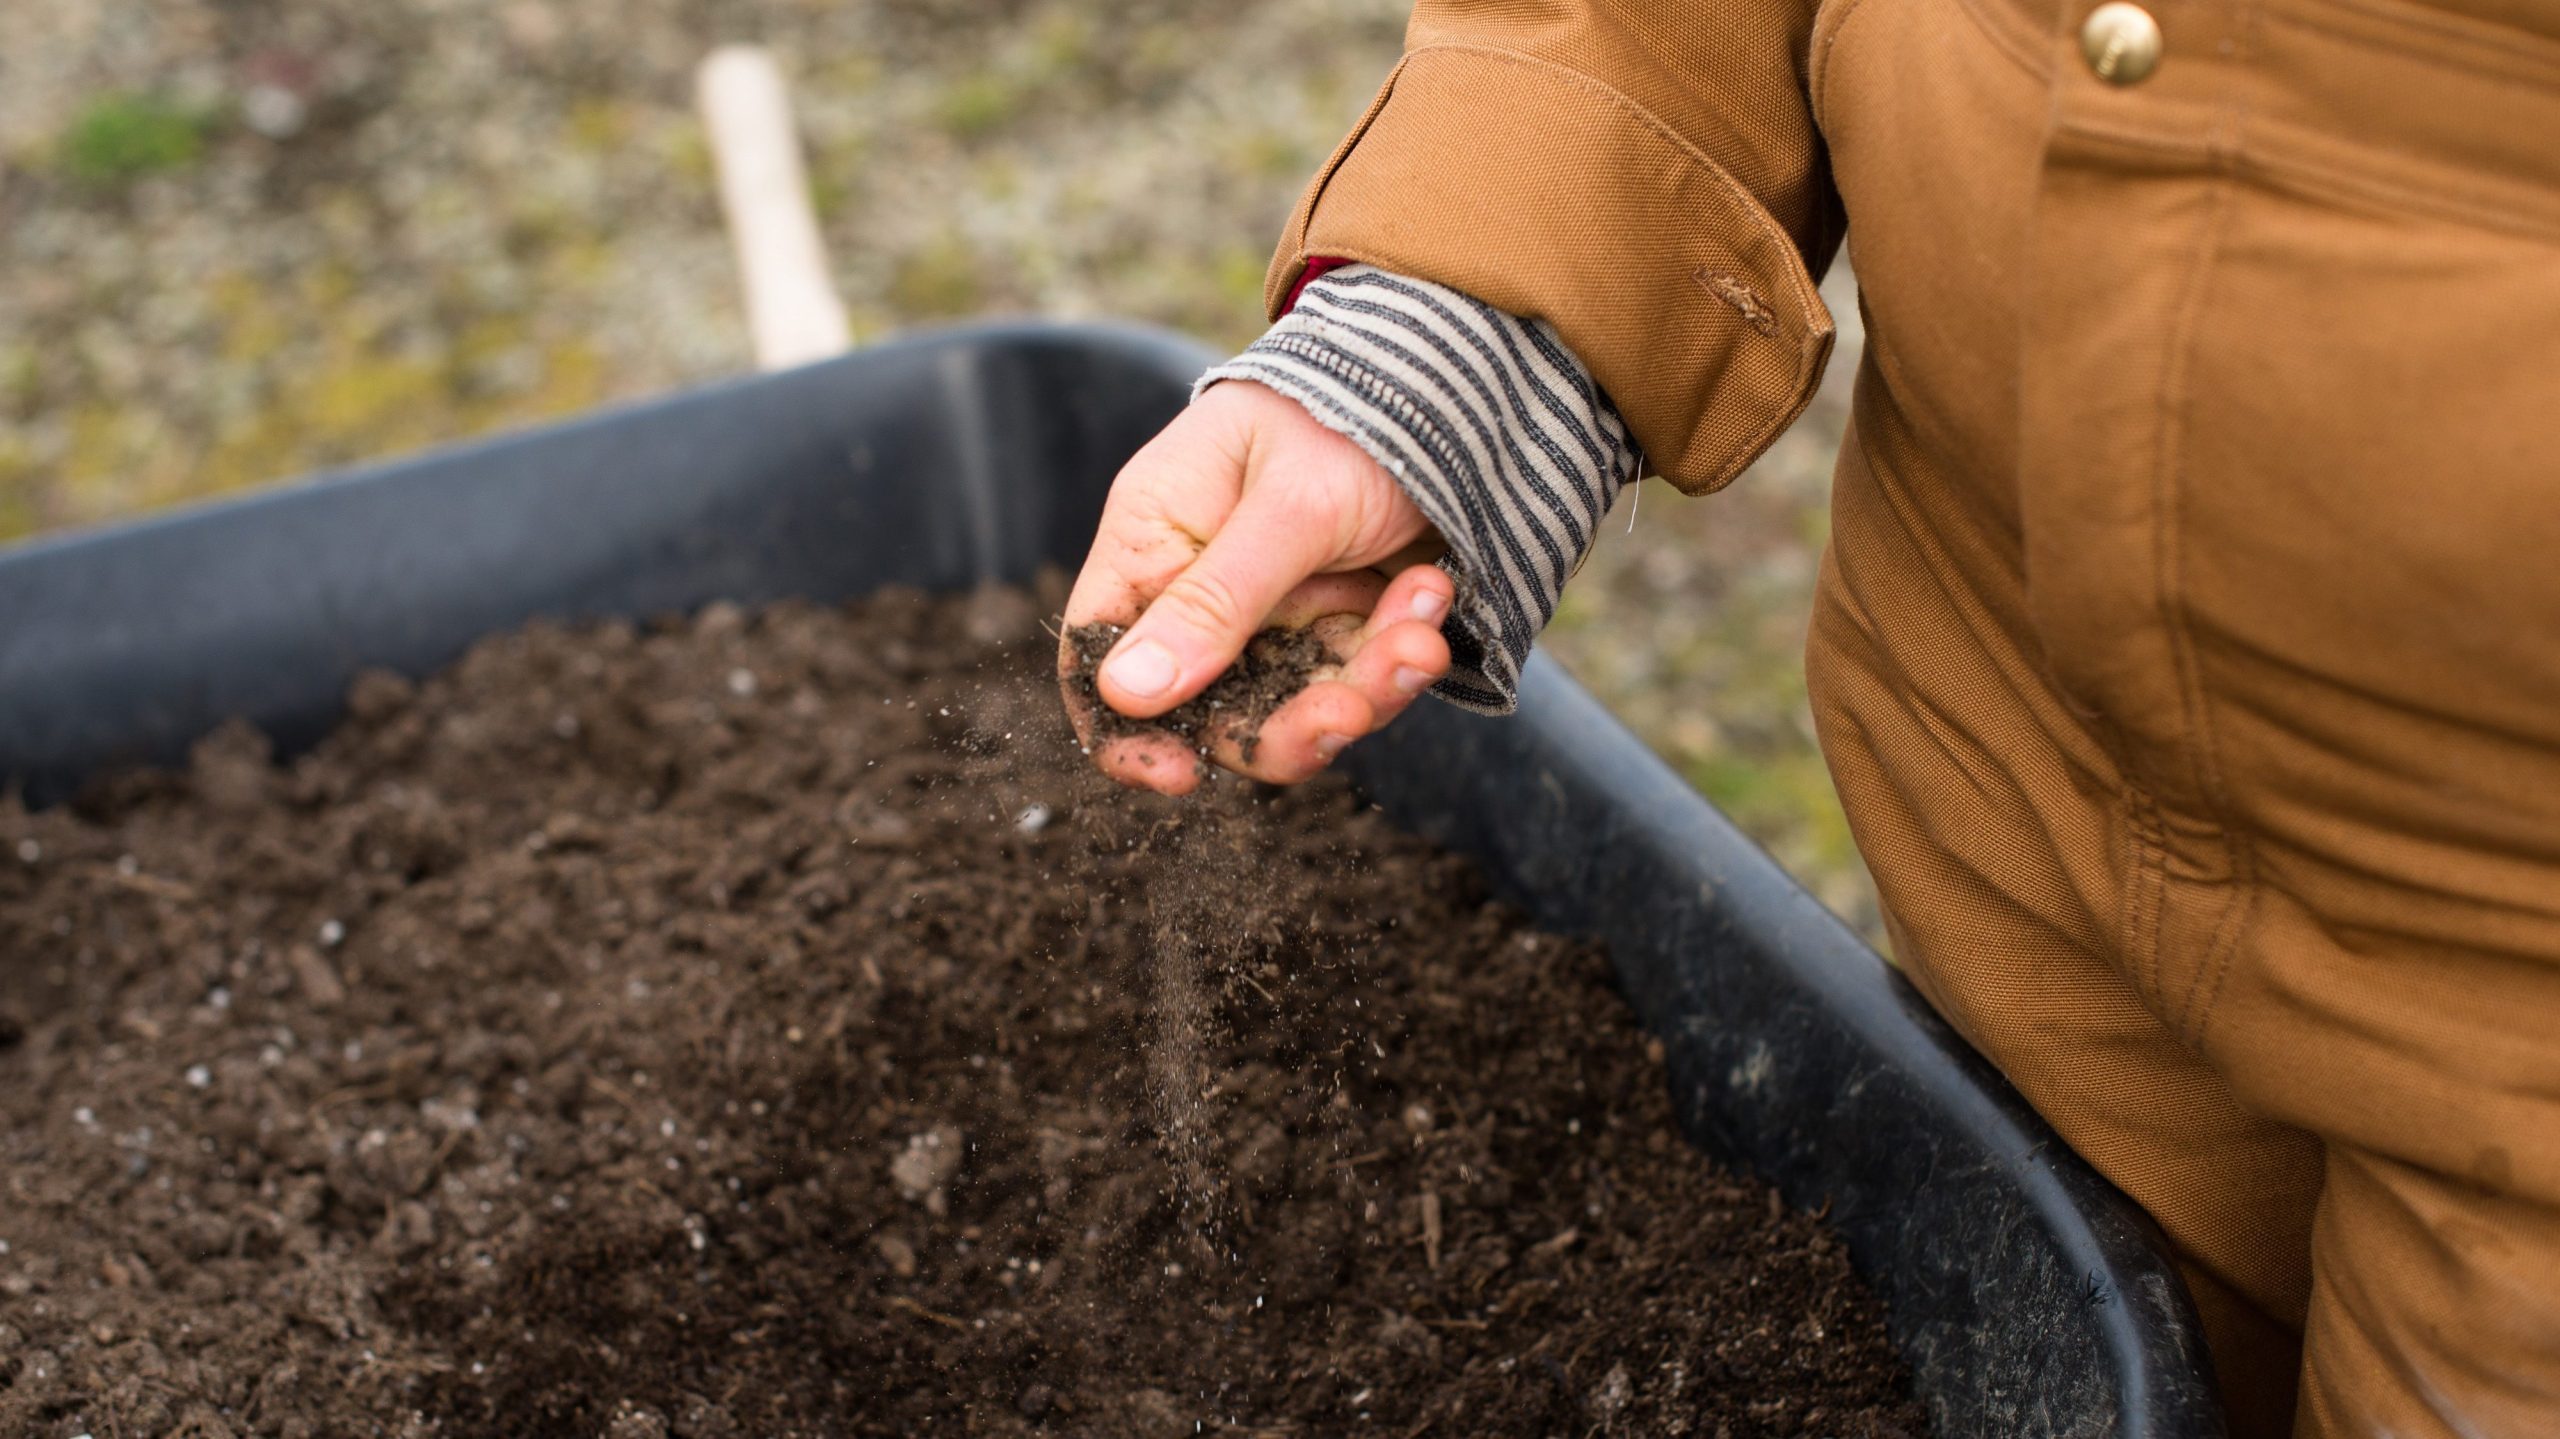
Garlic thrives in loose, well-draining soil with plenty of organic matter. Before planting, take the time to prepare your garden bed. Start by loosening the soil to a depth of at least 8 inches using a garden fork or tiller. Remove any rocks, debris, or weeds that may interfere with garlic growth. Next, incorporate amendments such as compost, aged manure, or organic fertilizer to enrich the soil and improve its nutrients for your garlic crop. Aim for a slightly acidic to neutral pH level, ideally between 6.0 and 7.0, as garlic prefers slightly acidic conditions.
Planting Garlic
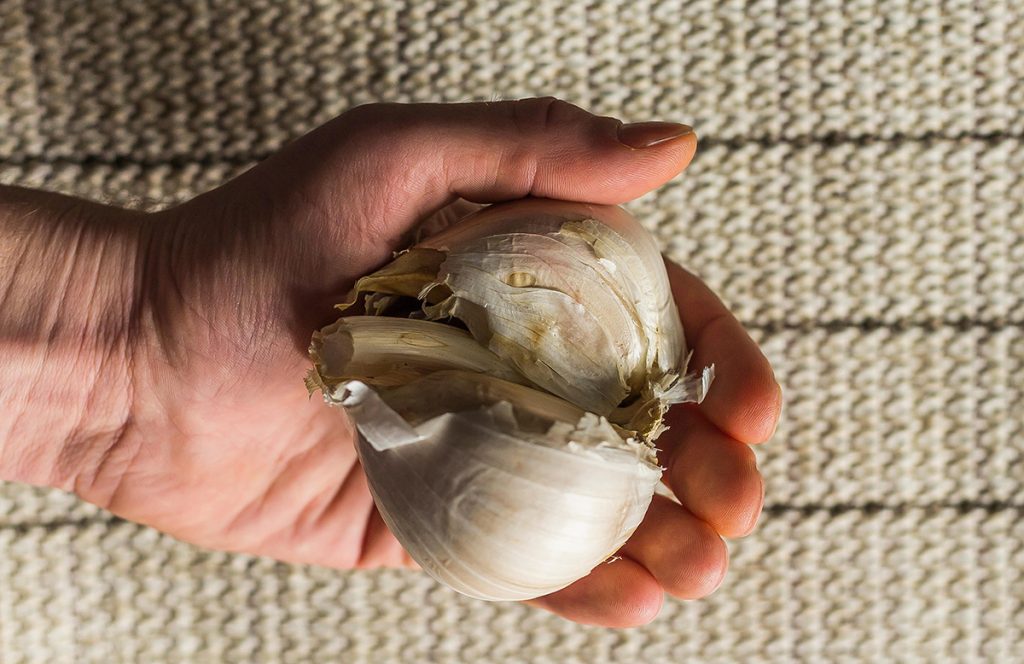
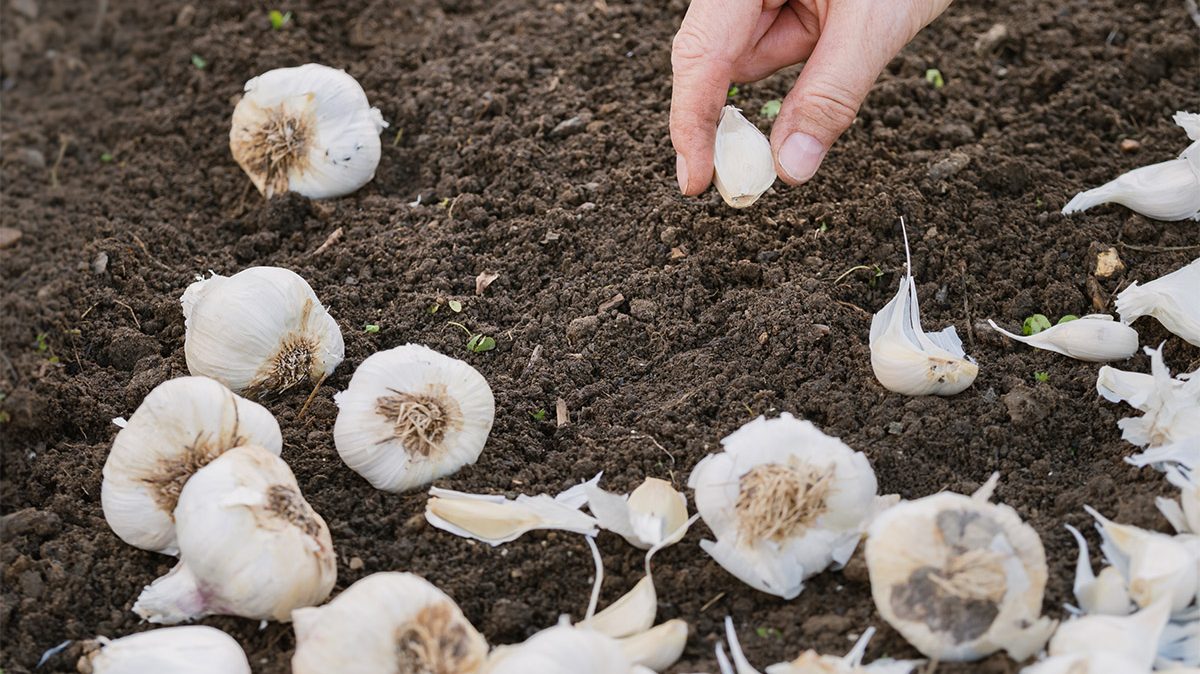
It is best to plant garlic in the fall, a few weeks before the first frost date in your area. This allows the cloves to establish roots before winter sets in. Then in spring they will start growing once the snow has melted and the growth will be weeks ahead of spring planted garlic. To start planting, first, break apart the garlic bulb into individual cloves. Be careful not to damage them, and leave the papery sheet intact – you do not peel the cloves. Select the largest cloves to plant. Plant your cloves with the pointed end facing up and the flat end down, about 8 cm (3”) deep and 15 cm (6”) apart in rows spaced 30-45 cm (12-18”) apart. Cover the cloves with soil and water thoroughly to settle the soil around them.
Caring for Garlic
Once planted, garlic requires relatively low maintenance, but there are a few key tasks to keep in mind to ensure healthy growth. Keep the soil consistently moist but not waterlogged, especially during dry periods. Garlic prefers evenly moist soil, so water deeply when necessary, aiming to provide about 2.5 cm (1”) of water per week.
Garlic is a moderate feeder and benefits from a balanced fertilizer high in nitrogen. Blood meal is a good choice, and it is easy to find at your local garden centre. Apply fertilizer in early spring before the plants start actively growing and again after they begin to emerge from the soil. Alternatively, you can side-dress garlic with compost or well-aged manure to provide nutrients throughout the growing season.

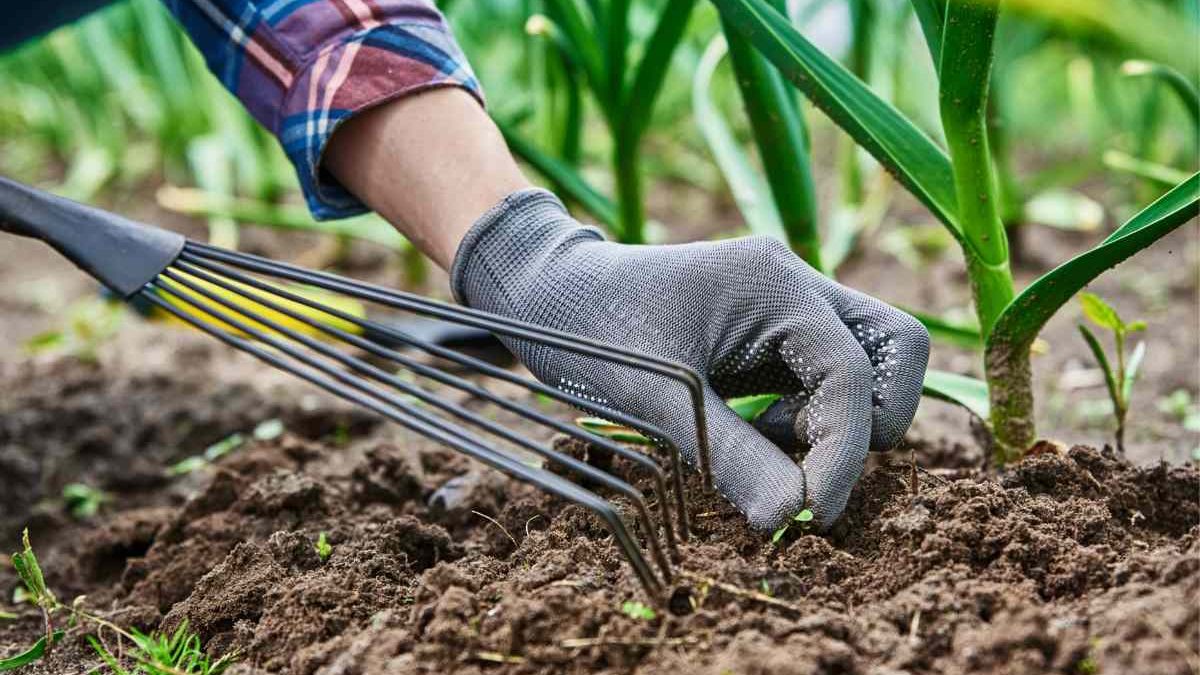
Weeding
Keep the garlic bed free from weeds that compete for nutrients, water, and sunlight. Weeds will compete for nutrients and sunlight which will inhibit garlic from increasing in size. Mulching with straw, shredded leaves, or grass clippings can help suppress weed growth and retain soil moisture.
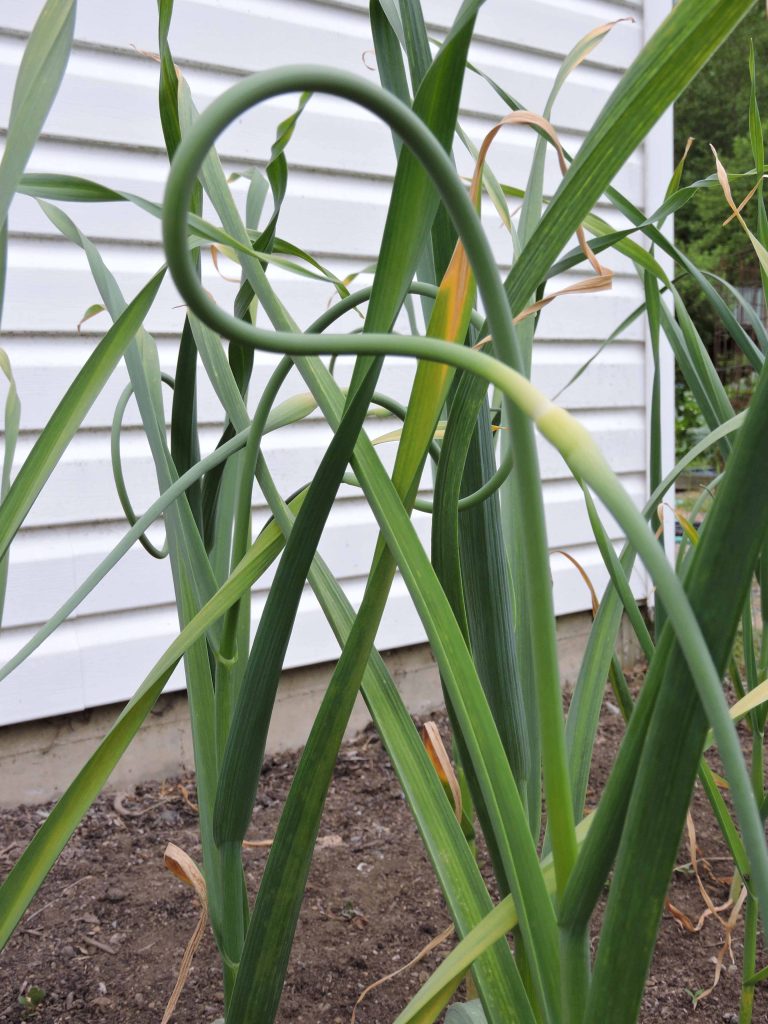
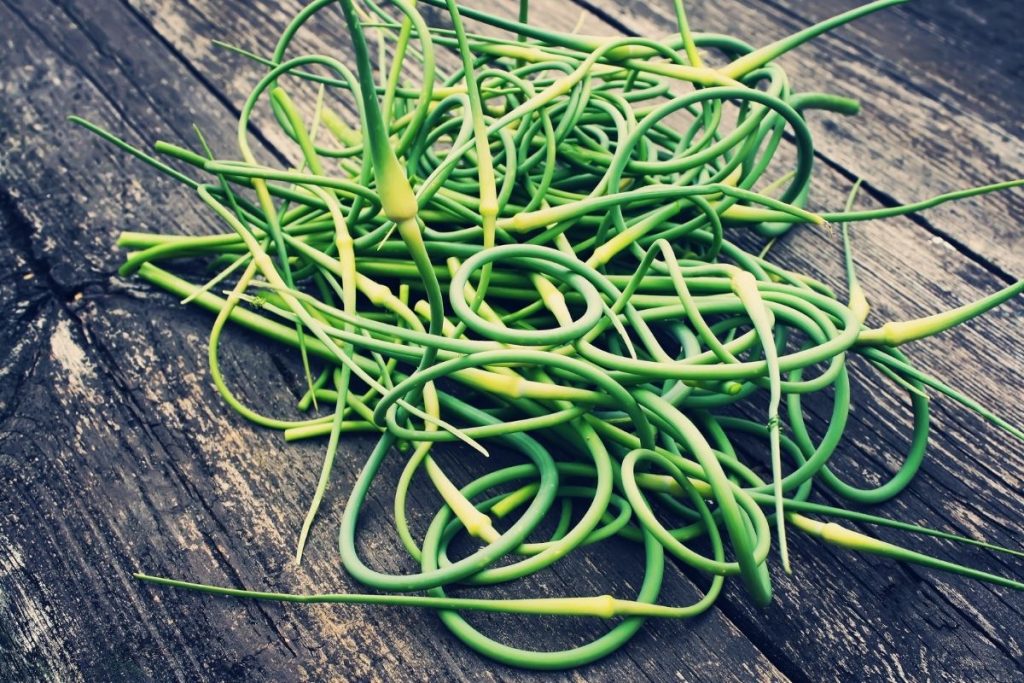
Scapes
A month or so before it is time to harvest, garlic plants produce curly flower stalks known as scapes. These scapes are edible and delicious; by removing them it encourages the plant to focus its energy on bulb development. Before removing the scape, allow it to grow from the central stalk. It will rise above the rest of the plant and start to curl, making a loop and then turning upwards.
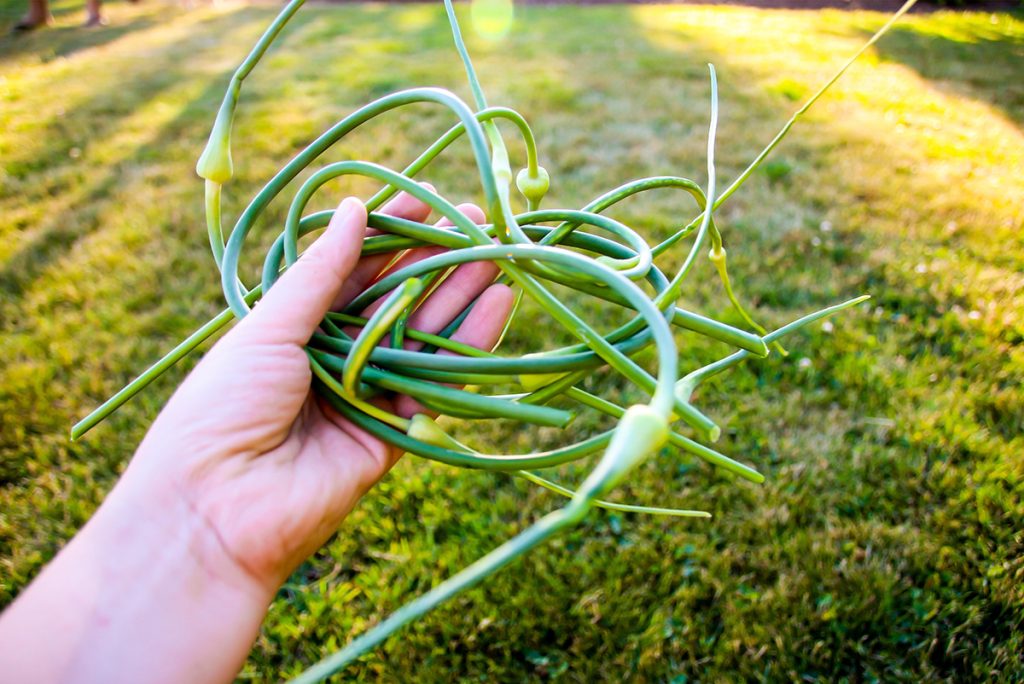
When the scape has finished curling, snap it off, as though you are picking a crisp green bean from the vine. You’ll be able to find the right place to snap off the scape because the base is soft, and the rest of the central stalk will be rather firm and unbending. Scapes are edible and a summer delicacy. They taste mild and sweet with a hint of the garlicky flavour that the bulb below ground promises. Check out our blog for some great scape recipes!
Harvesting Garlic
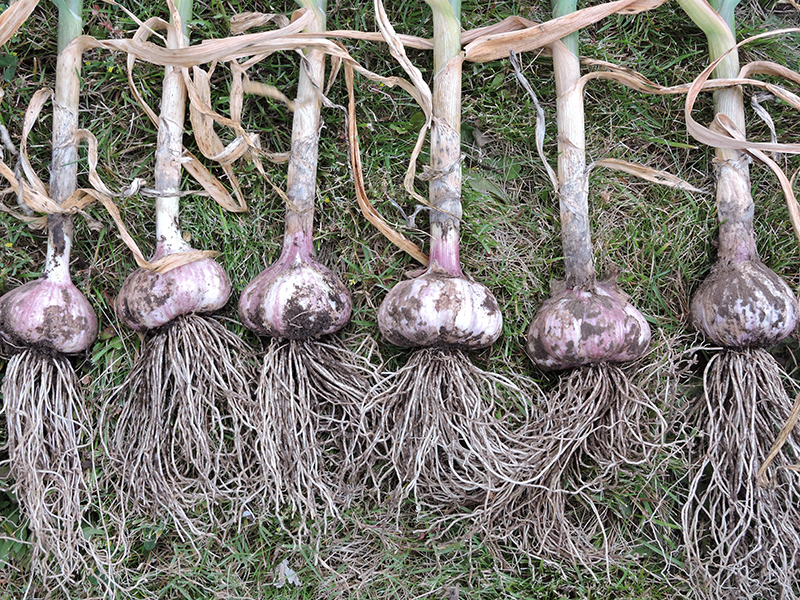
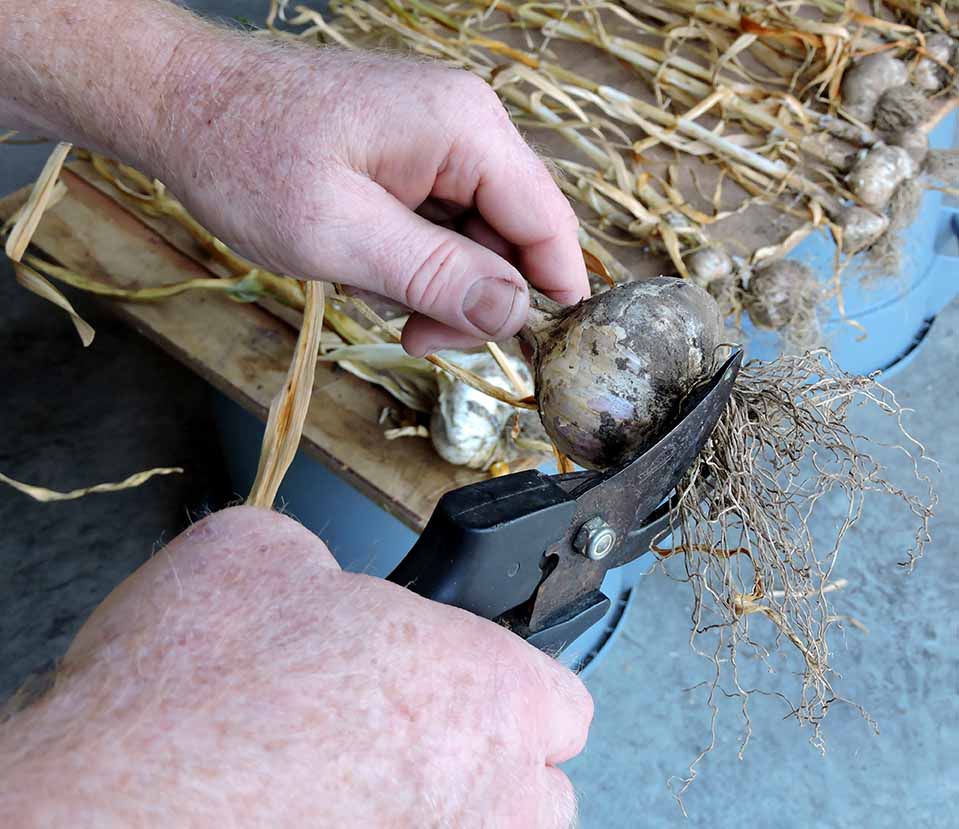
Harvesting garlic is only a couple of weeks away once the scapes have been removed. Stop watering the garlic to allow the soil to dry. It’s much easier to remove garlic from dry soil as damp soil will clump and cling to the bulbs. Dry soil also gives the bulb a jump start on the curing phase. Garlic is typically ready for harvest in mid to late summer, once the lower leaves begin to turn yellow and dry out. Above ground, each leaf on a garlic plant is counted as one papery wrapper around the maturing bulbs. It’s those wrappers that protect the garlic and enable you to store the bulbs into winter, keeping the aroma, flavour, and cloves plump. If you lift the bulbs too late, the wrappers may be too thin to protect the cloves. If you lift too early, the bulbs may be undersized.
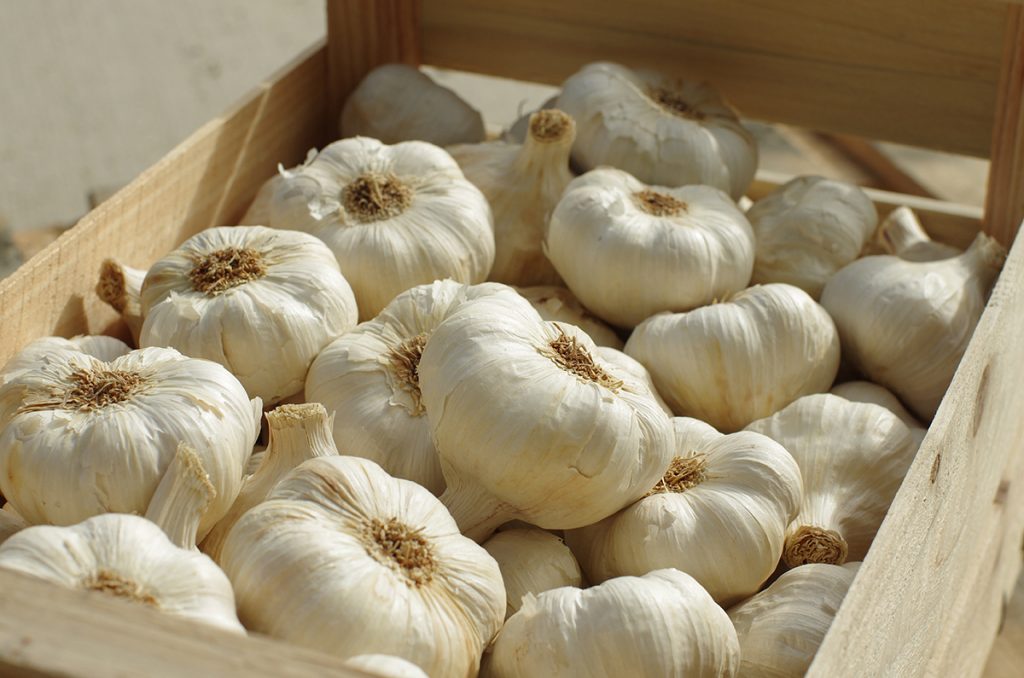
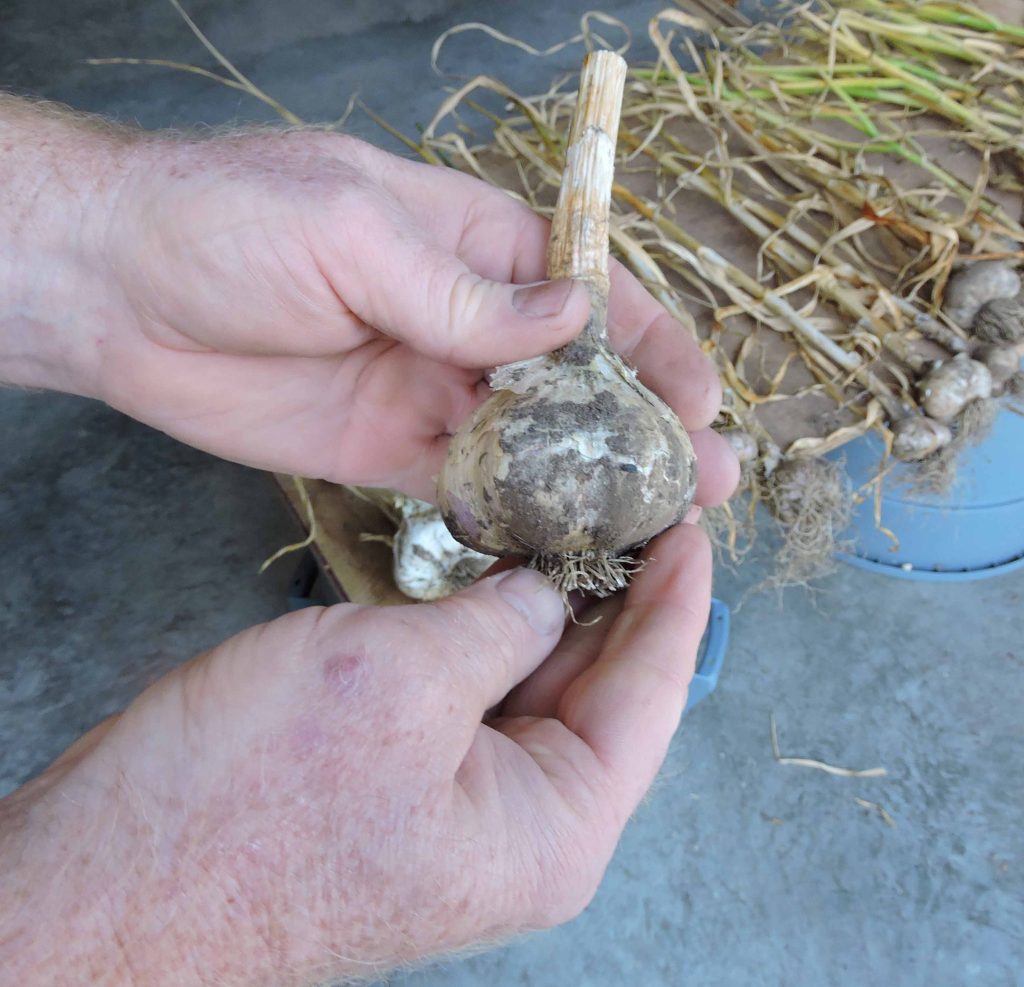
To harvest garlic never pull at the plant to remove the bulb. This may cause bruising and damage to the bulb. Use a garden fork or shovel to gently loosen the soil around the bulbs, taking care not to damage them. Lift the garlic bulbs from the soil, shake off any excess dirt, and brush off loose soil. Do not rinse the bulbs. Remember to label your harvested garlic with the variety, so you can take note of the flavour nuances when you are cooking with them. Lay harvested garlic bulbs in a single layer in a well-ventilated, dry area to cure for 2-4 weeks. Curing allows the bulbs to dry and develop their characteristic flavour and aroma. Curing also allows the paper outer layer of the bulb to dry and protect the bulb for storage. Once dried, trim the roots and tops of the bulbs, leaving about an inch of stem attached. Store cured garlic bulbs in a cool, dry place with good airflow, such as a mesh bag or wire basket. Avoid storing garlic in the refrigerator, as it can cause the bulbs to sprout prematurely.
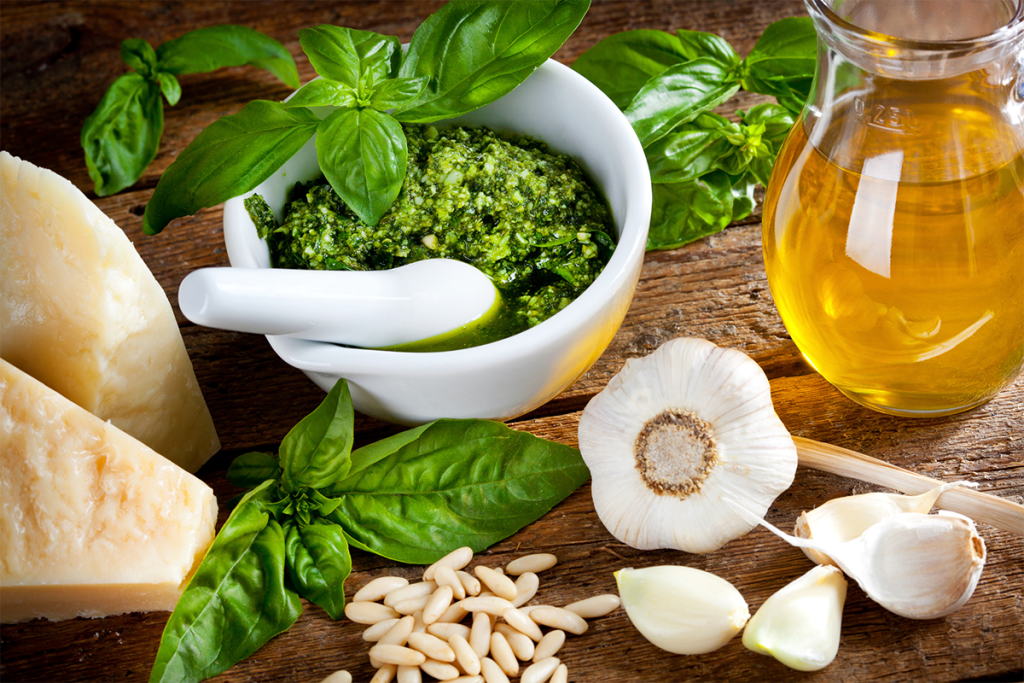
Growing garlic at home is a rewarding and easy process that requires minimal space and effort. By following these steps for planting, growing, and caring for garlic, you can enjoy a bountiful harvest of flavourful bulbs right from your own garden. Homegrown garlic adds a delicious and aromatic touch to any dish. Check out our blog on recipes for your delicious summer harvest of garlic!