
All About Potatoes: From Planting to Plate
There’s something magical about growing your own food—especially when it’s the humble potato. Versatile, hearty, and surprisingly easy to grow, potatoes are a staple in gardens and kitchens around the world. Whether you’re planting in your backyard or in a few containers on your patio, this guide will walk you through everything you need to know about potatoes—from choosing the right variety to storing your harvest for months to come.
Table of Contents
Know Your Spuds: Types of Potatoes
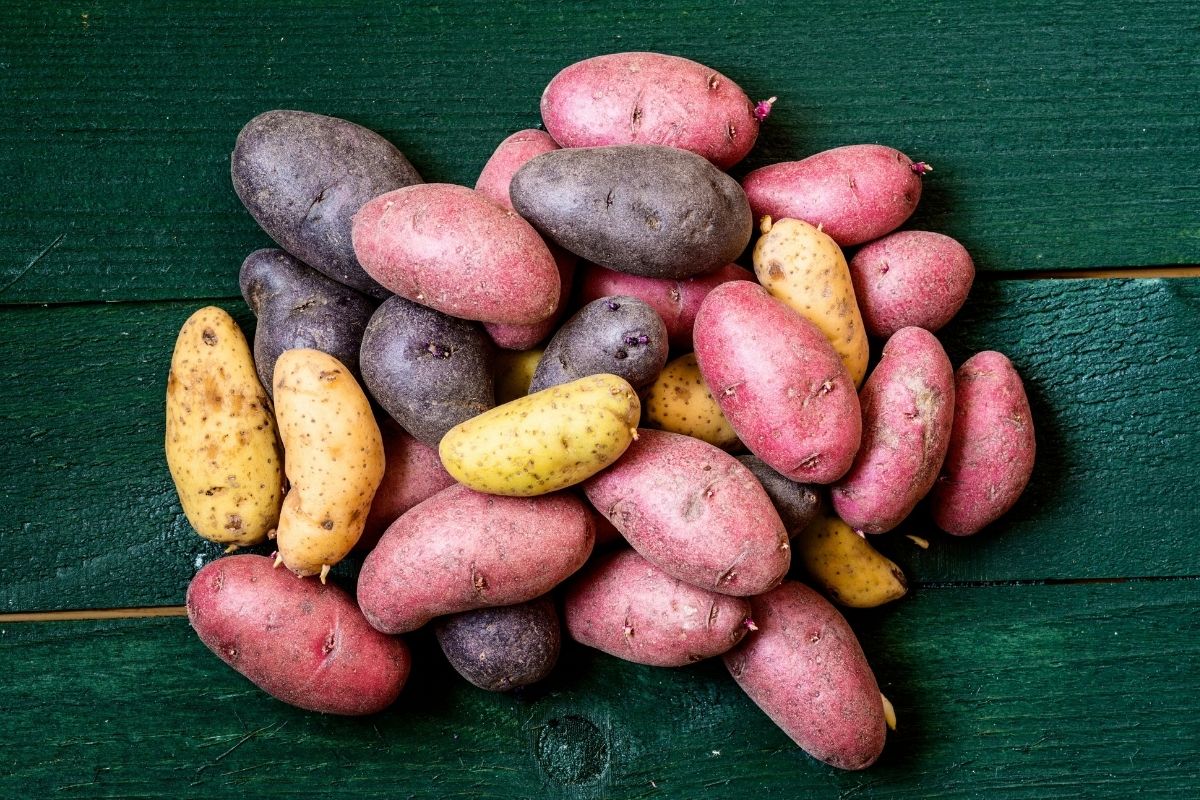
Before you get your hands in the dirt, it helps to know what kind of potatoes you’re working with. There are dozens of varieties, but here are the most common ones you’ll find for planting and cooking:
- Russet Potatoes: Large, starchy, and perfect for baking and making fries.
- Yukon Gold: Smooth-skinned and golden inside, great for mashing or roasting.
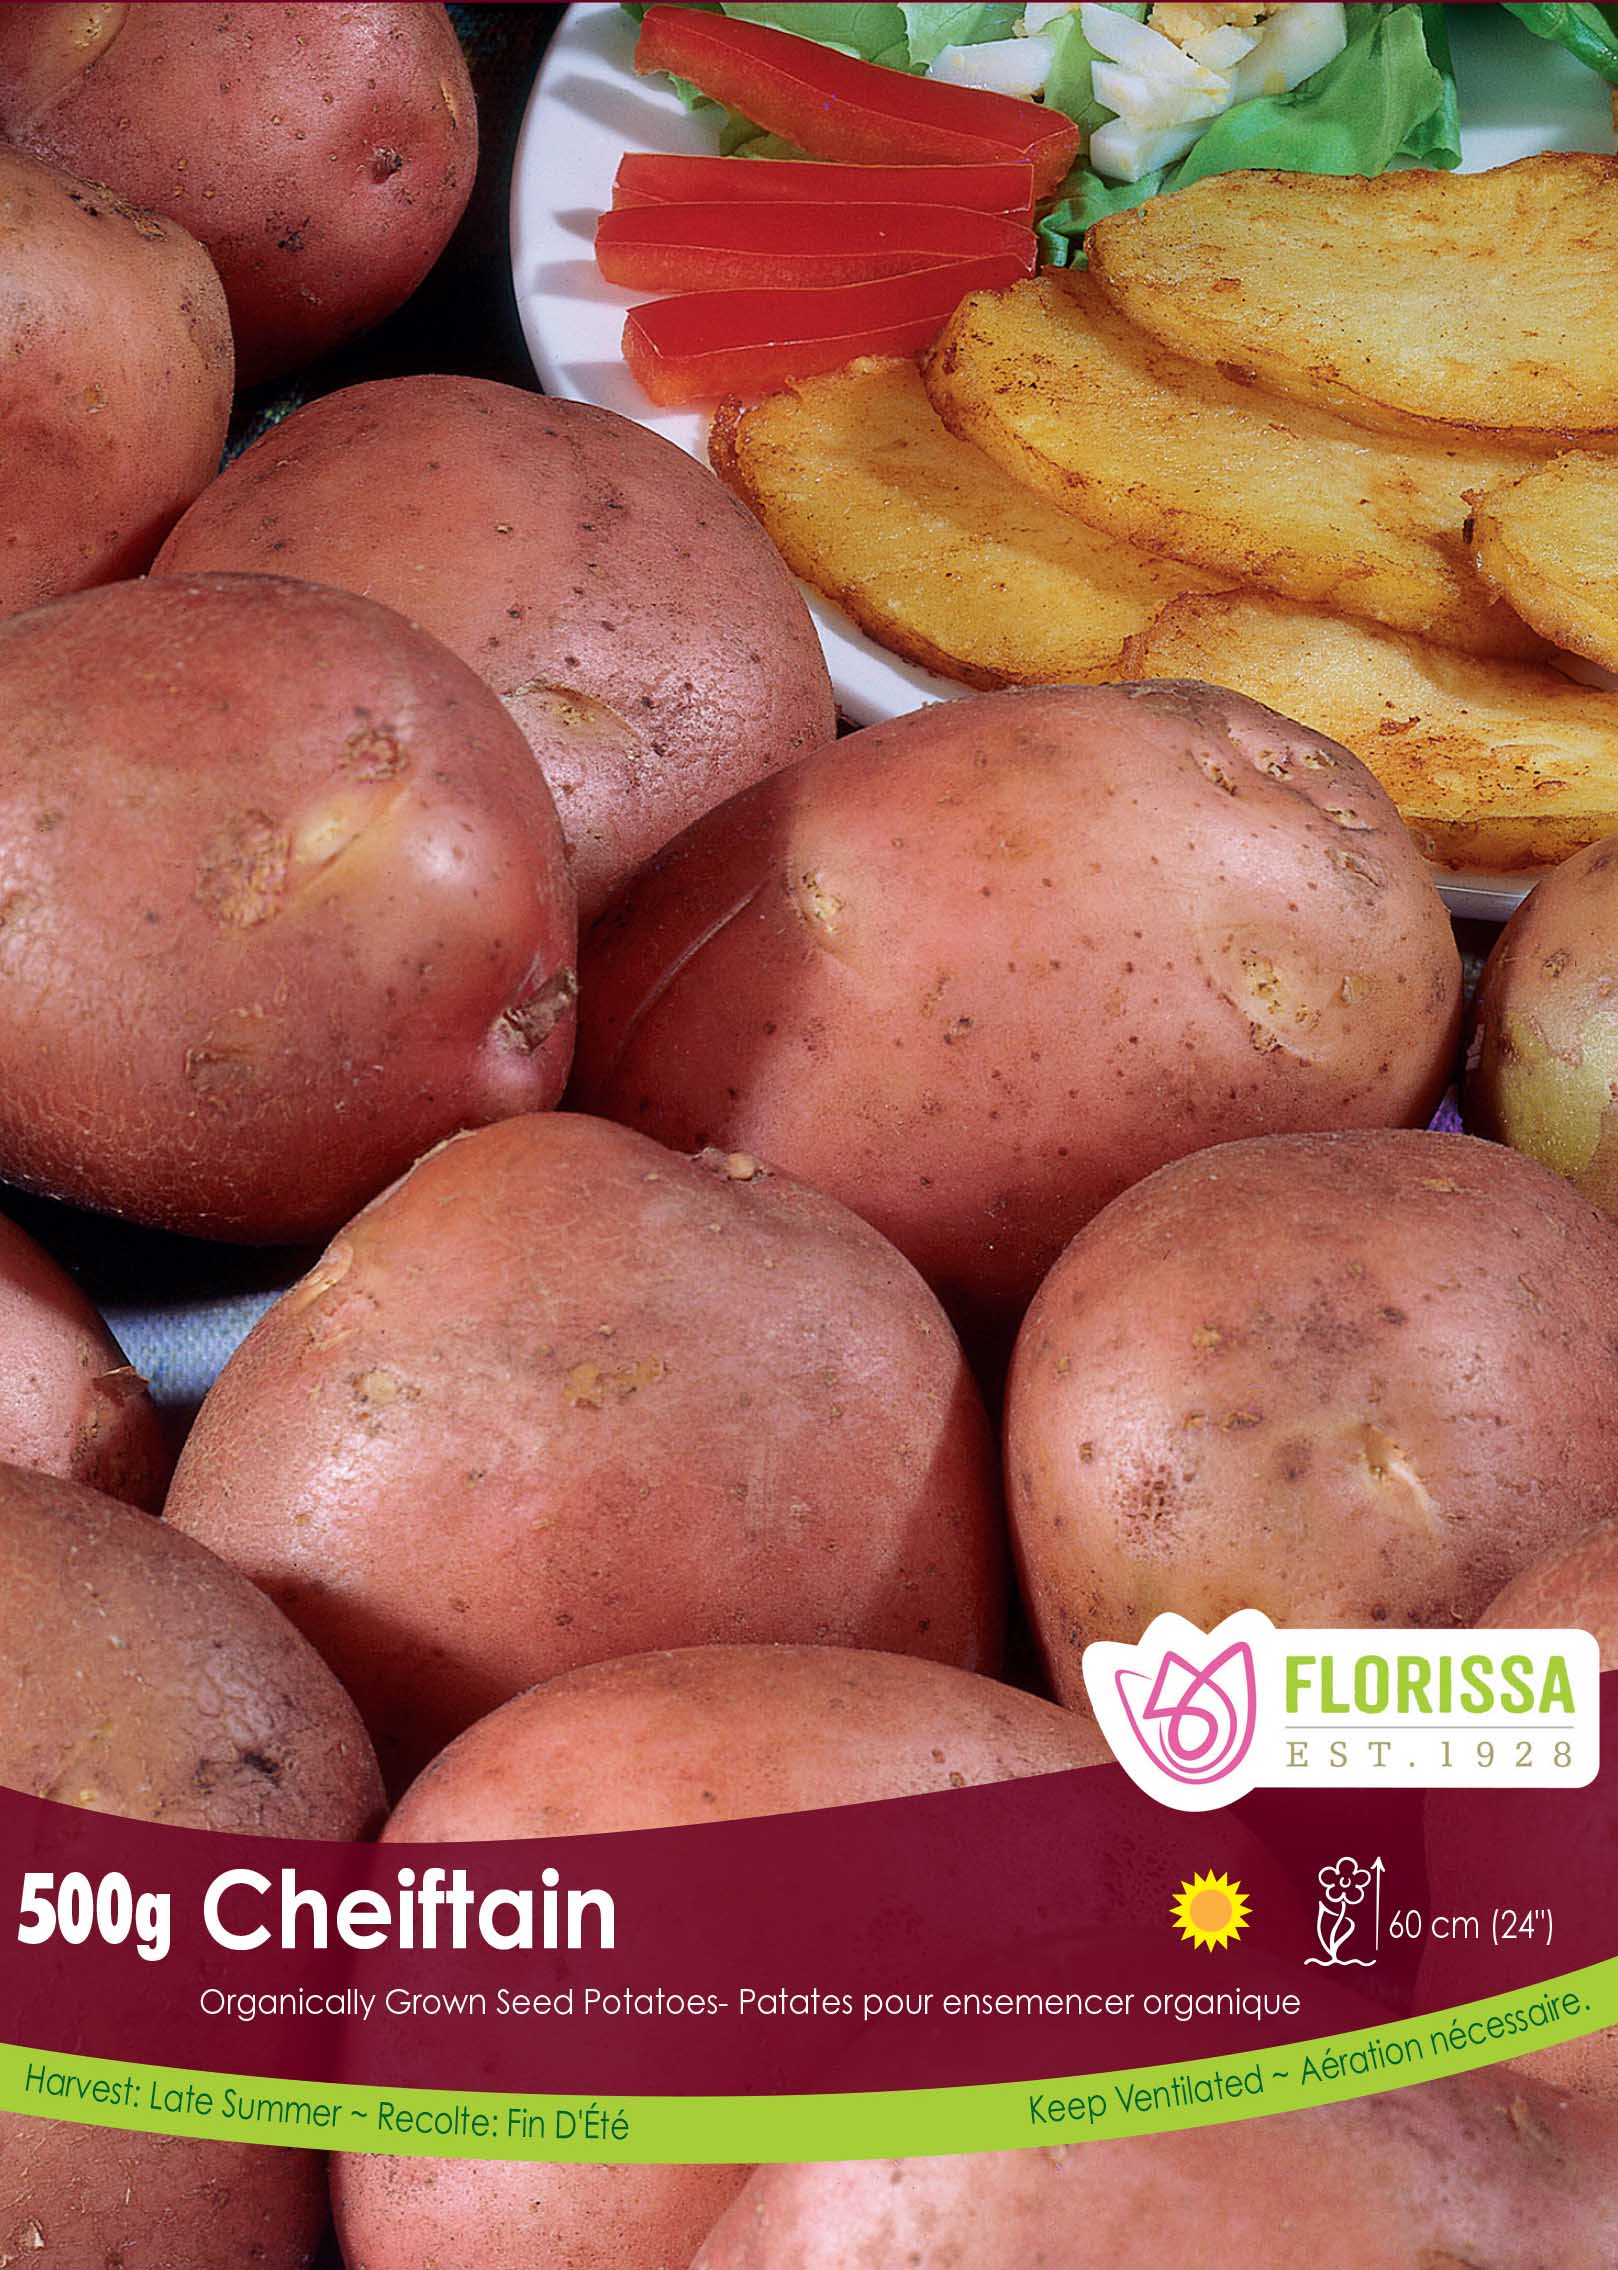
- Red Potatoes: Thin-skinned and waxy—excellent for boiling or potato salads.
- Fingerling Potatoes: Small, oblong, and gourmet-looking; delicious when roasted.
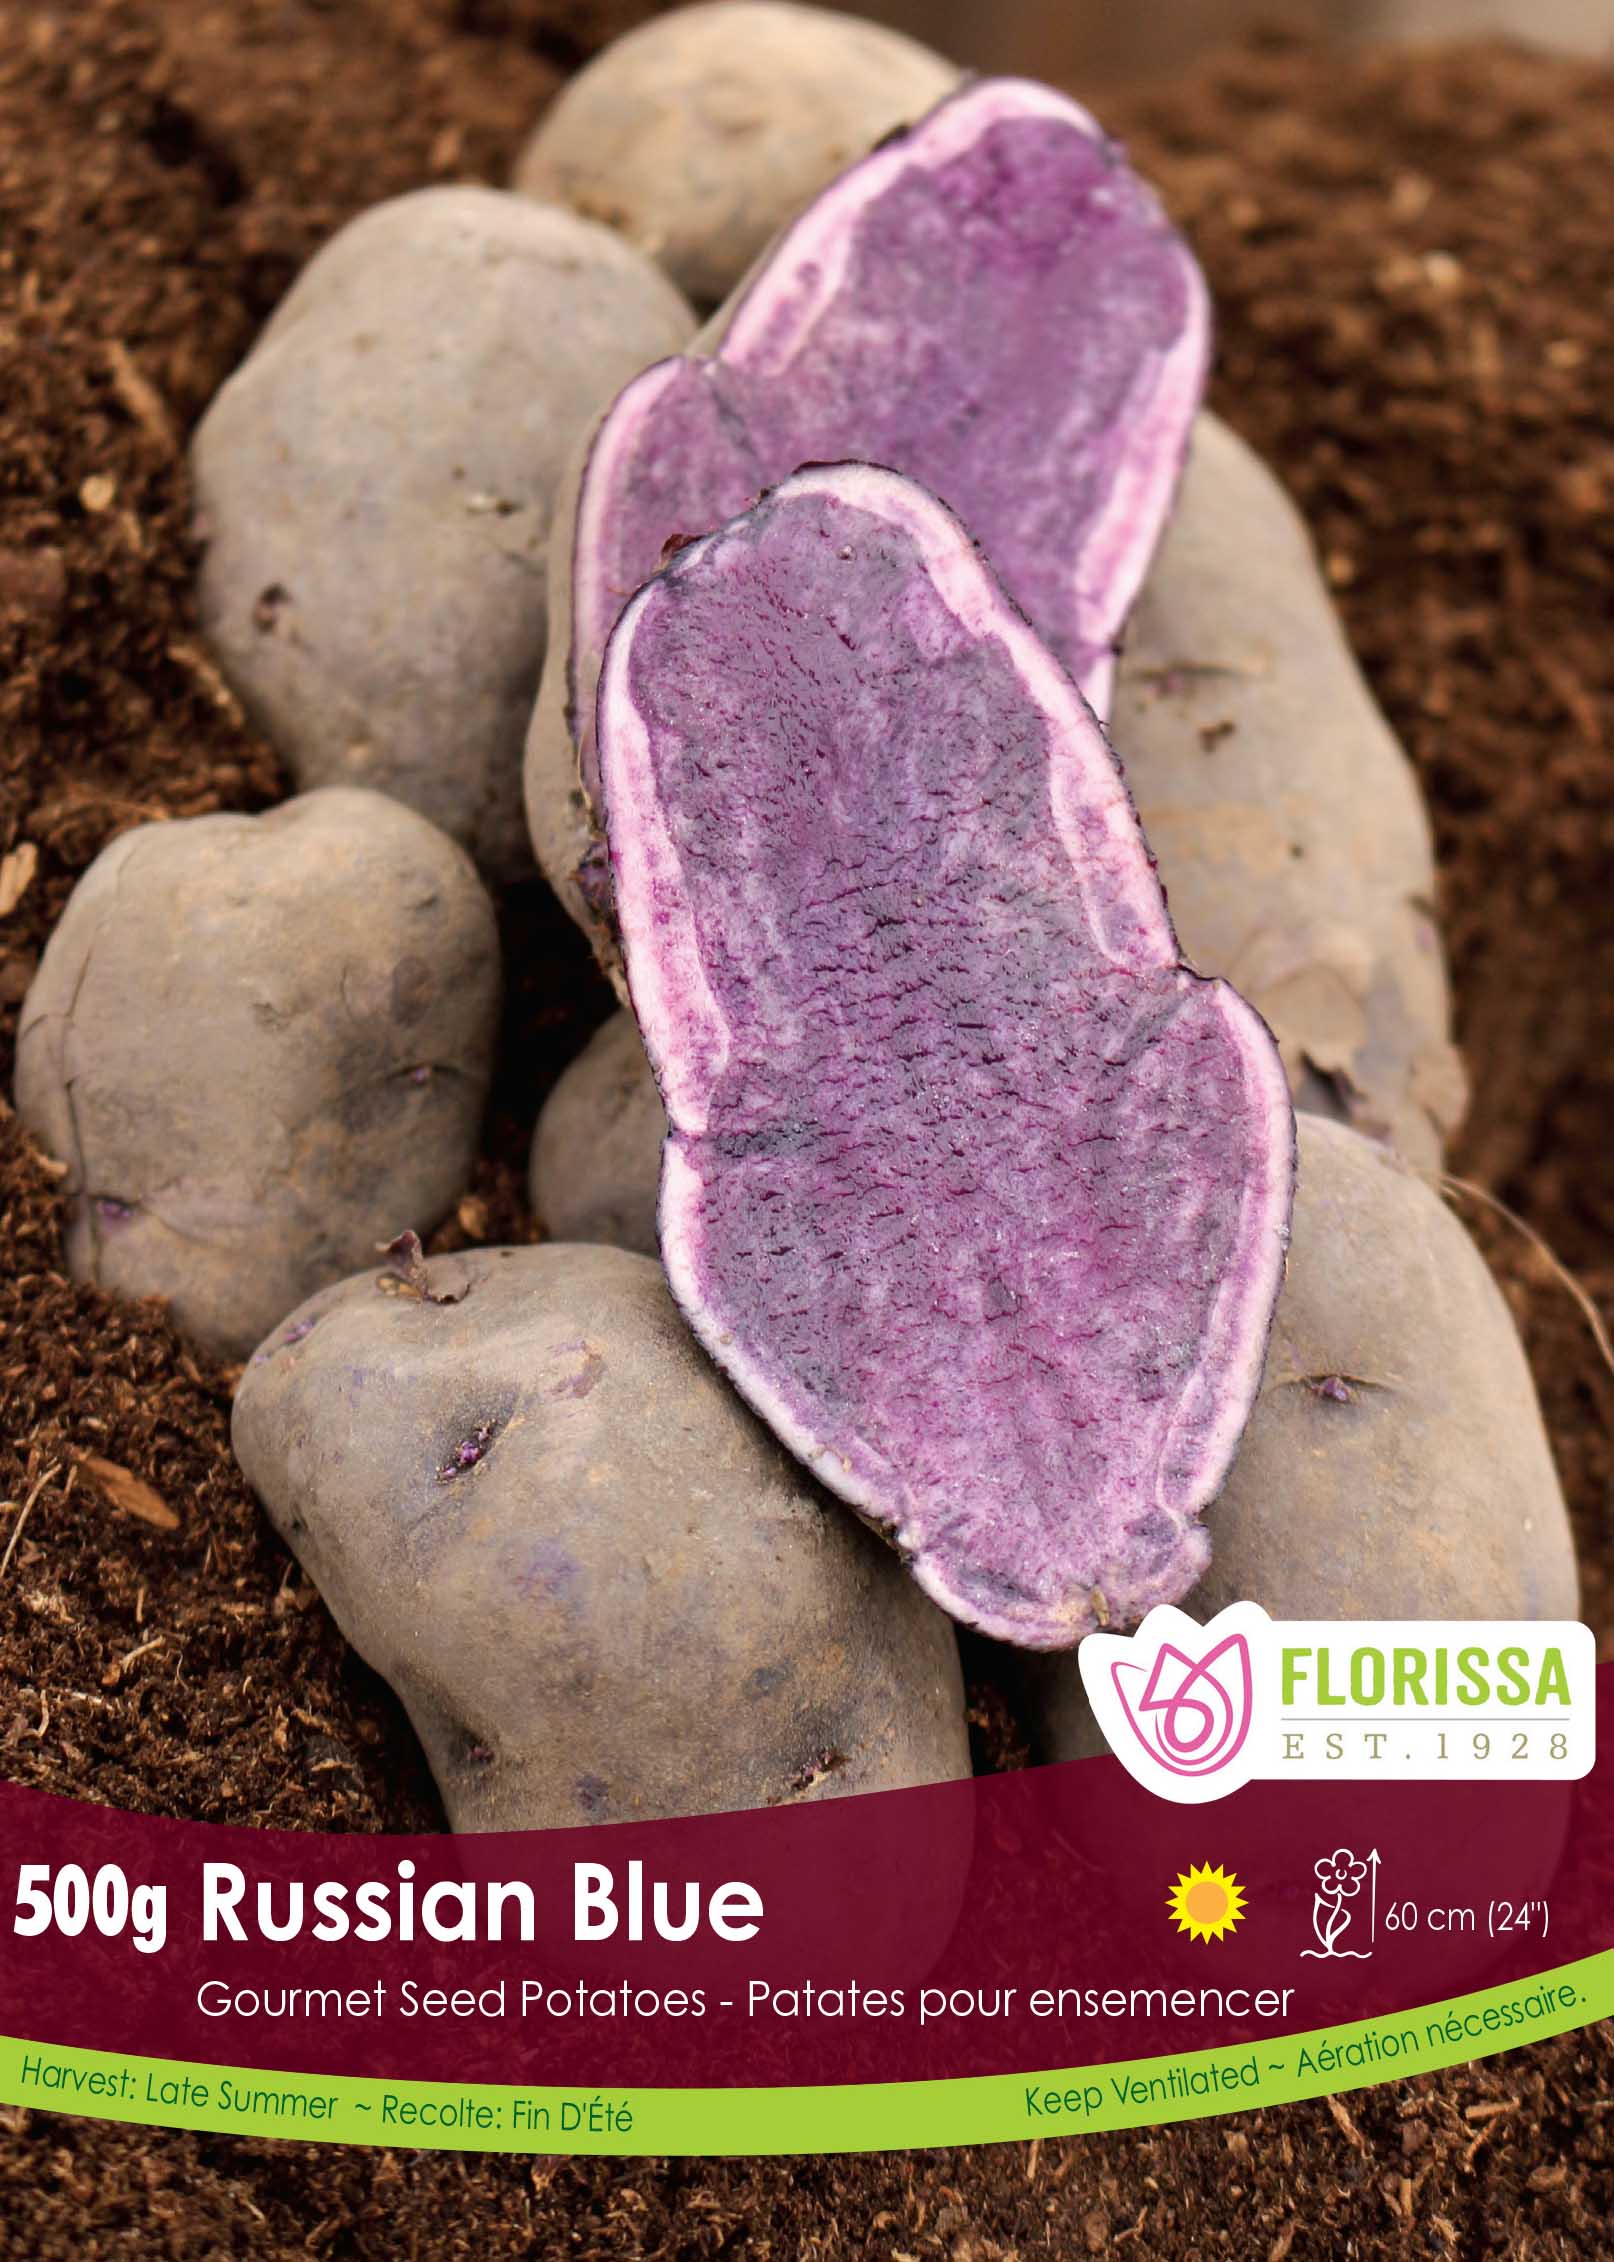
- Purple/Blue Potatoes: High in antioxidants and visually stunning.
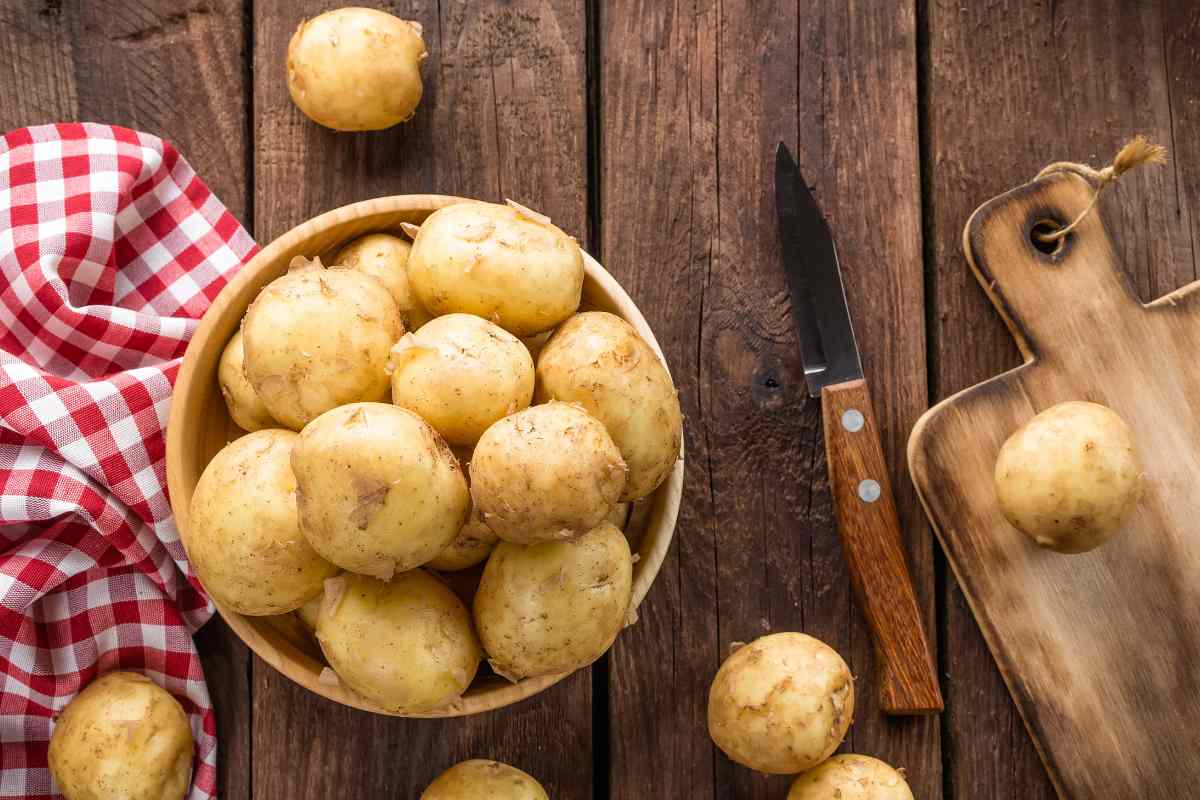
- New Potatoes: Young potatoes harvested early. Tender, sweet, and quick to cook.
Tip: Mix it up! By growing multiple different types of potatoes you can get a variety of textures and flavors. Plus they are beautiful together in the garden! Check out all of our favourite varieties here.

Planting Times
Timing is key when it comes to planting potatoes. You’ll want to plant them when the soil has warmed slightly but before it gets too hot. Our general rule is to plant 2-4 weeks before your last expected frost. Potatoes are tolerant of cool soils and moderate frosts. Minimum soil temperature at planting time should be 6°C (43°F). Potato plants like to get started before the weather warms up and early spring is your best bet for success. Plants will start to sprout about 2-3 weeks after planting. If you are not sure when your last frost date if, find out here.
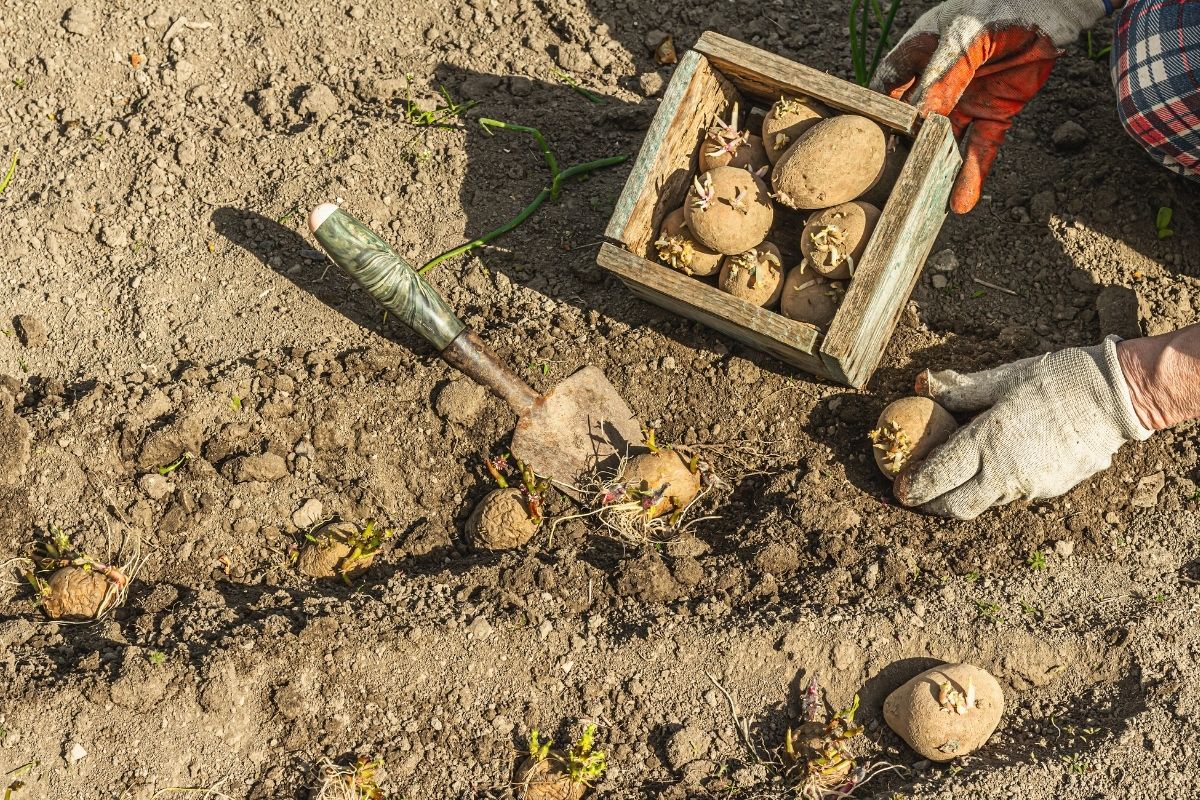
How to Plant Potatoes
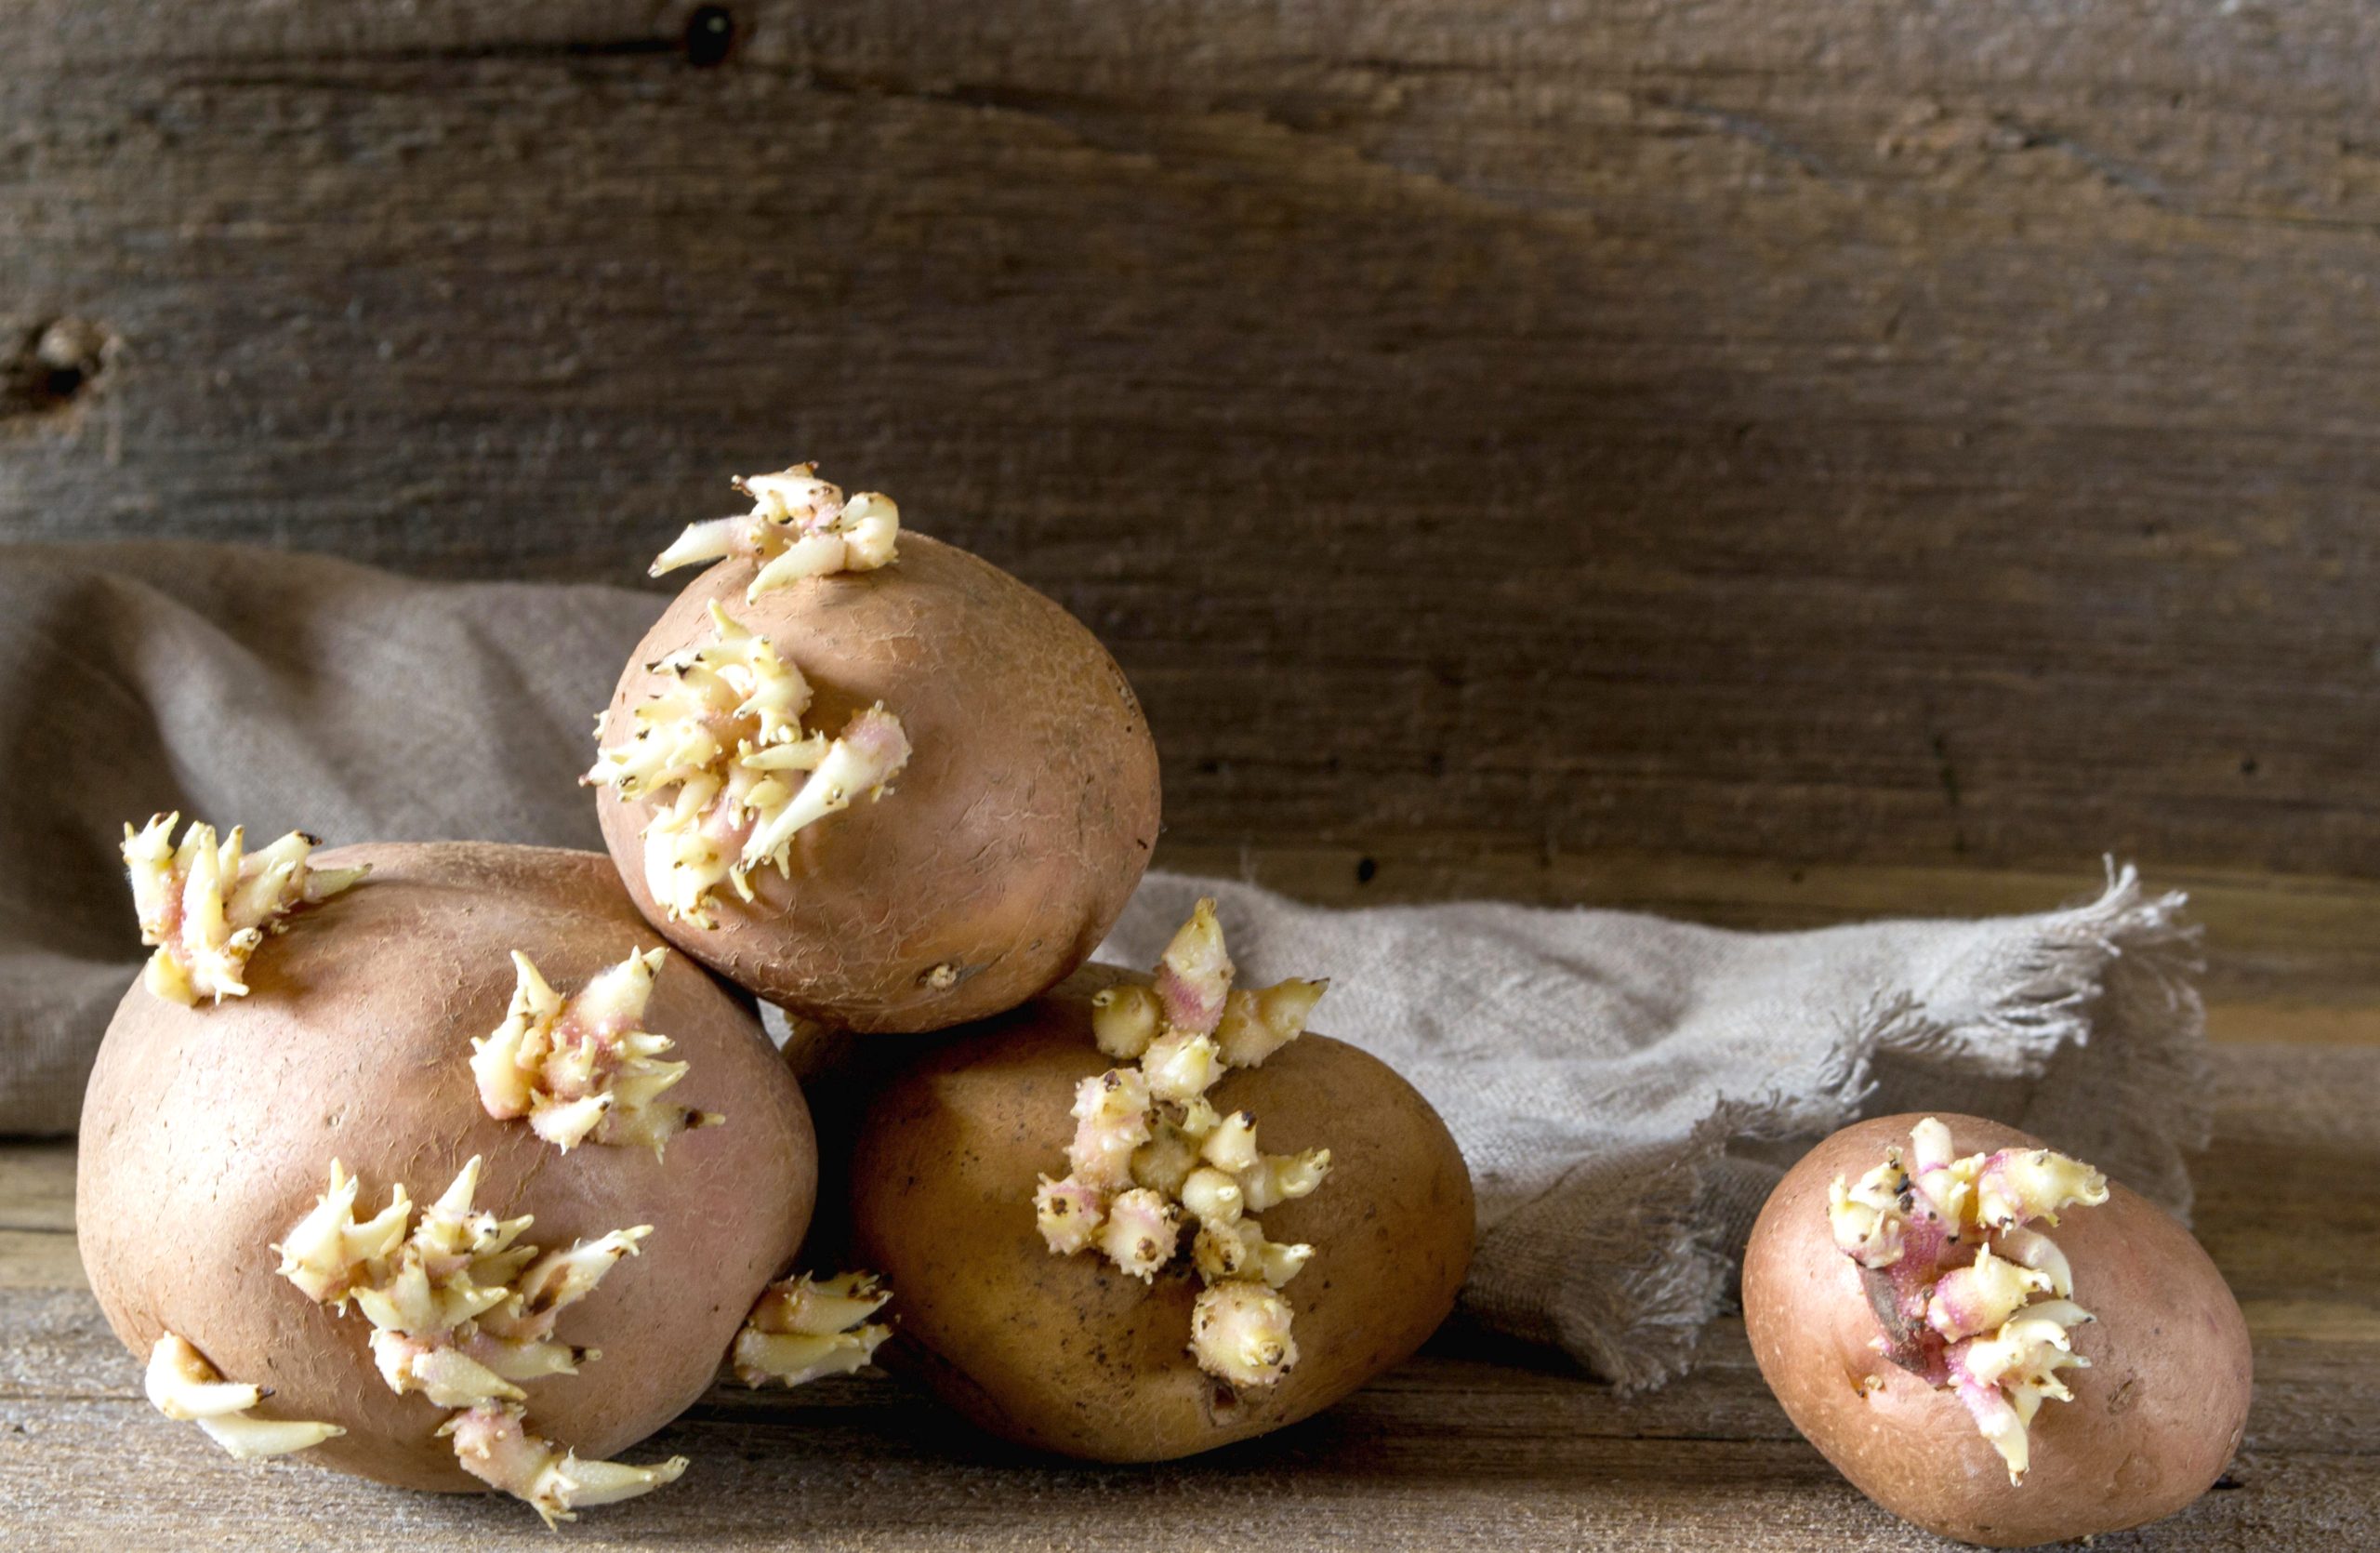
When it comes to planting potatoes it’s all about setting them up for success. Find a spot that gets at least 6 to 8 hours of sunlight per day. Potatoes are fairly adaptable but prefer light and fluffy soil conditions. Try to find a well-draining, loamy soil mix rich in organic matter. Ideal pH level of soil would be between 5.5 to 6.5. Potatoes are not overly fussy so you don’t have to be either. Make sure to purchase certified seed potatoes. While any potato works, grocery store potatoes can carry diseases which will affect the success of your crop. Once you’ve purchased your potatoes of choice at your favourite garden center, cut the larger potatoes into smaller pieces. Before cutting, make sure each piece will have at least one or two eyes each. If the potato only has one or two eyes don’t cut it as you should plant it whole. Let them then sit for a day or two to dry out (this can be done in a tray, box or any container) and form a callus. This will help prevent rot once it is planted.
Planting Methods
Did you know there are multiple ways that you can plant potatoes? This makes it a great vegetable to plant as it works well for many growing situations including patios, gardens, raised beds or fields. Choose the method that best suits your space and style:
- In-Ground Rows – The in-ground row method is a classic, reliable approach for planting potatoes, especially if you have room in a traditional garden bed. Start by selecting a sunny location with loose, well-drained soil. Enrich the area with compost or aged manure, then dig trenches about 6 inches deep. Space the trenches 2–3 feet apart to ensure good airflow and easy access. Within each trench, place seed potato pieces (each with at least one healthy eye) cut-side down and eye-side up, spacing them about 12 inches apart. Cover with 3–4 inches of soil initially. As the plants grow, mound additional soil or mulch around the stems (“hilling”) to encourage more tuber production and protect developing potatoes from sunlight. This straightforward method yields a generous harvest and is perfect for gardeners aiming for a large crop with minimal hassle.
- Raised Beds – Planting potatoes in raised beds follows the same basic steps as the in-ground row method, but with added benefits. The key difference is location and structure—raised beds offer improved drainage, better soil aeration, and easier access for maintenance. They also warm up more quickly in the spring, giving your potatoes a head start on the growing season. To plant, prepare the bed with loose, well-drained soil enriched with compost or aged manure. Dig shallow trenches about 6 inches deep within the bed, spacing them 12 inches apart. Place seed potato pieces (each with at least one healthy eye) cut-side down and eye-side up, about 12 inches apart in each trench. Cover with 3–4 inches of soil to start, and as the plants grow, continue “hilling” by mounding soil or mulch around the stems to encourage more tubers. Raised beds are especially ideal for gardeners working with limited space or poor native soil, offering a convenient and efficient way to grow a healthy, abundant potato crop.
- Potato Towers – Potato towers are a clever, space-saving solution perfect for small gardens, patios, or urban growers. To build a tower, start by creating a circular frame using wire fencing, a compost bin, or even a stackable container. Line the bottom with a few inches of straw or mulch for drainage, then add a layer of rich soil. Place a few seed potatoes on the soil layer—about 3–4 inches apart—and cover them with 4–6 inches of soil or compost. As the plants grow 6–8 inches tall, continue adding layers of soil and straw around the stems, leaving the top leaves exposed. Repeat this process until your tower reaches about 2–3 feet tall. The idea is that tubers will form all along the buried stems, significantly increasing your harvest in a small footprint. Potato towers are not only functional but fun to build and harvest from—just tip the tower over at season’s end and collect your buried treasure!
- Growing Bags or Containers – Growing potatoes in bags or containers is one of the easiest and most flexible methods—perfect for small spaces, balconies, patios, or renters who want a portable garden. It’s low-maintenance, tidy, and surprisingly productive. Start by choosing a large container or fabric grow bag with good drainage, ideally 10–15 gallons or larger. Add about 4–6 inches of high-quality potting mix or compost to the bottom, then place your seed potatoes (2–3 for a medium bag) with the eyes facing up. Cover them with another 4 inches of soil. As the plants grow, continue adding more soil or mulch around the stems, leaving the top few inches of greenery exposed. This mimics the “hilling” process and encourages more tuber production. Keep the soil consistently moist—containers dry out faster than garden beds—especially during hot weather. By the end of the season, simply dump the container and enjoy a mess-free, satisfying harvest!
Tip: Loose, well-drained, slightly acidic soil is best for planting. You can add in compost or well-rotted manure to help enrich the soil.
Watch Them Grow
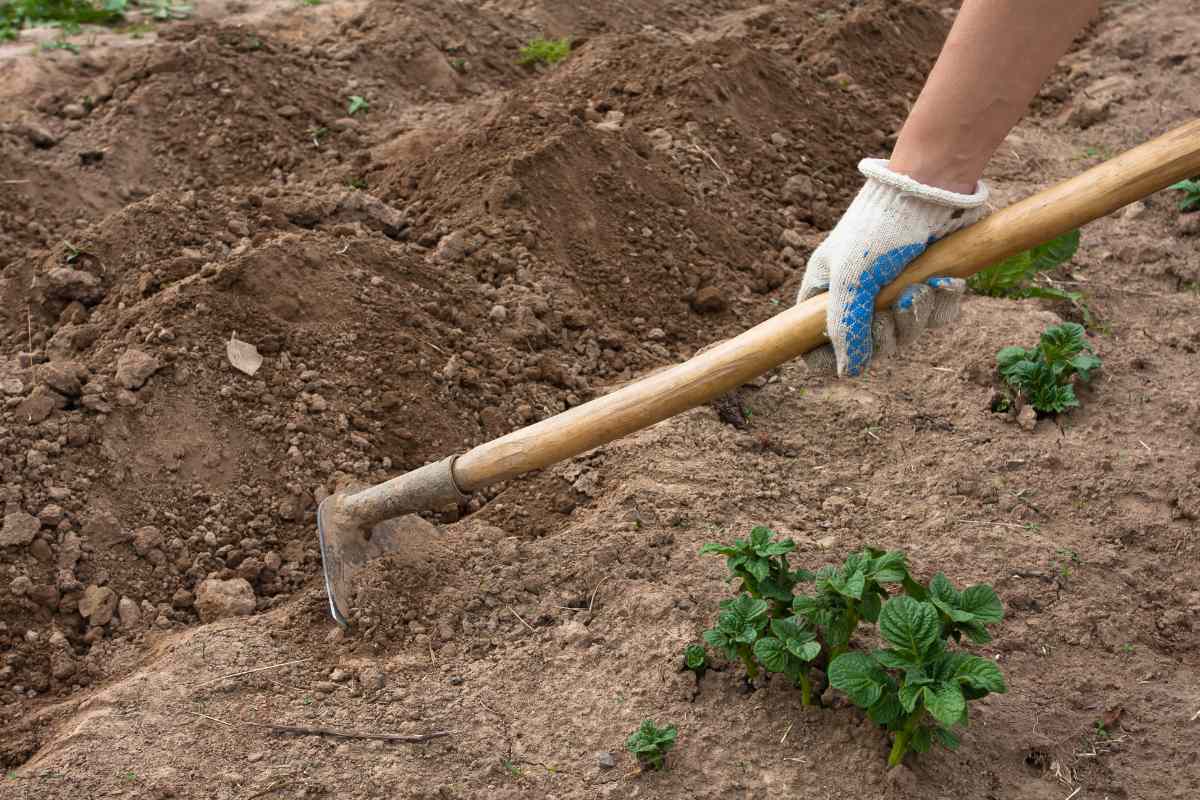
Potatoes aren’t overly fussy, but they do need consistent care to thrive. When watering, you want to keep the soil most but not soggy. This is especially key during the tuber formation which typically occurs 6 to 10 weeks into planting. As the plants grow, mound soil or straw around the stems to protect the potatoes from sunlight. When potato tubers are exposed to sunlight while growing, they start to turn green and may develop bitter, toxic chemicals.
Tip: If you are planting large beds of potatoes, rotate your crops yearly to avoid soil-borne diseases like blight.
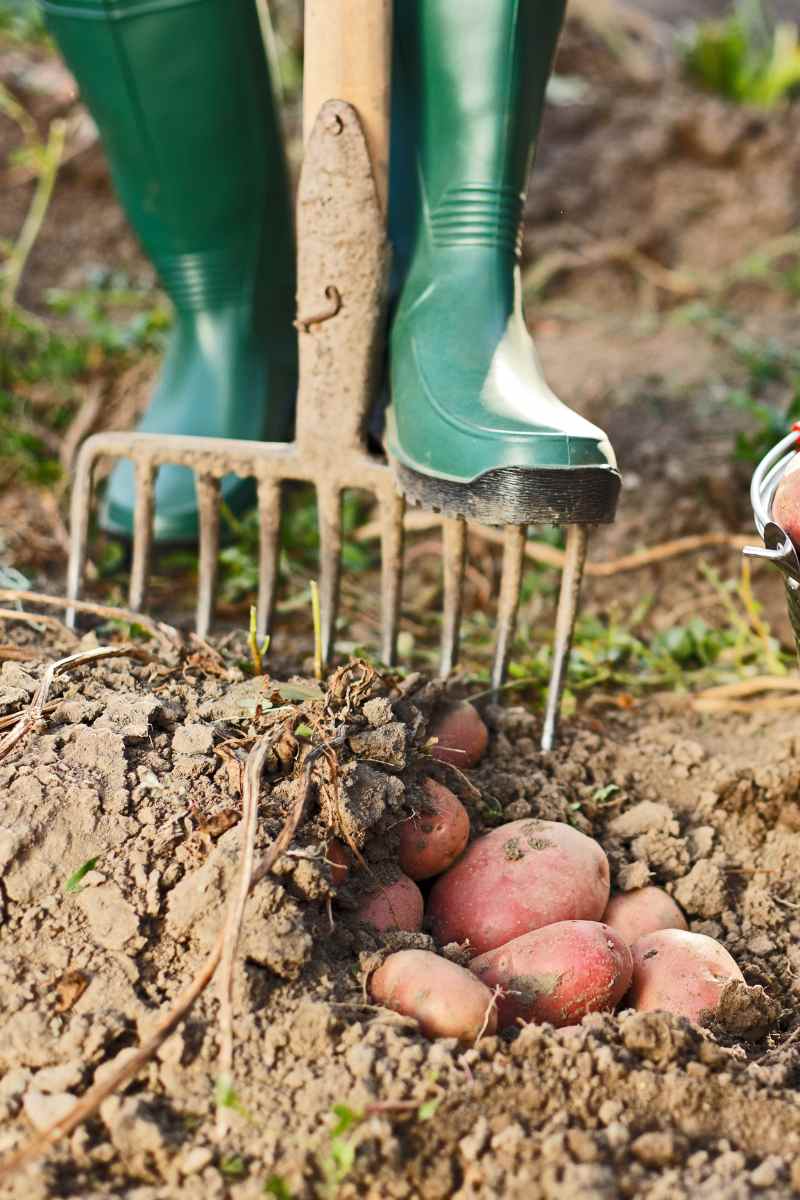
Harvest Time
Did you know that you can harvest your potatoes at 2 different times? These harvesting times depend on whether you would like new or mature potatoes.
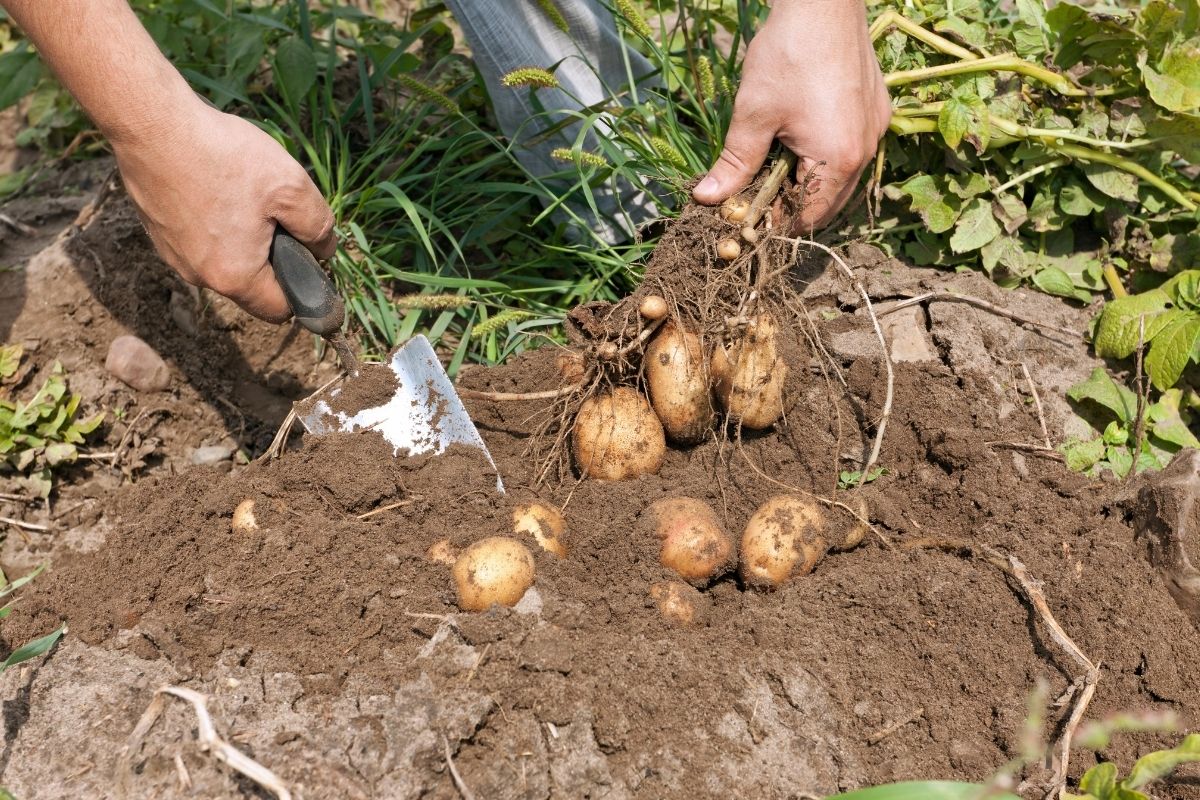
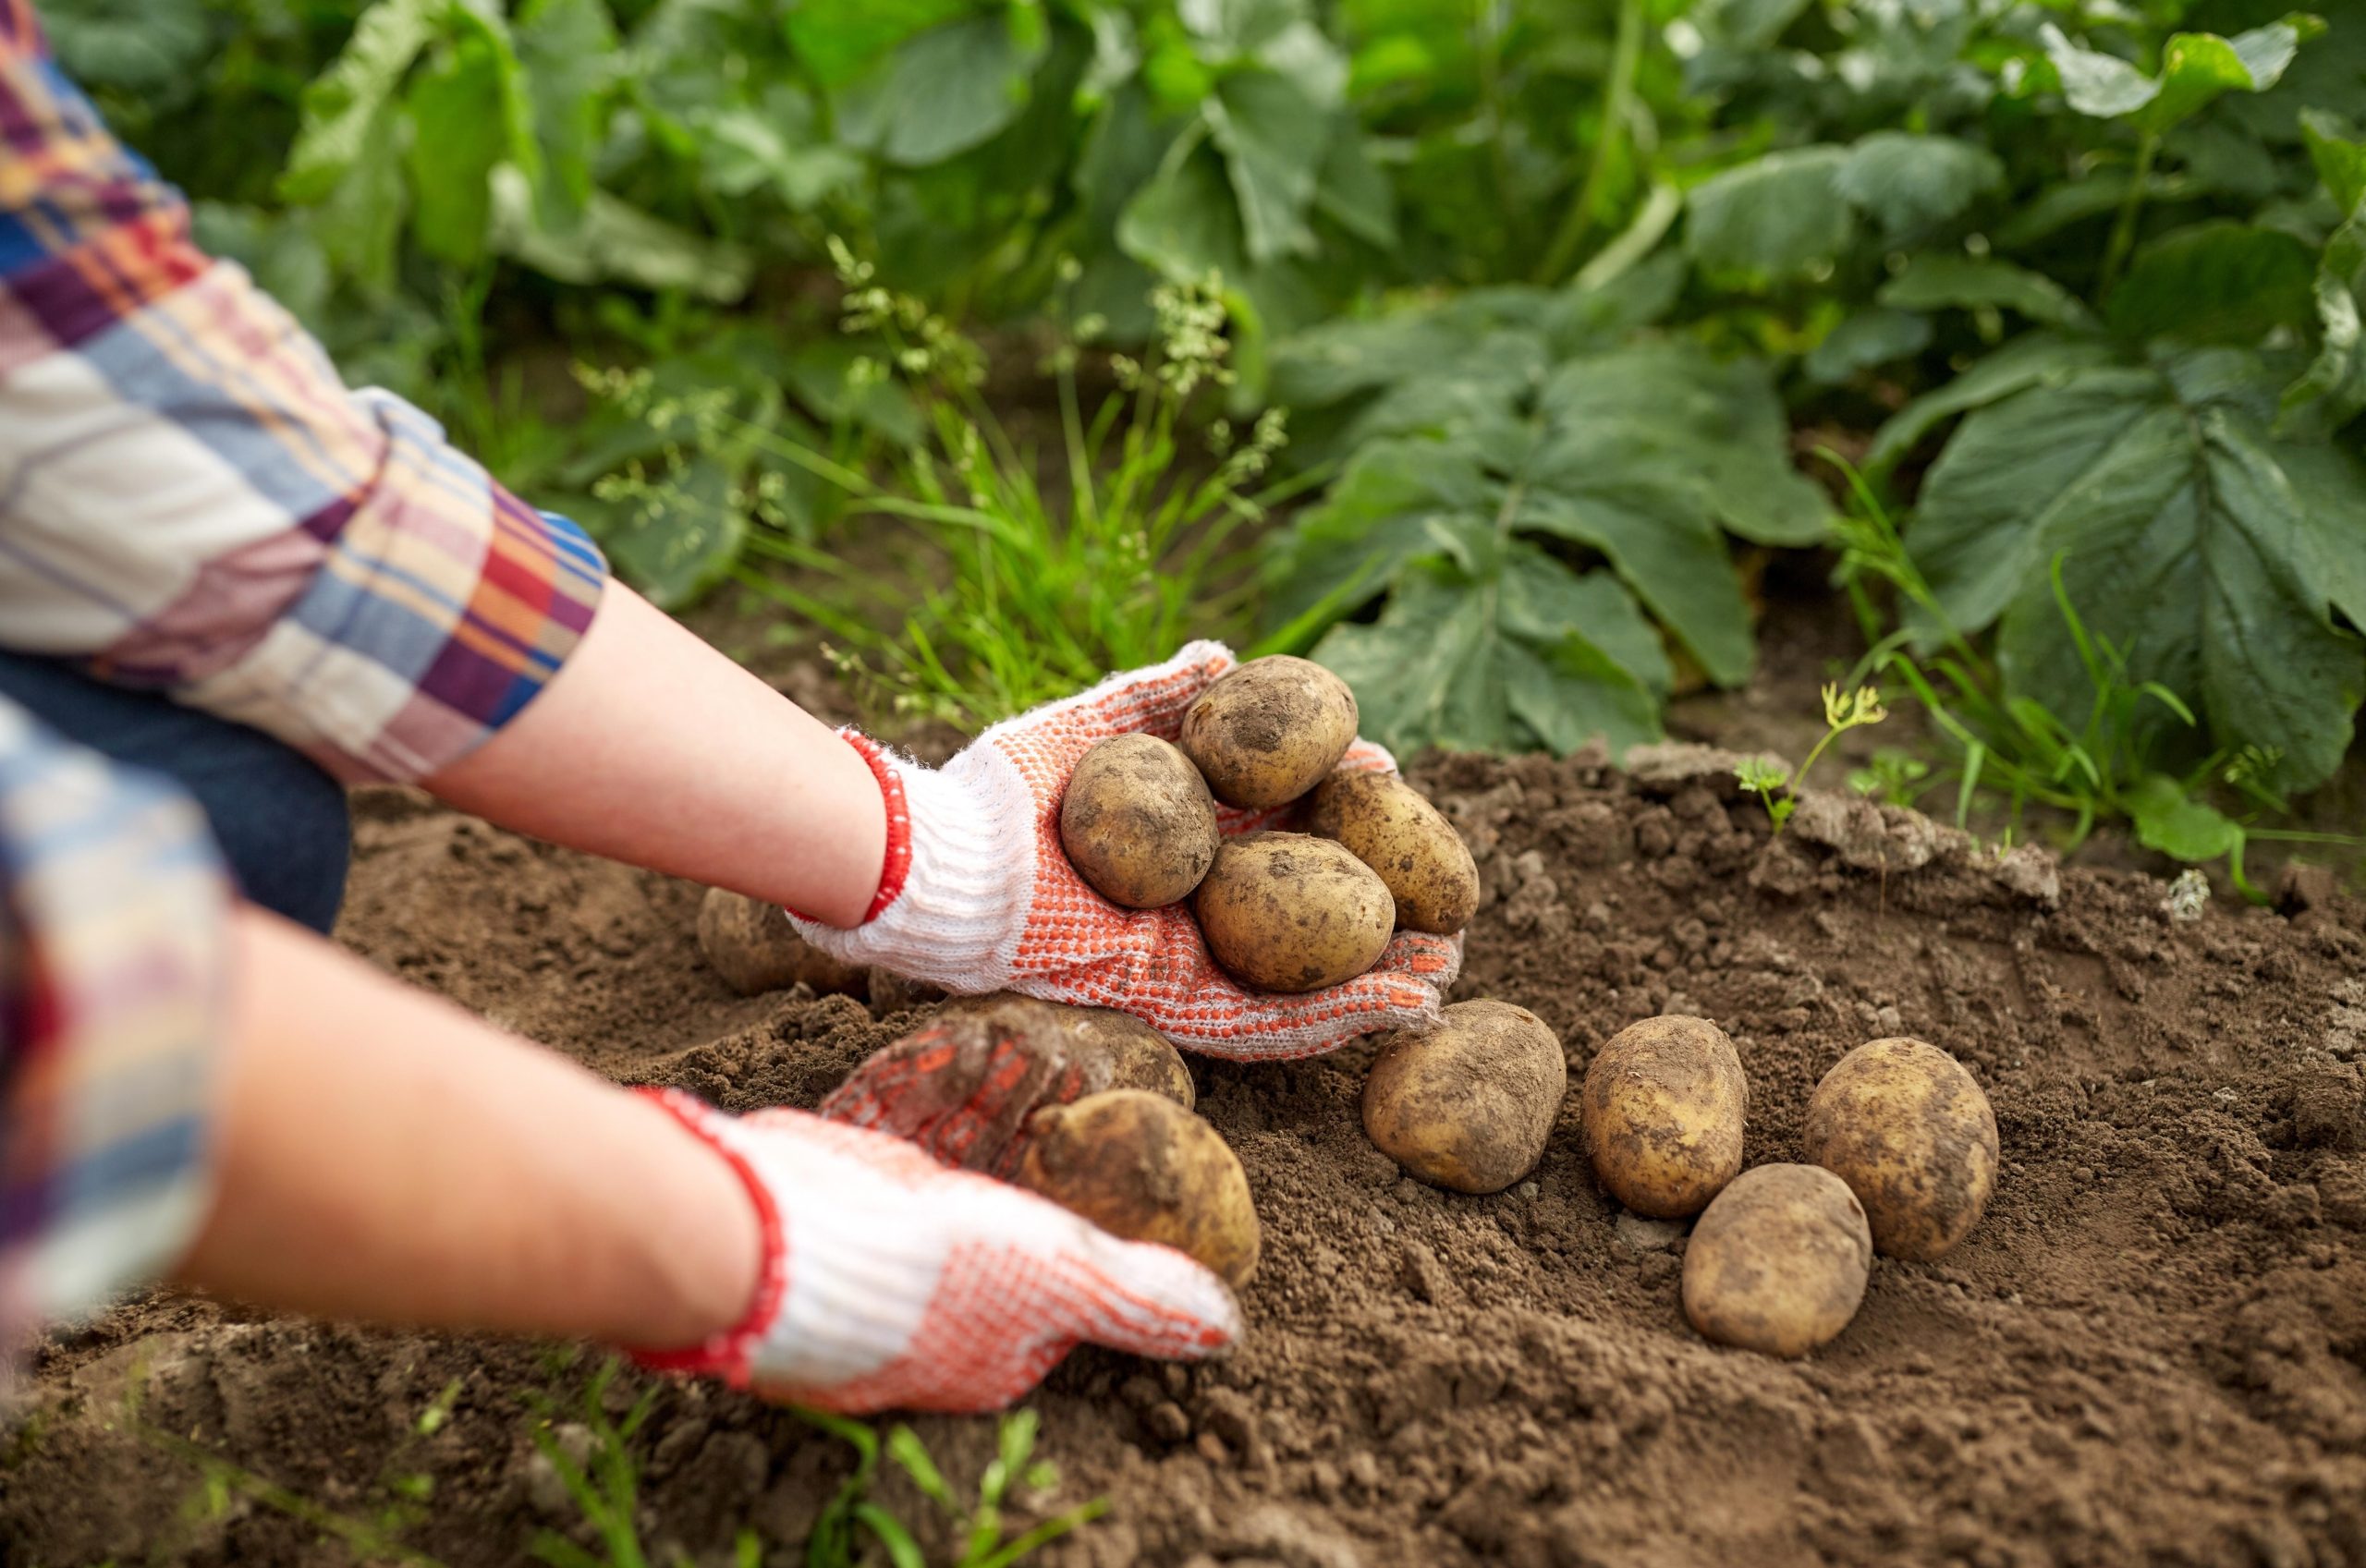
New potatoes are a garden favourite—small, tender, and buttery-smooth, they’re harvested early in the season before the tubers fully mature. You can start checking for new potatoes about 7-8 weeks after planting. To harvest without disturbing the whole plant, gently reach into the soil near the base and feel around for the small tubers or use a hand fork to carefully loosen the soil. Only take a few at a time, leaving the plant intact to continue growing larger spuds. These little gems are best eaten fresh—boiled, roasted, or tossed in butter and herbs. Since they have thin, delicate skins and aren’t cured like mature potatoes, they don’t store well, so plan to enjoy them right away. Harvesting new potatoes is like finding treasure—you’ll love the sweet flavor and the satisfaction of plucking them from your own garden.
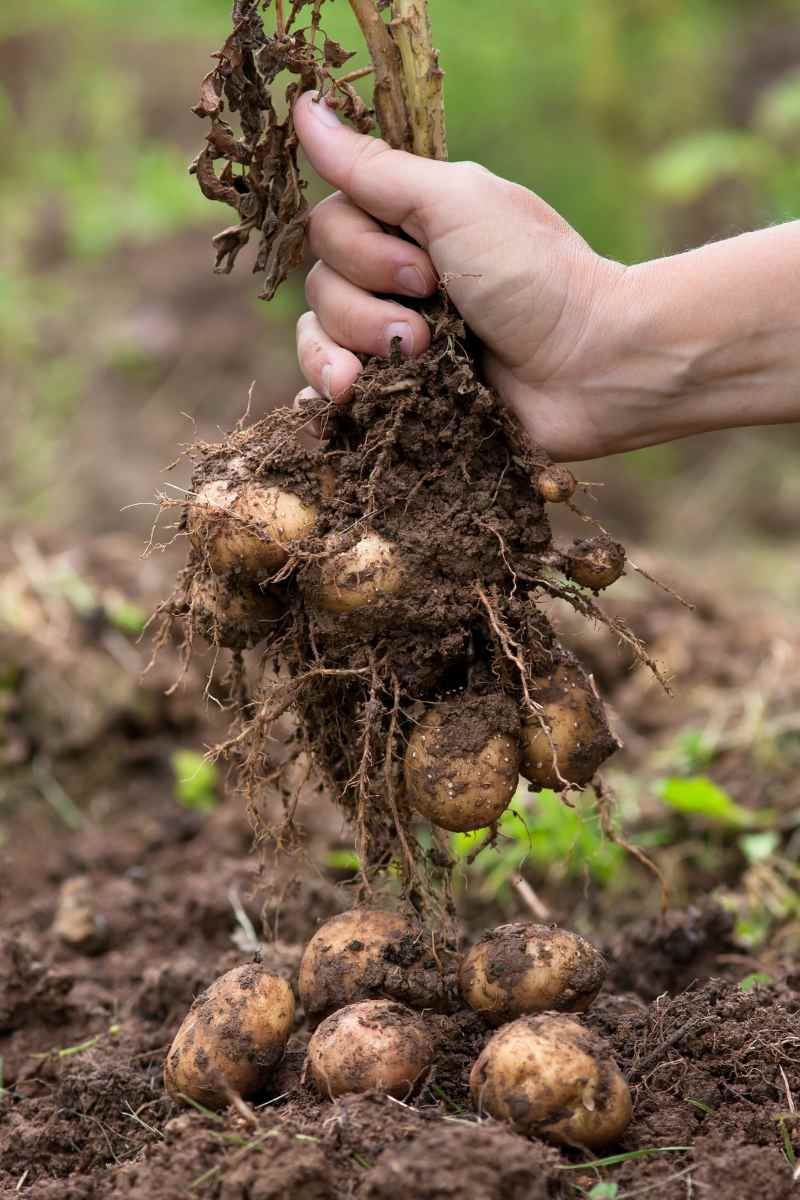
For harvesting mature potatoes, you’ll know it’s time when the foliage turns yellow and begins to die back—usually 2–3 weeks after flowering ends. Stop watering at this stage to help the skins toughen up. Once the plants are completely dry and withered, choose a dry day to dig up your potatoes. Use a garden fork or spade to gently loosen the soil around each plant, taking care not to spear or bruise the tubers. Shake off the excess dirt and let the potatoes cure in a cool, dark, and well-ventilated place for 1–2 weeks. Mature potatoes can last for months if stored properly—and there’s nothing like cooking with spuds you grew and harvested with your own hands! Looking for more tips on harvesting potatoes? Check out our blog for helpful advice on digging up your potato crop.

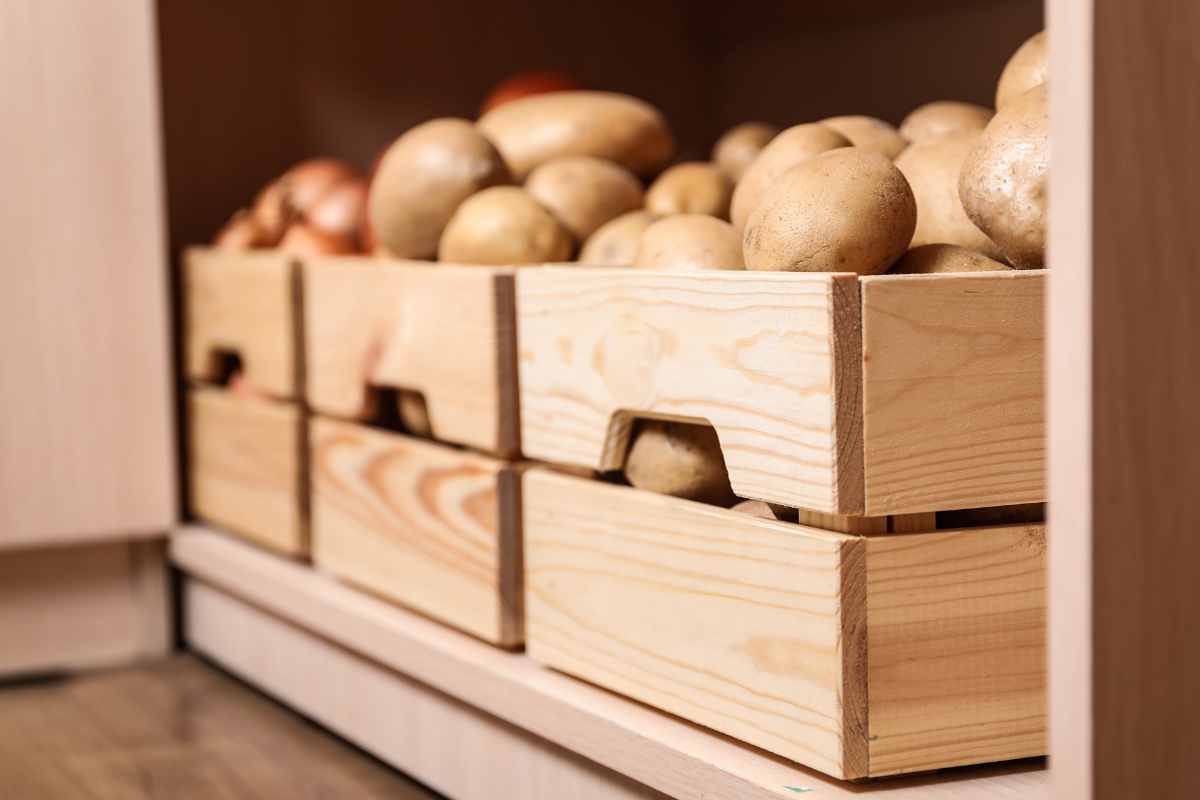
Storing
It is important to let you freshly dug potatoes to cure. Put them on trays or on a plastic tarp in a dark, dry space with good airflow for about 1-2 weeks. This toughens up the skins and heals any minor damage the potato might have. Once cured it is time to store. Keep the potatoes in a cool, dark, well-ventilated place. Avoid putting them in plastic bags or fridges. It is also key that you do not wash them before storage time as moisture invites rot.
Tip: Check on your potatoes periodically and remove any sprouting or soft potatoes to prevent spoilage of the bunch.
Growing potatoes is one of the most rewarding gardening experiences you can have. With a little preparation and care, you can enjoy a hearty harvest of spuds that are tastier (and often healthier) than anything you’ll find at the store. And harvesting them is half the fun—it feels like unearthing hidden gems right in your own backyard.