

3 Delicious Recipes for Summer Fruit from Your Garden
Table of Contents
Strawberry
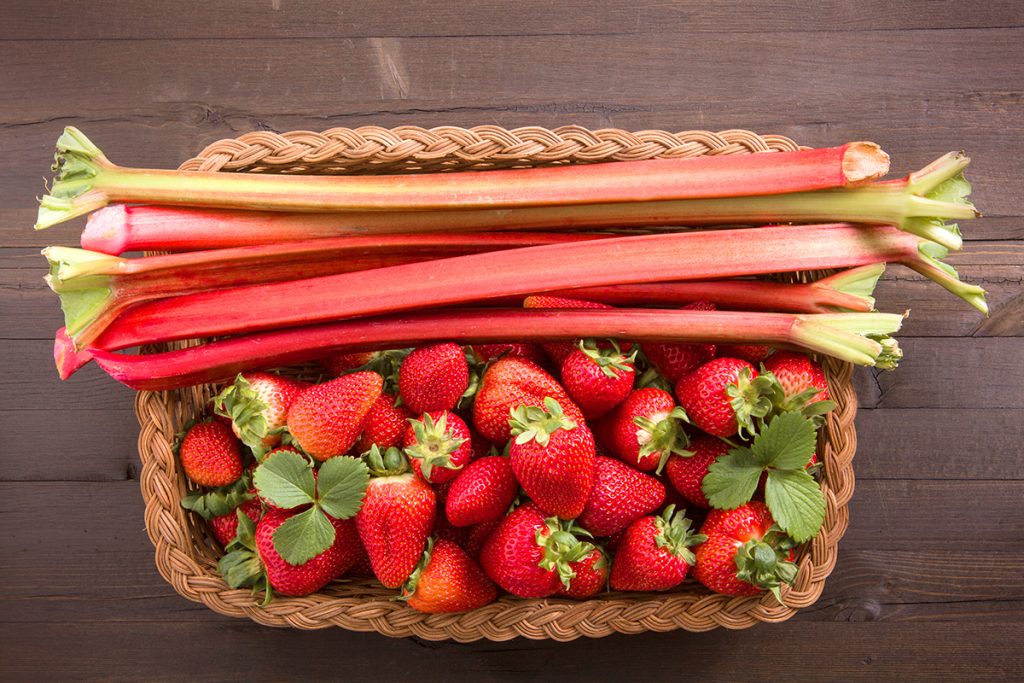
Nothing says summer like a gorgeous fruit crisp. Topped with a scoop of vanilla ice cream, this dessert is a crowd-pleasing favourite! And perhaps for this reason alone, our family has plenty of strawberry plants in our garden. One of our favourite varieties to grow is Eversweet. This variety has lots of large berries with a lovely, sweet flavour. Make sure to grab some rhubarb from your garden as well before you get started.
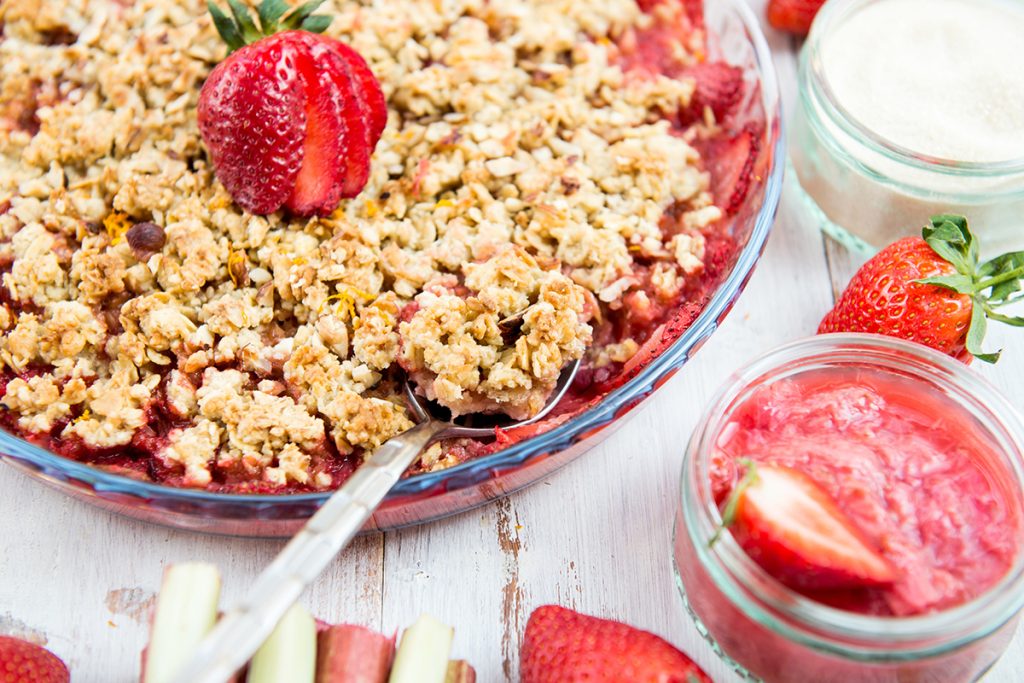
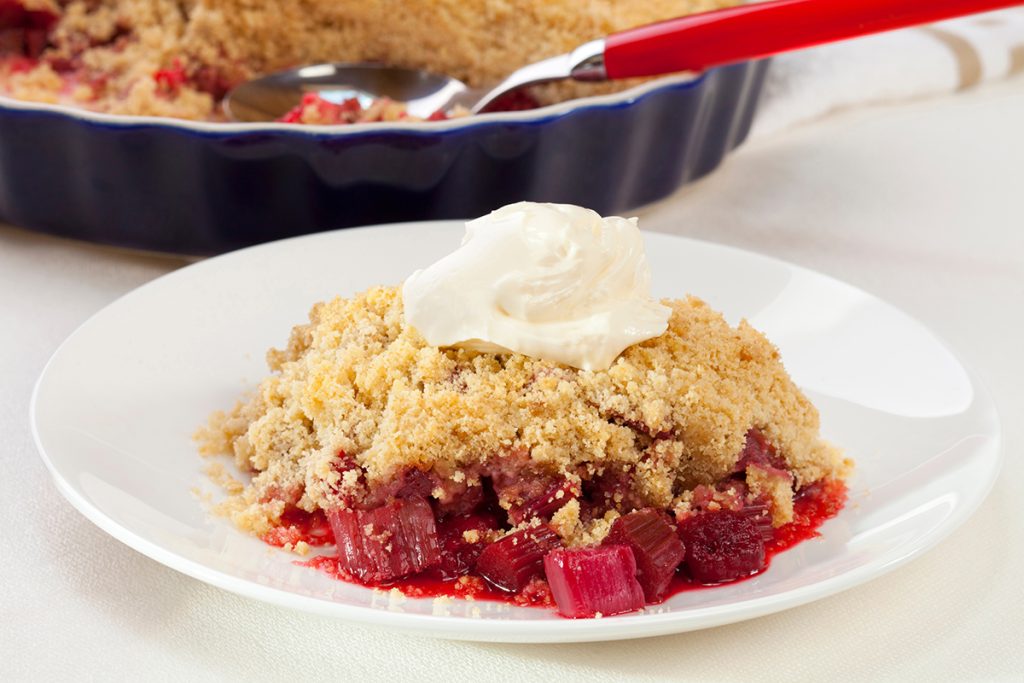
Strawberry Rhubarb Crisp
Ingredients:
Filling
1 lb rhubarb stalks, trimmed and sliced ½ inch thick
½ lb strawberries, hulled and quartered
½ cup granulated sugar
1 ½ tablespoons cornstarch
1 teaspoon vanilla extract
Topping
¾ cup all-purpose flour
½ cup packed light brown sugar
2 tablespoons granulated sugar
¼ teaspoon salt
6 tablespoons unsalted butter, cut into ½ inch cubes
¾ cup old-fashioned rolled oats
½ cup chopped pecans
Instructions:
Preheat the oven to 350°F
For the filling
- Combine the rhubarb, strawberries, sugar, cornstarch, and vanilla in a large bowl. Stir until the fruit is evenly coated with the sugar mixture, the sugar mixture will no longer be white.
- Transfer the fruit mixture to a 2-quart or 8-inch baking dish (no need to butter it) and set aside while you prepare the topping.
For the topping
- In the bowl of a food processor, combine the flour, brown sugar, granulated sugar and salt. Process until well combined, about 30 seconds. Add the cold butter and pulse until the mixture resembles coarse crumbs, with a few pea-sized clumps of butter within. Transfer to a medium bowl and stir in the oats and chopped pecans.
- Spoon the topping evenly over the fruit without packing down. Bake for 45-55 minutes, until the fruit is bubbling around the edges and the topping is golden brown. Cool for 20 minutes before serving. Spoon into shallow bowls and serve with vanilla ice cream.
Blueberry
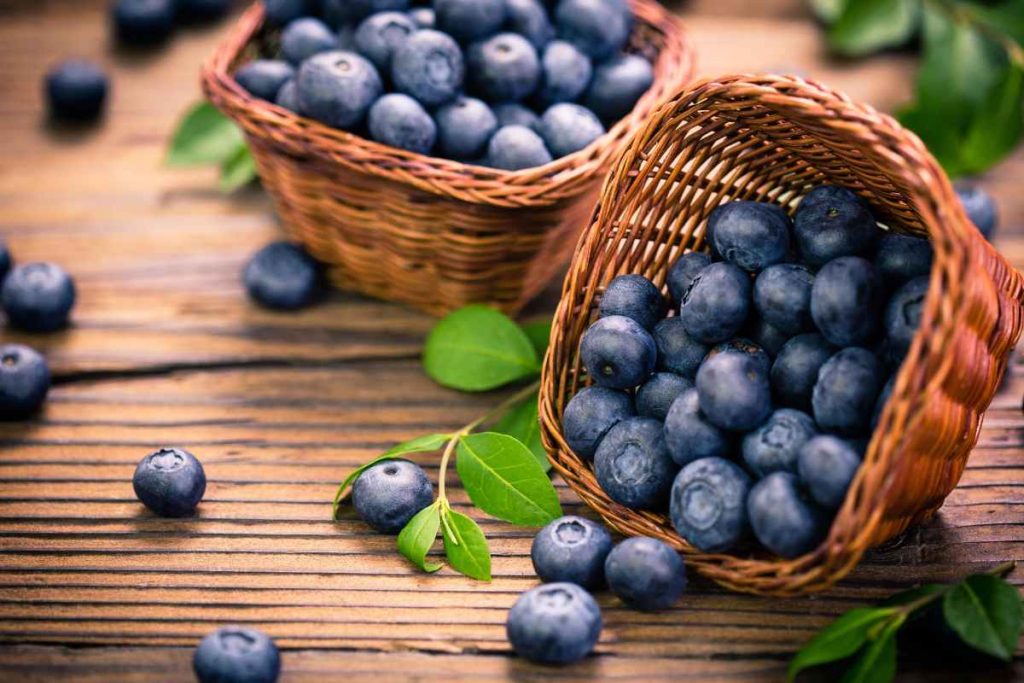
A perfect summertime snack, setting a bowl of blueberries in front of our children is like presenting them with a bowl of candy. Within no time at all, the bowl is empty. I can’t blame them, it’s hard to stop snacking on this delicious summertime treat. Planting and growing blueberries is easy and rewarding. The blueberry varieties we have planted in our backyard are Duke and Chandler. We start harvesting these blueberries in July and span into the month of August. Planting 2 different blueberry varieties will increase your harvest. Chandler is known as the world’s largest blueberry with a very sweet and flavorful taste and Duke has a sweet jam flavour! We use these blueberries in a variety of recipes, but our family favourite is Blueberry Muffins!
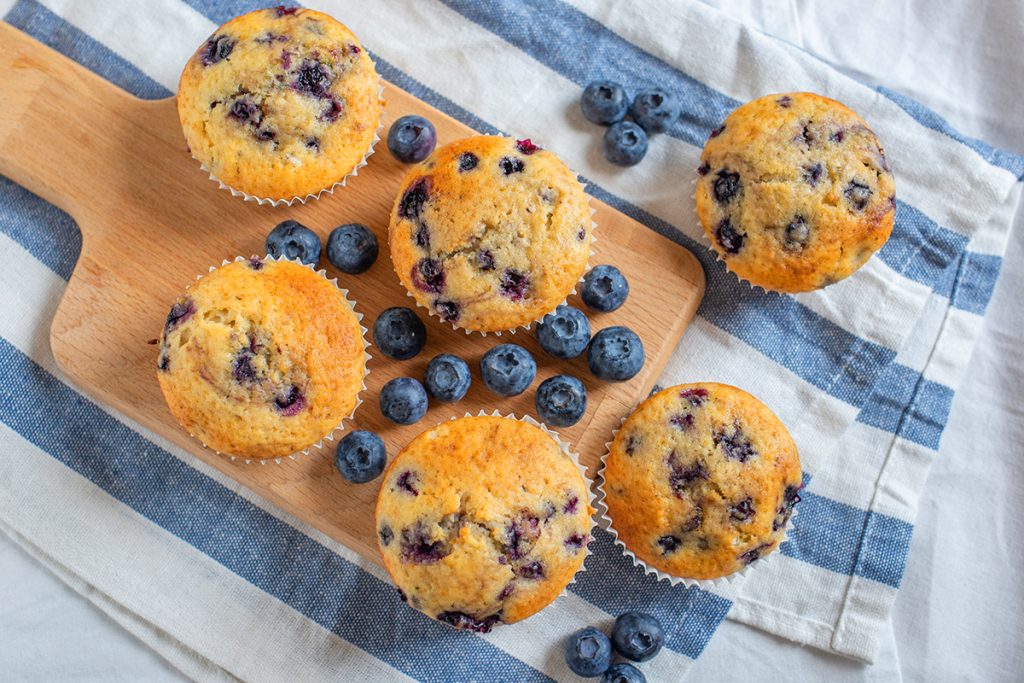
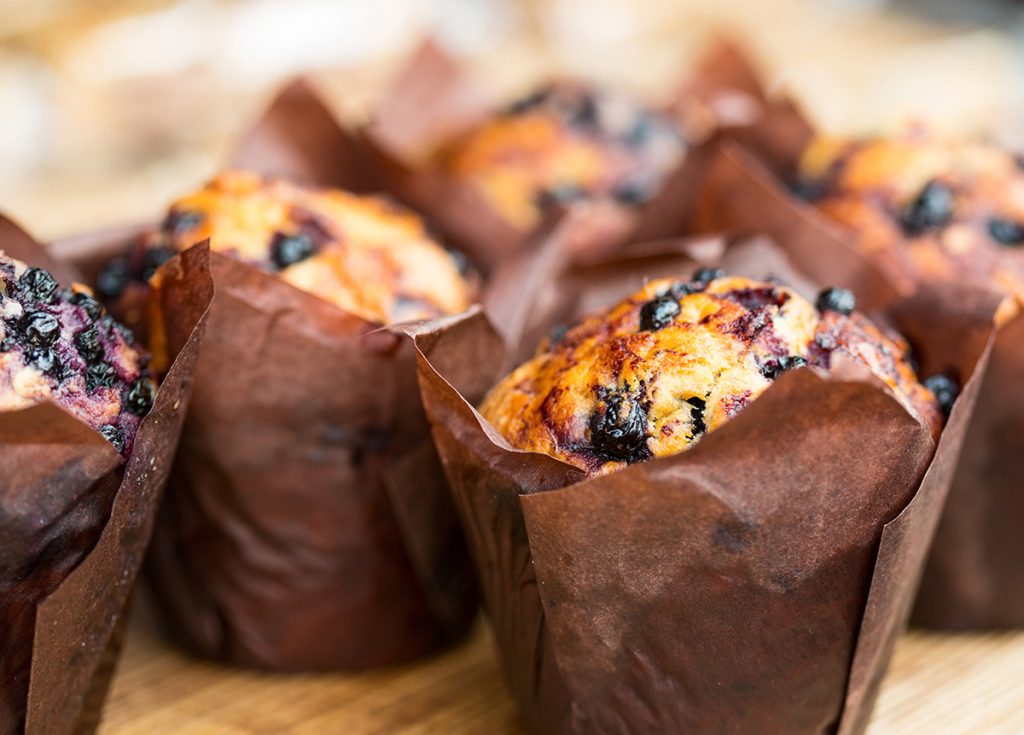
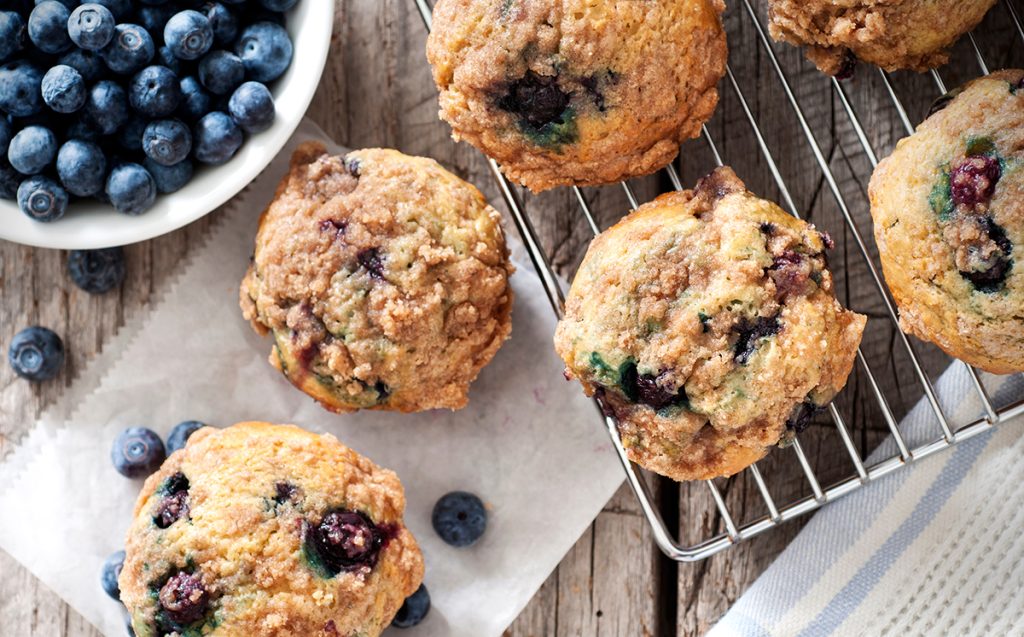
Blueberry Muffins
Ingredients:
1 ½ cups all purpose flour
¾ cup granulated sugar, plus 1 tablespoon for muffin tops
2 teaspoons baking powder
¼ teaspoon salt
⅓ cup neutral flavoured oil like avocado or vegetable oil
1 large egg
⅓ cup milk
1 ½ teaspoons vanilla extract
8 ounces of fresh blueberries
Instructions:
- Preheat the oven to 400°F
- Line muffin cups with paper liners (10 for standard, 22 for mini)
- Lightly grease or spray the tops of the muffin tin with oil to prevent the oversized tops from sticking.
- Whisk the flour, sugar, baking powder, and salt in a large bowl.
- Choose a measuring jug that holds at least 1 cup. Add the oil to the jug, and then crack in the egg. Pour in enough milk to reach the 1-cup line on the jug (this should be about 1/3 cup of milk). Add the vanilla extract and whisk until everything is combined.
- Add the wet ingredients to the bowl with the dry ingredients. Stir gently until the batter comes together. Be careful not to overmix! The batter will be thick, see tips below.
- Gently fold in the blueberries.
- Divide the batter between muffin cups. If making big-topped muffins, the batter will come to the tops of the paper liners. Sprinkle a little sugar on top of each muffin.
- Bake muffins 15 to 20 minutes or until tops are no longer wet and a toothpick inserted into the middle of a muffin comes out with crumbs, not wet batter. Transfer to a cooling rack.
Blackberry
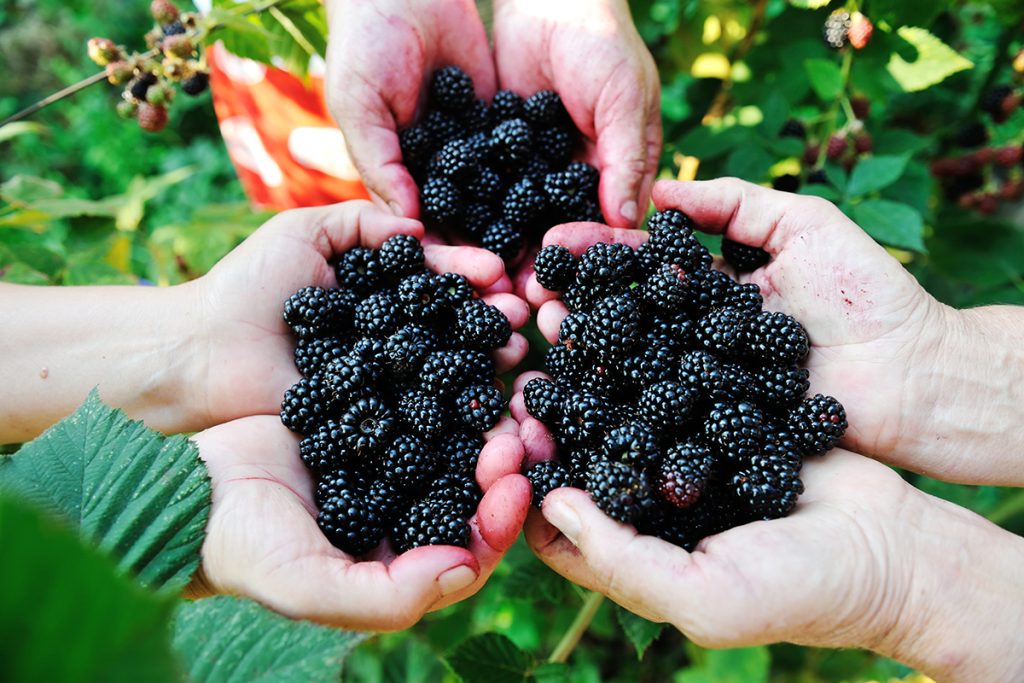
One of my most cherished summer memories as a kid was carrying white, empty ice cream buckets out to the blackberry bushes lining the ditch behind our home and collecting (ok, well, mostly eating) blackberries until our fingers turned purple. We would make sure to put on long sleeve shirts and pants despite the heat. The fruit is deliciously sweet, but the thorns are not forgiving. We’d eat them fresh, not patient enough to see them baked into a delicious treat. As an adult, I found an excellent recipe for blackberry jam. It is the perfect way to preserve the taste of summer all year long.
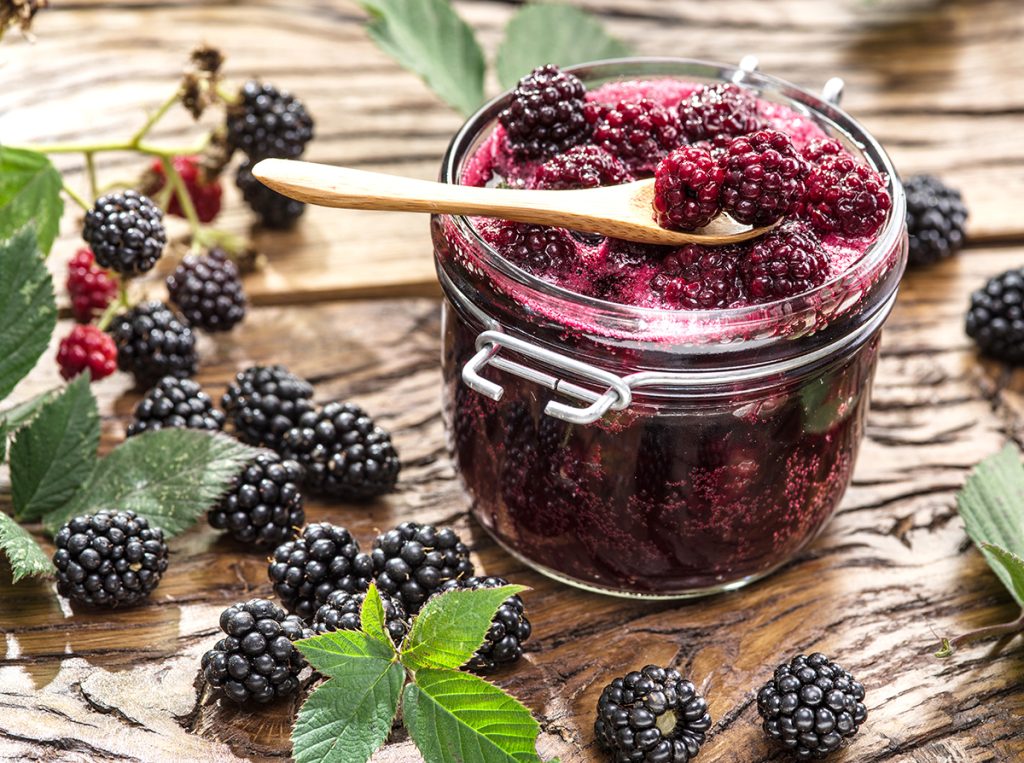

Homemade Blackberry Jam
Ingredients:
2.5 quarts fresh or frozen blackberries (about 8 cups)
2 tablespoons lemon juice
7 cups granulated sugar
1 packet Sure Jell Certo liquid fruit pectin
Instructions:
- Clean berries just before using. Add the blackberries and lemon juice to an extra-large saucepan. Mash with a potato masher and simmer for a few minutes, to break down the fruit.
- If you are planning to can the jam, prepare a water bath and sterilize jars.
- Use a food mill, or press mixture through a fine mesh strainer, into a bowl to remove seeds (optional).
- Measure out 4 cups of berry juice and add to an extra-large heavy-bottomed stock pot. Add 2-3 spoonfuls of the leftover seeds for blackberry “jam”. (Jelly uses the juice only).
- Add sugar and stir to combine. Turn burner to medium-low, stirring occasionally, cooking for several minutes until sugar has dissolved.
- Increase the heat to medium high, and cook, stirring constantly, until the mixture comes to a full boil (a rolling boil that can’t be stirred down).
- Add the pouch of pectin, stirring continuously, and allow it to return to a full boil. Set a timer for 1 minute, stirring continuously, and remove from the heat after 1 minute.
- Pour jam into prepared jars and seal with lids.
- To Can: Process in a boiling water bath for 10 minutes (or longer if at high altitude*). Allow it to rest on your counter for 24 hours, to ensure the jars settle and seal properly. Check seals, and store jam in a cool, dry place for up to one year.
This summer, make the most of your fresh berry harvests and try out one of these recipes. Let us know what you think!